How to Change Colors While Knitting? Beginners Tips
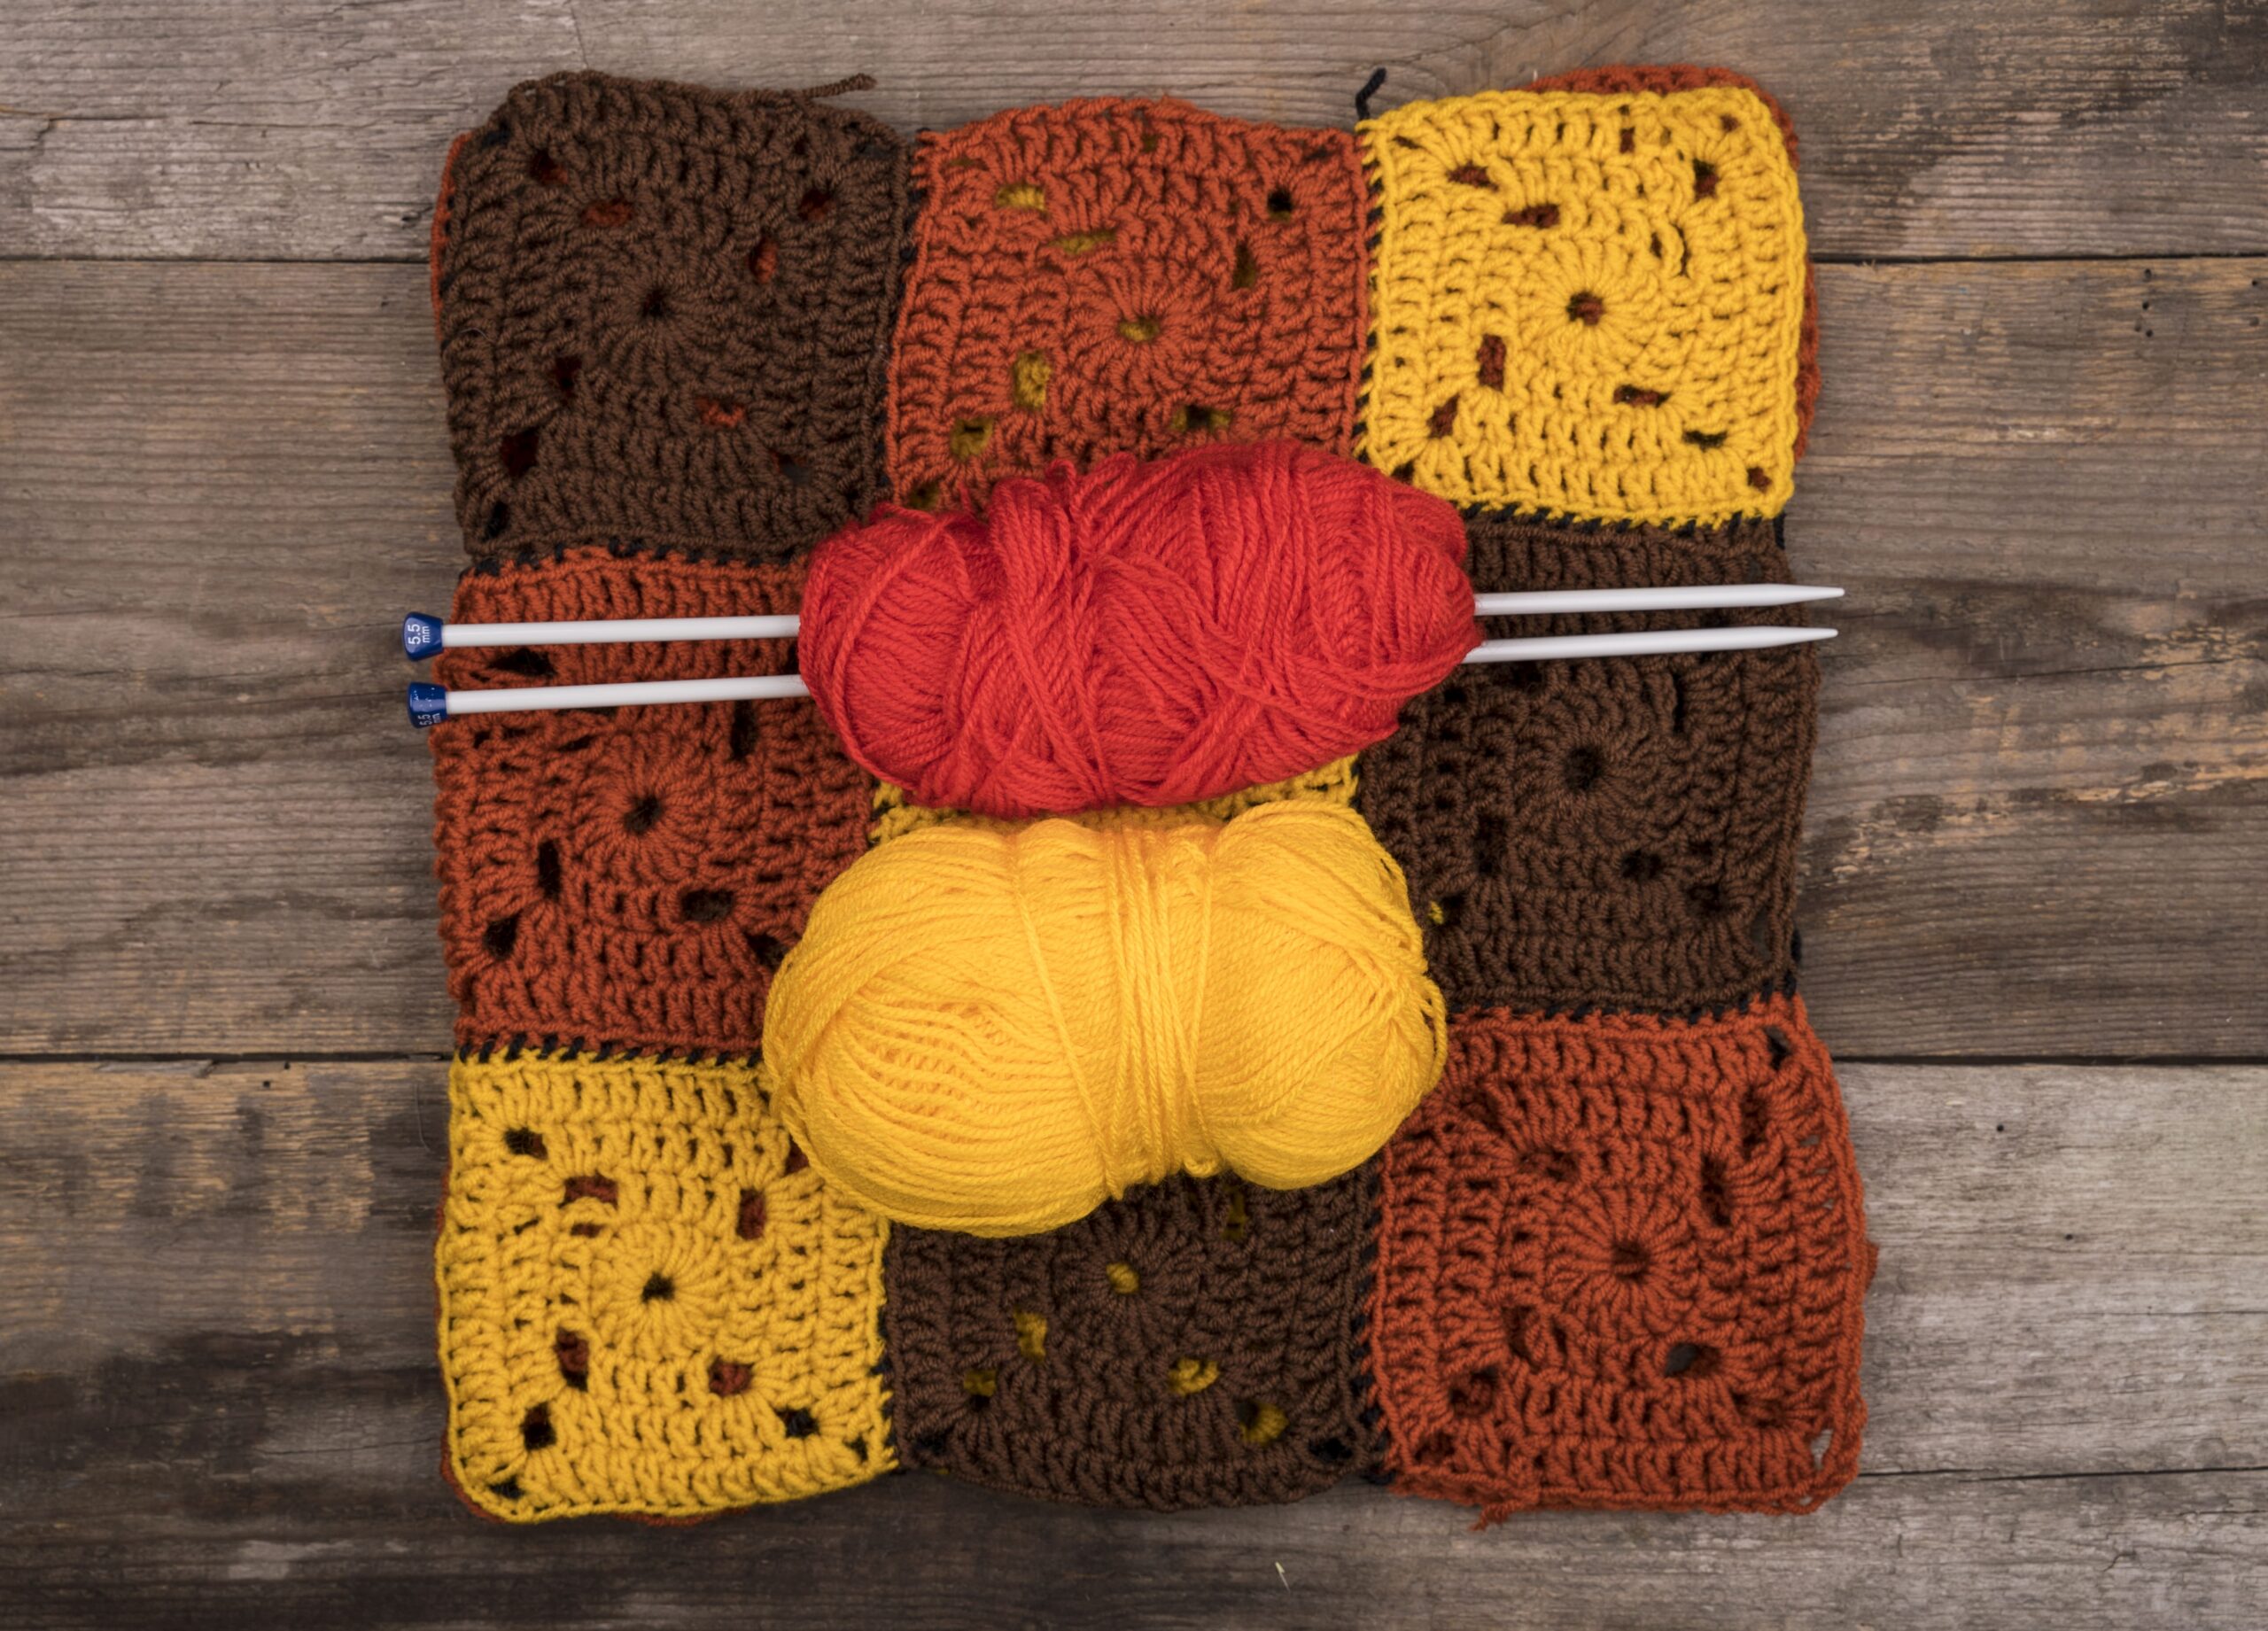
Knitting is one of the most satisfying art forms an individual can ever engage in. Its techniques can be integrated in various ways, including the use of multiple colors within a single fabric. The simplest stitches can create complex patterns through the strategic use of color. In addition to its complexity and depth, a multicolored project is enhanced by vibrancy, character, and design choices.
In contrast with its beauty, varying hues can also serve as functional benefits. Different colors can serve as distinguishing marks for sections in a garment or motifs. Adding personalized features stands out. It becomes easy to create customized pieces with a smooth color transition. Mastering color transitions adds beauty and clarity to every single piece.
Also Read: How to Pick Up Knit Stitches In Knitting?
Essential Tools and Materials for Colorwork
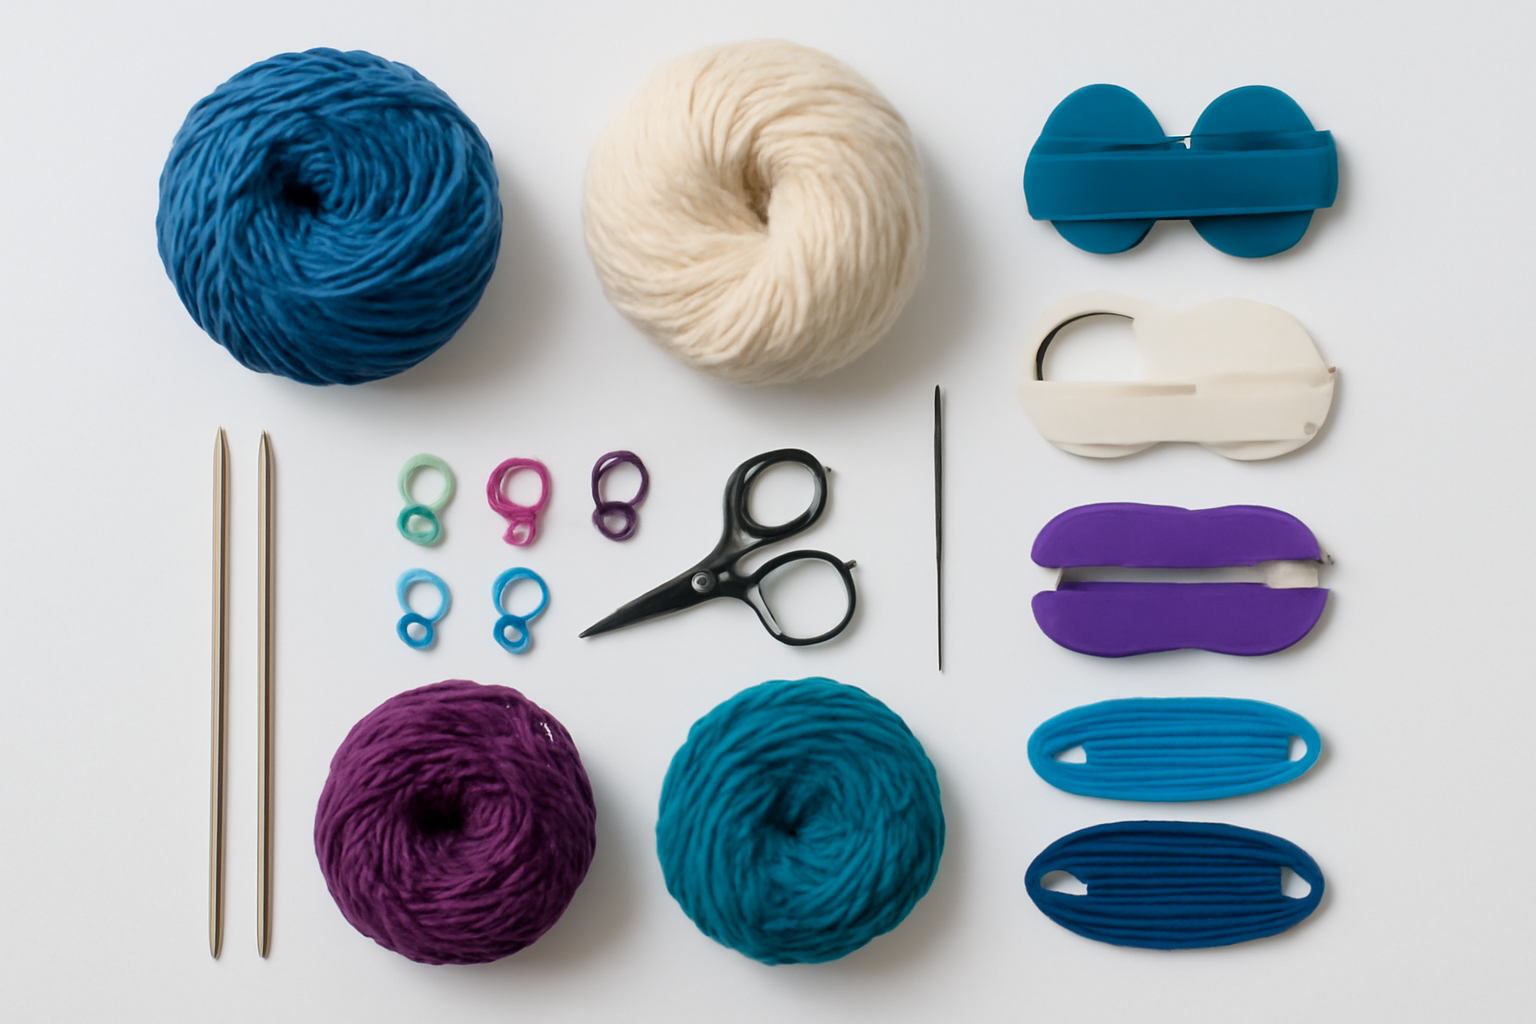
A successful colorwork project begins with the right materials. These include yarns of different shades and types. For a successful outcome, use yarns with a comparable fiber composition and weight to ensure uniform tension and drape throughout the piece.
Knitting needles of matching size must accompany a distinct selection of yarn to ensure the correct gauge is achieved. Furthermore, stitch markers are handy for noting changes in color or pattern repeats. A small pair of scissors for trimming the yarn tails, as well as a tapestry needle for tail weaving, completes the toolbox, ensuring that the finished product is neat and professional.
Also Read: How to Measure Circular Knitting Needles?
Choosing When and Where to Change Colors
The placement of color changes can make a significant difference in how the knitted item appears after completion. Most often, color changes are made at the beginning of a new row to ensure a clean edge. It works well when using stripes or blocks of color, which demand clear visual boundaries.
Specific designs should make a color change in the middle of a row. While this method can be more difficult than starting at the beginning of a row, with the right approach, it is possible to make the join almost seamless. Understanding where to create color transitions enables intentional and effective design planning, ultimately leading to the achievement of the intended results.
Also Read: How to Read Knitting Patterns?
How to Change Colors While Knitting?
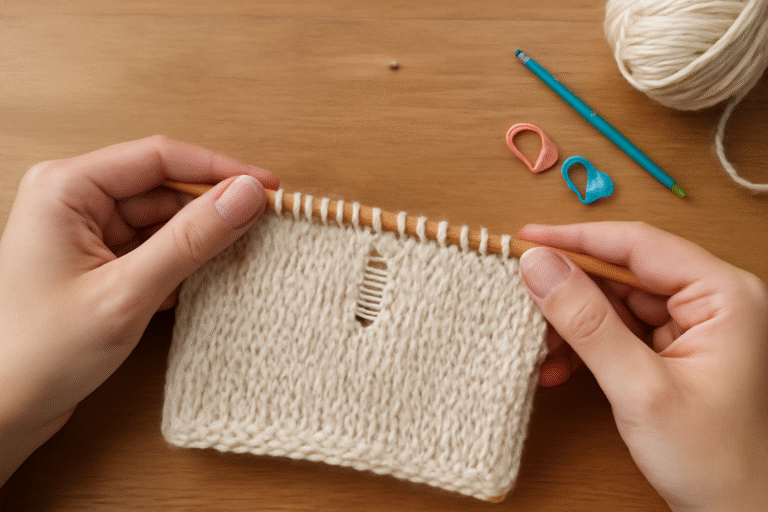
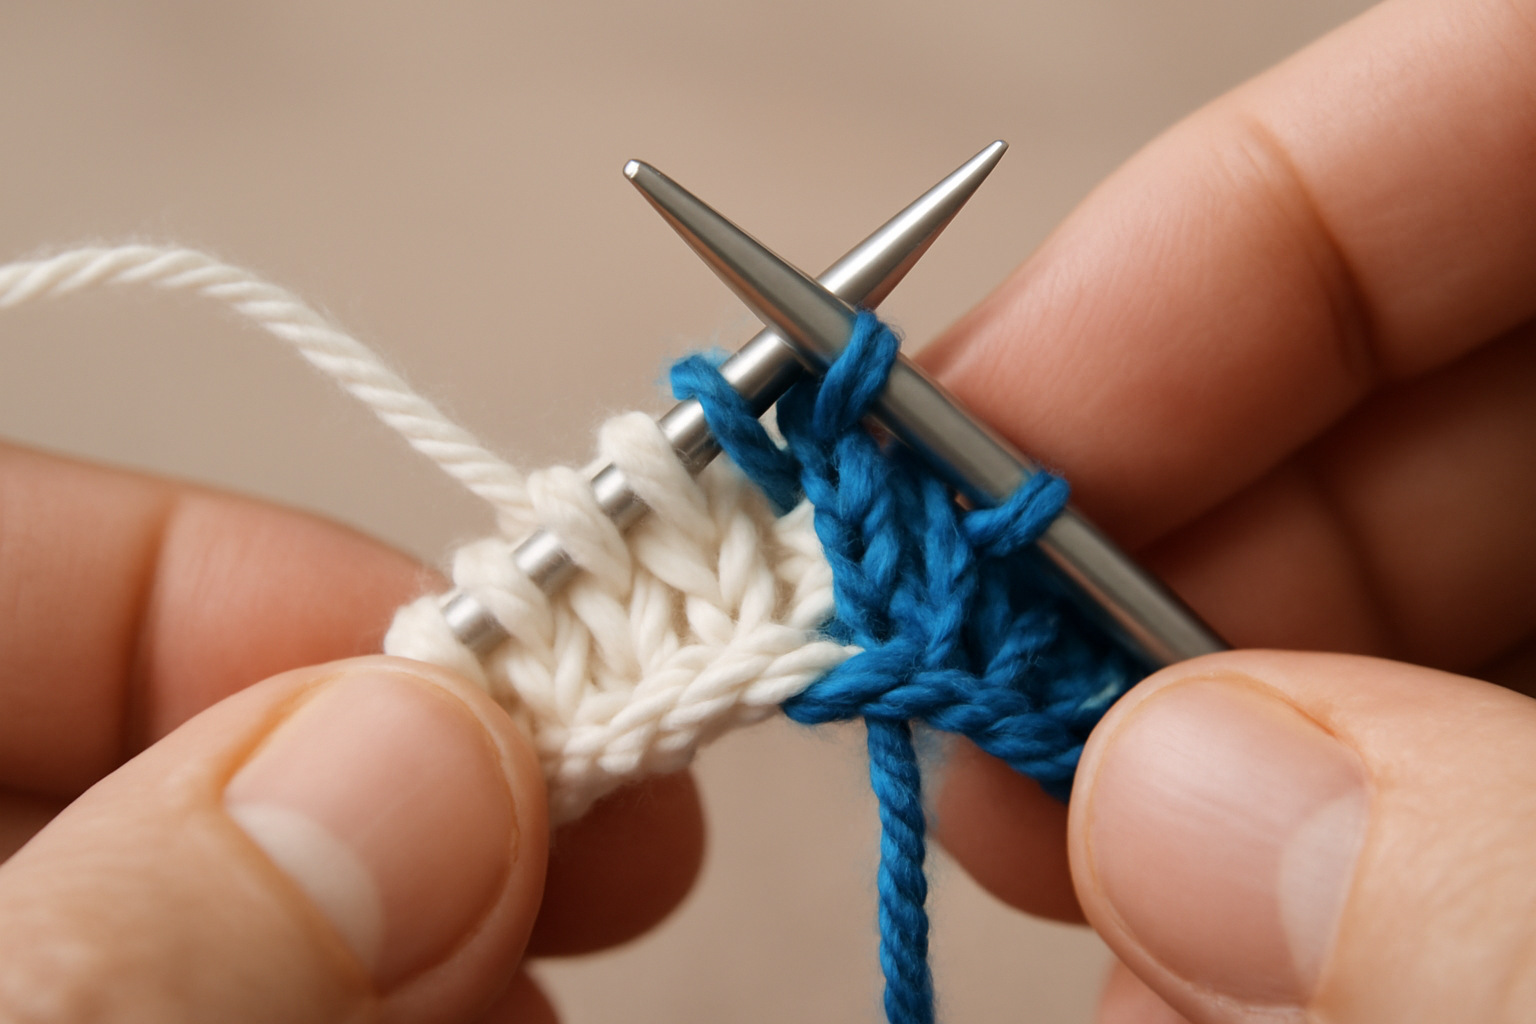
To change colors at the beginning of a row, complete the last stitch of the previous row in the old yarn. Leave a short tail, which will then drop. Then, commence the first stitch of the new row with the new yarn, also leaving a tail.
Both tails should remain unexposed and be secured behind the work. After a few stitches, gently pulling the tail of the previous color can help snug the transition. This technique, when executed correctly, provides a seamless transition between colors along the edge.
Also Read: How to Cast on Knitting with Two Needles
1. Changing Colors in the Middle of a Row
As with the previous method, to change colors mid-row, work up to the change point using either a knit or purl with the original strand of yarn. There, drop the old strand, and at the change point, pick up the new one while keeping even tension.
To strengthen the join, some knitters will twist the two ends together at the back of the work. It prevents new gaps and ensures uniformity where the new color is introduced into the fabric. For the transitions to be neat, follow this method closely:
- Knit up to the stitch where the color change is to occur – Please retain the old yarn until it reaches the stitch where the new color is to be used.
- Let go of the working yarn – Permit the current working yarn to rest; let it relax, but do not pull on it.
- Bring in the new color from beneath the old strand – This method reinforces the join and helps mitigate gaps.
- Proceed to knit with the new yarn, maintaining consistent tension. When starting with the new yarn, use normal tension; do not pull too tightly. Leave a tail of new yarn for later weaving in. It secures the strand and stops it from coming loose after finishing the piece.
- On the return row, twist the old and new yarns together once. These locking twists prevent transitional holes and secure both strands.
Essential Tips for Mid-Row Changes
- If only a few stitches are done with a new color, loosely carry the unused yarn behind the work. It helps to reduce the risk of puckering or overly tightening in that specific area.
- For more elaborate designs, bobbins may be used. With these, multiple colors can be managed without creating a tangled mess.
- Carried yarn should not be dragged over long distances. It will distort the shape, causing the fabric to be pulled unnaturally.
- Regularly check the fabric to maintain an even and smooth surface. It identifies tension problems early before they impact the final piece.
2. Changing Colors on a Purl Row
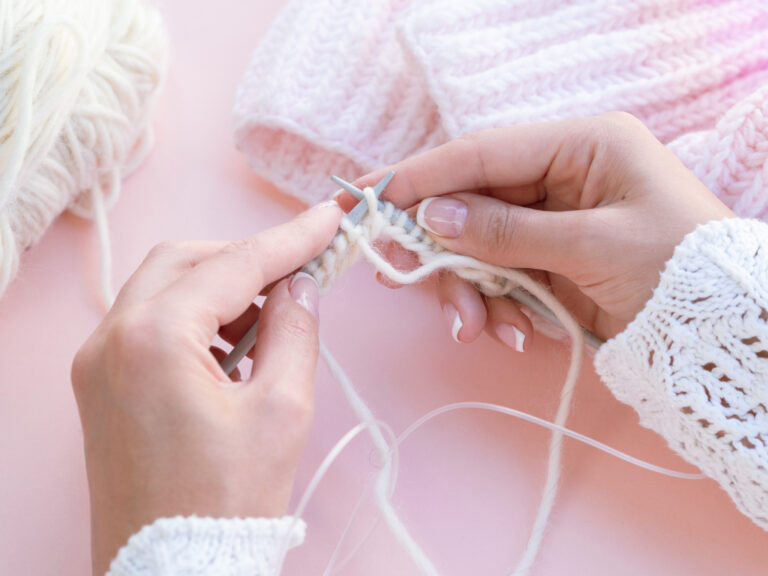
The process of changing colors on a purl row follows the same principles as the knit row, although the starting stitch is oriented differently. To change colors, drop the last stitch in the old color and place the new yarn at the front of the work. Then begin purling.
Both yarn ends must be secured to prevent the risk of stitch holes or slack stitches. Just as in knit rows, maintaining consistent tension while purling helps achieve a smooth and inconspicuous transition that complements the overall design.
Advanced Techniques for Professional Results
Achieving Neat Color Transitions
Color changes in a design are seamless only when there is control of the tension. All changeovers are from the relinquished color to the new one. Streamlined changes occur when steady pressure is applied to both yarns, preventing the material from warping.
Stability is also earned by securing the yarn ends at the points of change. Achieving this can be done through methods such as snagging the old yarn underneath the new for a few stitches, twisting the strands, or catching stitches to create an impeccable design free from knots and loose tails.
Weaving in Ends While Knitting
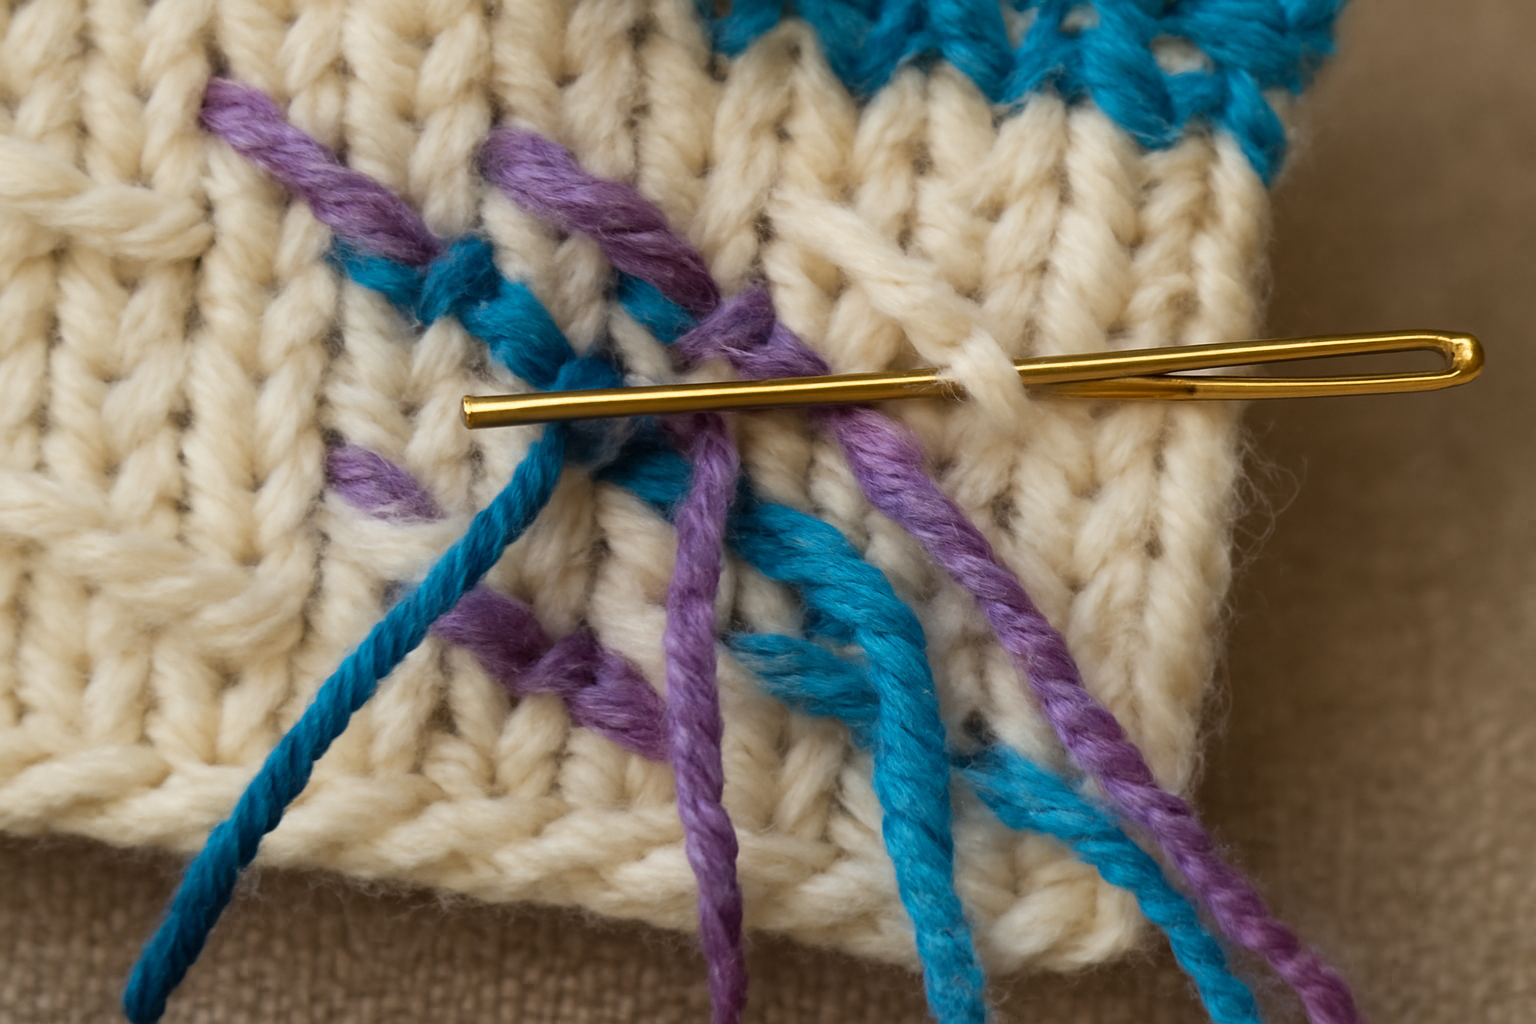
The overall efficiency of a fabric may be enhanced by incorporating weaving in ends during the knitting process. As new colors are added, the tails of the previous color, as well as the new color, can be concealed within the next few stitches.
Whenever a tail of yarn is to be used, it can be laid on the wrong side and knitted over for several stitches. This way, the tape gets sealed within the work. It significantly reduces excess bulk, maintains the fabric’s flexibility, and minimizes the effort required to finish work after knitting is complete.
Also Read: How to Finish a Knitting Project
Avoiding Jogs When Knitting Stripes in the Round
Due to the spiral structure of circular knitting, frequent color changes can produce unsightly jogs in the fabric. Fortunately, there are strategies to disguise these flaws.
One commonly adopted solution is to skip the first stitch of the second round when changing colors. Additionally, another approach with similar results involves knitting the first stitch of the second round and the leg of the stitch below it. These realign row strategies work on the vertical alignment, resulting in smoother striping.
Using Helix Knitting for Seamless Stripes
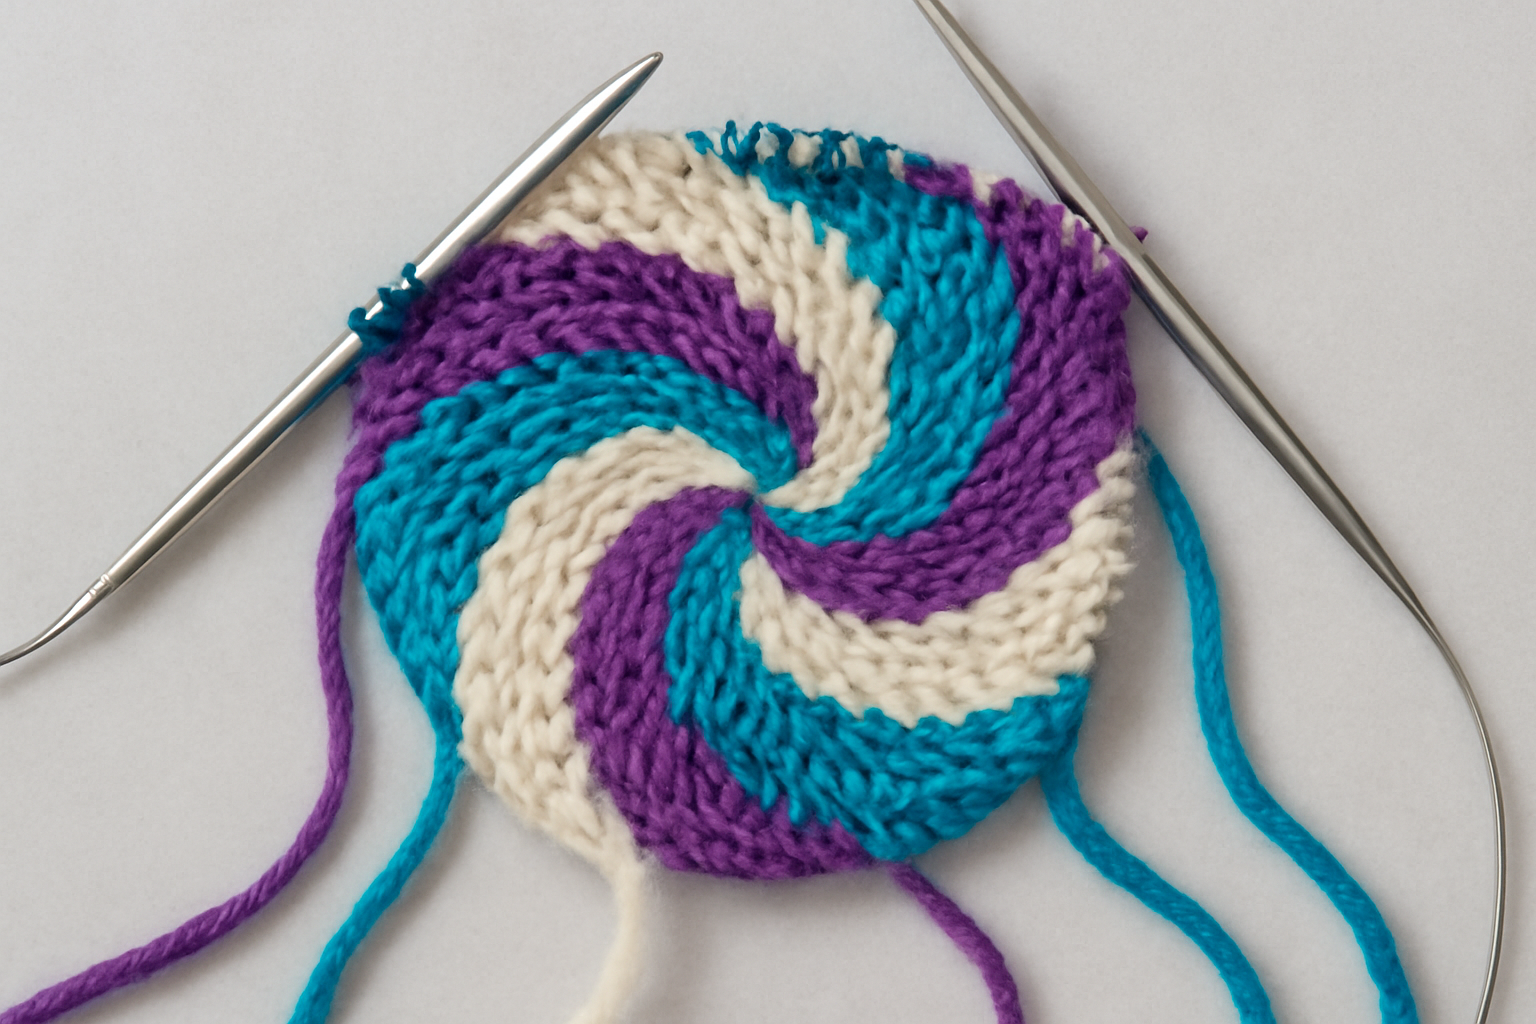
An advanced technique of striping in the round is helix knitting, as it offers a way to achieve seamless transitions and eliminate visible steps. Instead of changing colors at the start of each round, this technique employs several working yarns that are used in staggered rotation.
Each strand is worked on one at a time and then dropped for the next one. It forms a seamless, flowing blend of colors in a spiral style. Helix knitting is best suited for items such as socks, hats, and cowls, where aesthetic appeal is a primary consideration.
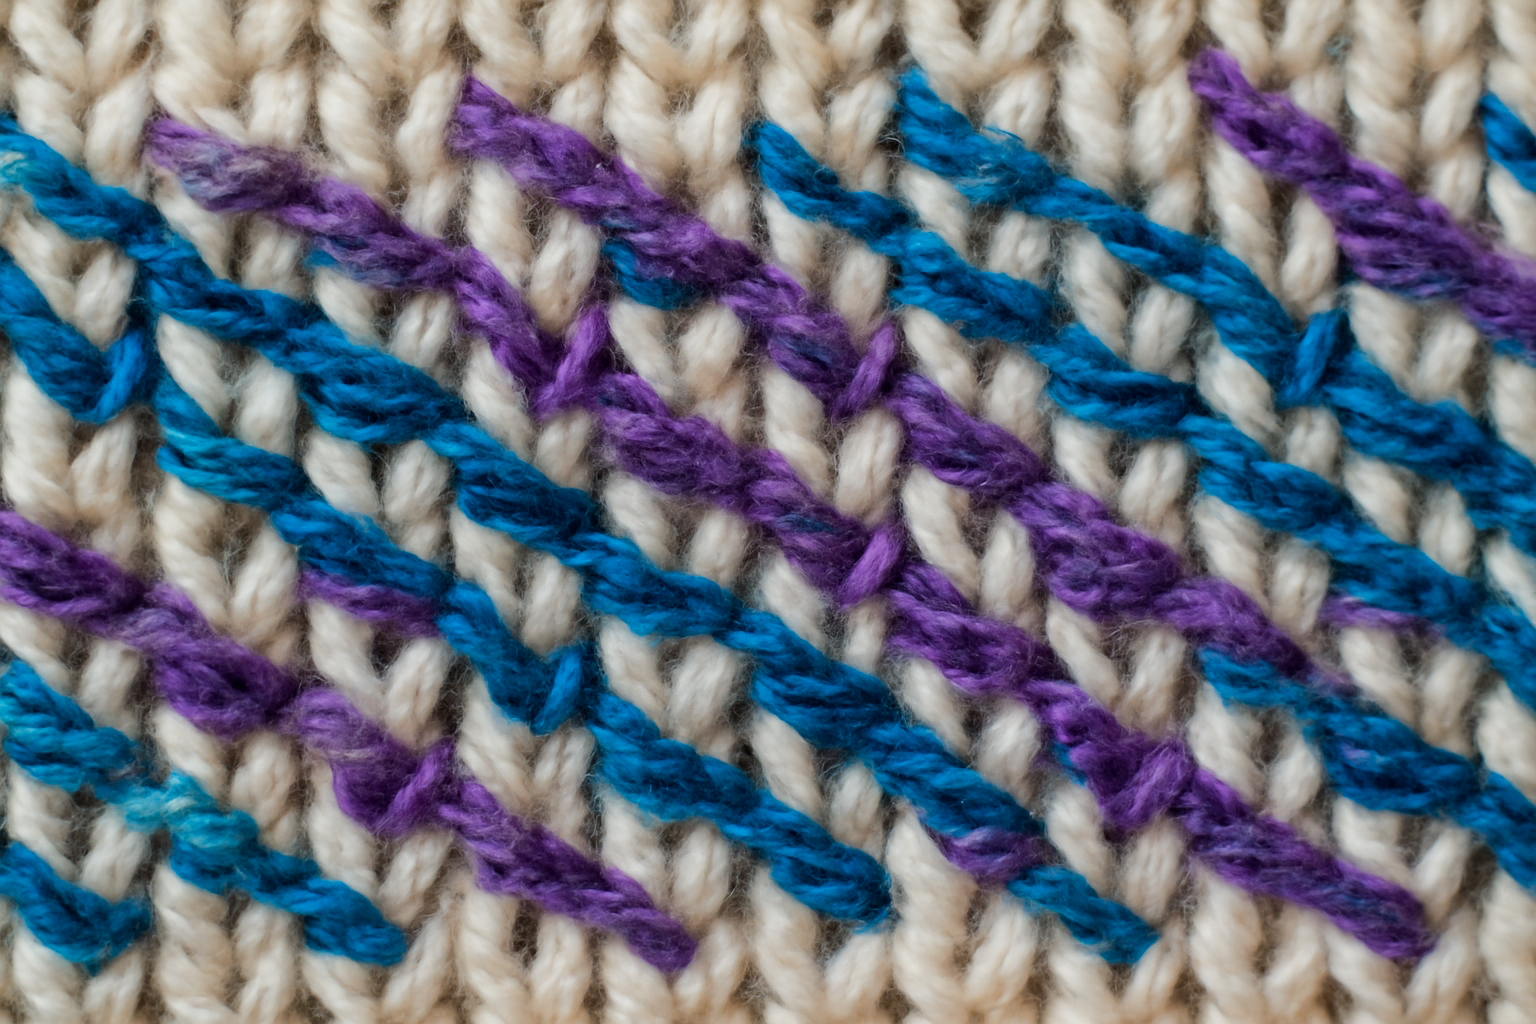
Blending Colors for Gradients and Hue Shifts
Gradients and Color Fades
Subtle elegance can be achieved by blending colors, such as through the use of hue gradients or shifts. It is done best by combining two different yarns. To achieve soft transitions in color gradients, the separates need to be layered:
- Integrate a couple of rows with two yarns together, and then drop one of the yarns
- Use a combination of row sequences (e.g., AABABB) to shift focus to one of the yarns gradually
- Gradient or self-striping yarns produce naturally flowing transitions
It is beneficial with shawls and accessories as it gives rich depth alongside striking elegance and visual sophistication.
Also Read: How to Count Rows in Knitting
Troubleshooting Common Issues
Common Colorwork Mistakes and Solutions
Focusing on the color change often leads to mistakes, but these errors are simple to fix. Loose stitches around the color change point frequently occur due to slack tension and can be corrected by pulling the knot tighter where the color change occurs.
Yarn tails, the uncut ends of yarn, are often visible and knotted on the front side of the work, which suggests poor weaving and knotting techniques. By using a tapestry needle and carefully securing the ends in the fabric’s wrong side, the project retains its sculptural beauty.
Adjustments to Problem Areas
Inaccuracy with precision work can often lead to unnecessary problems, for instance:
- Loose joins: Shrink stitches at the yarn swap point with increased tension or tighten afterwards on the yarn
- Knot visibility: Do not tie off strands; instead, weave them through secure isolation circles to maintain visibility
- Color bleeding: Run tests for colorfastness before wet-blocking to avoid potential mishaps
- Snags: Untangle stranded yarn using bobbins, clips, or bowls
Having check-ins based on set intervals during progress will encourage catching problems before they escalate.
Also Read: How to Fix a Dropped Stitch
Frequently Asked Questions
Conclusion: Transform Your Knitting with Colorwork
The basics of a project design can be significantly enhanced through its transformation into a customized artistic piece. Colorwork offers knitters the tools to express their creativity with great precision and elegance, whether in bold stripes or gentle gradients.
As with any aspect of this craft, creativity and diligent practice, as always, will produce the most enriching outcomes. Through the adoption of occasional blunders, advanced methods, and sharing completed work, practitioners deepen both personal knowledge and enrich the collective experience of the knitting community.
Also Read: How Long Does It Take to Knit a Sweater?