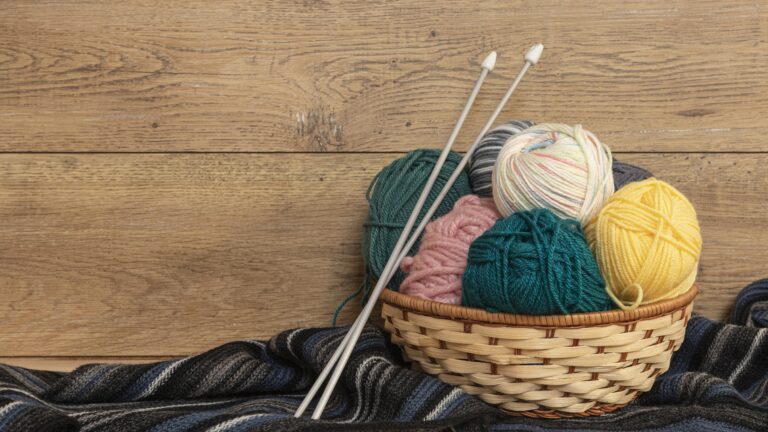
How to Increase a Stitch While Knitting: Quick Easy Steps
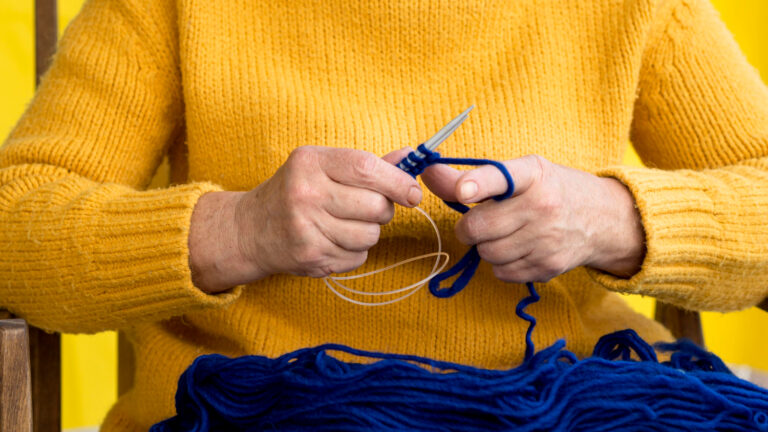
Increasing stitches is one of the most essential shaping skills a knitter can master. Whether you are widening a sleeve, shaping a neckline, or adding texture to a lace pattern, knowing how to increase a stitch while knitting gives you control over the fit, structure, and finish of your work.
Unlike basic knit and purl stitches, increases directly alter the fabric’s geometry. Using the wrong method can leave visible bumps, unwanted holes, or uneven tension. The right increase creates smooth, intentional growth that blends naturally with the surrounding stitches.
This guide explains stitch increases clearly and thoroughly—from beginner-friendly methods to nearly invisible techniques used by advanced knitters—so you understand not only how to increase, but also why and when each method works best.
Introduction to Increasing Stitches in Knitting
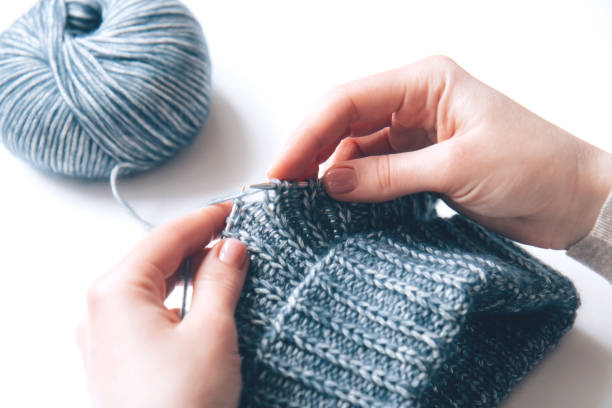
In knitting, stitches don’t appear by chance. Every new stitch is intentionally created by manipulating yarn already on the needles. Learning how to increase stitches in knitting is a foundational skill for making shaped garments, accessories, and textured designs.
You will encounter increases in:
A clean increase should blend into the fabric, maintain even tension, and follow the natural direction of the stitch pattern. Mastering this skill early improves every project that follows, because shaping is one of the key techniques that turns flat knitting into wearable, well-fitting pieces.
Also Read: How to Read Knitting Patterns? Beginners Guide
What Is a Stitch Increase? Benefits and When to Use
A stitch increase is any method that adds one or more stitches to your row, intentionally expanding the fabric’s width. It creates an extra loop on your needle by working into a stitch twice, lifting a strand of yarn between stitches, or wrapping the yarn around the needle.
Increases are the key tool for shaping because they allow your knitting to grow outward in a controlled way.
Why Stitch Increases Matter
Stitch increases are essential for shaping garments and creating structure without seams. They help you:
In top-down sweaters, socks, or hats, increases allow the piece to start small and expand outward naturally. Pairing increases with decreases helps maintain balance and symmetry in your garment silhouette.
When to Use Increases
Choose increases based on the stitch pattern and the visibility you want:
How to Plan Increases
To keep shaping smoothly, increase evenly across the row. A common method is to calculate the total number of stitches needed and divide it by the number of rows you have available. This creates gradual shaping and prevents sudden widening or distortion.
Also Read: How to Count Rows in Knitting: A Complete Guide
How to Do KFB (Knit Front Back) Step-by-Step
The knit front back (KFB) increase is a foundational technique that every knitter should master. It is widely used because it is dependable, easy to execute, and works well in textured patterns. When you learn how to increase a stitch while knitting, KFB is often the first method recommended due to its straightforward process and consistent results.
What Is KFB?
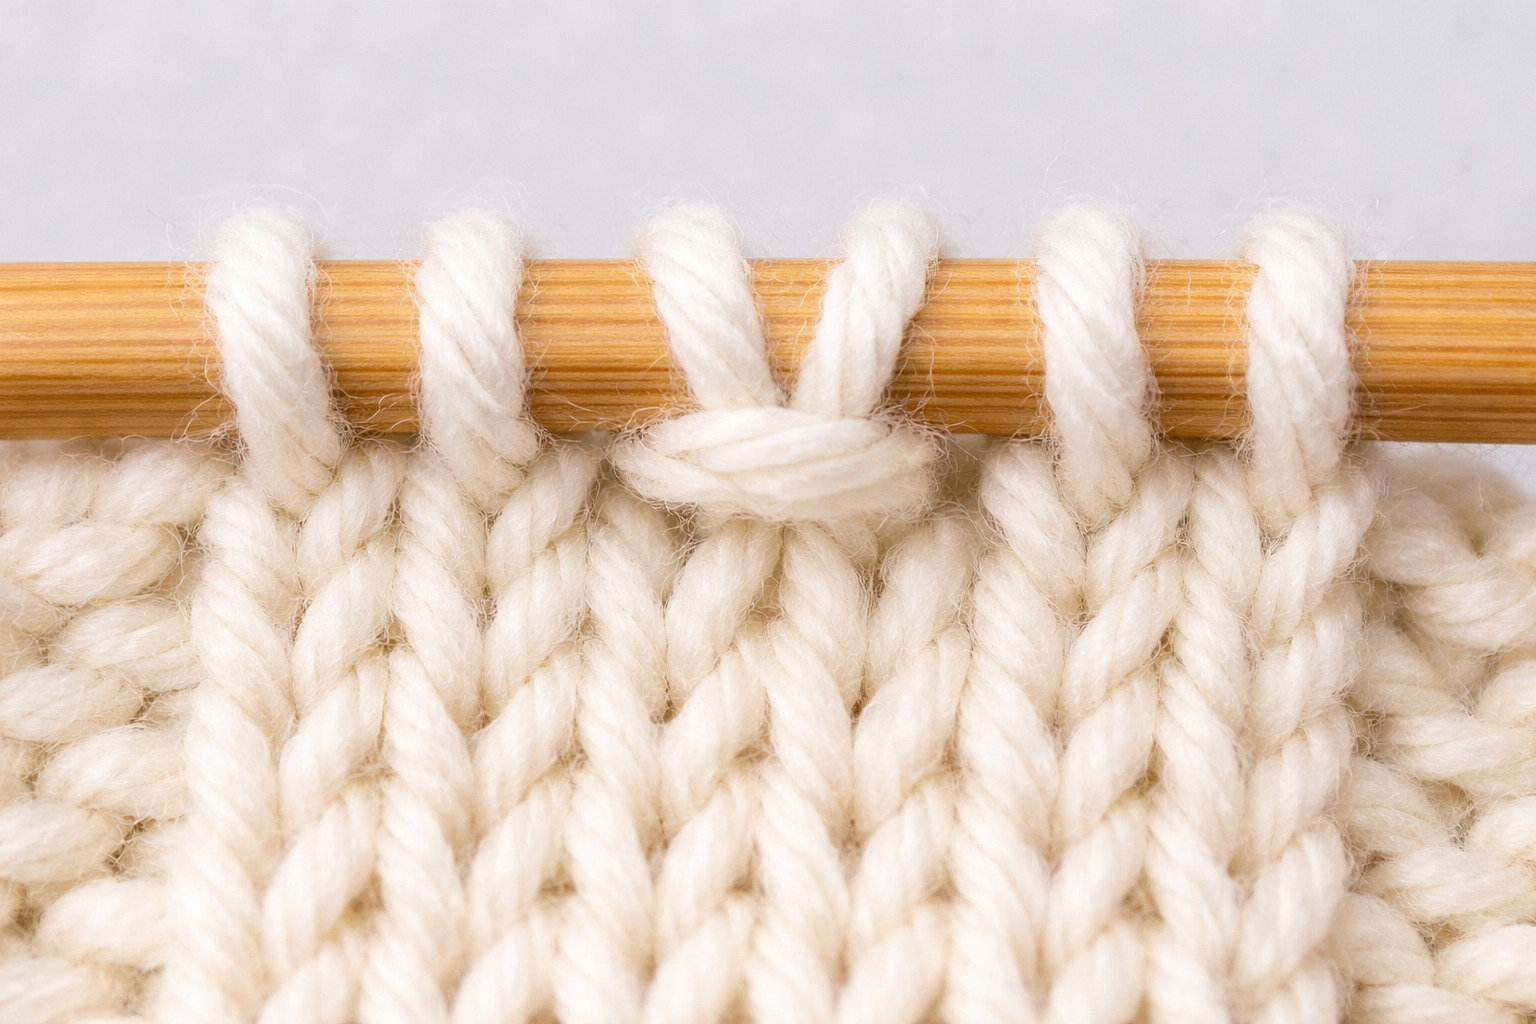
KFB turns one stitch into two by knitting into the front and then into the back of the same stitch before removing it from the needle. The increase leans slightly to the right and creates a small horizontal bar.
In textured fabrics such as ribbing or seed stitch, this bar becomes part of the pattern and blends naturally.
Step-by-Step Instructions
- Insert the right needle into the front loop of the next stitch and knit.
- Keep the stitch on the left needle—do not slide it off.
- Move the right needle to the back of the stitch and insert it into the back loop.
- Knit again.
- Slide the original stitch off the left needle.
When to Use KFB
KFB is ideal for areas where the increase should be visible as texture, such as:
For practice, knit a swatch and increase every other stitch across one row. This creates a subtle fan effect and helps you see how the increase behaves.
If you need symmetry, you can mirror KFB with purl front back (PFB) on the wrong side.
Make One Increase (M1L and M1R Tutorials)
When the goal is a smooth, nearly invisible increase, the make one (M1) technique is preferred. It creates a new stitch by lifting the strand between stitches and twisting it to prevent gaps. This makes M1 a professional-grade shaping method.
What Is a Make One Increase?
A Make One increase uses the horizontal bar between two stitches. By lifting this bar and working into it, you add a stitch without creating a visible bump or hole. This method is especially useful when you want your shaping to disappear into the fabric.
M1L (Make One Left)
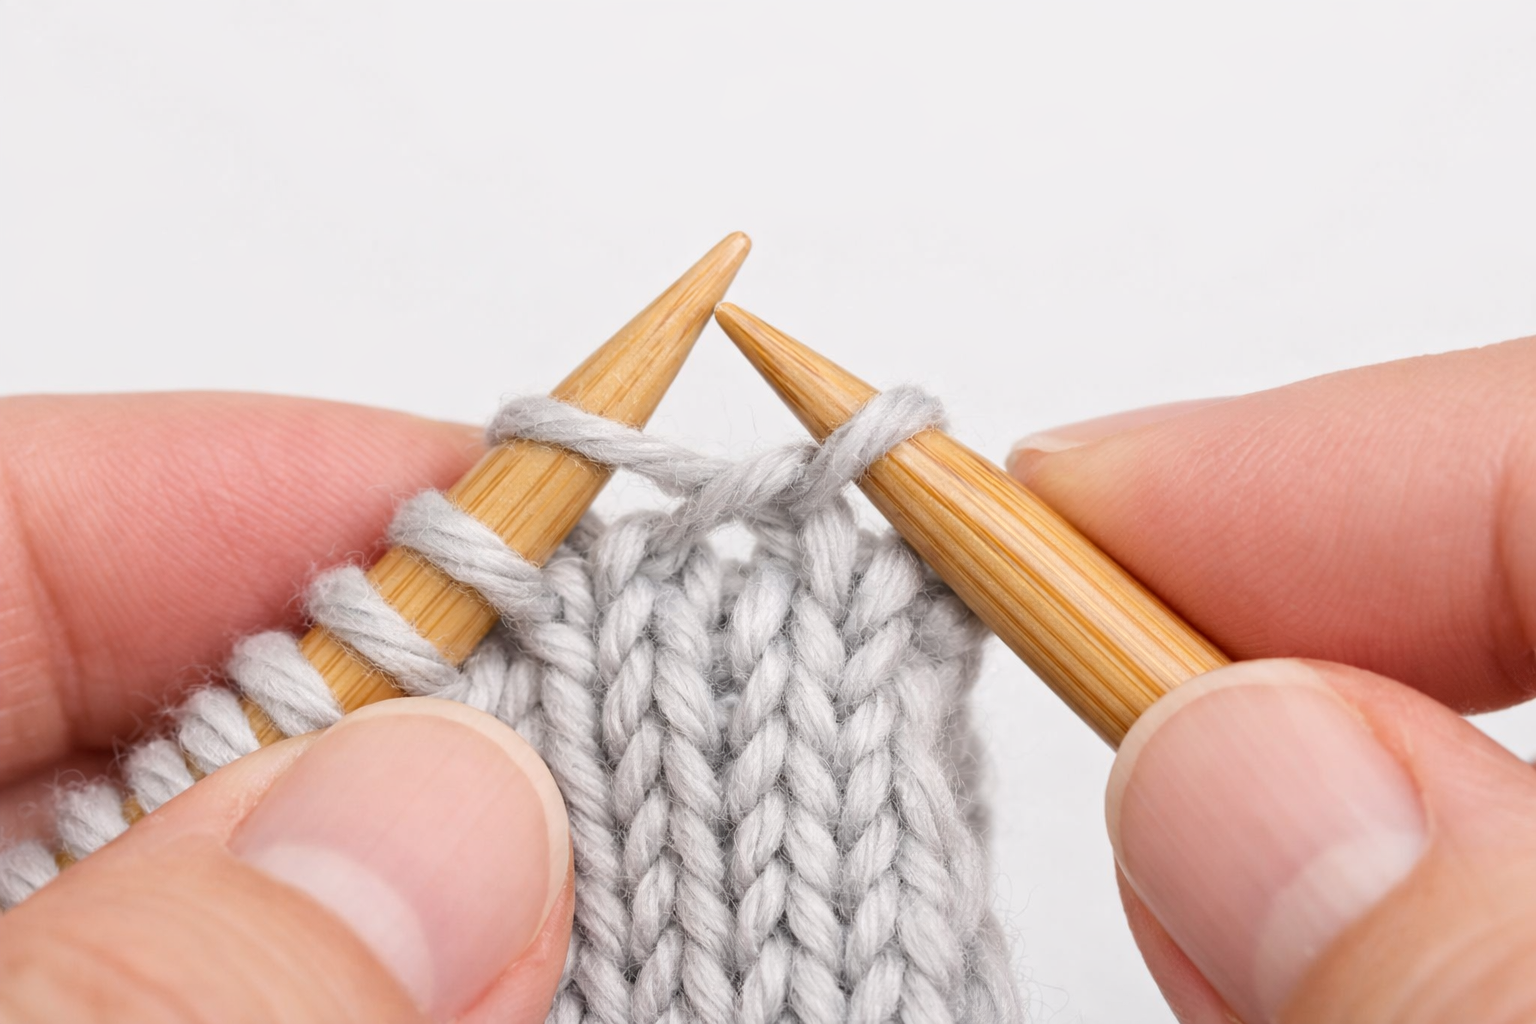
- Locate the horizontal strand between the last worked stitch and the next stitch.
- Lift it from front to back onto the left needle.
- Knit through the back loop.
This creates a left-leaning increase.
M1R (Make One Right)
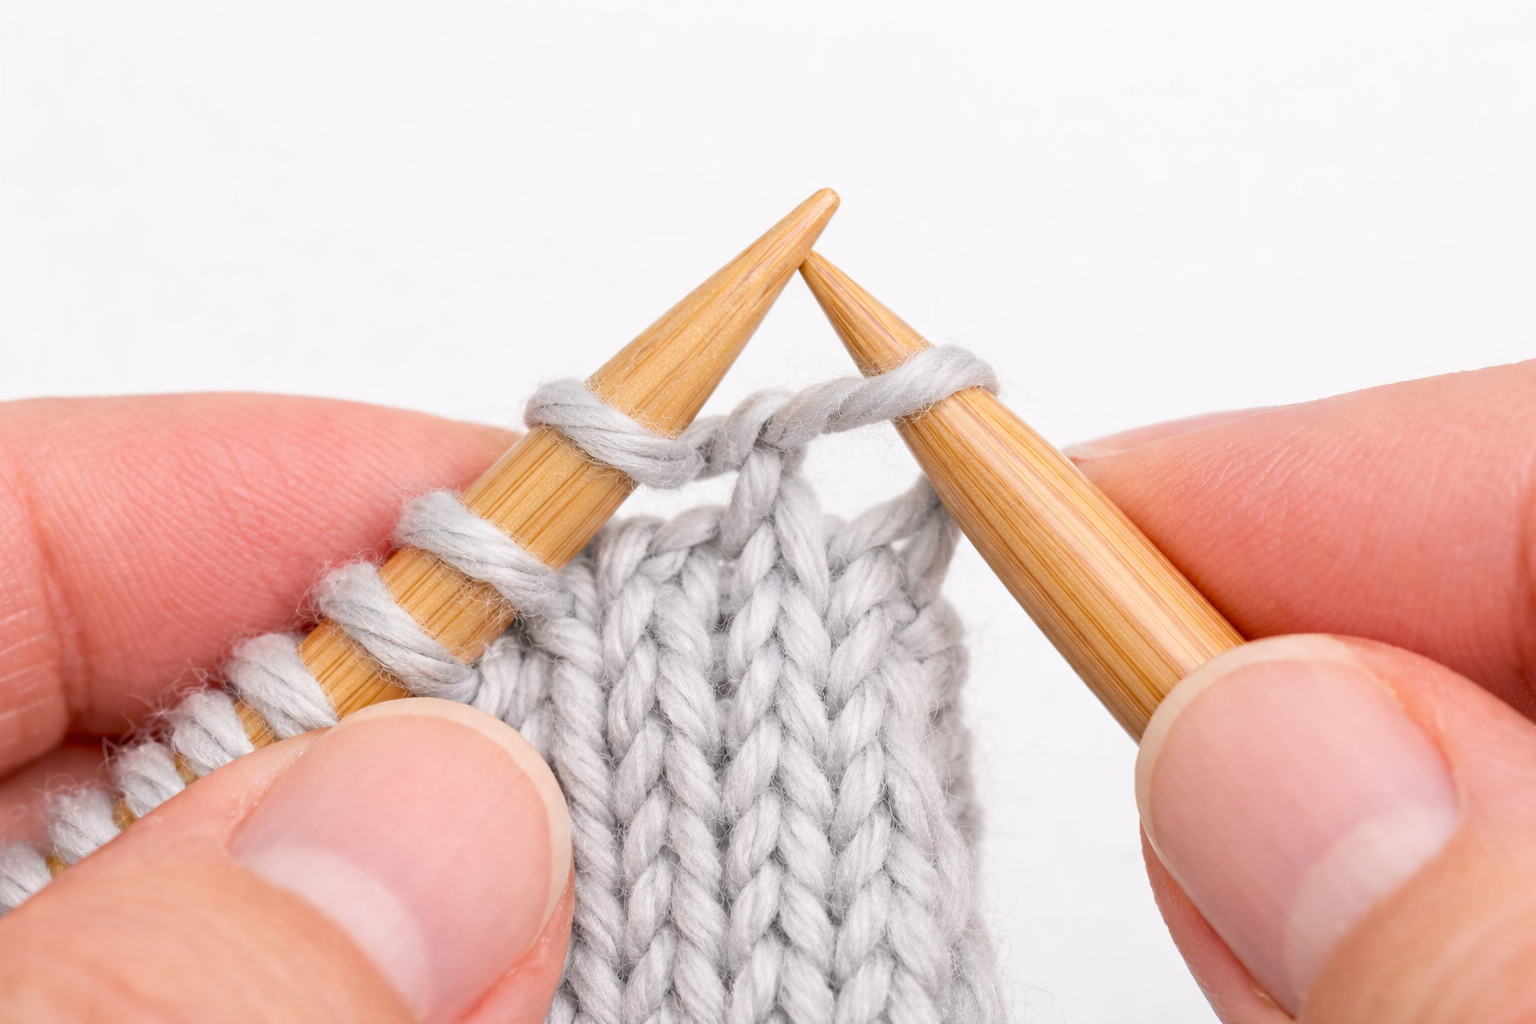
- Lift the same bar from back to front.
- Knit through the front loop.
This creates a right-leaning increase.
When to Use M1L and M1R
M1L and M1R are best for shaping where you need symmetry and a clean finish, such as:
To keep shaping balanced, alternate M1L and M1R in the same row. On purl rows, use M1P, which follows the same principle but is purled through the twisted loop.
Yarn Over (YO) and Other Increase Methods
The yarn over (YO) is both an increase and a decorative technique. It creates a deliberate hole, making it ideal for lace patterns and eyelet designs.
What Is a Yarn Over?
You wrap the working yarn over the needle to create an extra loop that becomes a stitch on the next row. This creates a visible opening that is intentionally part of the design.
Yarn over works best in lace shawls, decorative edgings, and airy fabrics. For denser knits, other increases such as lifted increases (LINC / RLI / LLI) provide a subtler effect without holes.
Double increases like K1, YO, and K1 are useful when you need rapid width growth, while backward loop increases are best reserved for informal or chunky projects.
Increasing on Purl Rows (M1P Variations)
Many patterns require increases on the purl side to maintain stitch pattern continuity and symmetry. Knowing how to increase a stitch while knitting includes understanding how to shape on both sides of the fabric.
Make One Purl (M1P)
M1P is the purl-side version of M1. You lift the horizontal bar between stitches and purl it through the twisted loop.
- Lift the horizontal bar between two stitches.
- Purl it through the twisted loop.
When to Use Purl-Side Increases
Purl-side increases are commonly used in:
Keep tension relaxed when lifting the bar, as purl-side increases can appear more visible if pulled too tightly.
For clean edge shaping in ribbing, you can also slip a stitch purlwise and purl it together with the next stitch to create a tidy bump.
Common Mistakes and Fixes
Even experienced knitters can struggle with increases, especially when working with multiple techniques like M1, KFB, and YO. The key to clean shaping is recognizing the most common issues and knowing exactly how to correct them.
Visible Holes or Gaps
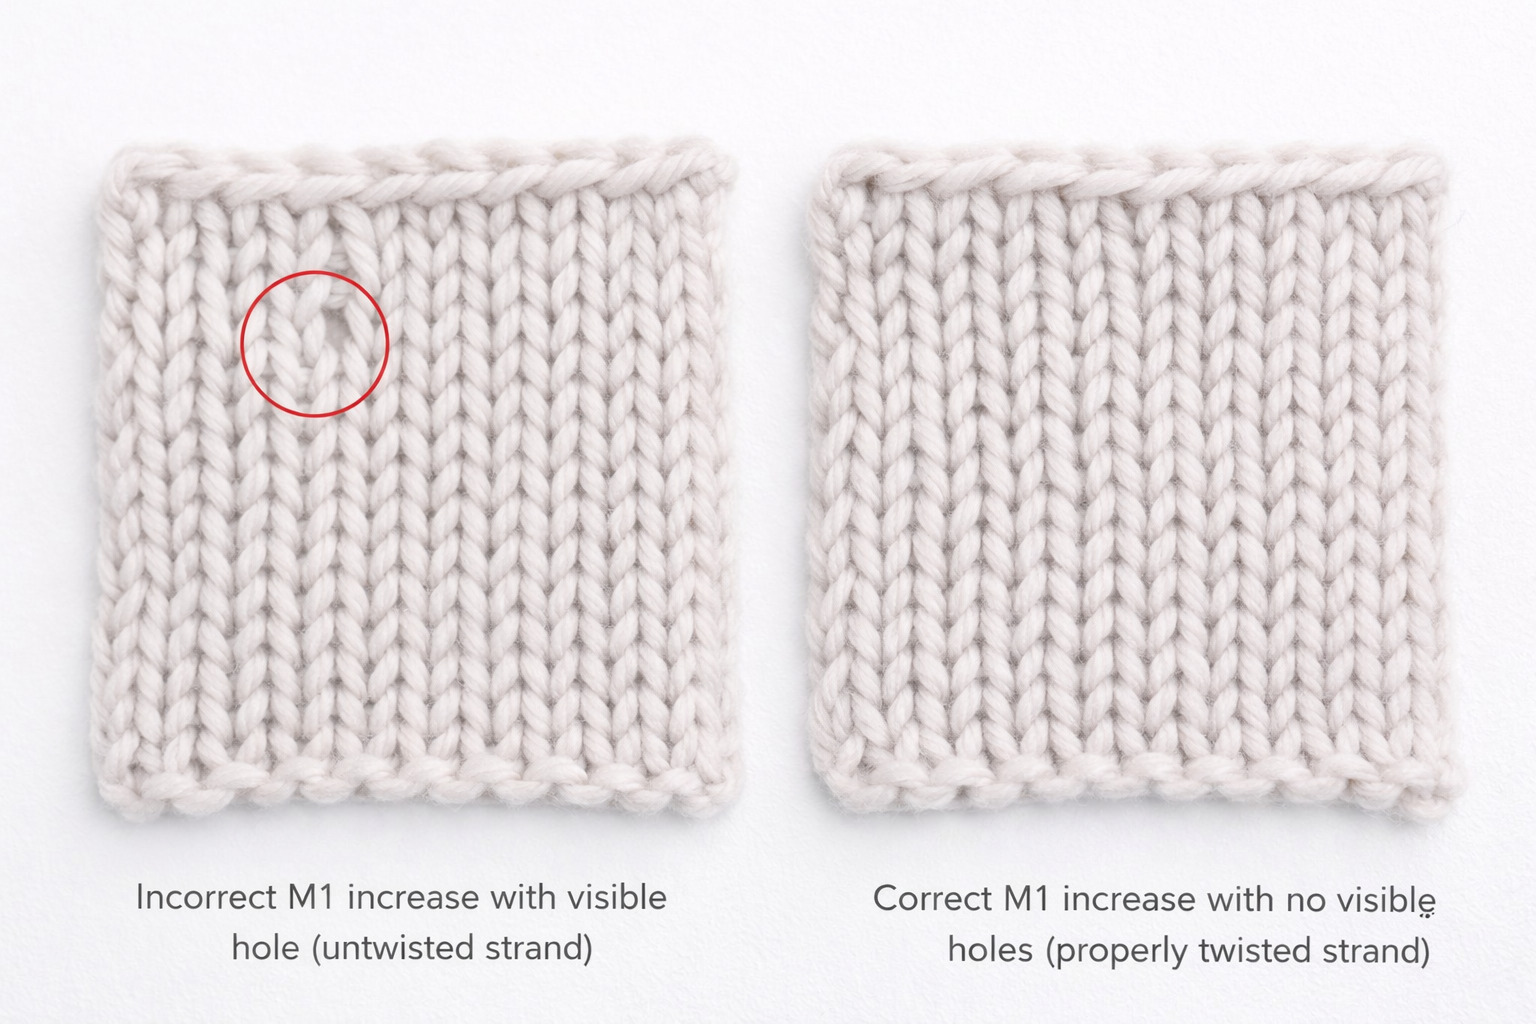
If your increases leave small holes, the most common cause is not twisting the lifted stitch correctly. This is especially true with M1 techniques.
Always check the direction of the lean:
If the strand between stitches is not twisted, it will leave a noticeable gap. To fix this, pull the stitch slightly tighter and work through the correct loop (front or back) to close the gap.
Uneven Tension
Excessive tightening can easily occur if you pull too hard after creating a new stitch. This can make the fabric look bunched or wavy.
To avoid this, relax the tension after each increase and allow the stitch to sit naturally on the needle.
Incorrect Leaning Direction
It’s common to confuse M1L and M1R, especially when working quickly. If the increases lean the wrong way, the shaping will look unbalanced.
The easiest way to remember is:
Miscounted Stitches
A skipped increase row can throw off shaping later, especially in sleeves or raglan lines. To prevent this, count stitches at the end of each shaping row and mark your increases with split ring markers or stitch markers.
Marking every 10 increases is a simple method to keep spacing even.
Uneven Increase Spacing
If your increases are not evenly spaced, the fabric will warp or flare unexpectedly. Use markers or row counters to keep track of where increases should be placed.
For larger shaping areas, mark the pattern at regular intervals to maintain symmetry.
Dropped Yarn Overs (YO)
Dropped yarn overs can create ladders or gaps in your fabric. If this happens, use a crochet hook to pick up the dropped yarn and ladder it back into place, stitch by stitch.
This restores the integrity of the row without requiring a restart.
Fabric Looks Different After Blocking
Some increases appear bulky or tight until the fabric is blocked. For best results, block swatches to see the true drape and texture.
For wool blends, steam blocking helps the fabric relax and smooth out.
Also Read: How to Fix a Dropped Stitch: A Complete Guide for Knitters
Choosing the Right Increase for Your Project
When you learn how to increase a stitch while knitting, the most important skill is knowing which increase fits the project. The best knitters don’t rely on one method for everything. They choose increases based on the stitch pattern, fabric texture, and shaping needs.
Best Increases by Project Type
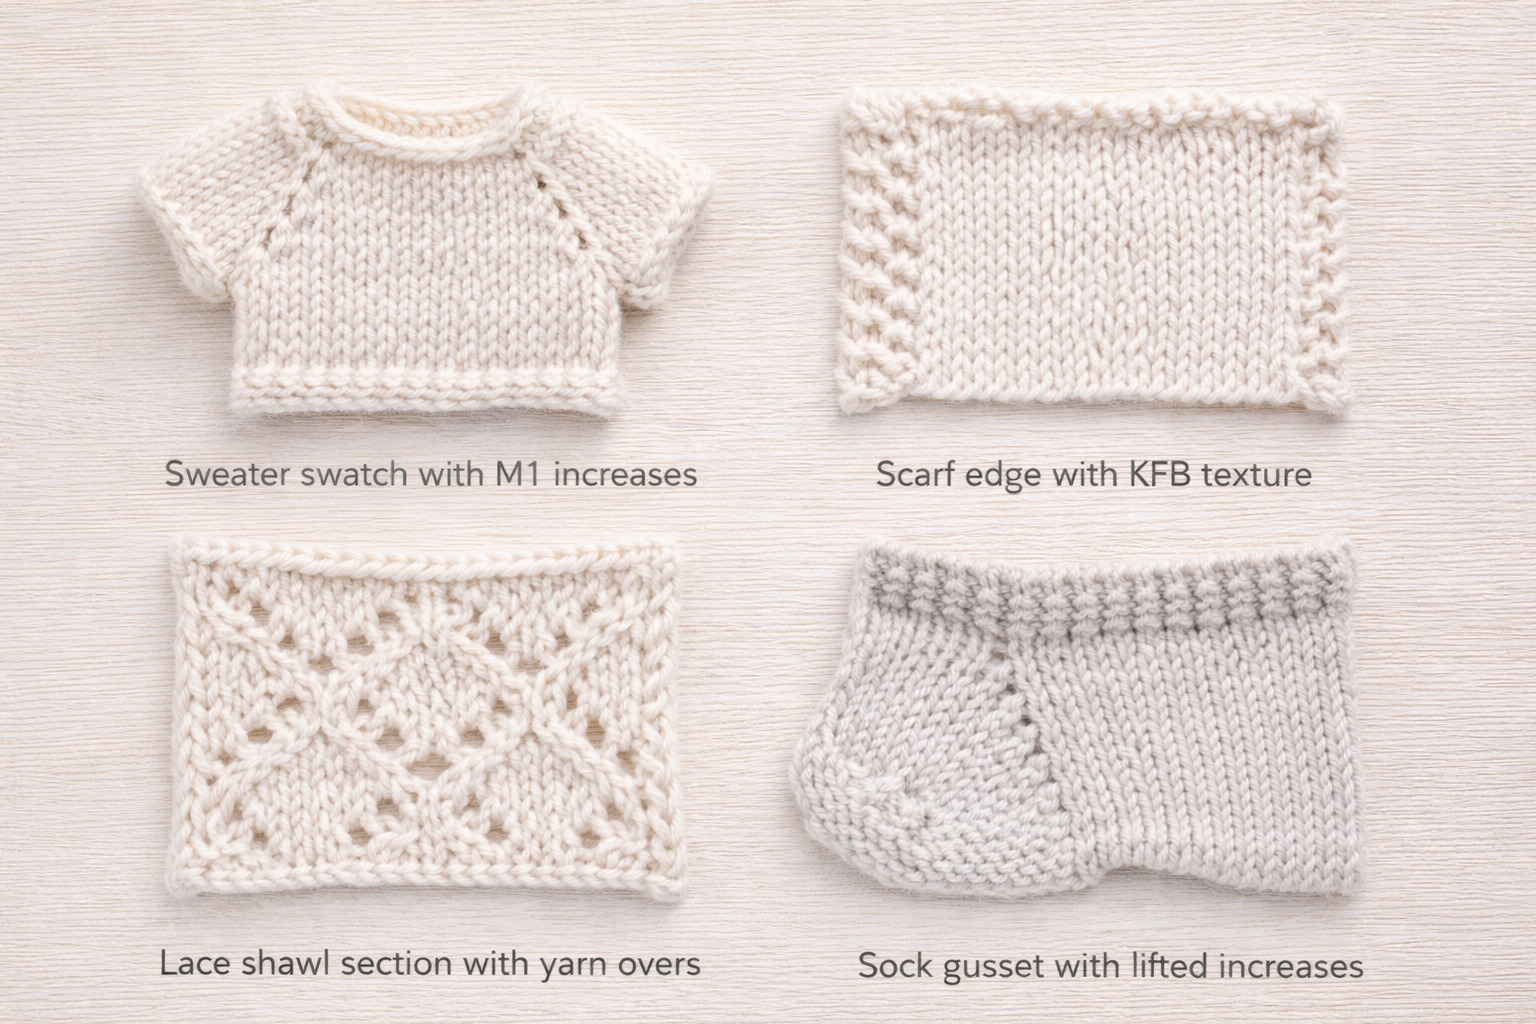
For sweaters, M1L and M1R are the most reliable options because they create clean, balanced shaping. These increases are especially useful along raglan lines and sleeve caps where symmetry matters.
For scarves, KFB is a great choice. The small bar created by the increase blends naturally into ribbing and garter stitch, adding a subtle texture that looks intentional rather than obvious.
For lace, the standard increase is yarn over because it creates controlled eyelets and openwork. When shaping lace patterns, YO not only increases the stitch count but also becomes part of the design.
For socks, lifted increases or M1 are preferred because they create smooth, subtle shaping without adding bulk. These increases work well in tight-fitting areas, such as the gusset and heel.
Also Read: How to Join in Round in Knitting: Comprehensive Guide
For ribbing, either KFB or a lifted increase works well because they preserve the rib’s structure and prevent gaps or distortion.
Project Ideas to Practice Increases
If you want to build confidence, start with small practice projects and move to larger shaping work as your skills improve.
Beginner Practice: Bias Scarf
A bias scarf is an excellent way to practice increases because it grows gradually and shows shaping clearly. Try pairing M1L and M1R on every right-side row. This helps you learn the feel of the increases and observe how they lean.
Also Read: How Long Does It Take to Knit a Scarf? Time Guide
Intermediate Practice: Thumb Gusset on Mittens
A thumb gusset is a practical shaping project. For example, you might work 8 increases over 10 rows to create a comfortable thumb opening. This builds skill in managing spacing and maintaining consistent tension.
Advanced Practice: Raglan Pullover
A full garment, like a raglan pullover, uses dozens of increases across the body. It is common to use KFB at the underarms, and M1 increases along the raglan lines for clean, smooth shaping.
A typical pullover can involve 120+ total increases, making it an excellent project for mastering long-term consistency.
Also Read: How Do I Block a Knitted Sweater? Step-by-Step
Other Useful Practice Ideas
For more accuracy, track your increases with a stitch counter or knitting app. This makes it easier to maintain symmetry and avoid missed increase rows.
Also Read: Can You Knit Stuffed Animals? Quick Easy Guide
FAQS About How to Increase a Stitch While Knitting
Conclusion: Mastering How to Increase a Stitch While Knitting
Mastering how to increase a stitch while knitting is a cornerstone skill that elevates the quality, fit, and professionalism of your work. Increases are not incidental; they are deliberate decisions that control how knitted fabric expands, curves, and supports the body or design.
Used thoughtfully, they transform flat fabric into garments and accessories that look intentional, balanced, and expertly constructed. True proficiency comes from understanding why an increase is used, not just how to execute it. Methods such as KFB add controlled texture and stability, making them reliable in ribbing and garter stitch.
Make One increases (M1L and M1R) provide refined, nearly invisible shaping and are essential for garments where symmetry and clean lines matter. Yarn-over increases add openness and rhythm to lace rather than subtle shaping. Purl-side increases expand the skill set, ensuring consistency across all stitch patterns and construction styles.
Precision separates competent knitting from excellent knitting. Correct stitch orientation, even spacing, and relaxed tension prevent flaws such as holes, puckering, and distorted shaping. Consistent stitch counting, strategic use of markers, and blocking swatches reveal how increases behave in the finished fabric.
As your experience grows, increases become design tools rather than technical challenges. You begin to anticipate fabric behavior, plan shaping with confidence, and select increasing methods based on structure, aesthetics, and function. This control lets knitters customize fit, refine silhouettes, and produce results that remain stable and attractive over time.
Ultimately, learning how to increase a stitch while knitting is about gaining authority over your fabric. When increases are intentional, well-placed, and executed correctly, your knitting moves beyond following instructions to skilled construction, where every added stitch serves a clear purpose and contributes to a cohesive, professional finish.
Also Read: How to Finish a Knitting Project: A Complete Guide