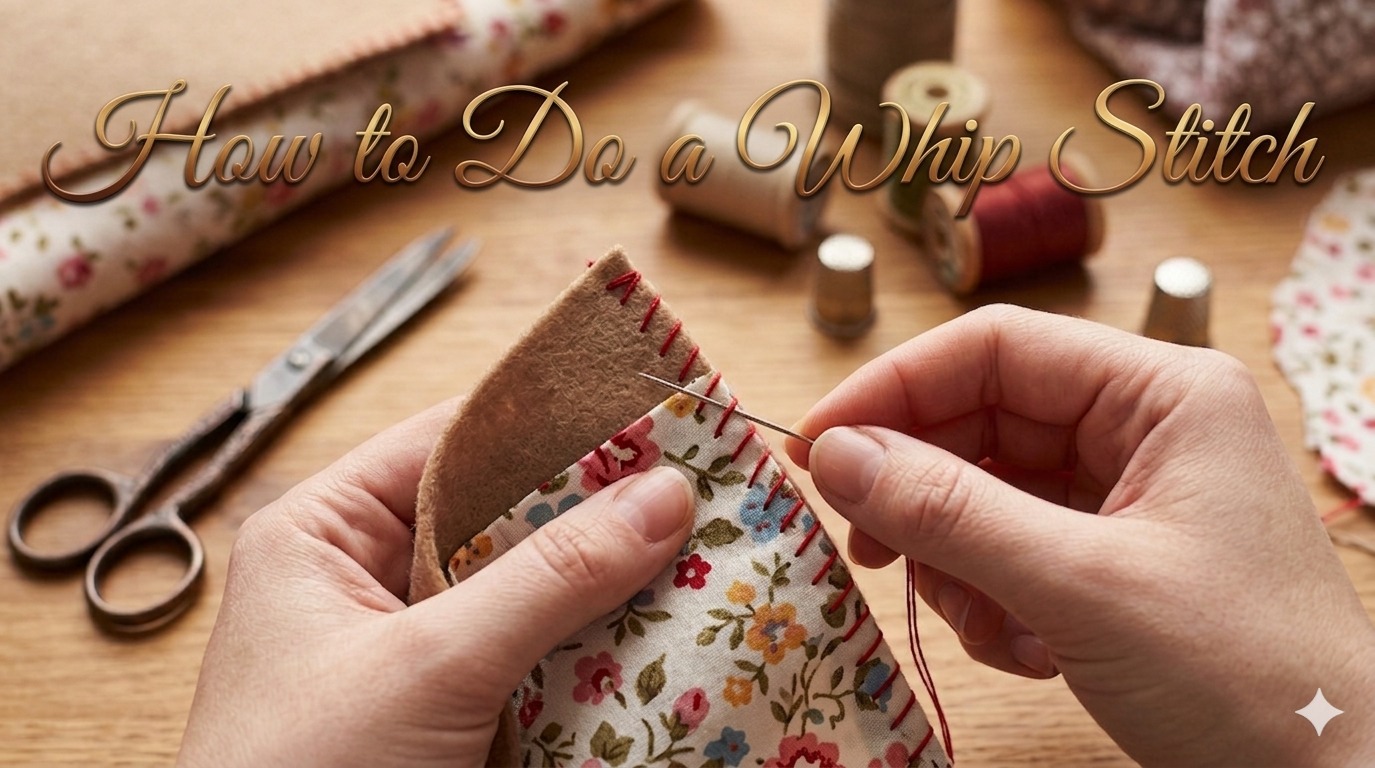
How to Do a Whip Stitch? Quick Guide
If you’ve ever wondered how to do a whip stitch, you’re in the right place. This simple, versatile hand-sewing technique wraps thread around two edges to join them smoothly, making it perfect for beginners in sewing, knitting, and crochet.
A whip stitch is reliable, easy to learn, and effective for finishing seams, joining pieces, and adding decorative touches. In this complete tutorial, you’ll learn how to whip stitch for beginners, when to use it, and how to create clean, even results without puckering or uneven tension.
What Is a Whip Stitch?
A whip stitch is a basic hand-sewing stitch and seaming technique used to join two pieces of fabric or yarn. The thread wraps around the edge of the material, forming small diagonal stitches that create a clean, secure whip stitch seam. Depending on your tension and placement, the seam can look decorative or nearly invisible.
This hand-sewn whip stitch is widely used for:
Because it is simple and versatile, learning how to do a whip stitch step by step is often one of the first skills beginners master. Whether you’re joining two pieces with a whip stitch or finishing edges, this technique remains one of the most reliable in sewing and yarn crafts.
Also Read: What Is Edge Stitch in Knitting? Easy Guide
Materials and Tools Needed
Before learning how to do a whip stitch, gather the right materials. The right tools will help you create a clean, even, and durable whip stitch seam.
Essential Tools for a Whip Stitch
Also Read: The Best Interchangeable Knitting Needles
Choosing the Right Thread or Yarn
For the best results, always use matching thread for whip stitch when sewing fabric. For knitting or crochet, use the same yarn to create a smooth, nearly invisible seam.
If you’re learning how to do a whip stitch for crochet or knitting, matching the yarn weight is just as important as matching the color. This ensures the seam blends naturally without looking bulky or uneven.
Also Read: Best Yarn for Blanket Knitting| Expert Guide 2025
How to Do a Whip Stitch? Step-by-Step
To master how to do a whip stitch, follow this simple step-by-step method. This beginner-friendly approach helps you create a neat, even, and durable whip stitch seam every time.
Step 1: Prepare Your Materials
Start by cutting about 18 to 24 inches of thread or yarn. Thread your needle and tie a small knot at the end.
For a cleaner finish, bring the needle up from the back so the knot stays hidden inside the seam at the start.
Also Read: How Do You Make a Slip Knot for Knitting? Easy Guide
Step 2: Align the Edges
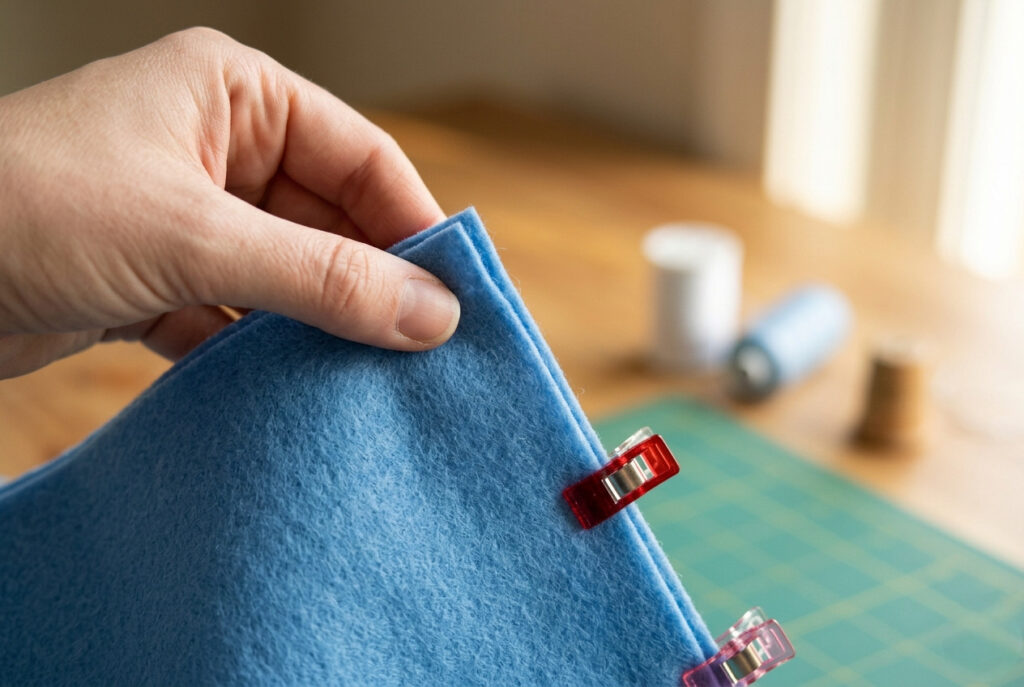
Line up the two pieces you want to join:
Keeping edges aligned is key to learning to whipstitch two pieces together neatly.
Step 3: How to Start the Whip Stitch Seam
Insert the needle from the back through both layers near the edge. Pull the thread through until the knot is secure.
Starting the whip stitch from the back helps hide the knot and keeps the seam clean.
Step 4: How to Make Each Whip Stitch
To continue the whip stitch technique:
This creates the classic whip stitch loop around the edge.
Step 5: Continue with Even Whip Stitch Spacing
Repeat the motion along the seam, focusing on:
Taking your time here ensures your seam looks smooth and professional.
Step 6: Finish and Secure the Seam
Once you reach the end:
You’ve now completed a clean and strong whip stitch seam.
Also Read: How Do You Weave in Ends in Knitting? Step-by-Step
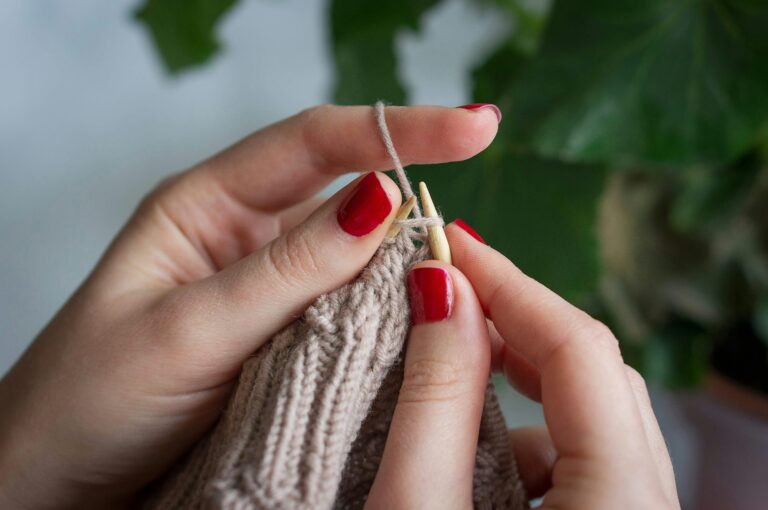
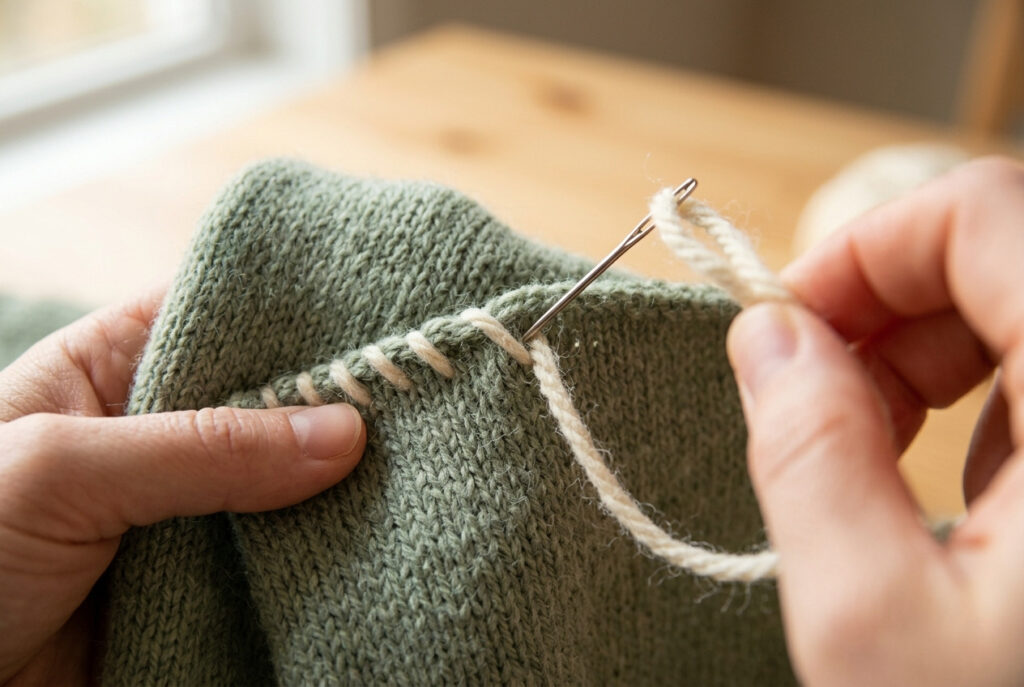
Whip Stitch for Knitting and Crochet Projects
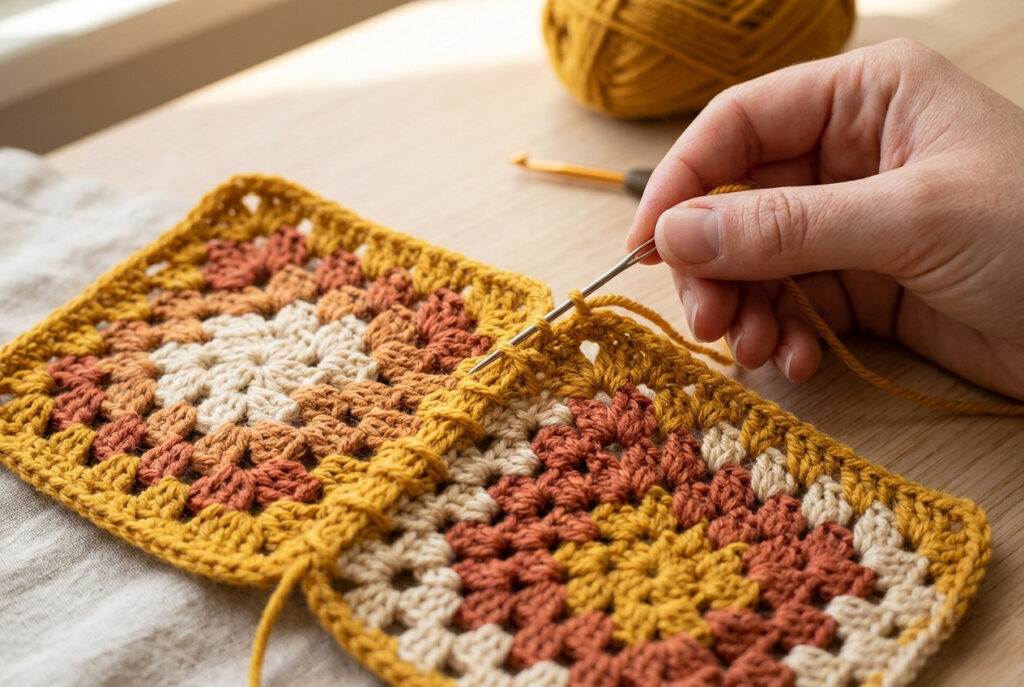
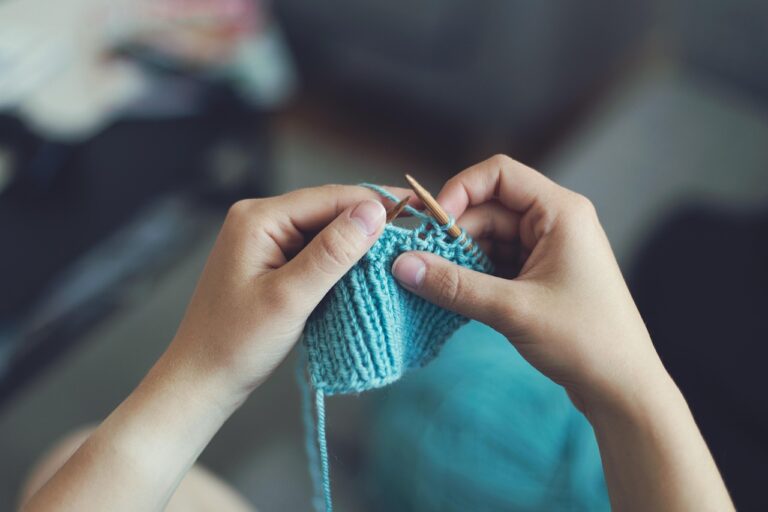
When learning how to do a whip stitch for crochet or knitting, the basic technique stays the same, but the way you apply it affects how your seam looks and feels.
A whip stitch for crochet seams or knitting commonly joins pieces such as squares, sleeves, and body panels. It is a simple, effective method for assembling garments, blankets, and accessories without complex techniques.
When to Use a Whip Stitch (Uses and Benefits)
Understanding how to join pieces with a whip stitch starts with knowing when this technique works best. The whip stitch is versatile and used across sewing, knitting, and crochet for both functional and decorative seams.
Common Uses of a Whip Stitch
A whip stitch for knitting and crochet is ideal when you need a simple, flexible seam. It is often used for:
Decorative vs Invisible Whip Stitch
A major advantage of the whip stitch is its flexibility in appearance:
- An invisible whip stitch seam is worked with matching yarn or thread and kept slightly loose to blend into the fabric.
- A decorative whip stitch uses contrasting thread and visible stitches to add texture and style.
This makes it suitable for both subtle finishing and creative design work.
Why Choose a Whip Stitch?
Many crafters consider it the best stitch for seaming knits when ease and speed matter. Key benefits include:
When comparing whip stitch and mattress stitch knitting, the whip stitch is faster and easier to learn, while the mattress stitch creates a more invisible seam.
Why Use a Whip Stitch for Yarn Projects?
Using the same yarn for your whip stitch knitting seam helps the seam blend naturally into the fabric. This is especially useful when:
When the yarns match in color and weight, the seam looks cleaner and more cohesive.
Also Read: How to Join in Round in Knitting: Easy Guide
Tips for a Clean and Flexible Seam
To create a neat and invisible whip stitch on knits, follow these tips:
A properly worked seam should lie flat and move naturally with the fabric.
Also Read: How to Use Stitch Markers for Knitting: Easy Guide
Whip Stitch for Sewing and Fabric Projects
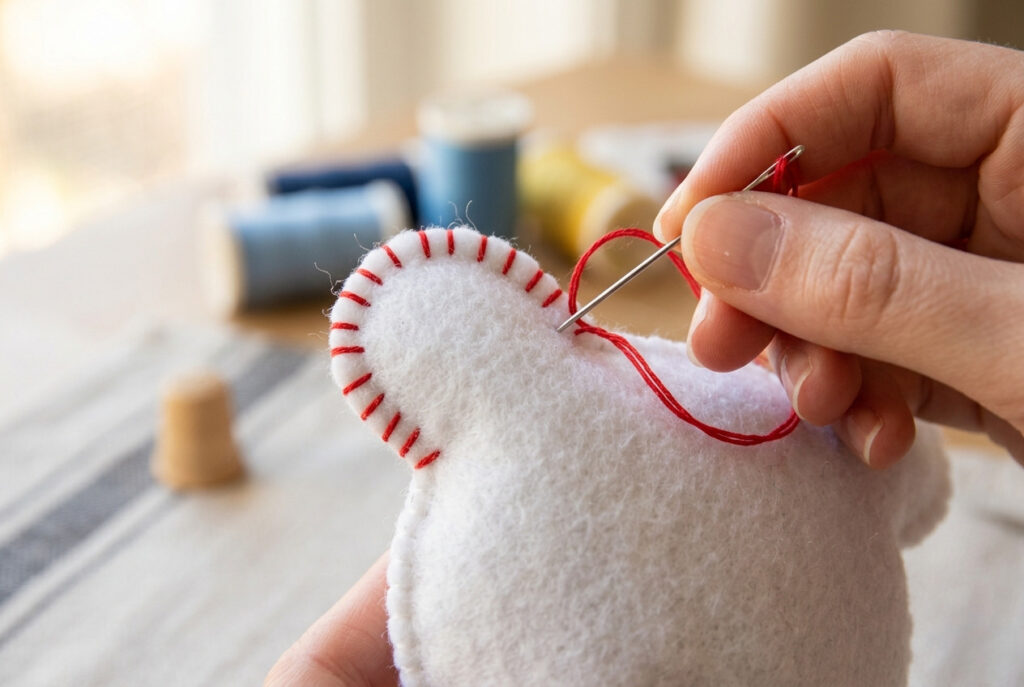
A hand-sewing whip stitch for beginners is one of the easiest and most practical techniques to join fabric pieces. It’s especially useful for lightweight materials and small craft projects that don’t require a sewing machine.
This method is commonly used for:
Choosing the Right Thread
For a clean, durable whip stitch seam, select the right thread for your fabric:
Best Practices for a Neat Finish
To create a professional hand-sewn whip stitch, follow these tips:
A visible whip stitch can be a beautiful design feature, especially in felt or patchwork projects, where it adds texture and character.
When to Use a Whip Stitch in Sewing
A whip stitch works best when you need a simple, flexible seam for:
Because it’s easy to learn and doesn’t require complex tools, it remains a go-to whip stitch sewing technique for beginners and experienced crafters alike.
Also Read: Can You Knit Stuffed Animals? Quick Easy Guide
Common Mistakes and How to Fix Them

Even when you know how to do a whip stitch, small mistakes can affect the final result. If your seam looks uneven or doesn’t hold properly, chances are you’re dealing with one of these common issues.
Why Is My Whip Stitch Puckering?
Problem: Fabric or yarn gathers and puckers
Cause: Pulling the thread too tight
Fix:
Whip Stitch Too Loose or Not Holding
Problem: The seam feels weak, or gaps appear
Cause: Stitches are too far apart, or tension is too loose
Fix:
Uneven or Messy Stitches
Problem: The seam looks inconsistent Cause: Irregular spacing or rushing the process Fix: Slow down and focus on even whip stitch spacing. Adjust a few stitches if needed to improve alignment.
Thread Snagging or Breaking
Problem: Thread frays, snags, or breaks during stitching
Cause: Using the wrong needle or thread weight.
Fix:
Twisted or Misaligned Edges
Problem: Fabric edges don’t line up properly
Cause: Pieces weren’t secured before stitching
Fix:
Also Read: How to Fix a Dropped Stitch: A Complete Guide for Knitters
Tips for a Neat, Professional Whip Stitch Seam
If you want your work to have a polished, store-quality finish, these expert tips will help you master an easy whip stitch and achieve a clean, consistent result.
Pro Tips for a Clean Whip Stitch Finish
Also Read: How to Knit a Gauge Swatch: Quick Guide
Improve Accuracy and Consistency
These small adjustments can make a big difference in achieving a clean whip stitch finish.
Final Touch for a Professional Look
For fabric projects, lightly pressing the seam if suitable for the material helps relax the stitches and flatten the join. This step enhances the appearance and gives your project a refined finish.
Quick Whip Stitch Seam Troubleshooting
A well-made whip stitch seam should look smooth, flexible, and evenly balanced on both sides, whether you’re working with fabric, knitting, or crochet.
Whip Stitch vs Mattress Stitch (Quick Comparison)
Many beginners researching whip stitch knitting seam also ask about alternatives.
| Feature | Whip Stitch | Mattress Stitch |
|---|---|---|
| Difficulty | Easy | Moderate |
| Visibility | Slightly Visible | Nearly Invisible |
| Speed | Fast | Slower |
| Stretch | Moderate | High |
If you need speed and simplicity, stick with how to do a whip stitch. For invisible seams, mattress stitch may be better.
FAQ: How to Do a Whip Stitch
Conclusion: Mastering How to Do a Whip Stitch
Now that you’ve learned how to do a whip stitch, you can confidently use this simple but powerful hand-sewing technique in knitting, crochet, and fabric projects. Whether finishing seams, joining crochet squares, repairing soft toys, or working on appliqué designs, the whip stitch is one of the most reliable and beginner-friendly methods.
The key to success is consistency. Keep your stitches even, maintain the right tension, and match your thread or yarn to your project. With practice, your whip stitch seam will look clean, smooth, and professional every time.
If you’ve been looking for an easy way to elevate your handmade projects, mastering the whip stitch is a fast way to achieve a polished, store-quality finish.
Ready to improve your finishing skills?
Start practicing your whip stitch tutorial today on scrap fabric or leftover yarn. Once confident, apply it to your next knitting, crochet, or sewing project and see the difference a clean seam makes.
Save this guide and revisit it whenever you need a quick reminder on how to whip stitch.
Also Read: How to Knit a Hat with Straight Needles? Beginner’s Guide