How to Do Mattress Stitch? Easy 7-Step Guide
Ever finished knitting sweater panels or scarf pieces and wondered how to join them without a bulky seam? Learning the mattress stitch knitting solves that problem instantly. This expert-loved technique creates a clean, invisible seam that keeps your fabric smooth, stretchy, and professional-looking.
If you’ve searched for how to do mattress stitch, you’re in the right place. This method is the secret behind polished, store-quality finishes. Unlike bulky seams, mattress stitch blends stitches so seamlessly that from the right side, you can barely see the join. It is perfect for sweaters, scarves, and blankets.
Also Read: How to Cast on Knitting with Two Needles: A Complete Guide
What Is Mattress Stitch in Knitting?
Mattress stitch knitting is a vertical seaming technique that joins two knitted pieces side by side, creating an almost invisible finish. Instead of sewing through stitches, it picks up the horizontal bars between stitches, making a smooth, flexible seam that blends seamlessly from the right side.
Often called the go-to method for invisible seam knitting, mattress stitch is popular because it keeps fabric stretchy and delivers a clean, professional look. It’s especially effective on stockinette stitch but can also be adapted for garter stitch and other textures.
Also Read: How to Read Knitting Patterns? Beginners Guide
Why Knitters Love Mattress Stitch
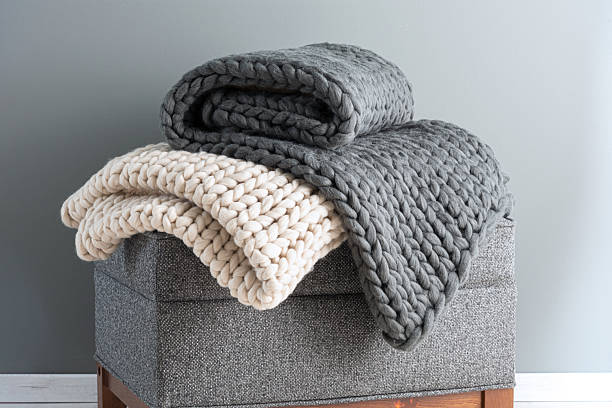
Common Uses
Also Read: How Long Does It Take to Knit a Sweater? Complete Guide
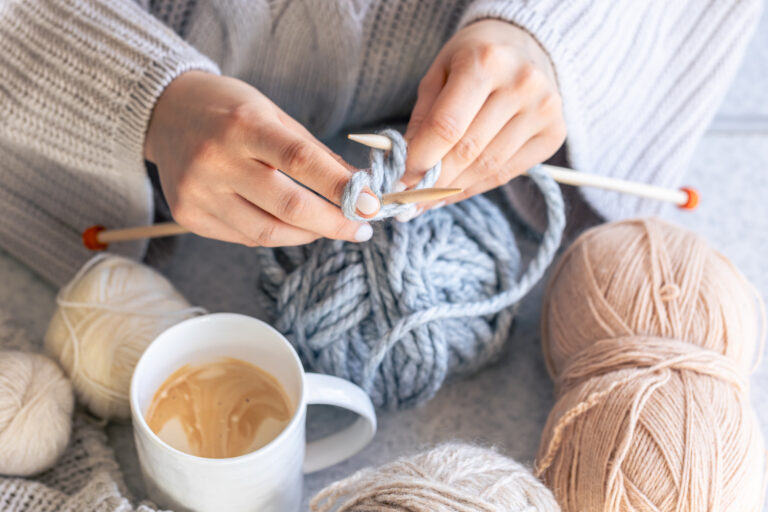
Tools and Materials for Mattress Stitch Knitting
Before starting mattress stitch knitting or a tutorial, gather the right tools to ensure a smooth, invisible seam.
Essential Tools
Optional but Helpful
Pro tip: Cut a yarn tail about 3 times the seam length to prevent interruptions and maintain even tension as you learn the mattress stitch.
For the best results, always match the yarn type and ply to your project. This is key to achieving a truly invisible seam knitting finish.
Also Read: How to Use Stitch Markers for Knitting: Easy Guide
How to Prepare Knitted Pieces for Seaming
Proper preparation is essential for clean, professional results when learning how to do mattress stitch. Taking a few extra minutes ensures your mattress stitch knitting looks smooth, even, and truly invisible.
1. Block Your Pieces
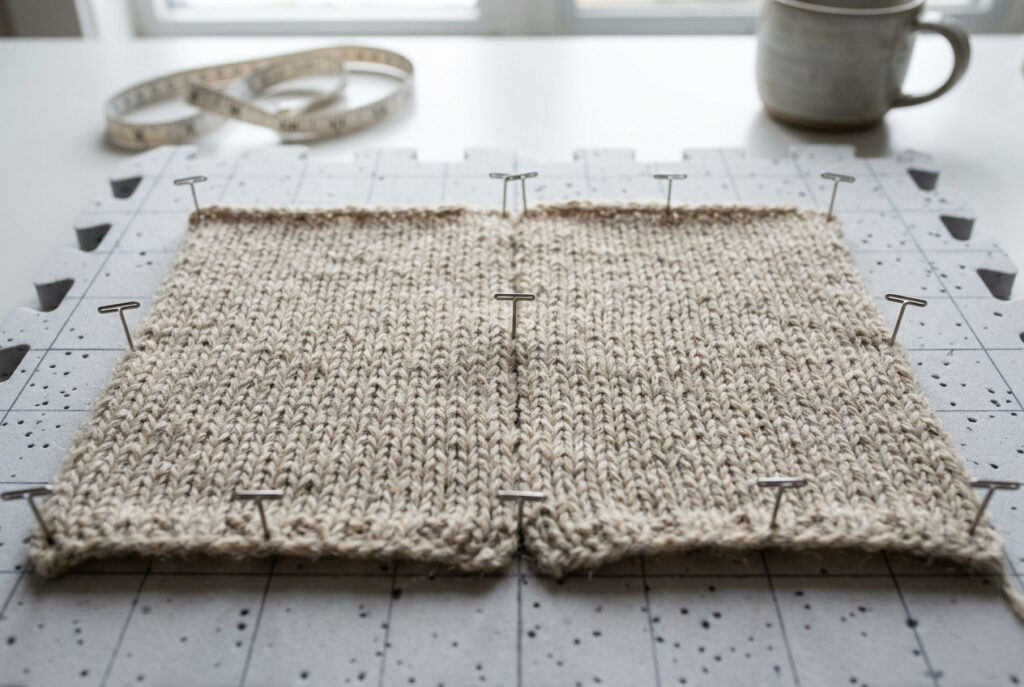
Blocking is essential for successful invisible seam knitting. It evens stitches, matches piece sizes, and prevents puckering.
Also Read: How Do I Block a Knitted Sweater? Step-by-Step
2. Align the Edges
Lay both pieces flat, right sides up. The edges should sit side by side neatly without overlapping.
For better accuracy:
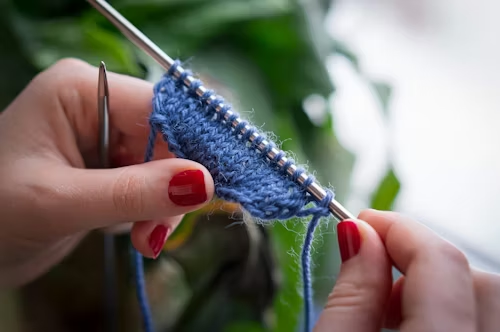
3. Identify the Bars
Look closely along the edge. You’ll see small horizontal bars between stitches. These are the keys to invisible seaming in knitting.
Picking up these bars evenly creates the signature mattress stitch step-by-step finish, where the seam disappears from the front.
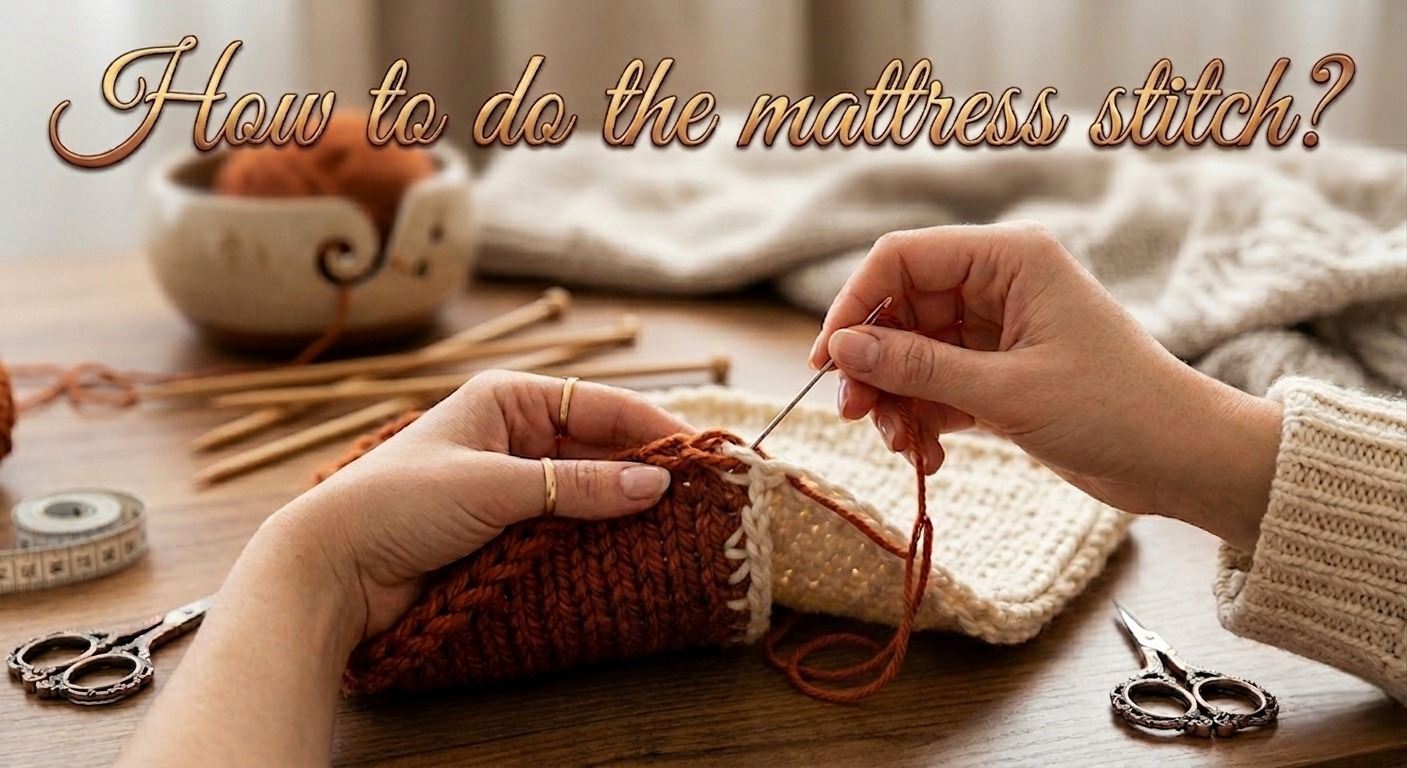
How to Do Mattress Stitch Step-by-Step Tutorial
If you’re learning how to do mattress stitch step by step, this method will help you create a clean, flexible, and truly invisible seam knitting finish.
Step 1: Thread Your Needle
Thread a tapestry needle with your yarn tail, leaving a 5 to 6-inch tail. Do not knot; this keeps the seam smooth and invisible.
Step 2: Start at the Bottom
With the right sides facing up, insert your needle under the first horizontal bar between stitches on one piece (between the first and second stitch column).
Also Read: How to Pick Up Knit Stitches In Knitting? Two Methods
Step 3: Join the Opposite Side
Move to the second piece and insert the needle under the corresponding bar from right to left. This starts the classic mattress stitch knitting structure.
Step 4: Alternate Between Sides
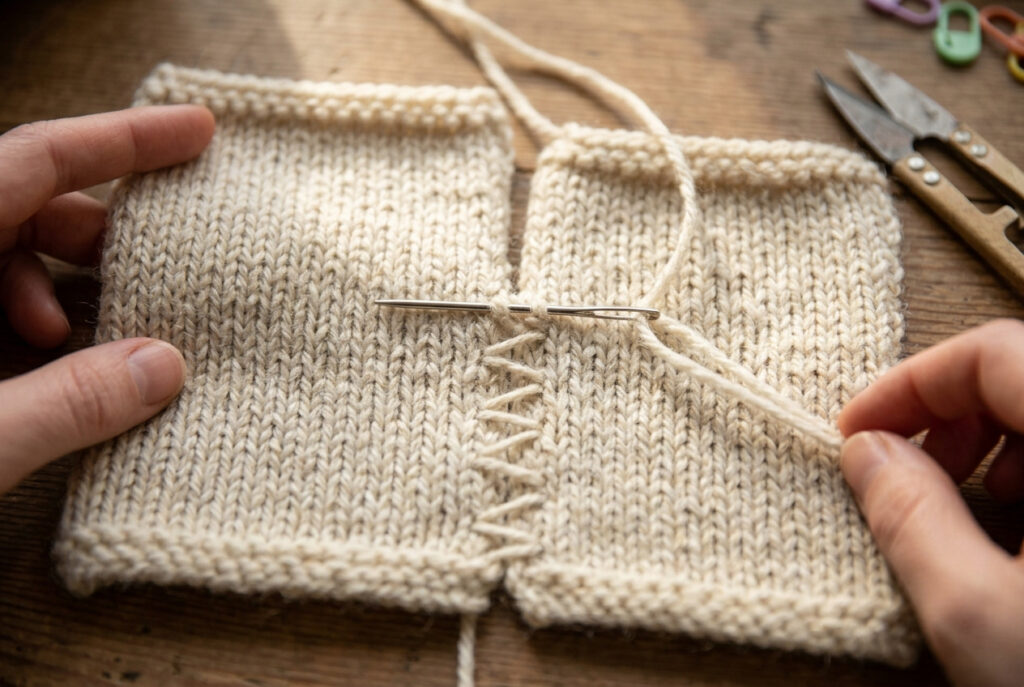
Continue working upward in a zigzag motion:
This is the core of how to seam knitted pieces using mattress stitch.
Step 5: Gently Pull to Close the Seam
After every 2 to 3 stitches, gently pull the yarn. You’ll see the seam close and disappear. This makes invisible seam knitting so effective.
Step 6: Maintain Even Tension
Avoid pulling too tightly. The seam should lie flat and stay stretchy, not puckered.
Step 7: Finish and Secure
Once you reach the top:
Pro tip: For corners or curved areas like armholes, take smaller stitches or slightly adjust spacing to keep the seam smooth.
Also Read: How Do You Weave in Ends in Knitting? Step-by-Step
Mattress Stitch for Stockinette vs Garter Stitch
Understanding fabric differences is essential when learning how to do mattress stitch correctly. The technique stays the same, but how you pick up stitches changes with the fabric.
Stockinette Stitch (Most Common)
Stockinette is ideal for mattress stitch knitting because its stitch structure makes the seam nearly invisible.
Result: A completely invisible seam knitting finish with perfect stitch alignment.
Also Read: How to Finish a Knitting Project: A Complete Guide
Garter Stitch
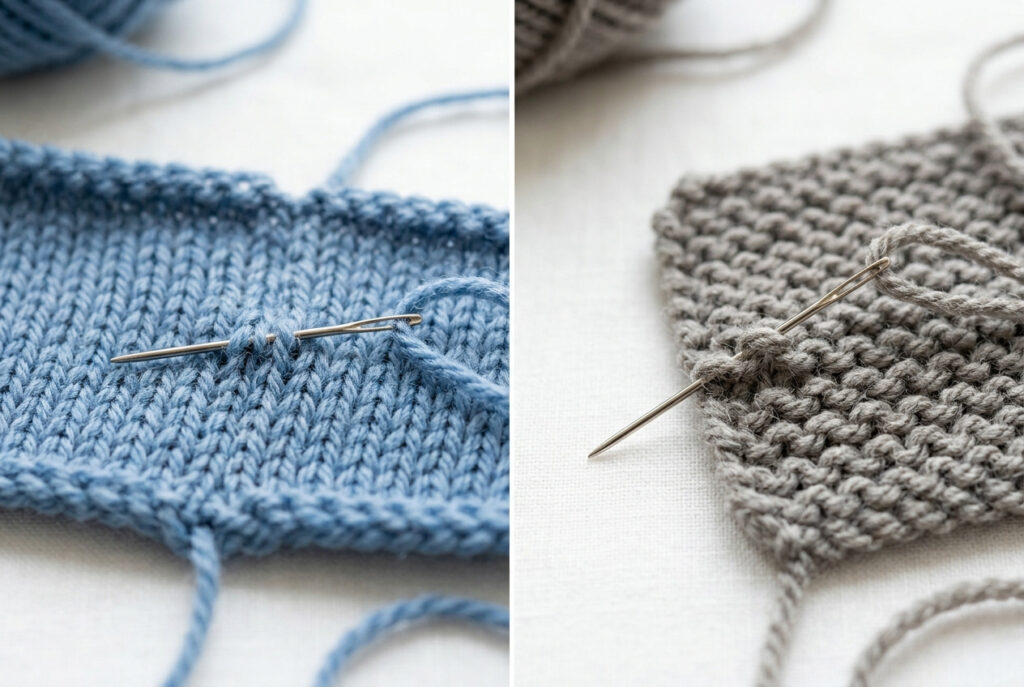
Garter stitch requires a small adjustment due to its ridged texture.
Result: A flexible, nearly invisible seam blending into the ridges.
What About Ribbing?
Ribbing can also be seamed using mattress stitch as follows:
Also Read: How to Join in Round in Knitting: Comprehensive Guide
Pro Tip for Best Results
Always test your invisible seaming technique on a small swatch first. This helps you adjust tension and stitch placement before your final project.
Common Mattress Stitch Mistakes and How to Fix Them
Even experienced knitters improve their results over time as they learn the mattress stitch. Small mistakes can affect the final look, but the good news is that they are easy to fix.
1. Uneven Tension
Problem: The seam looks wavy, tight, or puckered.
Fix: Pull the yarn gently after every 2 to 3 stitches, rather than tightening all at once. If needed, lightly block the seam after finishing to even it out.
2. Misaligned Rows
Problem: The stitches don’t line up, creating a messy seam.
Fix: Use stitch markers or pins to match rows before starting your mattress stitch. Double-check alignment as you go.
Also Read: How to Count Rows in Knitting: A Complete Guide
3. Skipping Horizontal Bars
Problem: Small gaps or holes appear in the seam.
Fix: Always pick up every horizontal bar between stitches. Missing one can disrupt your invisible seam knitting finish.
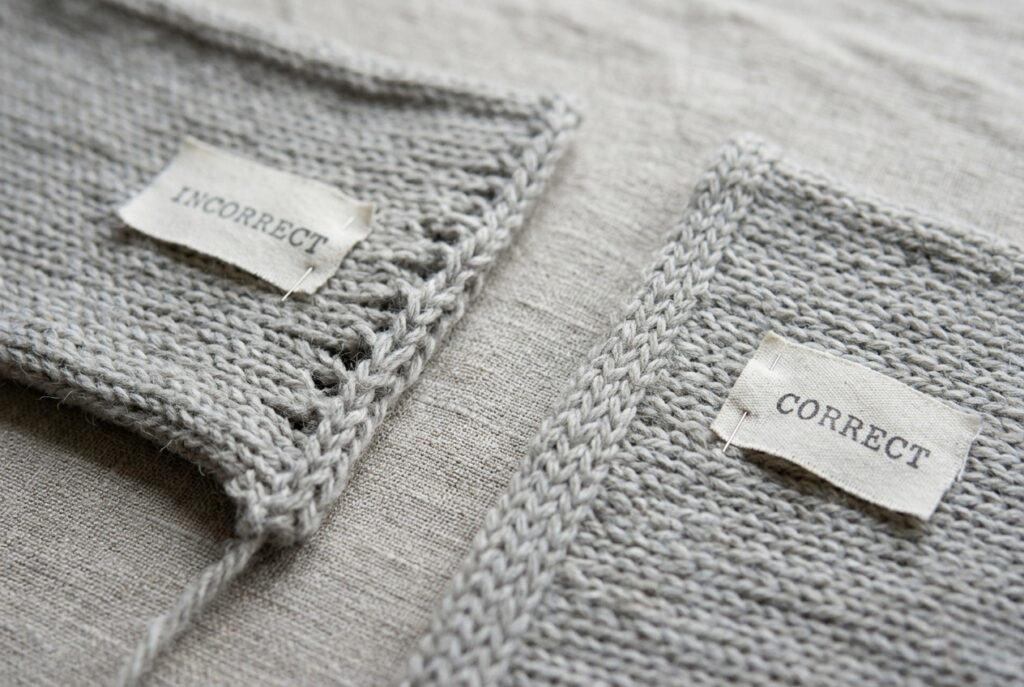
4. Picking Up the Wrong Bars
Problem: The seam is visible from the right side.
Fix: Insert the needle between stitches, not through them. This is key to mastering invisible seaming.
5. Using the Wrong Yarn
Problem: The seam stands out or feels bulky.
Fix: Use the same yarn type, weight, and ply as your project. For finer control, some knitters use a thinner strand for seaming.
6. Gaps in the Seam
Problem: The seam doesn’t close fully.
Fix: Take slightly deeper stitches by picking up more of each bar, then tighten gradually to close the gap smoothly.
Pro Tip
If your seam still looks uneven, practice your mattress stitch step by step on a swatch first. A few minutes of testing can dramatically improve your final result.
Also Read: How to Fix a Knitting Hole: Easy 5 Techniques and Tips
Mattress Stitch vs Whip Stitch
If you’re deciding between techniques, understanding mattress stitch and whip stitch helps you choose the right method for your project.
Key Differences Explained

Mattress stitch knitting creates a smooth, invisible seam by joining stitches between columns, making it ideal for garments where appearance matters.
Whip stitch is quicker and easier but leaves a visible edge, making it suitable for hidden seams or fast projects.
When to Use Each
- Choose mattress stitch for sweaters, sleeves, and any wearable item that needs a polished finish.
- Use whip stitch for quick repairs, toys, or edges where the seam won’t be visible.
Bottom Line
If your goal is a clean, professional result, mastering how to do mattress stitch is essential. Whip stitch is faster, but mattress stitch delivers a superior finish.
Also Read: How to Knit Cables: Step-by-Step Easy Beginner Guide
Tips for Perfect Mattress Stitch Every Time
To master how to do mattress stitch and achieve flawless results, small technique improvements make a big difference. These expert tips will help you create smooth, consistent, and truly invisible seam knitting finishes.
Essential Tips
Advanced Pro Tips
Consistency matters more than speed. Take your time, and your mattress stitch results will look clean, even, and professional every time.
Also Read: The Best Knitting Machines For Crafters
FAQs About How to Do Mattress Stitch
Final Thoughts: How to Do Mattress Stitch?
Mastering how to do mattress stitch is one of those skills that quietly transforms your knitting from homemade to professional. Once you understand the rhythm of mattress stitch knitting, seaming stops feeling like a chore and becomes part of the creative process.
This technique balances structure and flexibility. Whether you’re working on stockinette panels, garter stitch pieces, or complex garments, mattress stitch delivers the clean, invisible join knitters aim for. It keeps edges stable, preserves stretch, and gives every project a polished, intentional finish.
The key takeaway is simple: precision matters more than speed. When you prepare your pieces, match stitches carefully, and maintain even tension, invisible seam knitting becomes second nature. Small adjustments, like picking up the correct horizontal bars or easing tension gradually, make the difference between an average seam and a flawless one.
As you continue practicing how to seam knitting invisibly, you’ll find that your confidence grows with every project. Start with swatches, stay consistent, and trust the process. Over time, mattress stitch won’t just be a technique you use; it will become your standard for finishing every garment you create.
In the end, a well-executed mattress stitch doesn’t just join pieces together — it elevates your entire work.
Also Read: How to Knit Mittens: The Easy Complete Guide