How to Fix a Knitting Hole: Easy 5 Techniques and Tips
How to Fix a Knitting Hole becomes an essential skill for anyone who values the time and sentiment behind handmade knitwear. Every handmade piece reflects care, effort, and creativity—but even the most skillfully crafted fabrics aren’t immune to wear.
Dropped stitches, accidental yarn overs, snags, or friction from regular use can all lead to small gaps that weaken the structure and alter the garment’s look. Tiny moth holes or larger openings from missed stitches often reveal areas where the fabric is most vulnerable. Fixing a knitting hole keeps projects looking nice and lasting longer. It stops unraveling and helps prevent frustration.
With patience and the right techniques, most holes can be fixed so they blend in. This turns a problem into a chance to make the fabric stronger, help the garment last, and cut down on waste. Learning to fix holes lets knitters save special pieces, enjoy their craft, and grow fiber-care skills that last.
Understanding Knitting Holes
Even well-cared-for knitted items can get weak spots or holes over time. Dropped stitches, snags, rubbing in areas that are used a lot, or moths are common reasons for holes. If ignored, these problems can worsen and cause the item to unravel.
Understanding how knitted fabric is made is key to repairing. Each stitch is a loop linked to others. When a loop breaks or slips, it can leave a gap. Seeing when and where this happens helps you fix it early. This stops the problem from becoming a bigger tear.
Learning how to fix a knitting hole protects both the craftsmanship and sentimental value of your knitwear. Instead of discarding or hiding damaged pieces, apply precise repair techniques. This restores their integrity and extends their lifespan.
Choosing repair over replacement supports sustainability. It also honors the time and artistry invested in every handmade project.
Also Read: How to Read Knitting Patterns? Beginners Guide
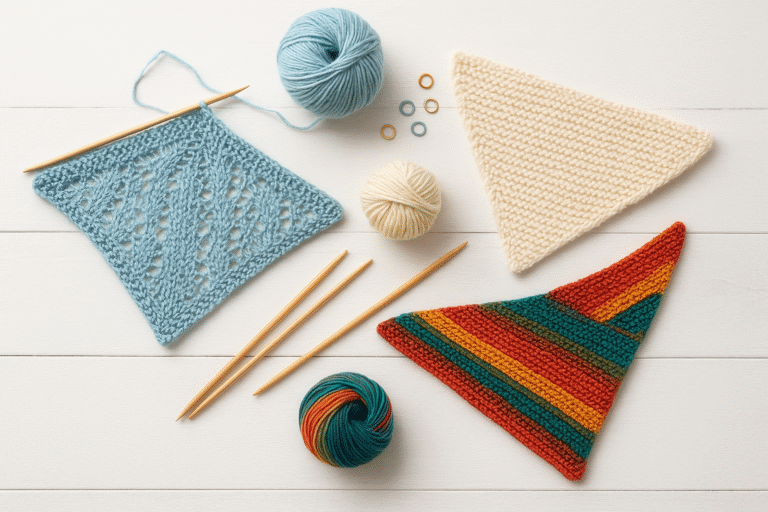
Tools and Materials Needed for Repair

Gather the necessary supplies before starting any knitting repair to ensure efficiency and a better result. Use the following items:
Essential Tools:
- Tapestry needle (blunt): For sewing stitches, weaving ends, and applying duplicate stitch or darning
- Crochet hook (smaller than needles): Recovers dropped stitches or draws loops without stretching yarn
- Matching yarn: Choose yarn similar in weight, fiber, and color to the original project for seamless repair
- Stitch markers: Mark key points around the hole and prevent unraveling during repair
- Stitch holder or scrap yarn: Hold live stitches in place to prevent slipping and hole enlargement
- Small scissors: Trim yarn ends neatly for a clean, professional finish
- Knitting gauge or ruler: Check stitch size accuracy and maintain even tension during repairs
Also Read: Best Knitting Bags 2025: Ultimate Guide
Yarn Selection Guidelines
Best option: Use leftover yarn from the original project for a perfect match.
Substitute option: Choose yarn with a similar fiber and thickness if the original yarn is unavailable.
Creative choice: Select contrasting yarn for a visible, decorative repair feature.
Preparing materials in advance prevents interruptions and allows for a calm, focused repair, resulting in a durable, nearly invisible outcome.
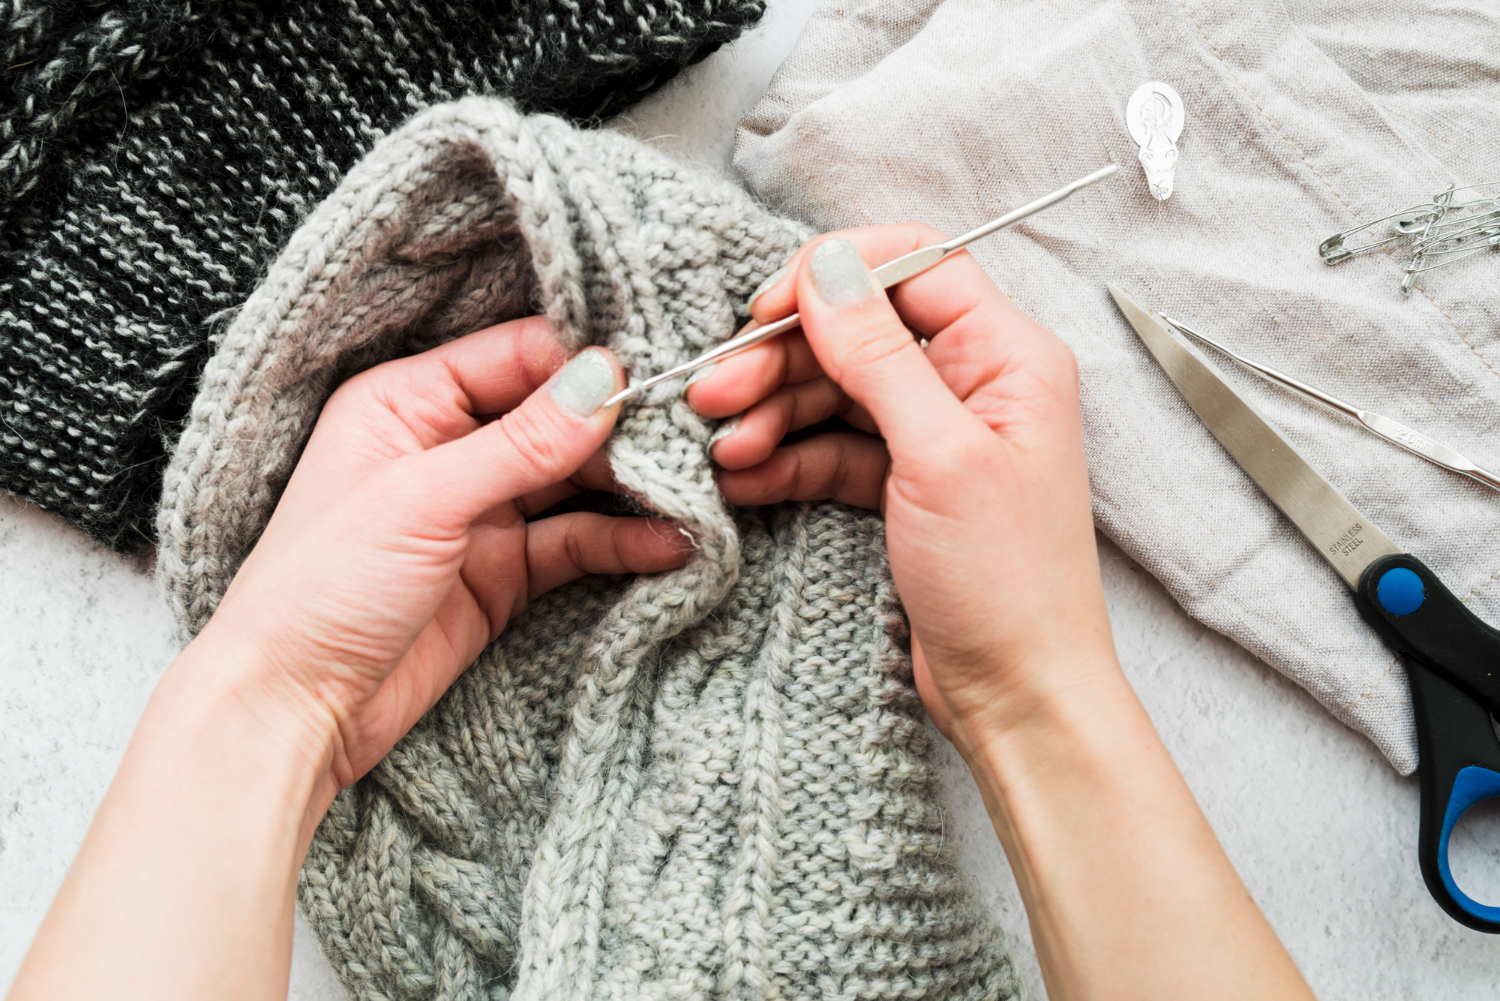
Preparation: Securing Stitches Around the Hole
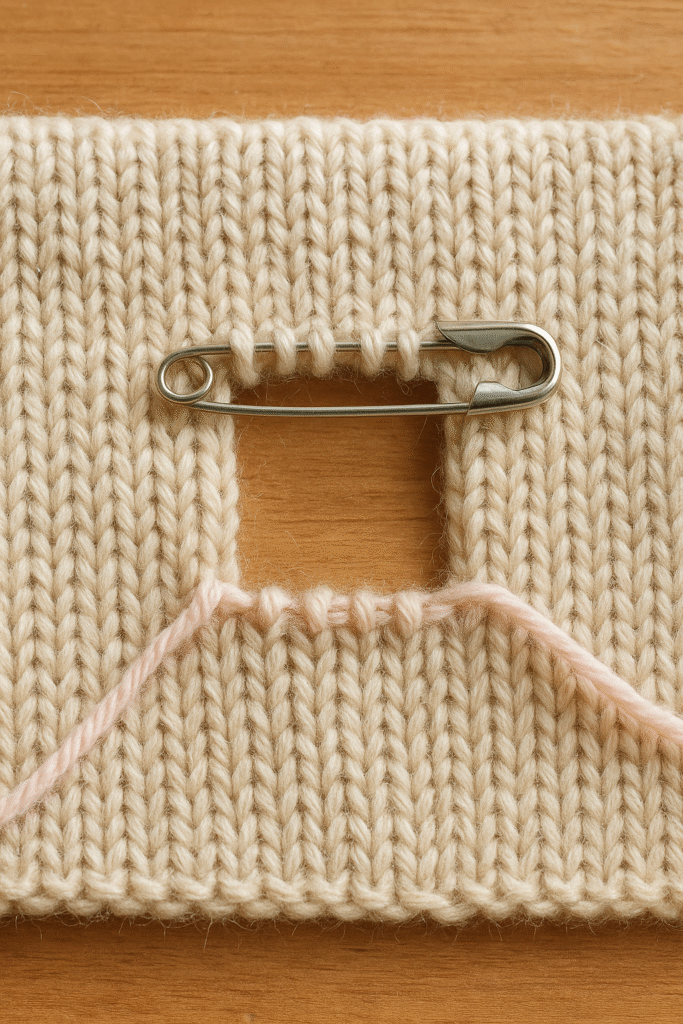
Stabilize Any Live Stitches
Place loose stitches around the hole on a stitch holder, safety pin, scrap yarn, or crochet hook. This prevents unraveling and maintains the integrity of the structure during the mending process.
Lay the Garment Flat
Work on a flat surface to keep stitches aligned. A stable base prevents distortion, allowing you to assess the repair area accurately.
Assess the Size and Condition of the Hole
Check if the gap is small enough to close, or if you need to unravel multiple rows for a solid base. Identifying the damage early helps you choose the correct repair method.
Also Read: How to Measure Circular Knitting Needles? Beginners Guide
Trim Frayed or Split Yarn
If the fibers are worn or fuzzy, cut off any stray strands. A clean edge helps new stitches blend with the fabric.
Preserve Fabric Tension
Prepare carefully to maintain tension. Good preparation ensures the repair matches the surrounding knit.
Also Read: How to Knit a Gauge Swatch: Quick Guide
Techniques to Fix Knitting Holes
Learning how to fix a knitting hole requires choosing the right method based on the size, location, and cause of the damage. Small holes from dropped stitches can be repaired quickly, while larger openings benefit from more advanced techniques that blend strength and invisibility.
Basic Dropped Stitch Repair
For a dropped stitch, use a crochet hook to pick up the loose stitch. Pull the loop through each strand above it until it reaches the current row. Place the stitch back on the needle.
Also Read: How to Pick Up Knit Stitches In Knitting? Two Methods
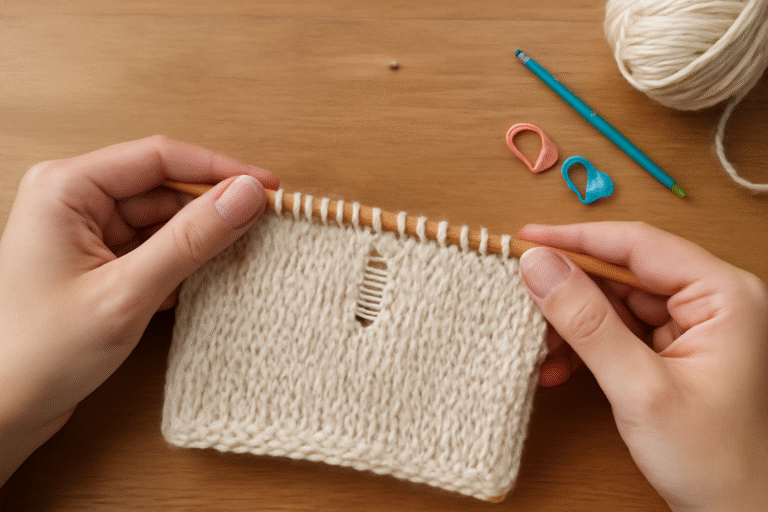
Repairing Larger Holes
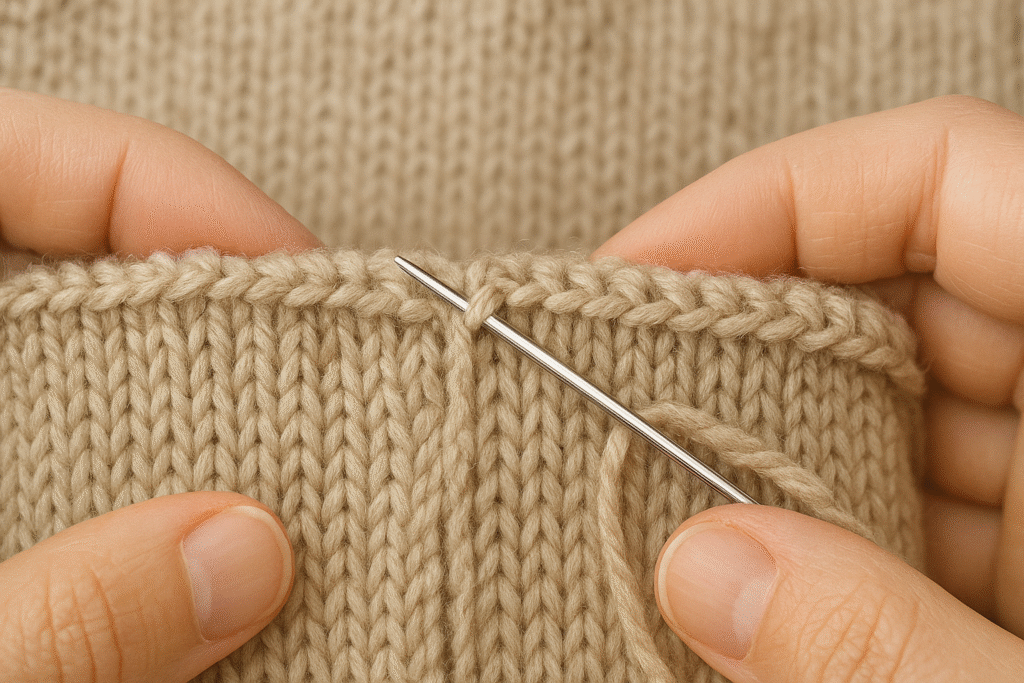
To repair bigger holes, thread a tapestry needle with matching yarn. Weave the yarn in and out, following the direction of the surrounding stitches. Use darning for strength.
Use duplicate stitch (Swiss darning) for an invisible finish that covers the area and matches the original fabric.
Edge and Seam Repairs
When repairing a hole near a join, use the Kitchener stitch or mattress stitch to connect the fabric smoothly. This ensures the repair remains nearly invisible and strong.
Essential Repair Guidelines
- Keep the yarn snug, but avoid pulling it too tightly
- Always follow the direction of the existing stitches
- Select yarn in the same weight and color as your project
Put these techniques into practice the next time you spot a hole in your knitting, and enjoy the satisfaction of restoring your work with confidence.
Also Read: How to Connect Circular Knitting: Easy Guide
Darning Small to Medium Holes

To repair small to medium-sized holes in your knitwear, try darning: weave yarn across the gap in a grid-like pattern, rebuilding the fabric while blending into the surrounding stitches. Match the yarn’s weight, color, and tension to make your repair nearly invisible.
Place a darning mushroom or similar rounded surface under your hole to keep the fabric stretched and stable as you work. This method is beneficial for high-friction areas, such as cuffs, elbows, and heels, where holes are commonly found. If you maintain even tension, your darning will not only close the gap but also reinforce the fabric, reducing future wear in the same spot.
Also Read: Best Knitting Machine for Blankets in 2025: Top Picks
Duplicate Stitch (Swiss Darning) for Pattern Replication
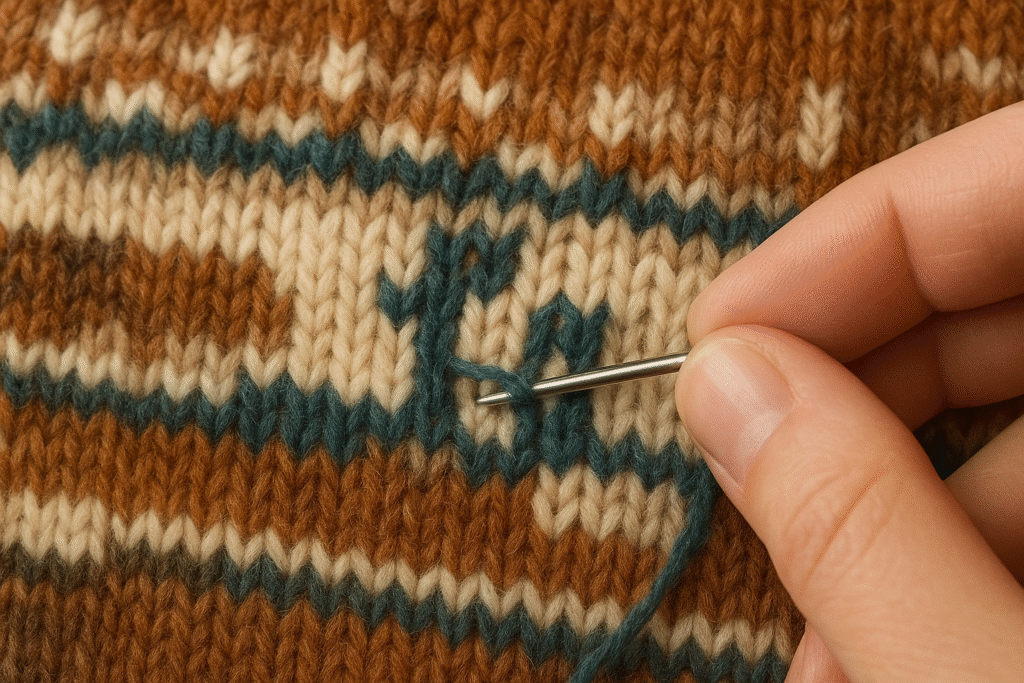
Duplicate stitch, also known as Swiss darning, is ideal for holes in patterned knitwear. Knitters use a needle and yarn to trace over the existing stitches’ path on the surface, effectively recreating the original knit texture and color pattern.
This method produces an exceptionally smooth and durable repair that is virtually invisible unless examined closely. It’s especially effective on thin or worn knit areas where no actual stitches are missing, but the fabric has thinned.
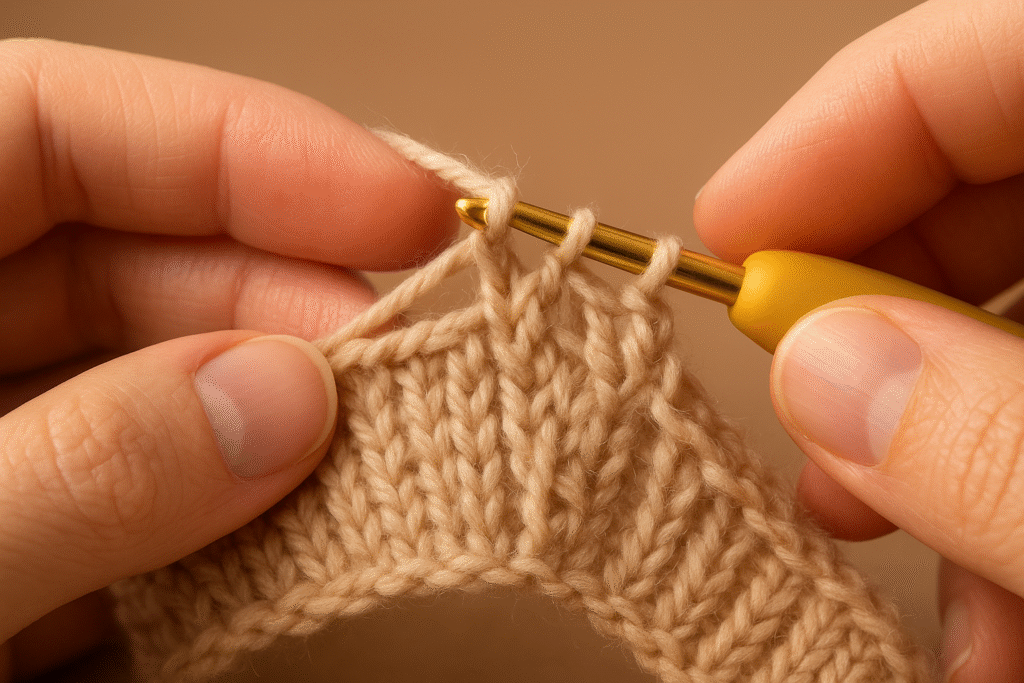
Using a Crochet Hook for Stitch Recovery
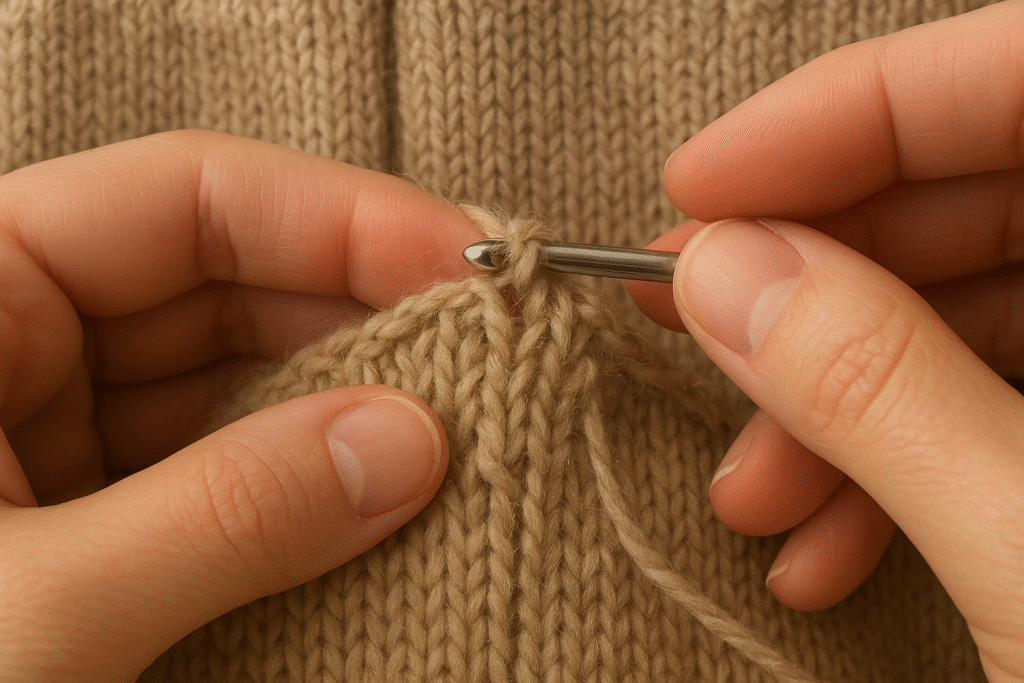
Dropped stitches can unravel quickly, leaving gaps in the fabric. Using a crochet hook allows you to repair these by pulling the dropped stitch through each strand, restoring the structure without disturbing nearby stitches. Choose a crochet hook slightly smaller than your knitting needles to create a snug, consistent repair.
This method acts quickly, minimizes disruption, and delivers reliable results—making it a solid solution for both new knitters and experienced hands. With some practice, you can easily rescue dropped stitches and prevent minor mistakes from developing into larger problems.
Also Read: How to Do a Long Tail Cast On Knitting? Easy Guide
Kitchener Stitch for Seamless Joins
The Kitchener stitch is a grafting technique that seamlessly connects two sets of live stitches, making the fabric appear unbroken. Commonly used for finishing sock toes, it also works beautifully for repairing holes where edges need to be joined. By weaving new yarn in a precise sequence, the repair mirrors the look of continuous knitting.
When performed with balanced tension and careful threading, the result is virtually invisible—no seam, no ridge, just a flawless continuation of the fabric. Although it requires patience and practice, the Kitchener stitch produces durable, professional-quality mending, making it especially valuable for high-visibility areas in sweaters, socks, and accessories.
Also Read: How to Knit a Hat with Straight Needles? Beginner’s Guide
Fixing Yarn-Over Holes and Laddering
Correcting Yarn-Over Holes
Unintended yarn-overs can leave noticeable gaps that disrupt the fabric’s flow. The extra loop can be dropped, and the surrounding stitches adjusted to restore balance. If the opening remains, duplicate stitch or light sewing can close the space while preserving the pattern’s tension and appearance.
Repairing Laddering
Laddering, caused by dropped stitches unraveling downwards, creates vertical gaps in the fabric. Using a crochet hook to pull the stitch back through each strand row by row restores continuity without altering nearby stitches. These careful yet straightforward techniques protect both the strength and polished look of finished knitwear.
Tips for Matching Yarn & Seamless Repairs
- Match the fiber, weight, and color tone to the original yarn
- Take yarn from hidden seams if no exact match is available
- Keep stitch tension even. Avoid tight puckering or loose bulk
- Practice repairs on a swatch before making repairs to the garment
- Apply stitch imitation techniques to blend the repair seamlessly
- Focus on subtle restoration, not visible patchwork
Also Read: How to Add New Yarn to Knitting? Step-by-Step
Preventive Measures to Avoid Future Holes
Preventing holes in knitwear is far easier than trying to repair them later. Consistent stitch tension, securing yarn ends, and choosing needles that match the yarn weight all help reduce the risk of gaps forming. High-quality materials also contribute to long-lasting results. Areas subject to frequent friction, such as underarms or sock soles, can be reinforced with duplicate stitch or stronger yarn to extend durability.
Gentle washing, careful storage, and protection against snags or pests further preserve the fibers. Regular inspection allows minor issues, like a loose stitch or thinning fabric, to be addressed before they develop into larger holes. Combined with repair skills, these preventive habits keep knitwear both strong and beautiful.
Also Read: Can You Knit Stuffed Animals? Quick Easy Guide
Frequently Asked Questions About How to Fix a Knitting Hole
Conclusion: Extending Knitwear’s Life with Repairs
Learning how to fix a knitting hole transforms minor setbacks into opportunities to preserve both the beauty and function of handmade pieces. Techniques such as darning, duplicate stitch, crochet hook recovery, and the Kitchener stitch restore strength while maintaining the garment’s original character.
With the right tools, steady practice, and preventive care, knitwear can remain cherished, durable, and wearable for years to come. Each repair becomes part of the garment’s story, supporting sustainable knitting habits and preserving treasured projects as meaningful as ever.
“Every stitch repaired is a step toward lasting knitwear, where beauty, function, and meaning are preserved row by row.”
Also Read: How to Finish a Knitting Project: A Complete Guide