How to Knit a Moss Stitch: Best Expert Guide
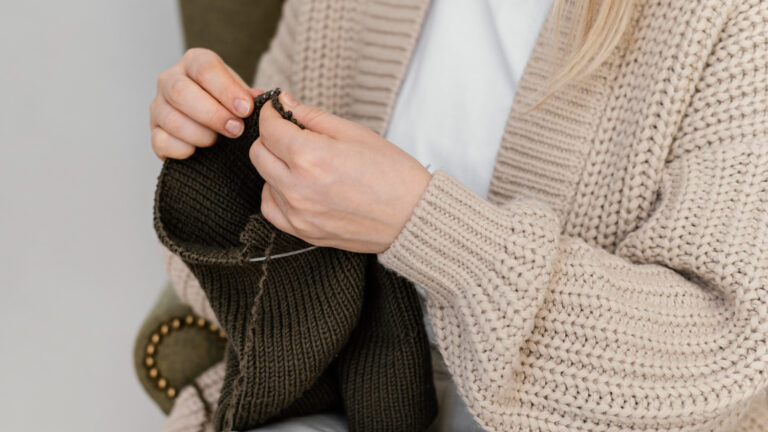
How to Knit a Moss Stitch introduces a classic knitting pattern, known for its flat, reversible, and textured fabric. This pattern uses knit and purl stitches in a set order, making a thick surface that adds detail without being too hard. It is a key technique for knitters wanting to add texture and strength to their projects.
Learning moss stitch is important for anyone who wants to make neat, high-quality items. Its firmness makes it great for scarves, blankets, and edges on clothing. It is a go-to for both new and skilled knitters who want simple, stylish stitch patterns. Once you know why moss stitch is useful, the next step is to choose the right materials for good results.
Also Read: How to Read Knitting Patterns? Beginners Guide
Materials and Tools for Knitting a Moss Stitch
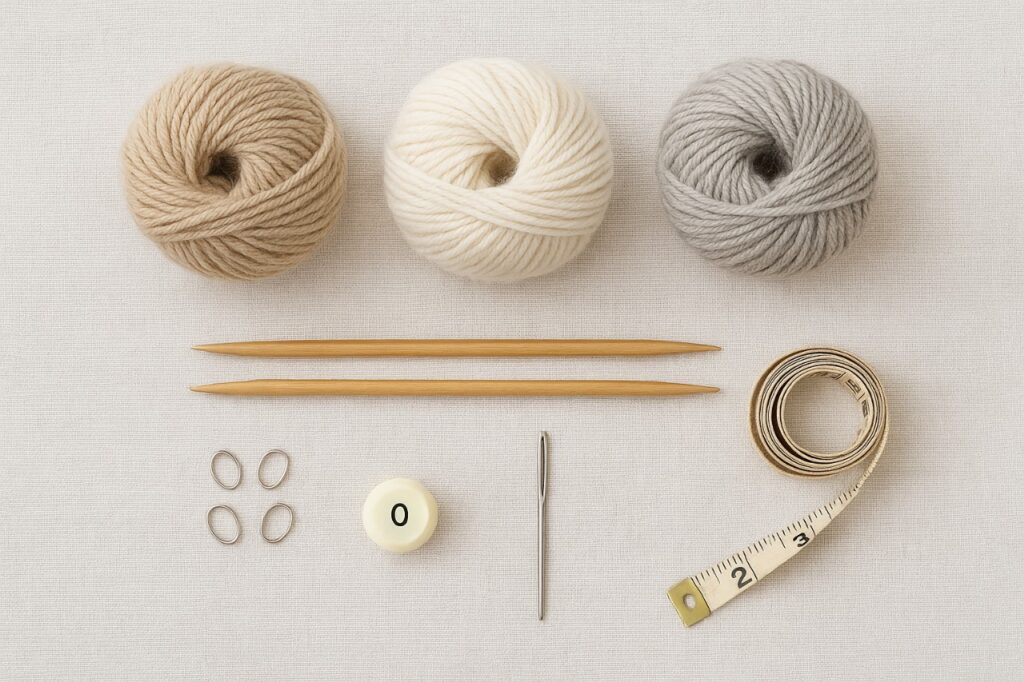
Selecting the right materials makes all the difference in highlighting moss stitch’s characteristic bumps and ridges.
Yarn Selection
Yarn: Medium-weight yarns such as DK or worsted are ideal because they offer clear stitch definition. Smooth, plied yarns work better than fuzzy or novelty options, which obscure texture. Wool and wool blends provide elasticity and memory, helping the fabric hold its shape after wear and washing.
Needles and Equipment
Needles: Choose needle sizes that correspond to the yarn weight. If tension runs tight, try moving up one size; if stitches are loose, move down. Straight needles or circulars can be used depending on project size.
Also Read: How to Measure Circular Knitting Needles? Beginners Guide
Accessories: Stitch markers, row counters, and tapestry needles help track stitch placement and finishing. These small tools reduce errors and ensure a polished result.
For best results, test moss stitch on a small swatch before beginning a whole project. Swatching reveals how yarn and needle size interact to form texture and drape.
Also Read: How to Cast on Knitting with Two Needles: A Complete Guide
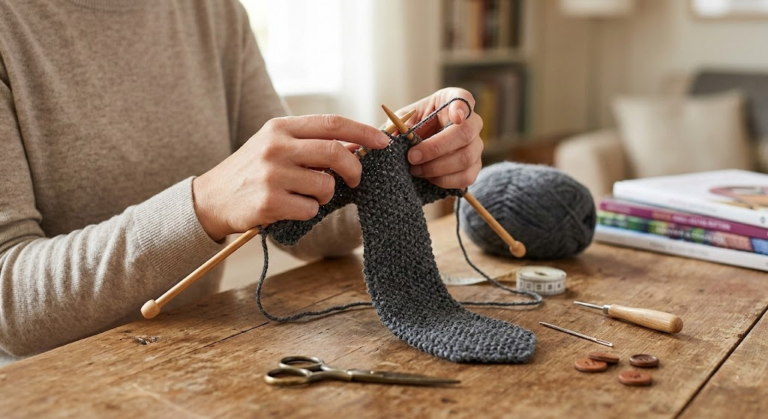
How to Knit a Moss Stitch: Step-by-Step Guide
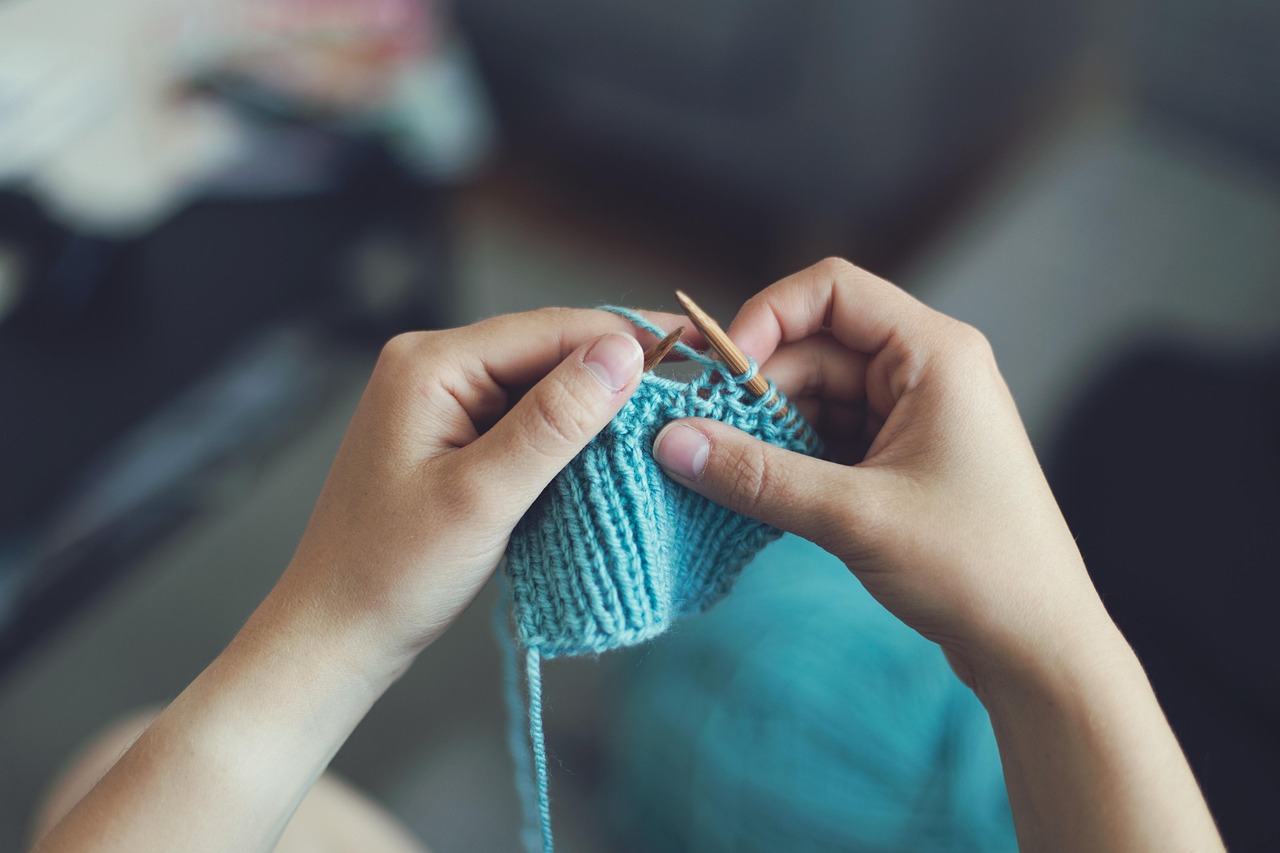
Working moss stitch requires precise control over the alternation of knit and purl stitches. Because the texture relies on this exact sequence, maintaining consistent tension is essential for producing a uniform, well-defined surface. Mastering these foundational steps ensures the integrity of the pattern across all project sizes.
Flat Moss Stitch (U.S. version)
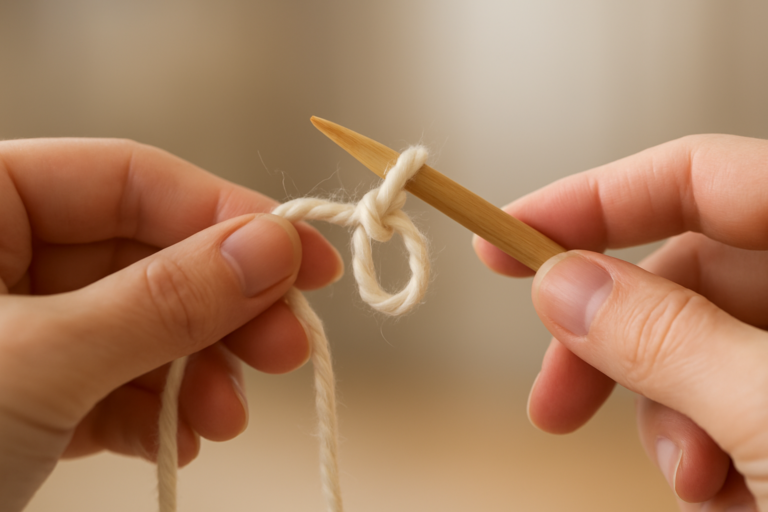
Cast On: Begin with an even number of stitches to keep the pattern balanced.
- Row 1: K1, P1 — repeat to the end of the row.
- Row 2: P1, K1 — repeat to the end of the row.
- Row 3: Repeat Row 1.
- Row 4: Repeat Row 2.
This four-row structure creates the classic moss stitch texture. The guiding principle—knit the purls and purl the knits—is what maintains the pattern’s distinctive rhythm. Consistent adherence to this rule guarantees the signature raised, nubby surface characteristic of moss stitch.
Visual Guide (Charted Pattern)
A charted pattern provides an excellent visual reference for understanding stitch placement. In a standard chart, blank squares indicate knit stitches, while dots represent purls. This method offers a clear overview of the alternating sequence, making it highly effective for beginners who benefit from visual confirmation of stitch order.
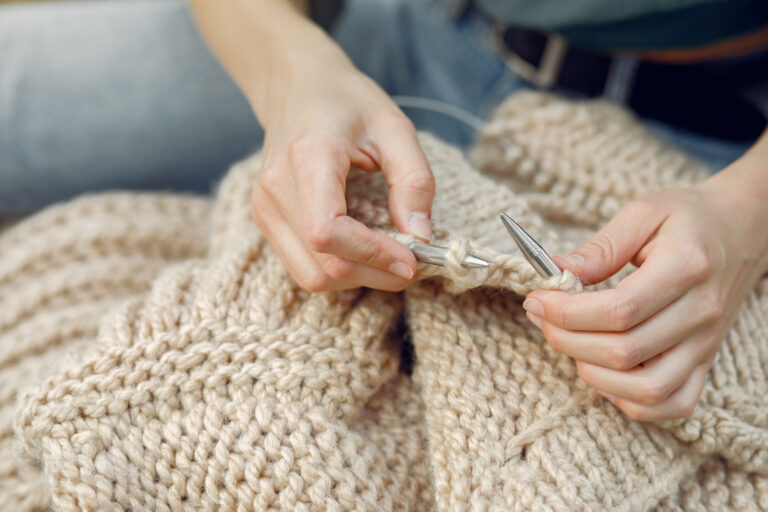
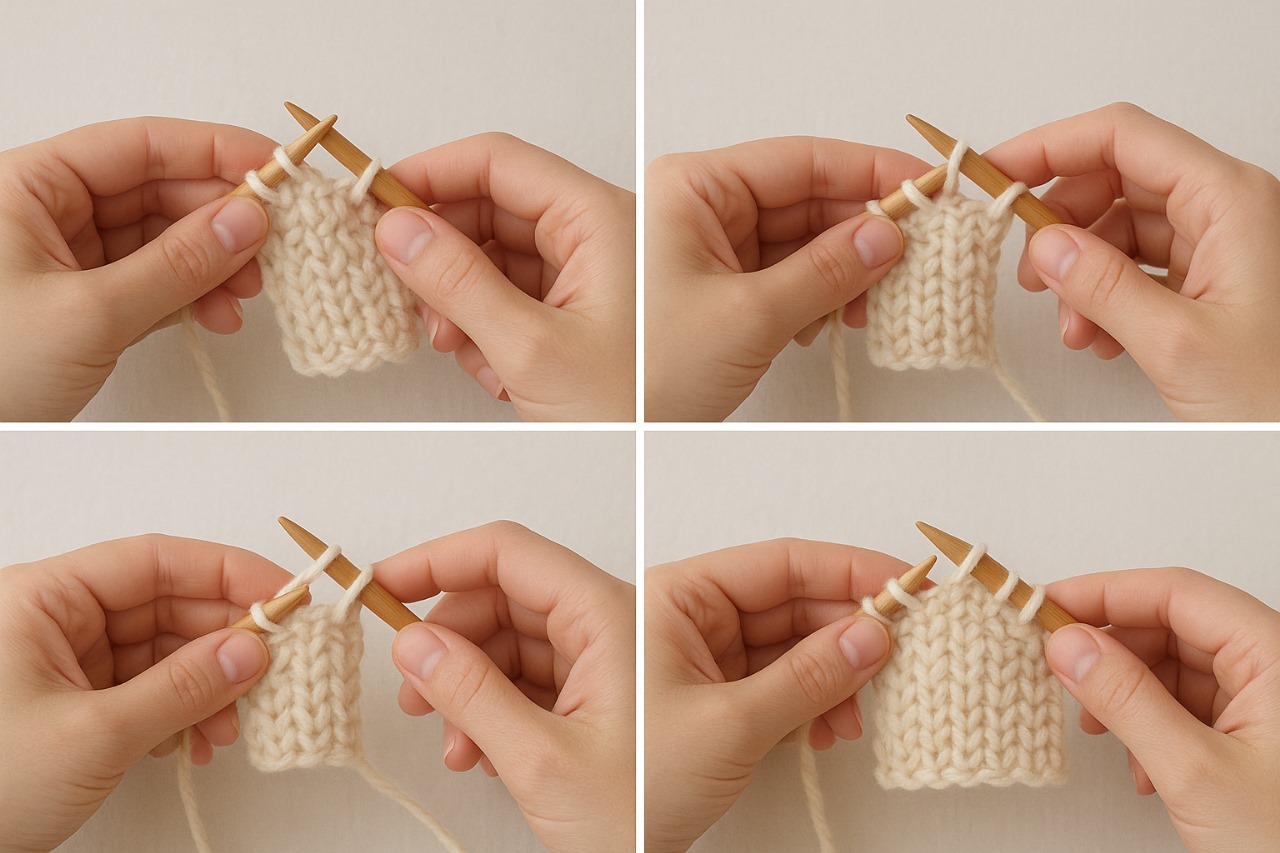
Worked Swatch Pattern
Before beginning a full project, creating a swatch is an essential step in evaluating texture, tension, and drape.
- Cast on 20 stitches.
- Work 40 rows in moss stitch.
- Bind off loosely to avoid distorting the edges.
Assessing your swatch ensures that your fabric behaves as expected and confirms that your yarn and needle combination support crisp stitch definition.
Also Read: How Do You Make a Slip Knot for Knitting? Easy Guide
Moss Stitch in the Round
When working in the round, moss stitch must be adjusted because there are no alternating right-side and wrong-side rows. Maintaining the correct sequence is key to preserving the texture.
Cast On: Use an even number of stitches.
- Round 1: K1, P1 — repeat around.
- Round 2: K1, P1 — repeat again.
- Round 3: P1, K1 — repeat around.
- Round 4: P1, K1 — repeat again.
These four rounds produce a continuous moss stitch texture without turning your work. Mastering this method expands your ability to apply moss stitch to items such as cowls, hats, and seamless garments.
Also Read: How to Join in Round in Knitting: Comprehensive Guide
Variations of Moss Stitch
Moss stitch appears in several recognized forms, each offering a distinct texture and structural quality. Understanding these variations allows knitters to select the most appropriate version for their project’s design and performance requirements.
Seed Stitch (UK Moss)
- Alternates every stitch and every row
- Produces a tight, compact texture
- Ideal for borders, cuffs, and accessories where stability is required
American Moss Stitch
- Alternates every two rows
- Creates a chunkier, more pronounced texture
- Well-suited for scarves, blankets, and high-impact textured pieces
Double Moss Stitch
- Alternates every four rows
- Results in a wide, ribbed appearance
- Excellent for blankets, structured garments, and decorative panels
Recognizing the functional differences between these variations allows knitters to make informed decisions based on durability, elasticity, and aesthetic goals.
Different Variations: American vs British Moss Stitch
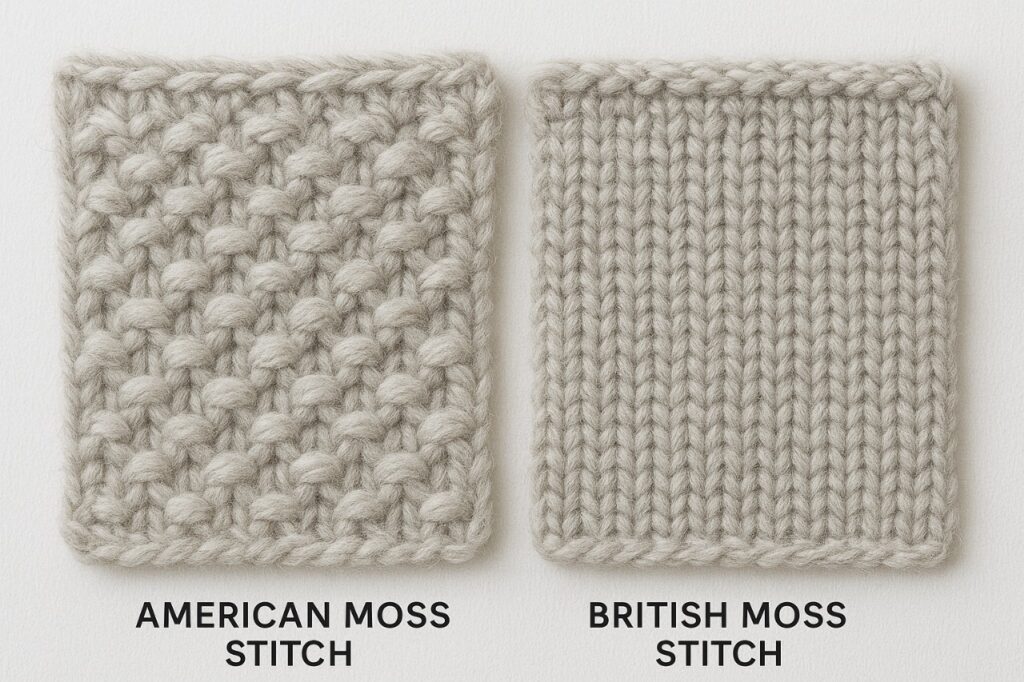
The distinctions between American and British moss stitch styles primarily involve stitch frequency and texture density. The British variation, commonly referred to as seed stitch, features knit and purl stitches alternating every single stitch and row, creating a tight, compact fabric with a refined surface.
Conversely, the American moss stitch repeats knit and purl every two stitches and rows, resulting in a chunkier, more pronounced texture. Both versions deliver exceptional fabric stability and visual appeal, offering knitters the flexibility to select the variation best suited to their project’s aesthetic and structural requirements.
Mastering Technique and Tension
Achieving a polished moss stitch fabric requires precise technical precision and control. Because the pattern alternates knit and purl stitches every row, any variation in how each stitch is formed becomes immediately visible in the finished texture. Developing a steady rhythm, maintaining consistent hand placement, and paying attention to how your yarn travels between stitches all contribute to cleaner results. Many knitters underestimate how much technique affects the clarity of the moss stitch pattern—refining these fundamentals early will dramatically improve the uniformity of your work.
Yarn and Tension Mastery
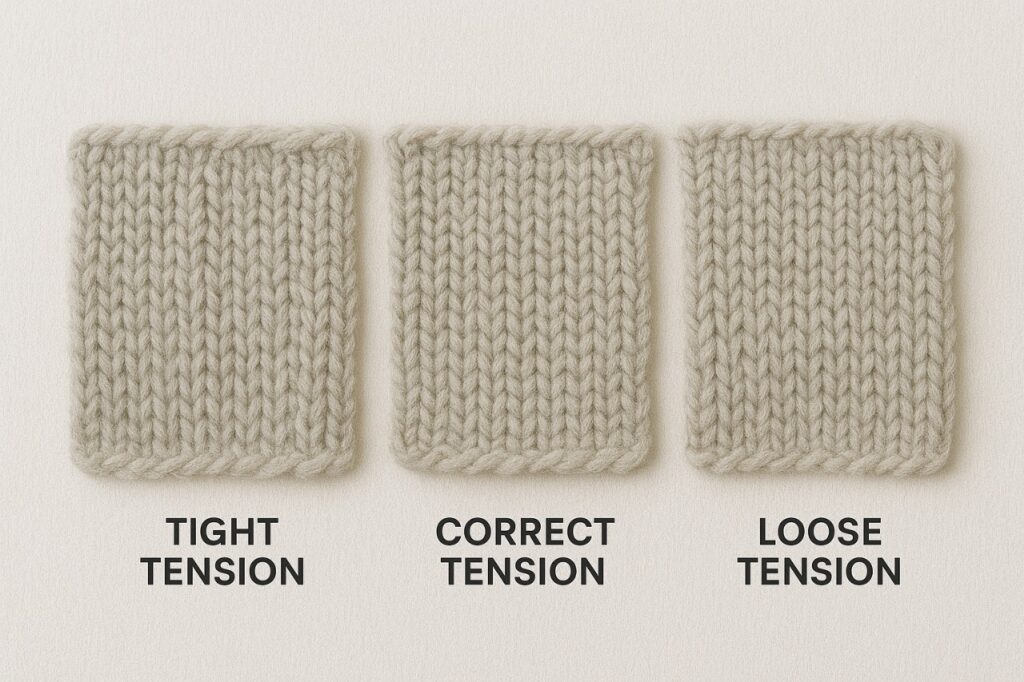
Mastering moss stitch requires uniform, balanced tension for professional results.
Tight Tension: Creates puckered fabric—solution: larger needles or looser grip.
Loose Tension: Produces floppy, uneven stitches—solution: smaller needles or firmer yarn control.
Consistent Tension: Develops with practice. Many knitters find maintaining rhythm between knit and purl transitions the most challenging part.
Blocking moss stitch projects after finishing further refines stitch consistency and crispness.
Also Read: How Do I Block a Knitted Sweater? Step-by-Step
Tips for Perfecting Moss Stitch
A professional moss stitch is defined by its even tension and flawless adherence to the alternating stitch sequence. Learning how to knit a moss stitch correctly is essential for achieving consistent results. Using stitch markers at regular intervals can be instrumental in maintaining pattern integrity, ensuring that knitters do not lose track of the alternating rows.
Tracking rows carefully is also vital; many experienced knitters employ row counters or written notes to monitor progress. Attention to detail in every stitch prevents cumulative errors and preserves the distinctive, textured look that defines the moss stitch. Yarn selection further enhances the effectiveness of these technical practices.
Also Read: How to Count Rows in Knitting: A Complete Guide
How to Knit a Moss Stitch: Expert Tips on Yarn Selection
Selecting the right yarn is crucial for showcasing the moss stitch’s distinctive texture. Smooth, plied yarns in medium weights like DK or worsted are ideal because they clearly define the alternating knit and purl stitches.
Fibers such as wool or wool blends provide natural elasticity and stitch memory, helping the fabric maintain its shape and texture over time.
Avoid overly fuzzy or novelty yarns that obscure stitch definition, as they can mask the characteristic nubby surface of moss stitch.
Additionally, consider the yarn’s durability—especially for wearable items—to ensure that the textured fabric holds up well with regular use and washing. Even with appropriate yarn, maintaining proper stitch tension remains key to success.
Troubleshooting and Problem Solving
Before addressing specific issues, it is important to understand that How to Knit a Moss Stitch requires a higher level of stitch awareness than many basic patterns. Because the texture depends on precise alternation, even minor inconsistencies—tension shifts, missed transitions, or uneven stitch execution—become quickly visible. Developing a disciplined approach to monitoring your work, checking alignment, and correcting errors promptly is essential for producing a clean, professional-quality fabric. Establishing these habits early dramatically reduces long-term mistakes and ensures your moss stitch projects retain their structure and visual clarity.
Troubleshooting Common Tension Issues in Moss Stitch
Maintaining consistent tension when learning how to knit a moss stitch can be challenging, but it is essential for an even fabric. If stitches feel too tight, the fabric may pucker and lose its soft texture. To fix this, try using a needle slightly larger than usual, or consciously relax your grip on the yarn as you work.
Conversely, if stitches are too loose, the fabric will appear sloppy and lack definition. In this case, a smaller needle size can help tighten the stitch gauge.
Regularly inspecting the fabric as you knit and practicing controlled, even tension adjustments will lead to consistently beautiful moss stitch results. Even with careful attention, mistakes can still occur—but many can be easily fixed.
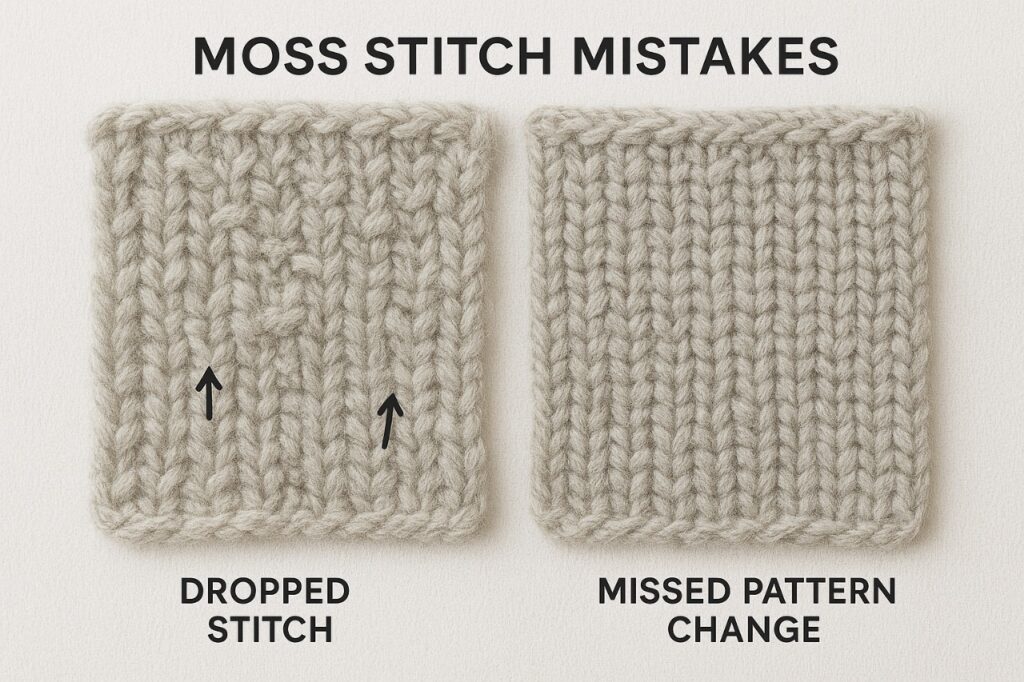
Common Mistakes in How to Knit a Moss Stitch and How to Fix Them
The most frequent errors in moss stitch occur when knitters inadvertently skip the switch between knit and purl stitches or drop stitches, which compromises the fabric’s uniform texture. These mistakes create obvious disruptions and uneven patches that detract from the pattern’s crisp appearance.
Corrections involve carefully lifting dropped stitches with a crochet hook or unravelling rows back to a correct point and reworking the pattern.
Experienced knitters develop systematic checking habits to identify and remedy such issues early, preserving the fabric’s integrity from start to finish. Once comfortable with fixing mistakes, you can confidently apply moss stitch to a variety of projects.
Also Read: How to Fix a Dropped Stitch: A Complete Guide for Knitters
Advanced Techniques and Finishing
Mastering advanced moss stitch techniques ensures your projects achieve professional-quality texture and durability. Attention to detail, consistent tension, and precise stitch handling are essential to create polished, long-lasting fabrics.
Moss Stitch Variations and Finishing Tips
Understanding the variations of moss stitch allows knitters to customize the texture and appearance of their projects. By applying advanced finishing methods, you can produce edges and surfaces that are both visually appealing and structurally sound. Strategic planning—such as stitch sequencing, edge treatments, and row management—elevates the overall quality of your work and ensures uniformity across the fabric.
Odd Number Stitches in Moss Stitch
Working moss stitch with an odd number of stitches slightly alters the stitch rhythm: one edge may repeat the same stitch for two rows (e.g., two knits stacked). This is not a mistake but a design quirk. Many knitters deliberately use an odd number of stitches to create symmetrical edges, producing a clean, professional finish for scarves and other flat-knit projects.
Binding Off in Pattern
To maintain the integrity of the moss stitch texture, bind off while adhering strictly to the stitch pattern. Knit and pass over for knit stitches; purl and pass over for purl stitches. This method prevents a visible edge band, yielding a seamless transition and a refined look suitable for both garments and accessories.
Neat Edges / Selvedge Options
Edges in moss stitch can appear uneven if not properly finished. Adding a selvage stitch on each side—such as always knitting the first stitch of every row—produces a smooth chain-like border. Alternatively, slipping the first stitch purl-wise with the yarn in front creates a subtle braided edge, offering an elegant, polished finish that complements the overall fabric.
Also Read: How to Pick Up Knit Stitches In Knitting? Two Methods
Moss Stitch Worked in the Round vs Flat
For knitters exploring how to knit a moss stitch in various formats:
For flat knitting: Alternate rows between knit/purl and purl/knit, shifting every two rows.
For knitting in the round: Work Round 1 as K1, P1 around; work Round 2 as P1, K1 around. Repeat these two rounds to create a textured fabric without turning your work.
Also Read: How to Join Circular Knitting? Beginner’s Guide
Projects Suitable for Moss Stitch
Moss stitch’s versatility makes it particularly well-suited for projects that benefit from substantial, non-curling fabric. Common applications include scarves, afghans, baby blankets, and textured trims on garments, where both durability and detailed appearance are paramount.
Because the stitch lies flat and is reversible, it excels in both functional and decorative roles across a wide variety of knitted goods. Its approachable complexity makes it a go-to pattern for projects requiring both aesthetic appeal and practical wearability.
Understanding its versatility leads to a stronger appreciation for incorporating moss stitch into your work.
Also Read: How Long Does It Take to Knit a Scarf? Time Guide
FAQs About How to Knit a Moss Stitch
Conclusion: Mastering How to Knit a Moss Stitch with Confidence
Moss stitch is one of knitting’s most dependable and versatile patterns. It offers durability, structural balance, and a timeless texture that never goes out of style. Because it lies flat and is reversible, this stitch is adaptable for countless projects, from garments and accessories to decorative household pieces.
Mastering moss stitch means more than memorizing a simple sequence of knits and purls. It gives knitters a foundation for experimenting with texture. It helps improve tension control. The fabric created appears both refined and resilient.
Beginners exploring texture use moss stitch as a learning tool, while advanced knitters appreciate its professional detail. This stitch remains a cornerstone of the knitting repertoire. Try adding moss stitch to your next project and discover its versatility firsthand.
Also Read: How Long Does It Take to Knit a Sweater? Complete Guide