How to Knit a Triangle: Easy Tutorial 3-Steps Guide
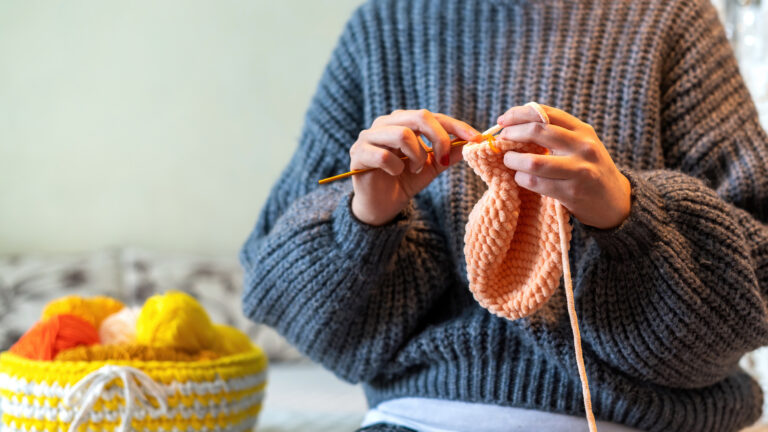
Knitting triangles strike a balance between simplicity and creativity, making them a go-to choice for shawls, scarves, and accents. This shape invites beginners with its straightforward structure, while experienced knitters find possibilities in lace, texture, or asymmetry.
How to Knit a Triangle: Mastering the basics of shaping and increases will open endless design options for knitters of all levels. One core triangular technique can form endless variations, making triangular knitting a foundation for ongoing exploration and experimentation. Triangular knitting depends on shaping techniques to expand the fabric row by row.
This method helps track progress and allows flexible project sizing. Most patterns do this by adjusting stitch counts at the edges or center, naturally widening the fabric. Two main techniques are the knit front and back (KFB) for smooth, nearly invisible increases and the yarn-over method for decorative openings. Together, these techniques shape the triangle and enhance its creative potential.
Basic Triangle Knitting Techniques
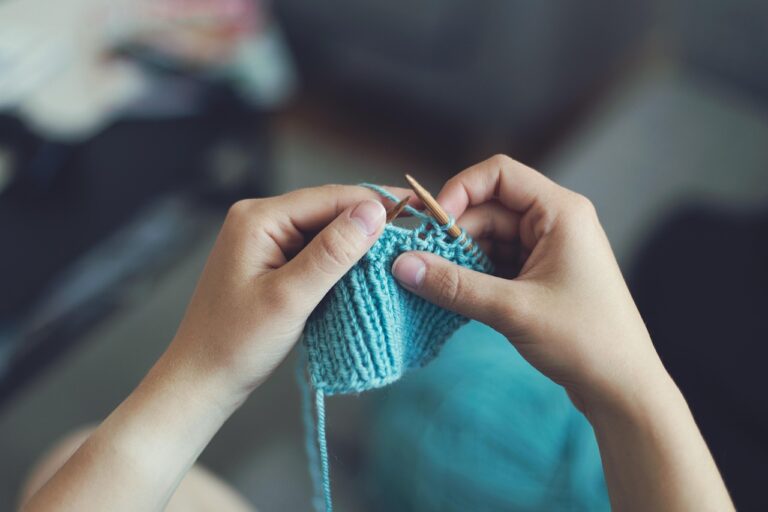
There are a few basic ways to knit a triangle. The most common method is to add stitches along the edges or the center. One simple increase is the Knit Front and Back (KFB): knit into the front of the stitch, then the back, before slipping it off. This adds an extra stitch, widening your fabric.
Another widely used technique is the yarn-over increase, which adds stitches by wrapping the yarn over the needle to create a new loop. Yarn overs are often placed along the edges or at the center spine to control triangle shaping. This not only increases stitches but also forms decorative holes, making it ideal for lacey triangle shawls. These simple and effective techniques enable knitters to tailor the look and feel of their triangles to suit various projects.
Also Read: How to Count Rows in Knitting: A Complete Guide
KFB (Knit Front Back) Increase Triangle
For knitters seeking a reliable method to shape triangular pieces, the KFB increase is a go-to technique. By knitting into the front and then the back loop of the same stitch, an extra stitch is formed without disrupting the fabric’s stability. This approach produces a subtle, sturdy increase, keeping edges smooth and expansion balanced and predictable.
KFB is highly valued for its versatility. Beginners find it easy to learn and apply when building confidence with shaping, while experienced knitters appreciate its compatibility with different stitch patterns, such as garter or stockinette. The technique works exceptionally well for projects that require durability and warmth, such as scarves and wraps, producing a solid-textured triangle that requires minimal adjustment during finishing.
Yarn-Over Increase Triangle
The yarn-over increase is practical and decorative. Wrap the yarn over the right needle before the next stitch to create a deliberate hole. When used along edges or the triangle’s center, it forms a line of eyelets. This results in uniform growth and displays openwork details that serve as a visual guide for tracking progress and symmetry.
Yarn-over triangles are favored in shawl knitting. Their lightness and elegance enhance drape and fluidity. This method works well with fine yarns and larger needles. The result is an airy fabric that looks intricate and refined. While this fabric is more delicate than that made with KFB increases, it is vital to maintain even, moderate tension when working yarn-overs to ensure durability and prevent dropped stitches. Yarn-overs combine structure and ornament, making them ideal for knitters exploring lace-inspired triangular designs.
Also Read: How to Change Colors While Knitting? Beginners Tips
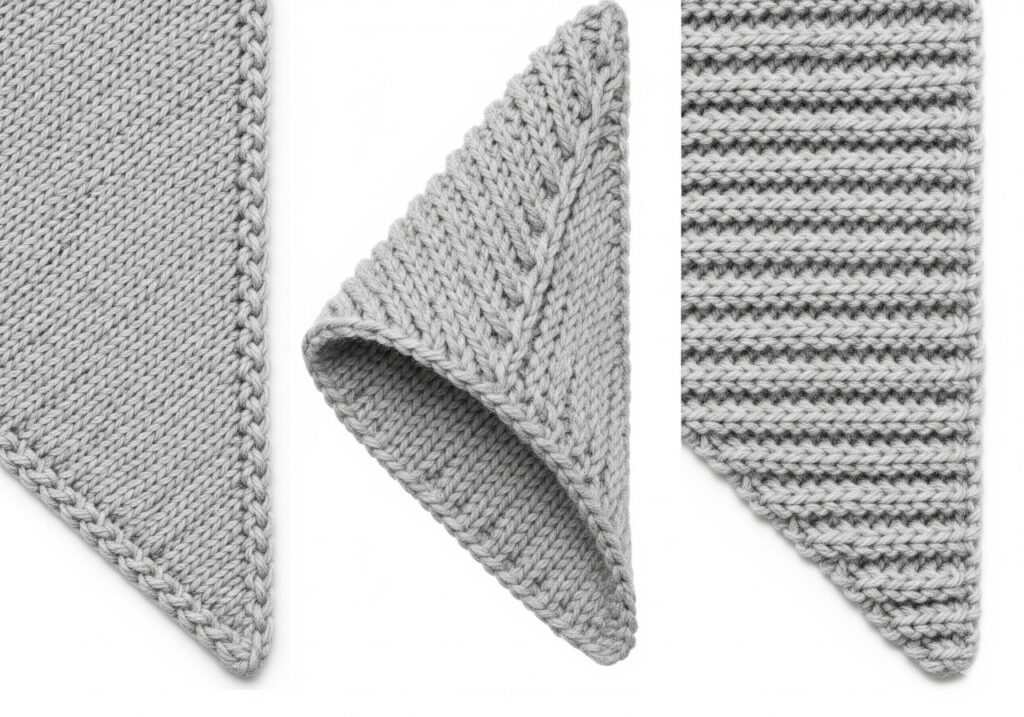
Textured Triangles (No Increases)
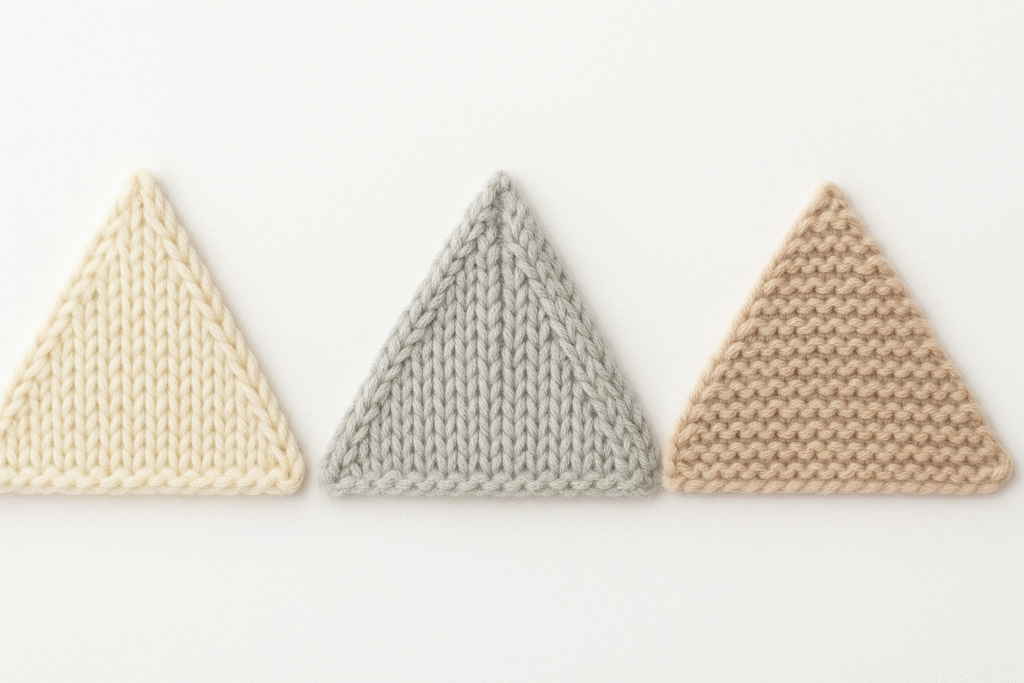
Not all triangles need to rely on shaping through increases. An alternative approach begins with casting on a set number of stitches and gradually binding off at one edge, creating a right-angled triangular form. This method is widely used in patchwork, modular knitting, and geometric designs, where each small triangle serves as a building block for larger projects, such as blankets, scarves, or decorative motifs.
By experimenting with stitch textures like garter, moss, or ribbing, each piece develops its own character while still fitting neatly into a broader design. Textured triangles offer a creative take on shaping. Rather than increasing stitches, focus on fabric structure and stitch work to enhance warmth, elasticity, or visual interest.
The strategic use of slipped stitches, cables, or purl bumps adds dimension and a modern style. This makes triangles stand out without altering their size. This method suits knitters who prefer modular projects or want to try modern triangular construction techniques.
Also Read: How to Knit a Hat with Straight Needles? Beginner’s Guide
Step-by-Step Triangle Knitting Patterns
Working with a triangle knitting pattern is easier when you break it into clear steps. Most patterns begin with just a few stitches, then add more stitches at specific points to create the triangular shape. Depending on where you add stitches, the triangle can grow from the top down, the bottom up, or even from the middle out.
Many people suggest using stitch markers to indicate where to add stitches, helping both sides remain the same as the fabric expands. Keeping track of rows or writing notes also enables you to follow your progress and make sure the triangle looks even. When you pay attention to where you add stitches and keep your knitting even, even new knitters can get neat, good-looking results.
Also Read: How to Knit a Gauge Swatch: Quick Guide
Simple KFB Triangle Pattern
This easy pattern starts by casting on three to five stitches. You add stitches at the start and end of each row using the KFB (knit front and back) method. As you work more rows, the triangle grows on both sides, making a smooth, even shape.
This method of knitting creates a strong triangle, which is ideal for items such as scarves, washcloths, or small shawls. It is also a great way to practice shaping and maintaining even knitting. Since the steps are easy to follow, knitters can focus on making their work neat without having to learn complex skills.
Also Read: How Long Does It Take to Knit a Scarf? Time Guide
Yarn-Over Triangle Pattern for Decorative Edges
A yarn-over triangle begins with a few stitches, similar to the KFB pattern. Instead of knitting front and back, you add stitches by making yarn-overs along the edges or around the middle stitch. These yarn-overs create small holes, which are part of the look and also aid in shaping.
If you repeat the steps, the fabric appears lacy, making scarves and shawls feel light and airy. Blocking makes the little holes stand out even more. This pattern is ideal for knitters who want to add style and texture while using easy steps repeatedly.
Variations of Triangle Knitting
Triangular knitting is not confined to a single shape. Beyond the classic symmetrical triangle knitting pattern, in which both sides are of equal length, knitters often explore bottom-up constructions (starting from the triangle’s base), side-to-side triangles (shaped by knitting from one point to the opposite edge), or offset designs where one edge grows longer than the other.
Building on these possibilities, each variation offers its own appeal, from balanced triangle shawls to modern asymmetrical scarves. Experimenting with textured stitches (raised or patterned surfaces), stripes (alternating bands of color), or lace panels (openwork created by purposely leaving holes) makes these patterns even more versatile.
For example, combining garter stitch (a basic, ridged knitting stitch) with lace sections can create striking contrasts. At the same time, gradient yarns (yarns that shift color gradually) highlight the evolving angles of the triangle. This adaptability, introduced by design choices, keeps triangular knitting engaging for knitters of all skill levels.
Also Read: How Long Does It Take to Knit a Sweater? Complete Guide
Knitting a Triangle Shawl
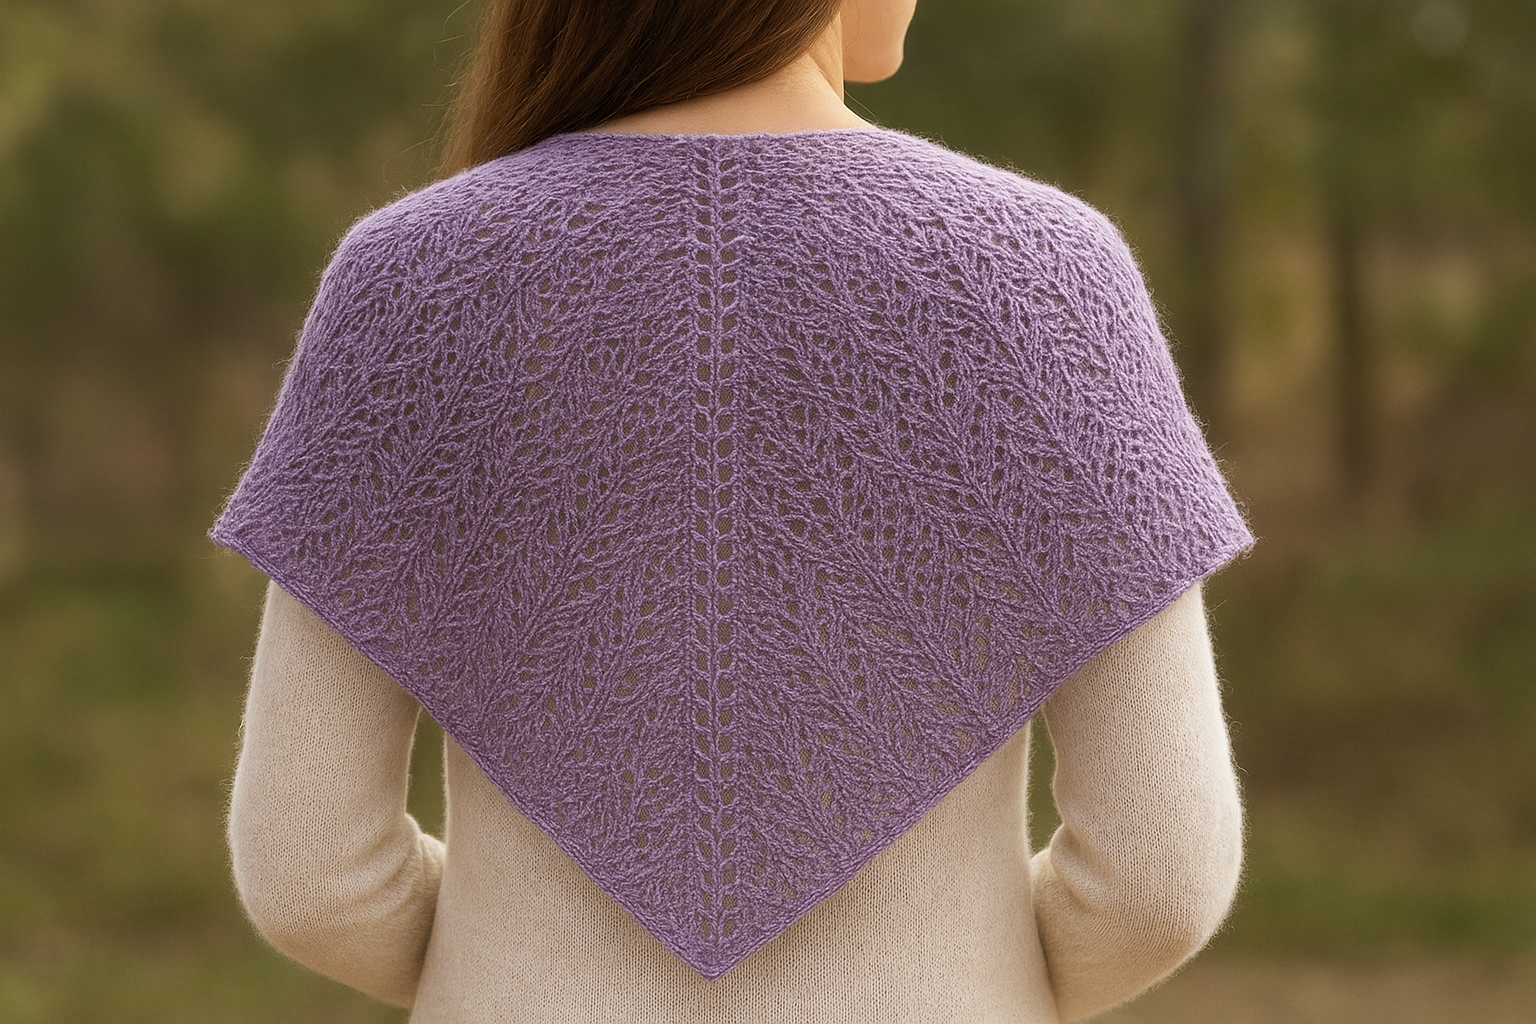
Of all triangular projects, the triangle shawl is the most popular. Typically, a shawl begins with only a few stitches at the neckline and expands outward through steady increases in stitches. The result drapes naturally across the shoulders, blending comfort with simplicity.
Triangle shawls range from simple garter stitch (a basic knit stitch pattern) to elaborate lace (decorative openwork), cables (raised twisted stitches), or colorwork (patterns featuring multiple colors). No matter the style, whether for a lightweight summer wrap or a warm winter layer, the triangular structure ensures a timeless accessory that blends style with practicality.
Also Read: How to Join in Round in Knitting: Comprehensive Guide
Wingspan and Asymmetrical Triangles
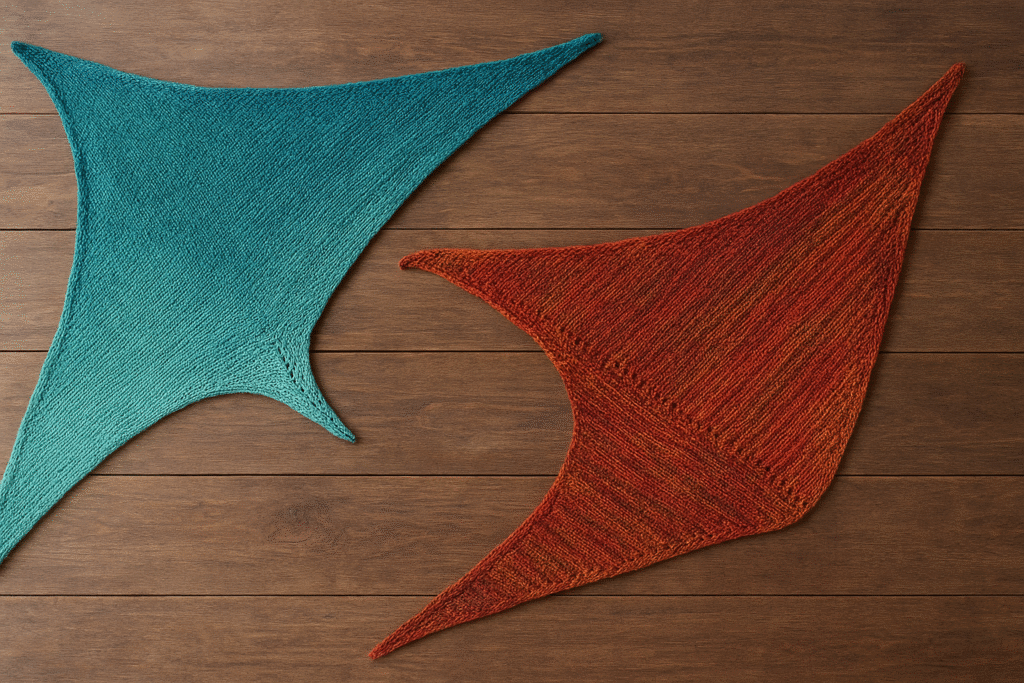
Not all triangles use symmetrical shaping. A knit wingspan shawl, with its extended tips, creates dramatic drape and movement. These designs often employ short rows or offset increases, creating a flowing effect that adds distinction and depth.
Asymmetrical triangle knitting patterns offer another modern approach. By adjusting where increases occur, one side extends longer than the other, creating a bold, distinctive silhouette. Used with gradient yarns or vibrant colors, these shapes stand out as actual statement pieces.
Choosing the Right Variation
Beginners often find symmetrical shawls or simple triangle patterns easiest to follow, as the shaping is regular and intuitive. Once those basics feel comfortable, more adventurous options—including asymmetrical triangles and wingspan shawls—bring in new techniques and creativity.
If you like variety, try stripes, lace, or textured stitches to show off each shape. Triangular knitting offers projects for every skill level, style, and goal.
How to Knit a Triangle: Tips and Tricks for Neat Edges and Shaping
Creating a well-shaped triangle in knitting combines edge control, balanced increases, and consistent tension. Triangles are used in countless projects—such as shawls, scarves, motifs, and design elements—and achieving symmetry makes them truly stand out. While uneven sides or curling edges are common beginner challenges, a few focused techniques ensure professional results.
Mastering triangle knitting edges and shaping requires practice, but making careful stitch choices makes the process smooth and rewarding. By combining the right cast-on, increase placement, and finishing methods, knitters can achieve polished triangular projects that block beautifully and wear well.
Also Read: How Do You Make a Slip Knot for Knitting? Easy Guide
Essential Tips for Professional Results
Select a stretchy cast-on method – A flexible base, such as the long-tail cast-on, prevents tightness and helps the triangle lie flat without curling. A firm edge can distort shaping, while a stretchy foundation supports balance.
Increase stitches evenly – Balanced increases on both edges or along a center spine are essential. Methods such as yarn overs, make-one stitches, or KFB create extra stitches while preserving symmetry and flow.
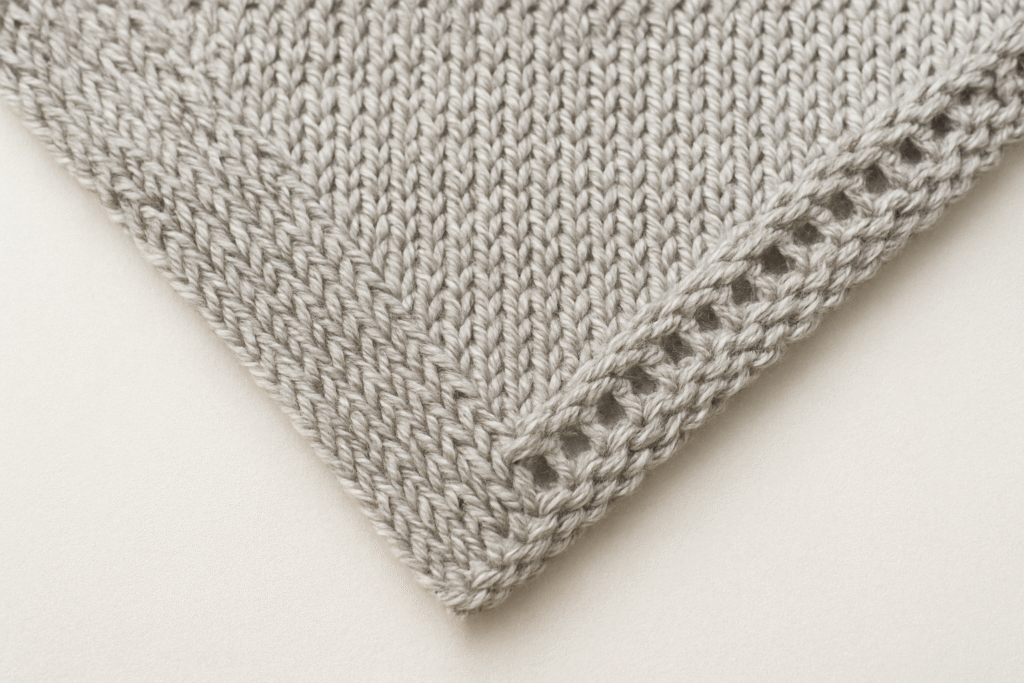
Refine edge stitches – Slipping the first stitch of every row purlwise with yarn in front creates a smooth, chain-like border. This not only looks polished but also simplifies seaming or picking up stitches later.
Mark increase points clearly – Place stitch markers to track where increases occur, reducing mistakes and ensuring both sides expand evenly.
Block the finished piece – Wet or steam blocking evens stitches, sharpens angles, and highlights shaping. Even triangles with minor inconsistencies look professional after blocking.
Choose yarn and needles wisely – Smooth, medium-weight yarns paired with slightly pointed needles provide easier shaping and clear stitch definition, making it easier to maintain neat edges.
Also Read: How to Do a Long Tail Cast On Knitting? Easy Guide
By following these steps, every triangle—whether part of a full shawl or a small motif—can be shaped with precision. With practice, the process becomes second nature, and knitters gain confidence in creating triangular fabrics that look as professional as they feel.
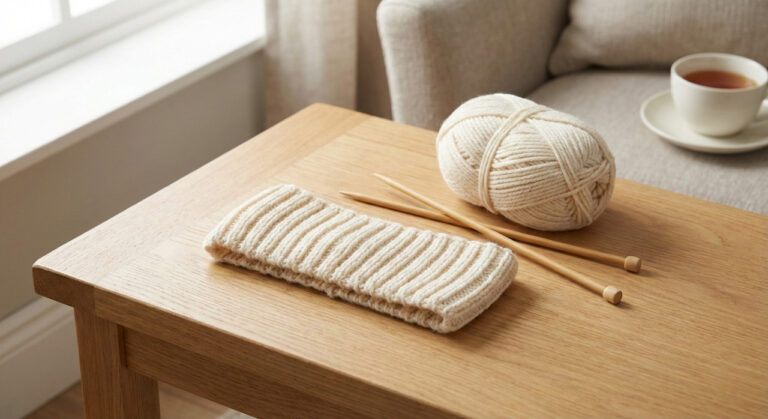
Materials and Tools Needed
A successful triangle knitting project relies on selecting appropriate tools and materials. The following essentials equip both beginners and experienced knitters for tidy results and a satisfying process.
Yarn Selection
Choose medium-weight yarn (DK or worsted) for clear stitch definition and easy control, especially if you are a beginner.
Select lightweight yarns (lace or fingering) to create delicate shawls with a soft drape.
Opt for heavier yarns (bulky or chunky) when you want to make cozy scarves or complete projects quickly.
Natural fibers, such as wool, alpaca, or cotton, provide elasticity and resilience, while blends add softness and economic benefits.
Knitting Needles
Circular needles are ideal, even for flat pieces, since the increasing stitches rest comfortably on the cord.
Straight needles are suitable for small triangles, but limited space makes larger projects challenging as the fabric widens.
Select needle sizes that match the yarn label; larger needles yield a more open fabric, while smaller ones create a firmer finish.
Also Read: The Best Interchangeable Knitting Needles
Additional Essential Tools
Stitch Markers – Stitch markers highlight increases or center stitches, maintaining symmetry as the triangle expands. Removable markers allow flexibility for adjustments.
Row Counter or Notebook – A row counter or notebook records rows and increases, especially with patterns featuring repeated sequences.
Tapestry Needle – Weave in ends using a tapestry needle to finish your project neatly. Blunt tips slip through fabric, avoiding split yarn strands.
Scissors – Cut yarn ends cleanly with a sharp pair of scissors to make finishing easier.
Blocking Tools
Foam mats – Lay your piece on foam mats to provide a surface for shaping and molding.
Rust-proof T-pins – Secure the triangle, forming crisp edges.
Spray bottle or basin – Use to wet the block, set stitches, and shape the triangle.
High-quality tools elevate both the knitting experience and the finished piece’s appearance and resilience. Beginners can start with basic materials, while advanced knitters may seek specialty yarns and needles for distinct results.
Also Read: Best Knitting Bags 2025: Ultimate Guide
Blocking and Finishing Your Triangle Project
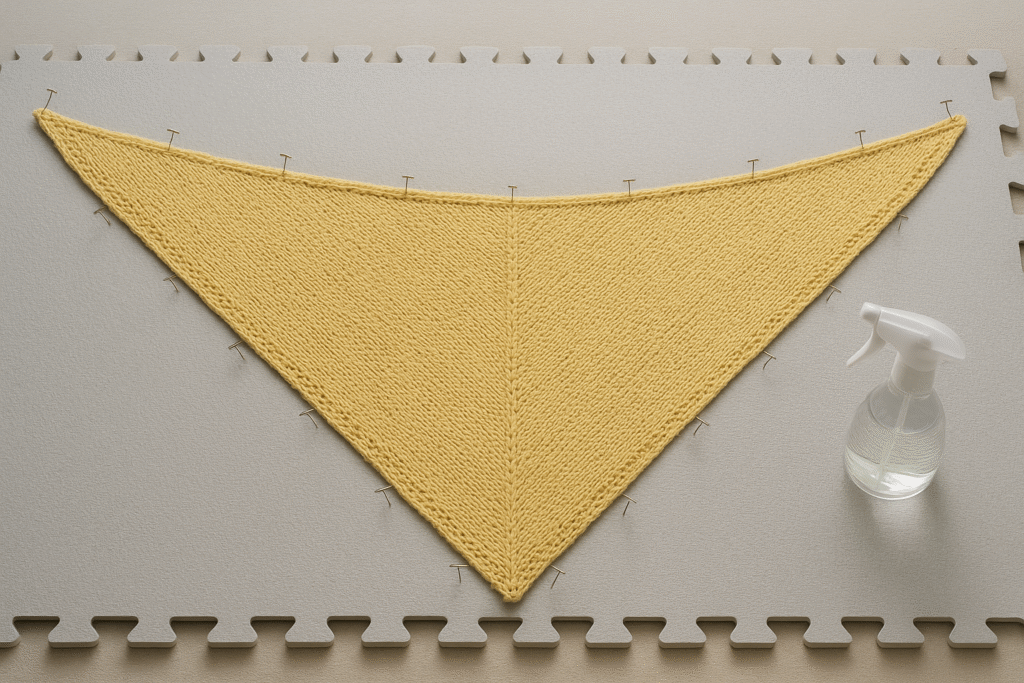
Blocking transforms your freshly knitted triangle from its natural, curled state into a beautifully defined piece. Wet blocking works best—soak your project in lukewarm water, gently press out excess moisture, then pin it into a balanced triangular form as it dries. Carefully position each corner so everything is even, and gently stretch the yarn-over sections to make those lovely details stand out.
Finishing touches bring your personality and care into your work. Neatly weaving in yarn ends keeps everything secure, and adding borders, tassels, beads, or fringe lets you customize it as you wish. With thoughtful blocking and detailing, your triangle becomes professionally finished, durable, and full of charm—ready to wear, display, or give as a loving gift.
Also Read: How Do You Weave in Ends in Knitting? Step-by-Step
Frequently Asked Questions
Conclusion: Choosing the Right Triangle Method for Your Project
The best knitting method for triangles depends on your skill level and the purpose of the project. Beginners benefit from KFB increases, which create a sturdy shape with little effort. For decorative results, yarn-over increases add eyelets and lightness. Modular and asymmetrical designs let knitters experiment with shape and texture.
Each method offers unique advantages, and trying different techniques builds confidence and creativity. Whether making a warm scarf, a delicate shawl, or a bold patchwork, triangular knitting remains a versatile and rewarding technique.
Also Read: Best Knitting Machine for Blankets in 2025: Top Picks