How to Use a Knitting Loom? 6 Easy Steps
Knitting looms make it very easy to start knitting, especially if using regular needles feels difficult or frustrating. These simple tools have pegs for wrapping and looping yarn, so you can make stitches without having to move your hands in complicated ways.
Learning how to use a knitting loom is one of the quickest and easiest ways for beginners to start knitting. A knitting loom holds your stitches in place, making the process easier to see, more organized, and much simpler to manage.
If you are new to loom knitting, this guide provides clear, step-by-step instructions. You will learn how to use a knitting loom, understand the purpose of each technique, and avoid common beginner mistakes.
By the end of this guide, you will complete your first project with confidence and be prepared to explore more advanced loom knitting patterns.
What Is a Knitting Loom? (And Why It Works So Well)
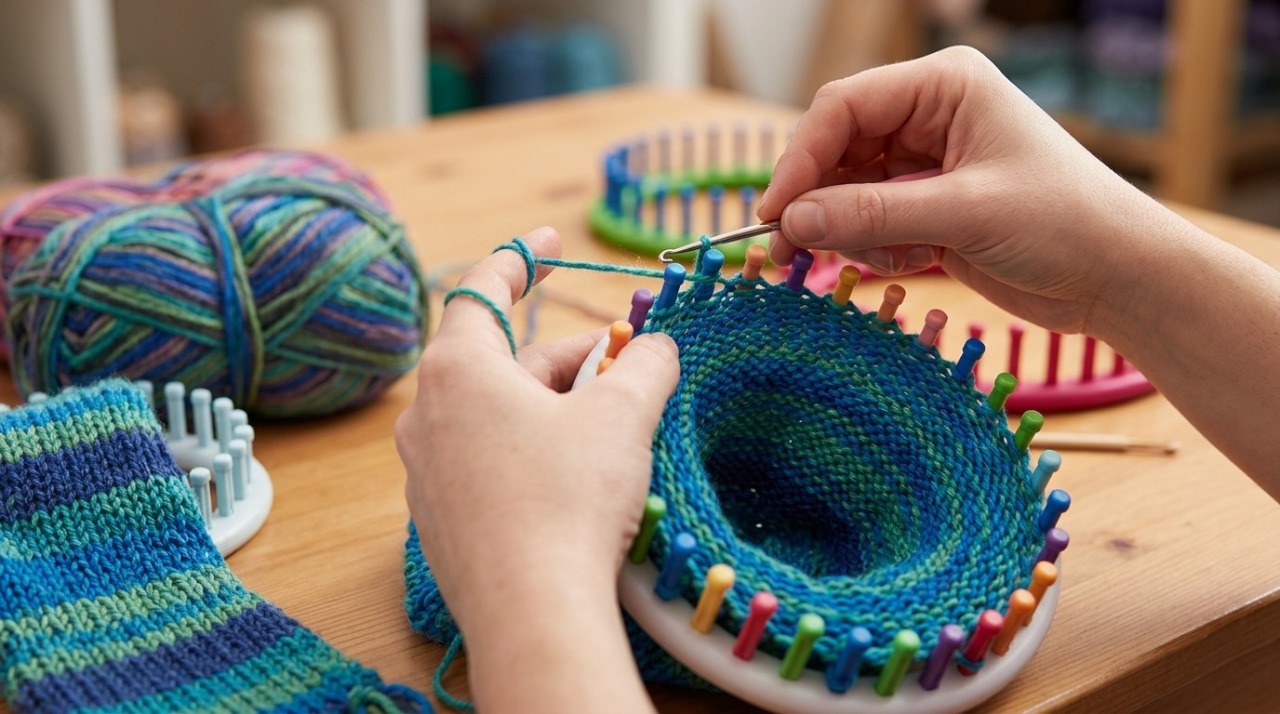
A knitting loom is a tool that replaces traditional needles with evenly spaced pegs. Instead of juggling stitches, you simply wrap yarn around the pegs and lift loops to form fabric, making the process easier and more controlled.
Think of it as a frame with pegs that act like mini needles. You build stitches row by row, creating everything from hats to scarves without the frustration beginners often face with needles.
This system works so well because it:
In simple terms, loom knitting for beginners takes away the hardest part of knitting, which is moving your hands together, so you can focus on learning how stitches are made.
It also speeds up learning. Many beginners can complete their first simple project—like a hat or scarf—much faster than with traditional knitting.
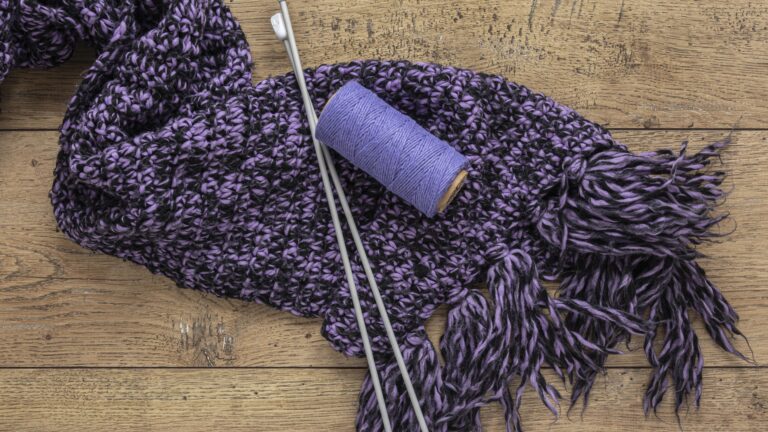
Also Read: Does Knit or Crochet Use More Yarn? The Simple Solution
Types of Knitting Looms (Choose the Right One First)
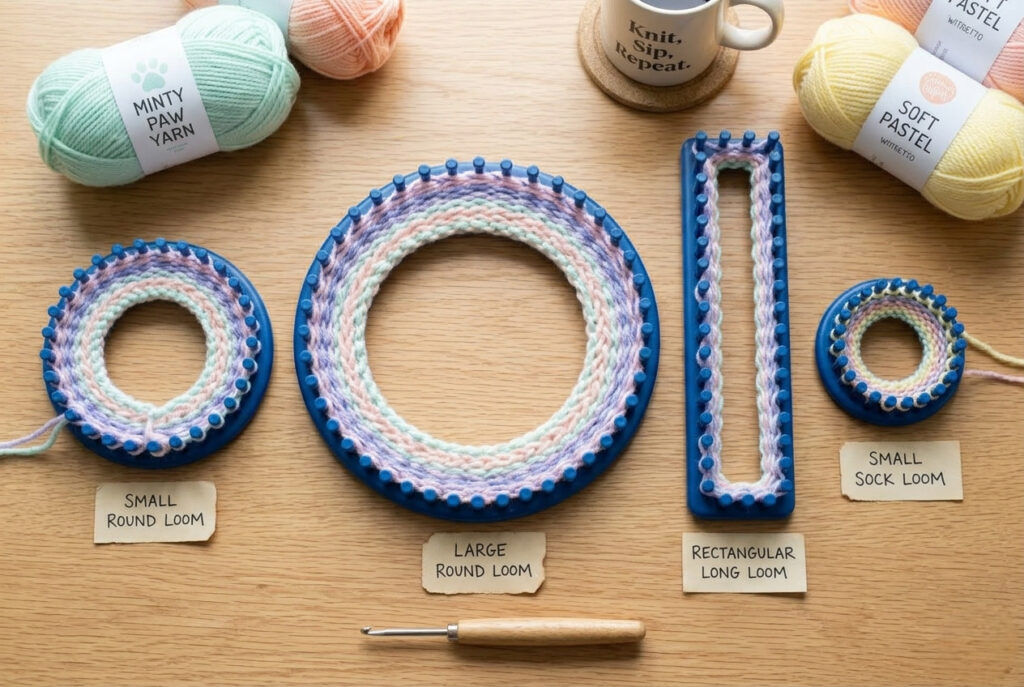
Before you learn how to use a knitting loom, it is important to pick the right one. Different knitting looms are made for certain projects, and using the right one makes loom knitting much easier and more fun.
Round Looms (Best for Beginners)
Round looms are the most popular choice for beginners learning how to use a knitting loom.
Tip: Smaller round looms (3–5 inches) are great for baby hats, while larger ones work for adult sizes.
Rectangular Looms (Flat Projects)
Rectangular or long looms are ideal for flat knitting.
A 24-peg or longer loom is perfect for beginner scarf projects.
Adjustable Looms
Adjustable looms let you try new things as you get better.
Small Gauge / Sock Looms
These looms are designed for finer, more detailed work.
Start with a round loom set and medium-weight yarn. This makes learning how to use a knitting loom much easier and helps you finish your first project faster.
Essential Supplies for Loom Knitting
You do not need many tools to start loom knitting, but the right supplies make learning to use a knitting loom easier and more enjoyable.
Must-Have Tools
These are the essentials every beginner needs:
- Knitting loom – Beginner-friendly plastic looms are affordable ($10–$20), while wooden looms offer more durability
- Loom hook (pick tool) – Used to lift loops over pegs; essential
- Yarn (worsted or bulky weight) – Ideal for beginners; use soft acrylic or wool blends (about 150–250 yards per project)
- Yarn needle – Needed for finishing and weaving in ends neatly
Helpful Extras
These tools are optional but improve your overall loom knitting experience:
- Stitch markers – Help track rows and pattern sections
- Row counter – Useful for larger loom knitting patterns
- Scissors – For clean yarn cuts
- Measuring tape – Ensures accurate sizing
Pro Tip: Smooth acrylic or cotton yarn is best for learning loom knitting because it does not break apart or catch easily. Avoid very thin yarn at first since it can be harder to work with and slow you down.
Also Read: Best Yarn for Blanket Knitting| Expert Guide 2025
How to Use a Knitting Loom: Step-by-Step
Most beginner guides fall short by showing steps without clear explanations. In this section, you’ll learn exactly how to use a knitting loom and why each step matters, so you can build confidence quickly.
Step 1: Understand the Loom Setup
Before you start, position your knitting loom correctly:
This setup ensures smoother movement and fewer mistakes when learning to use a knitting loom.
Step 2: Casting On (Foundation of Your Project)
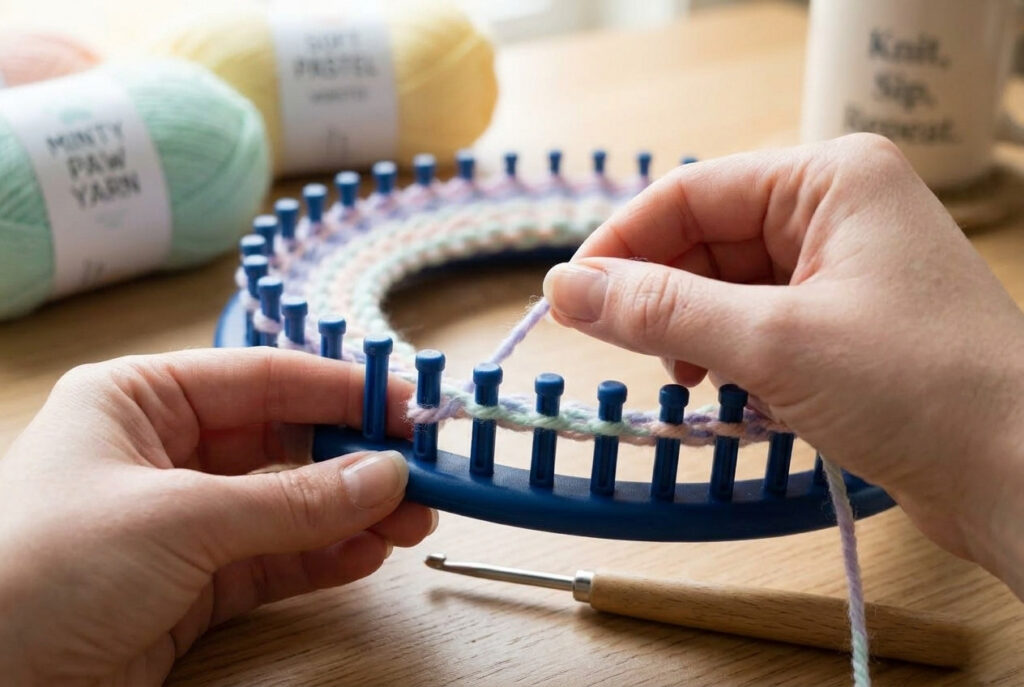
Casting on creates your first row of stitches and sets the structure for your project.
E-Wrap Cast-On (Best for Beginners)
- Secure the yarn to the anchor peg.
- Wrap yarn around each peg in a cursive e motion.
- Continue until all pegs are wrapped.
Why this matters: The e-wrap method is stretchy, forgiving, and perfect for beginners.
Also Read: How to Cast on Knitting with Two Needles: A Complete Guide
Step 3: Knit Stitch (E-Wrap + Knit Off)
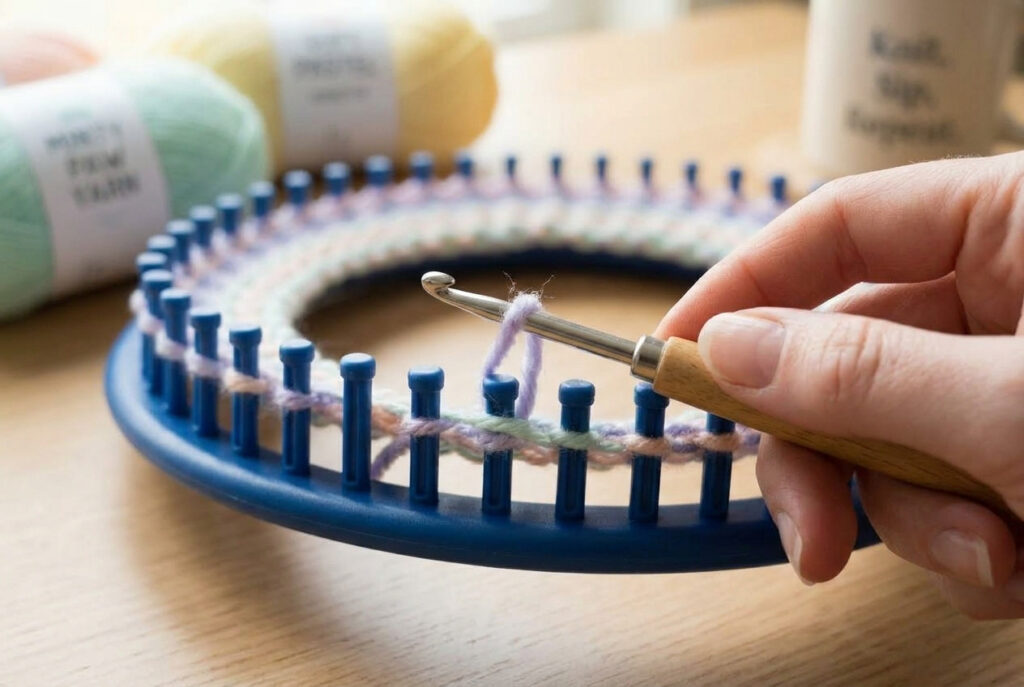
This is the core technique for using a knitting loom and the foundation of most loom-knitting patterns.
Process:
- Wrap yarn around pegs again.
- Use the hook to lift the bottom loop over the top loop.
- Let it drop behind the peg.
- Repeat for all pegs to complete one row.
What’s happening: You’re creating interlocking loops that form knitted fabric.
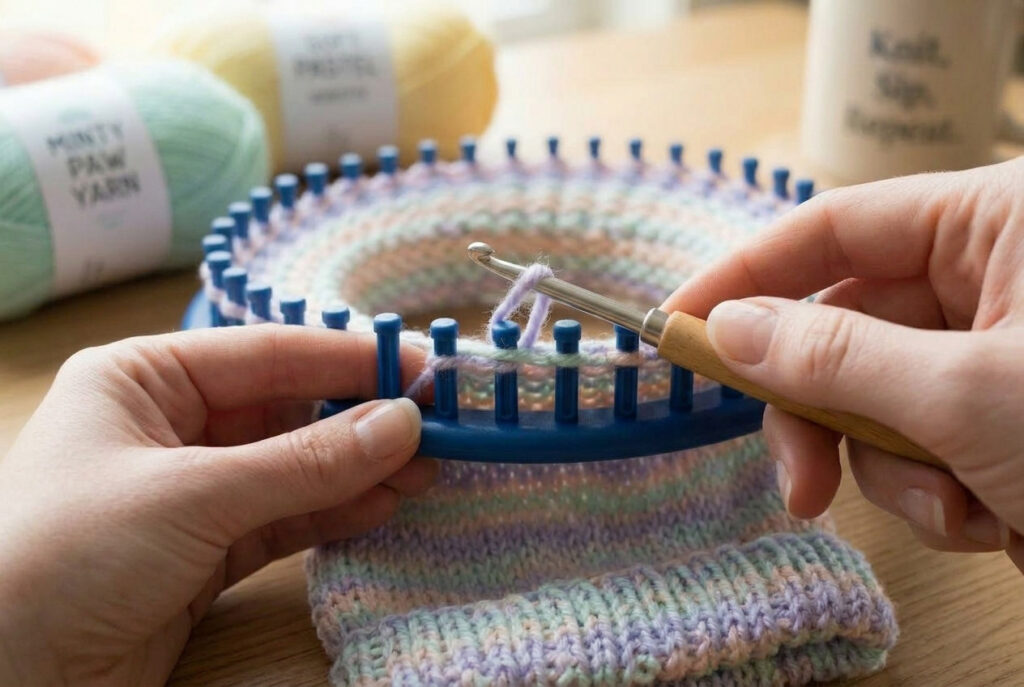
Step 4: Build Rows (Consistency Is Key)
Each pass around the loom equals one row.
Focus on:
Also Read: How to Count Rows in Knitting: A Complete Guide
This step builds muscle memory and improves your loom knitting technique.
Step 5: Purl Stitch (Adds Texture & Control)
Once you’re comfortable, add the purl stitch to expand your skills further.
How to Purl:
- Place the yarn under the loop.
- Use the hook to pull the yarn upward through the loop.
- Remove the original loop.
Why it matters: Purl stitches create textured designs, such as ribbing, and are essential for advanced loom-knitting patterns.
Also Read: What is Garter Stitch in Knitting? Easy Knitting Explained
Step 6: Binding Off (Finishing Your Project)
Binding off secures your stitches, so your project does not unravel.
Basic Method:
- Move loops from one peg to the next.
- Knit off.
- Continue until one loop remains.
- Cut yarn and pull through.
Also Read: How to Cast Off Knitting Right: Easy Guide
This final step completes your understanding of how to use a knitting loom.
Beginner Projects That Actually Work
The most effective way to improve your skills is by completing simple, structured projects. These beginner-friendly ideas let you practice the basics and build confidence with a knitting loom.
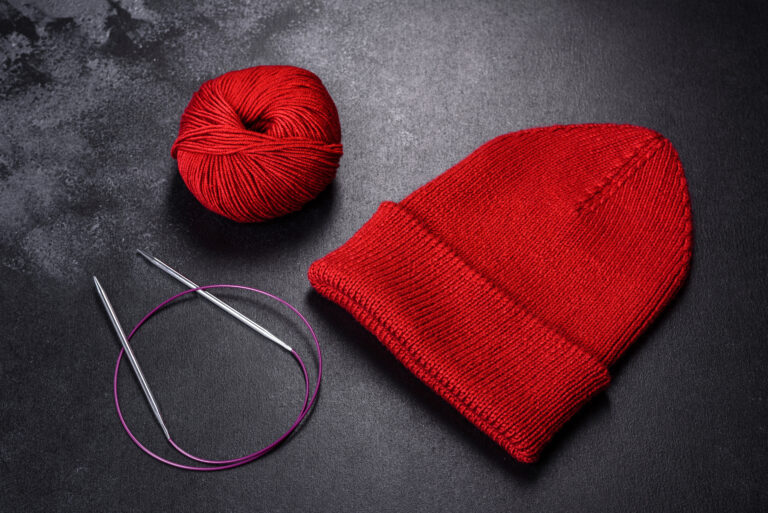
Loom Knit Hat (Best First Project)
A loom-knit hat is the simplest and most popular project for those new to loom knitting.
Why it works:
What you’ll need:
Steps:
- Cast on all pegs
- Knit 40–60 rows (depending on size)
- Gather the top using a yarn needle
- Secure and weave in ends
Also Read: Best Knitting Machines for Hats 2025: Buyer’s Guide
Loom Knit Scarf
A loom-knit scarf helps you practice control and maintain even stitches.
Why it’s ideal:
What you’ll need:
Steps:
- Cast on 20–24 pegs
- Knit 60–80 rows (adjust for length)
- Bind off and add fringe if desired
Also Read: How Long Does It Take to Knit a Scarf? Time Guide
Dishcloth (Skill Builder)
A dishcloth is a small, practical project that helps you refine your technique.
Benefits:
What you’ll need:
Steps:
- Knit a square (15–25 rows depending on size)
- Bind off
- Weave in ends
Why These Projects Work
These beginner projects focus on repeating the same steps, which is important when learning how to use a knitting loom. They let you practice basic skills like starting your project, knitting, and finishing without being too complicated.
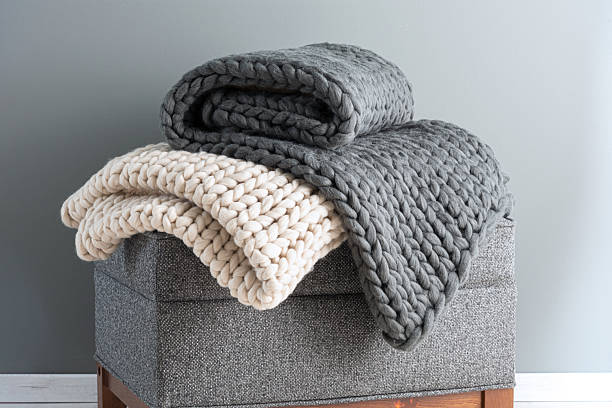
As you gain confidence, you can progress to more advanced loom-knitting patterns, including textured stitches, stretchy edges, or larger projects such as blankets.
Also Read: How to Finish a Knitting Project: A Complete Guide
Common Mistakes Beginners Make (And How to Fix Them)
Learning about common mistakes early will help you get better at using a knitting loom much faster. Most problems are about how tightly you hold the yarn, keeping things even, and using the right steps. These are easy to fix once you know what to watch for.
Tight Stitches
Problem: Stitches are difficult to lift off the pegs
Cause: Yarn wrapped too tightly
Solution:
Skipping Pegs
Problem: Holes or gaps appear in your fabric
Solution:
Uneven Fabric
Problem: Rows look inconsistent or wavy
Cause: Uneven tension
Solution:
Yarn Splitting
Problem: Hook catches and separates yarn fibers
Solution:
Loose Edges or Laddering
Problem: Vertical gaps appear between stitches
Solution:
Too Tight to Knit Off
Problem: Loops are extremely difficult to lift
Solution:
Pro Tip: Test Your Gauge — Before starting bigger projects, knit a small 4×4-inch sample. Measure your stitches to make sure they are the same size. This step is important for getting your patterns right.
Also Read: How to Knit a Gauge Swatch: Quick Guide
Expert Tips to Master Loom Knitting Faster
To truly improve at loom knitting, focus on technique—not speed.
Advanced Tips for Better Results
Also Read: How to Change Colors While Knitting? Beginners Tips
Key Insight: Consistency matters more than perfection when learning how to use a knitting loom. Small improvements in technique lead to big results over time.
FAQs: How to Use a Knitting Loom
Conclusion
Learning how to use a knitting loom is one of the easiest ways to begin knitting and create beautiful, practical projects. Unlike traditional needle knitting, a loom keeps your stitches organized on pegs, making the process easier to control and less frustrating for beginners.
By understanding the basics—choosing the right loom, using the e-wrap cast-on, practicing knit and purl stitches, and learning to bind off—you can quickly move from your first row of stitches to completing projects. Simple items like a loom-knit hat, scarf, or dishcloth provide the repetition needed to build confidence and develop consistent tension.
As your skills grow, loom knitting opens the door to more creative possibilities. You can experiment with different yarn types, try textured stitches, and explore advanced patterns for blankets, sweaters, and accessories. The key is to practice regularly, focus on consistent technique, and choose projects that match your skill level.
Most importantly, remember that progress comes from repetition and patience. Every row you knit strengthens your understanding of the loom, and each finished project improves your technique. With the right tools, clear steps, and steady practice, loom knitting can become a relaxing and rewarding craft you enjoy for years.