What is Garter Stitch in Knitting? Easy Knitting Explained
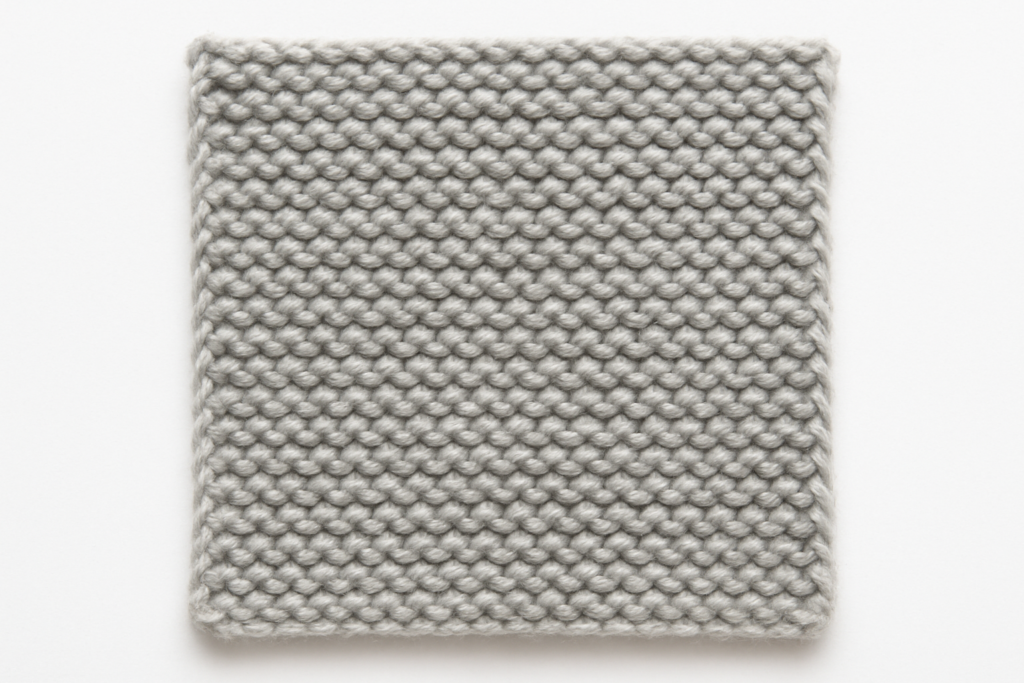
What Is Garter Stitch in Knitting? The garter stitch in knitting is one of the most basic and easy-to-recognize knitting patterns. You make it by knitting every stitch on every row, creating a thick, springy fabric with lines that look the same on both sides. This simple pattern prevents edges from curling and yields a steady, reliable fabric. Beginners like it because it is easy to learn, and experienced knitters use it for many kinds of projects.
Each line forms as the loops from one row gently push forward, making the well-known bumpy surface. This natural texture holds warmth, adds some detail, and lets the fabric stretch without losing its shape. Because garter stitch looks the same on both sides, people often use it for scarves, blankets, shawls, dishcloths, and any project where both sides show.
Even though it is often the first thing new knitters learn—because you do not have to purl—the garter stitch can do much more than it seems. Its shape works well with shaping, building in sections, short-row methods, and adding borders with different textures. Whether you are making simple accessories, modern designs, or special family pieces, garter stitch gives a strong base for many knitting styles and skill levels.
How to Knit Garter Stitch (Flat and in the Round)
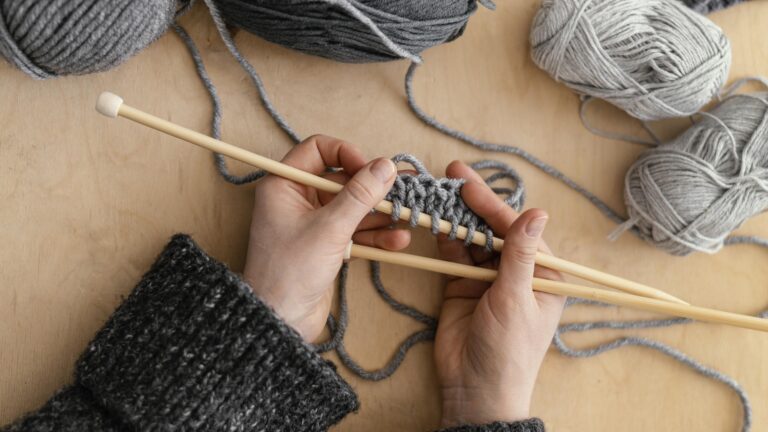
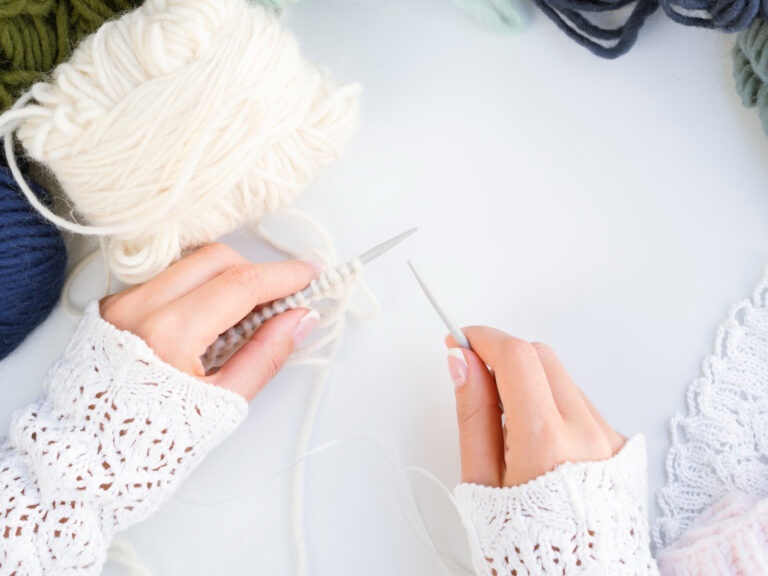
What Is Garter Stitch in Knitting? Mastering how to knit garter stitch is one of the easiest entry points into knitting, especially for newcomers drawn to its forgiving nature. This technique produces those signature ridges through a straightforward repeat, whether you’re working back and forth or seamlessly around. Garter stitch for beginners shines here because no purling is required on flat needles, letting you focus purely on the knit motion.
Knit Flat: The Classic Method
Flat knitting mirrors the way most folks pick up needles for their first swatch, building row by row with natural turns. The beauty lies in its no-fuss rhythm—every row mirrors the last, stacking those cozy bumps without extra steps. This approach suits wide scarves or simple blankets where stretch and warmth matter most.
Step-by-Step Instructions
Cast On Stitches: Begin with your preferred method, such as the long-tail for stretchy edges or the knitted cast-on for firmness that matches the garter texture.
Also Read: How Do You Make a Slip Knot for Knitting? Easy Guide
Knit Every Row: Slide the right needle into each stitch from front to back, yarn over, and pull through—repeat across, then turn your work.
Continue the Pattern: Work knit stitches row after row; every two rows form one visible ridge, creating the dense, reversible fabric.
Bind Off Loosely: At your desired length, knit the first two stitches together over the needle tip, then pass the first over the second until one remains.
Also Read: How to Finish a Knitting Project: A Complete Guide
This method keeps things simple for garter stitch knitting, turning basic motions into a sturdy piece that lies flat and resists curling.
Knit Garter Stitch in the Round
Shifting to circular work changes the game since you never flip the fabric, always facing the knit side. Plain knitting every round yields smooth stockinette, so alternate with purls to mimic flat garter’s ridges—perfect for hats, cowls, or tube socks without seams. Stitch markers become your best friends for flagging the switch.
Step-by-Step Instructions
Cast On and Join: Place stitches on circular or double-pointed needles, join carefully to avoid twists, and place a marker for the round start.
Also Read: How to Join in Round in Knitting: Comprehensive Guide
Round 1: Knit All: Work knit stitches fully around, maintaining even tension.
Round 2: Purl All: Purl every stitch to build the opposing bump layer.
Repeat Rounds 1-2: Keep alternating until your piece measures the needed depth, then bind off knitwise for a neat finish.
Tension stays key—loosen up on purls to prevent tight edges, especially with magic loop on smaller circumferences.
Key Differences and Pro Tips

Flat garter thrives on the knit stitch’s hidden duality: its back forms a purl, so turning naturally alternates textures without effort. In the round, you manually add that purl round since no turn happens, preserving the bumpy look across seamless tubes. Both deliver reversible, squishy fabric ideal for easy garter stitch projects like endless scarves or baby layettes.
- Opt for a medium-weight yarn to clearly highlight ridges during practice.
- Count rows every few repeats to track progress accurately.
- Block finished work by soaking and pinning flat for sharper definition.
- Experiment with larger needles for drapey results or smaller for dense cozies.
Also Read: How to Count Rows in Knitting: A Complete Guide
Why Use Garter Stitch in Knitting? (Benefits and Projects)
Garter stitch stands out in knitting for its unmatched blend of practicality and charm, drawing in beginners and pros who value fabric that performs as well as it looks. This pattern creates a squishy, ridged texture through simple repeats, making it a go-to choice for projects that demand durability and ease. From cozy wraps to modular designs, its strengths shine across skill levels and yarn choices.
Key Benefits of Garter Stitch
Garter stitch excels with features that solve common knitting headaches, like curling edges or uneven stretch. Its structure—built from all knit rows—creates natural stability without extra finishing steps.
Lies Flat Naturally: Edges stay put, skipping blocking hassles; perfect for dishcloths, scarves, and borders on sweaters.
Reversible and Uniform: Both sides match seamlessly, ideal for blankets or cowls that are often flipped.
Stretchy Yet Durable: Bounces back after pulls, suiting baby garments, fitted hats, or elastic cuffs.
Warm and Air-Trapping: Dense ridges insulate effectively for winter accessories like slippers or shawls.
Yarn Show-Off: Simple texture highlights variegated or hand-dyed yarns without distraction.
These traits make garter stitch for beginners a smart pick, forgiving tension slips while building confidence through quick results.
Garter Stitch in Knitting: Easy Projects
Garter stitch shines in simple, satisfying projects, especially when you want fabric that lies flat, feels cozy, and looks the same on both sides. Below are easy garter-stitch projects, explained in a clear format. Each idea includes why garter stitch works well, plus helpful yarn and needle suggestions to guide beginners.
1. Simple Garter Stitch Scarf
A scarf is one of the easiest ways to practice the rhythm of knitting every stitch on every row. Garter stitch creates a warm, reversible fabric that doesn’t curl at the edges, so your scarf looks neat without special finishing.
For a quick finish, pair a bulky or chunky yarn with US 10 (6 mm) needles. Perfect for absolute beginners.
Also Read: How Long Does It Take to Knit a Scarf? Time Guide
2. Classic Baby Blanket
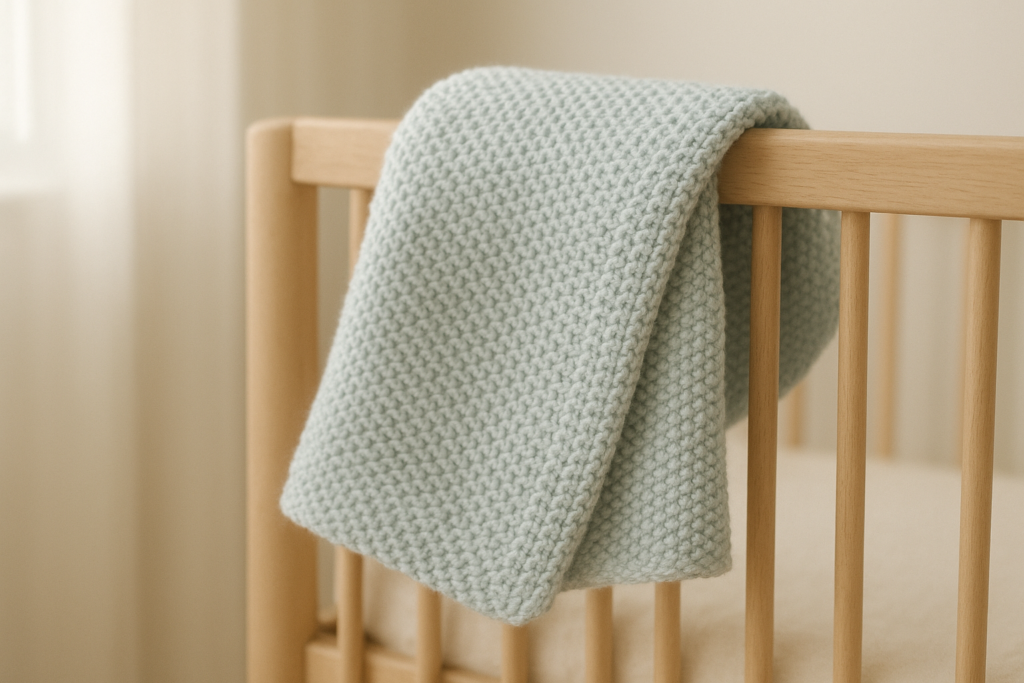
Garter stitch makes a soft, stretchy blanket that’s gentle enough for babies but durable for everyday use. The ridges add natural insulation, keeping the blanket warm and squishy.
Worsted-weight yarn and US 8 (5 mm) needles keep the fabric balanced—easy to knit and comfortable to hold. Ideal for new knitters ready for a larger project.
Also Read: Best Yarn for Blanket Knitting| Expert Guide 2025
3. Quick Garter Stitch Dishcloth
Dishcloths knit up quickly and are a great way to improve consistency without pressure. Garter stitch adds texture that helps with scrubbing while drying fast in the kitchen.
Use a cotton yarn with US 7 (4.5 mm) needles to create a sturdy cloth that holds its shape through repeated washing. A perfect beginner confidence booster.
4. Cozy Garter Stitch Cowl
A cowl worked flat or in the round shows how versatile garter stitch can be. The fabric feels cushy and warm while stretching comfortably around the neck.
If knitting in the round, try an aran-weight yarn and a 16-inch circular needle for a snug, plush result. Great for beginners who want to try a slightly new technique.
5. Mitered Square Blanket
For knitters ready to explore shaping, mitered squares offer a creative next step. Garter stitch reveals clean angles and tidy corners, especially when using short rows or centered decreases.
Gather leftover yarns or use coordinated colors with US 6–8 needles. This project is wonderfully modular—build squares as you go and join them into a blanket of any size.
When to Choose a Garter Over Others
Pick garter stitch knitting when stability trumps smoothness—think edges that behave or fabrics needing grip and give. It pairs with techniques like entrelac or welts for hems, elevating basics into heirlooms. Designers favor it for modular knitting, where blocks join thanks to matching stretch.
What Is Garter Stitch in Knitting: Tips for Beginners
Even though garter stitch in knitting is one of the simplest knitting patterns, a few key tips can make a big difference in your results. These suggestions improve tension, consistency, and overall fabric quality, helping beginners build their skills in garter stitch knitting with confidence.
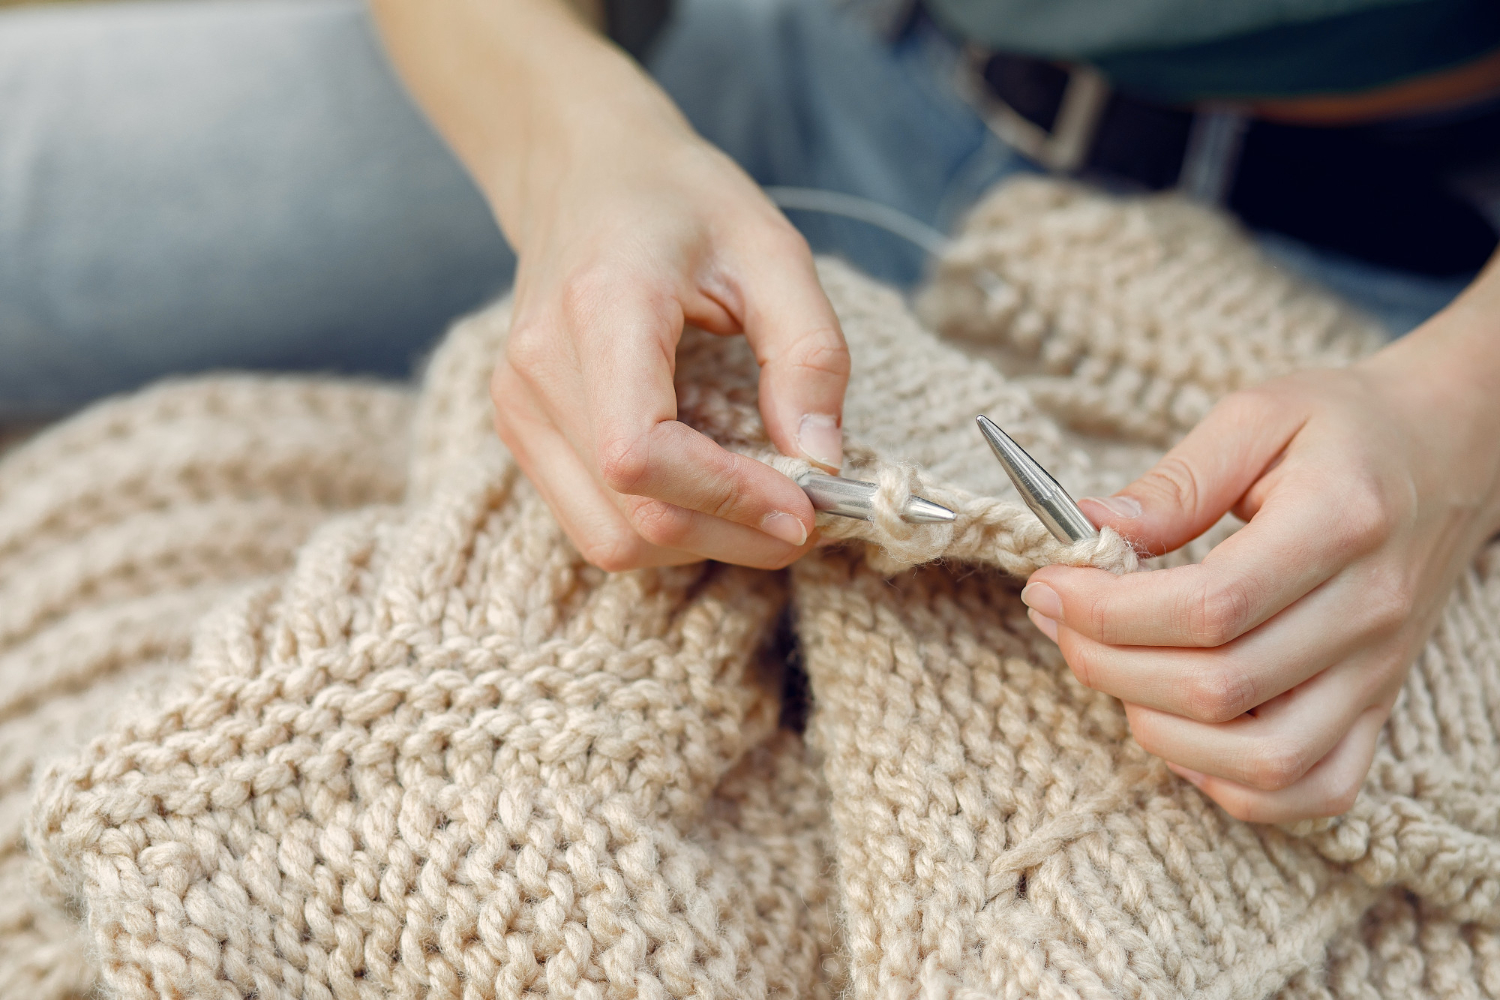
1. Use the Right Yarn and Needles
Start with smooth, medium-weight yarn so stitches are easy to see. Choose needles that feel comfortable in your hands and are appropriate for your yarn.
Wooden needles provide grip and control, while metal needles glide well with wool or textured yarn. Avoid slippery needles when working on wide pieces like blankets or shawls.
Also Read: How to Measure Circular Knitting Needles? Beginners Guide
2. Maintain Consistent Tension
Each row forms a visible ridge, so uneven tension shows quickly. Relax your grip and keep your yarn feed even to produce uniform stitches.
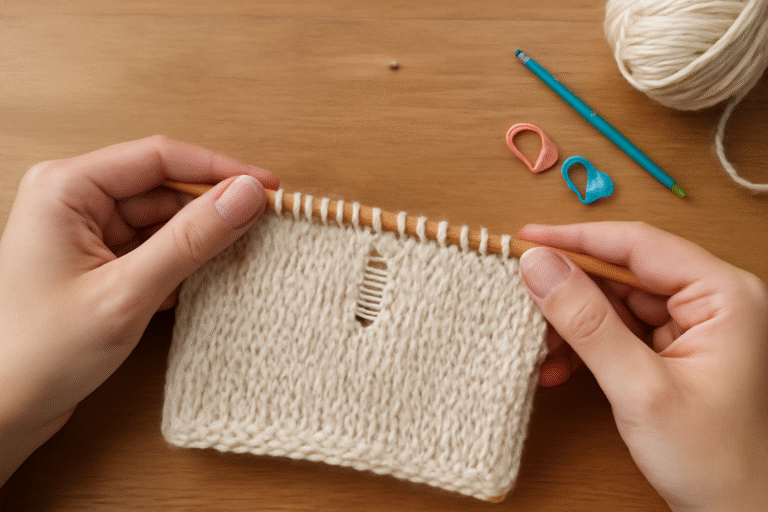
3. Check Your Edges
Garter stitch can create looser stitches along the edges. Try these solutions:
- Slip the first stitch of every row purlwise to create a neat chain-like border.
- Use slightly smaller needles for the cast-on and first row.
- Add a garter or seed-stitch border for extra stability in larger projects.
Also Read: How to Fix a Dropped Stitch: A Complete Guide for Knitters
4. Count Ridges Instead of Rows
Since two rows form one visible ridge, counting ridges is often easier and more intuitive than counting rows. This helps maintain symmetry in scarves, blankets, and panels.
5. Block Gently When Needed
Garter stitch usually lies flat naturally, so blocking isn’t always necessary. If desired, light steam blocking can even out the fabric and refine edges, particularly for shawls or lace-bordered projects.
These tips give beginners the confidence to explore knitting garter stitch and produce neat, even, professional-looking projects. By following these guidelines, you can enjoy the rhythm of knitting every stitch and create beautiful, durable fabrics for scarves, blankets, dishcloths, and more.
Common Garter Stitch Patterns and Variations
If you’ve ever wondered What is Garter Stitch in Knitting? the answer goes beyond the simple knit-every-stitch approach. The main benefit of garter stitch, whether in its classic form or through its many variations, is its ability to create a soft, stable, and textured fabric. Exploring these techniques adds texture, visual interest, and creative possibilities for all knitters, while preserving the fabric’s characteristic fluffiness and stability.
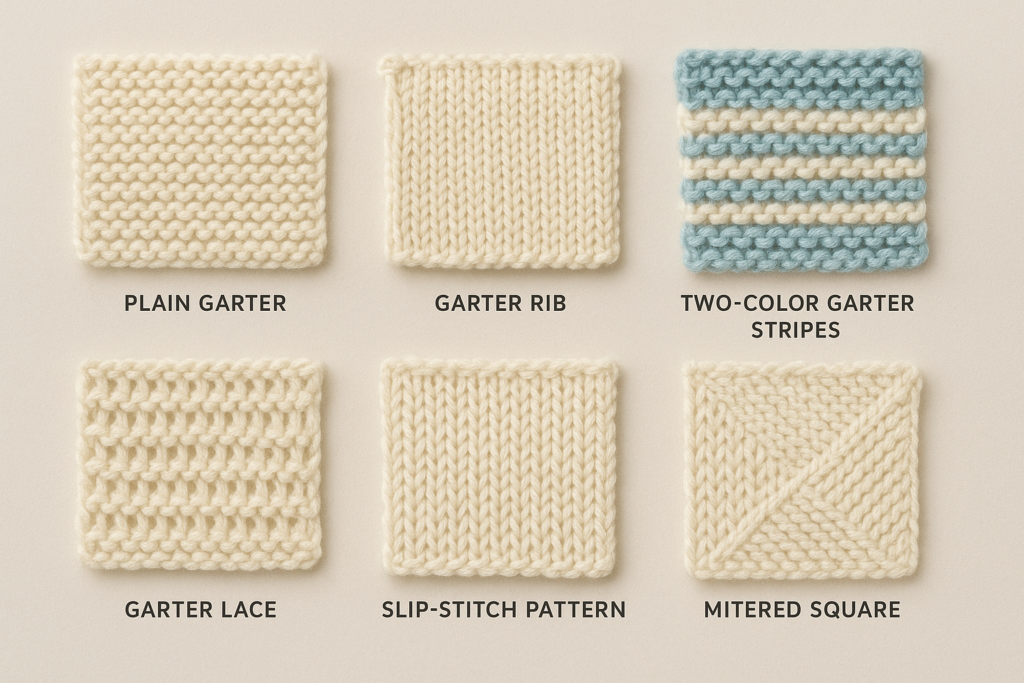
1. Garter Rib
A mix of garter stitch and ribbing creates a structured, stretchy fabric. Alternating columns of knits and purls provide vertical definition without losing the soft, squishy feel that makes garter stitch so versatile.
2. Broken Rib or Mistake Rib
These variations incorporate garter rows into traditional rib patterns, adding plush depth and subtle texture. They’re perfect for scarves, blankets, and panels that call for a little extra structure.
3. Garter Lace
Lace patterns worked on a garter stitch background remain stable and curl-resistant. Yarn overs and decreases create decorative holes while the garter base keeps edges neat, producing elegant yet functional pieces.
4. Two-Color Garter
Alternating rows in different colors produces bold stripes and eye-catching graphic effects. Garter stitch absorbs color beautifully, making even simple stripes look dimensional and textured.
Also Read: How to Change Colors While Knitting? Beginners Tips
5. Garter Mosaic or Slip-Stitch Patterns
By strategically slipping stitches, a plain garter background can transform into geometric motifs. This technique allows complex colorwork without stranded yarn, making it accessible to intermediate knitters.
6. Garter Short Rows
Short rows build curves organically in shawls, scarves, and sculptural pieces. The ridges hide turning points, creating smooth angles and gentle gradients while maintaining the softness and stability of garter stitch.
7. Mitered Garter Squares
A modular approach to blankets, cushions, and garments, mitered squares are created from small units that fit together like tiles. Each square highlights the garter stitch’s texture while allowing creative colorwork and shaping.
These variations show how versatile garter stitch knitting can be. From simple texture enhancements to modular designs, experimenting with these patterns allows knitters to personalize their projects, improve skills, and create timeless, functional pieces.
FAQs About What is Garter Stitch in Knitting?
Final Thoughts About What Is Garter Stitch in Knitting?
What Is Garter Stitch in Knitting? Now that you understand it and how to work it step by step, you’re ready to start creating your own garter stitch projects with confidence. This versatile stitch is simple, forgiving, and works beautifully for scarves, blankets, dishcloths, shawls, and many other projects.
Mastering garter stitch not only gives you a strong foundation in beginner knitting techniques, but it also unlocks opportunities to learn new patterns, experiment with textures, and explore creative designs. No matter what you choose to create, be proud—garter stitch ensures a reliable, attractive, and durable fabric every time.
Embrace this timeless stitch by starting a simple project today, and discover the endless possibilities for your knitting journey.
Also Read: What Is a Cable Knit Sweater? Complete Guide: Best Tips