How to Join Circular Knitting? Beginner’s Guide
The beauty of circular knitting lies in its efficiency and the smooth fabric it produces. It is a genuinely versatile technique that opens up a world of possibilities for handmade creations. Circular knitting in the round is an effective technique for creating seamless, tubular fabric.
Unlike flat knitting, which requires sewing pieces together, circular knitting builds projects in a continuous spiral, making it ideal for items such as hats, socks, sleeves, and sweater bodies. This method produces a smooth, professional finish without bulky seams, showcasing its versatility for a wide range of handmade creations.
Also Read: How to Knit a Hat with Straight Needles?
What is Circular Knitting?
Circular knitting describes a continuous method of fabric construction worked in a spiral rather than alternating rows. Rather than reversing direction at the end of each row, stitches progress uniformly in one direction, resulting in a smooth, seamless tube.
Such an approach proves exceptionally well-suited to garments and accessories designed to encircle the body, such as socks, hats, and sweater sleeves. The elimination of side seams contributes to a professional, polished look while enhancing overall comfort and fit.
Benefits of Knitting in the Round
One of the most notable advantages of circular knitting is its ability to produce seamless garments. This feature not only imparts a polished and professional look to the finished piece but also reduces the amount of finishing work required, as there are no seams to stitch together at the end. Picture knitting a hat or a pair of socks, and upon completion, they are truly finished; no intricate stitching is needed!
In addition to the seamless benefit, many knitters find circular knitting to be more intuitive and efficient. Since the “right side” of the fabric is always facing, there is no need to turn the work after each row, which can disrupt the rhythm of the process. This continuous motion promotes a more consistent tension, ultimately resulting in a more even and attractive fabric.
Also Read: How Long Does It Take to Knit a Sweater?
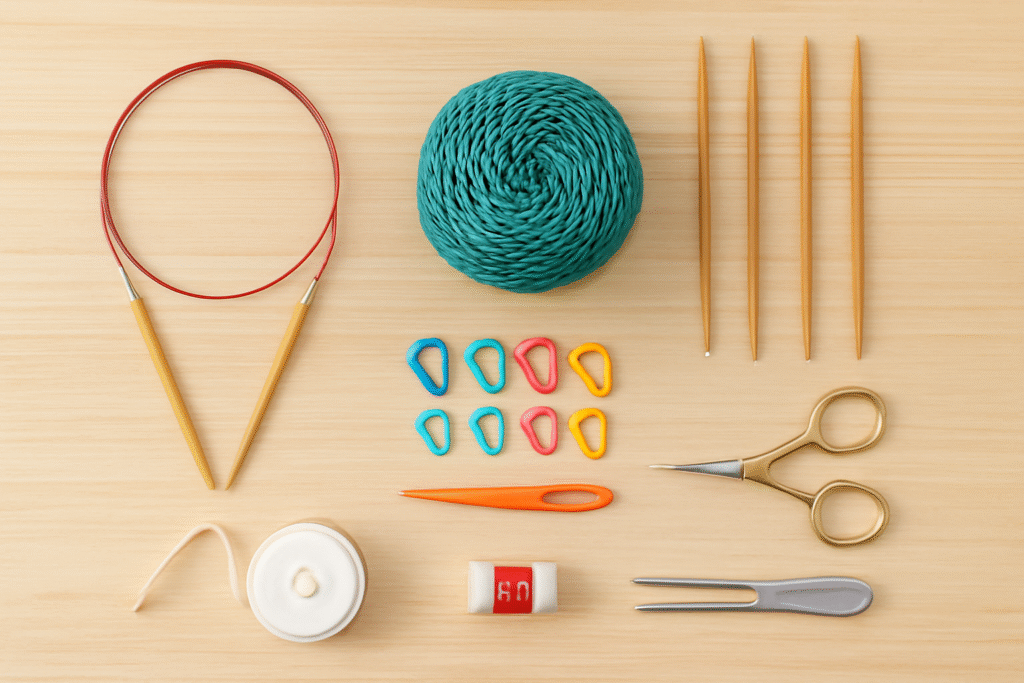
Essential Tools for Circular Knitting
Circular knitting requires specific tools for smooth and efficient stitching. Key tools include:
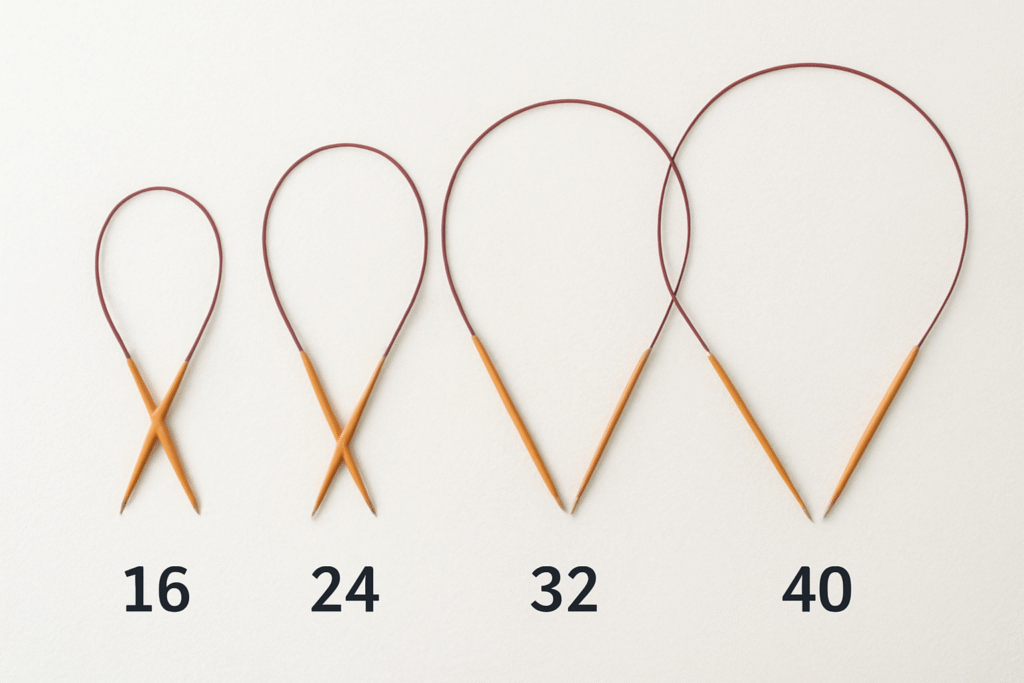
Circular Needles
These are essential for circular knitting, with two tips connected by a flexible cable for seamless rounds. Available in lengths (16″, 24″, 32″, 40″, etc.) and diameters (2 mm to 15 mm+). Choose the needle length based on the project, using 16″ for hats and longer for sweaters or shawls.
Double-Pointed Needles (DPNs)
Great for small-circumference projects, such as socks and mittens, DPNs come in sets of four or five. They eliminate the need for a long cable, making them ideal for use in tightly packed areas.
Interchangeable Needle Sets
These sets feature detachable tips and cables of varying lengths, offering versatility and saving storage space. They allow for manageable size or length adjustments mid-project without disturbing the stitches.
Stitch Markers
These help mark the beginning of the round and track pattern repeats. Use locking or ring-style markers depending on personal preference and the project type.
Additional Essential Tools
Yarn: Any yarn can be used, but make sure it matches the needle size and pattern requirements. Smooth yarns in medium weight are most manageable for beginners.
Tapestry Needle: Needed for weaving in ends and finishing the project neatly. A blunt-tipped, large-eyed needle is best suited for working with yarn.
Row Counter or Pen & Paper: Helps track the number of rounds completed. Useful for patterns with shaping, colorwork, or detailed stitch sequences.
Scissors or Yarn Cutter: A sharp, clean pair is essential for cutting yarn cleanly without fraying.
Gauge Ruler or Measuring Tape: Helps check the gauge before and during the project to ensure proper sizing and fit.
Project Bag or Organizer: Keeps all your tools, yarn, and work-in-progress neat and tangle-free when not in use.
Circular Needles vs. Double-Pointed Needles (DPNs)
Though both needle types serve a similar purpose, each excels under different circumstances. Circular needles are preferable for broader items such as sweaters, cowls, or blankets. Their flexible cable distributes project weight evenly, minimizing strain on the hands.
In contrast, DPNs are ideal for projects with small circumferences, like socks or mitten tops. Although they may feel cumbersome initially, these tools offer excellent control for shaping and accessing tight stitches in confined rounds.
Selecting Appropriate Needle Length and Material
Choosing the right needle length for circular knitting is crucial for achieving comfort and effective stitch management. Opt for a circular needle whose cable length falls just below the intended diameter of the piece. The project’s circumference is 16 inches for hats and 32 or 40 inches for larger items, such as sweaters. For small circumferences, the “Magic Loop” technique, which utilizes a longer cable, is helpful.
Needle material also impacts the knitting experience. Metal needles are smooth and fast, while wooden or bamboo needles offer more grip, making them suitable for beginners and for working with slippery yarns. Experimenting with materials can help determine what works best for a particular style.
Also Read: How to Measure Circular Knitting Needles?
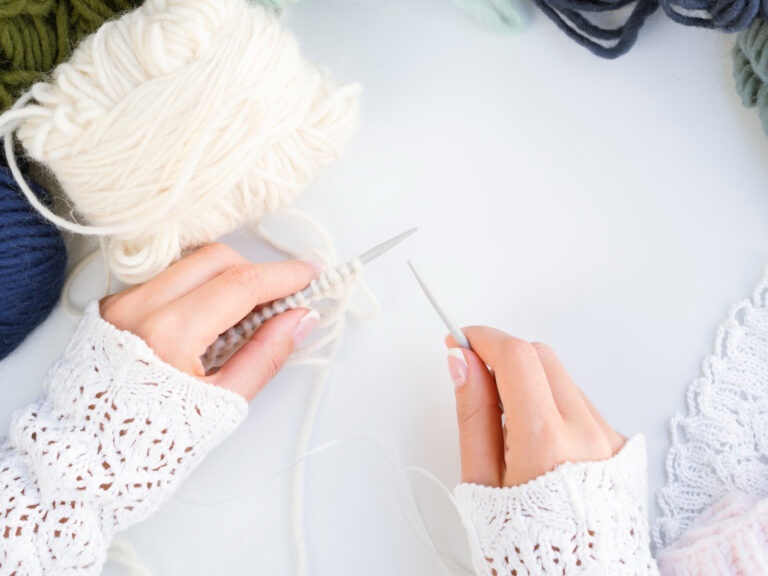
How to Join Circular Knitting? Step-by-Step
Step 1: Casting On Stitches
To join in the round, one must first cast on stitches. The long-tail cast-on is an excellent choice for circular knitting, as it creates a stretchy, neat edge ideal for hat brims or sock cuffs. Begin with a slip knot (or omit it for a less visible join) and cast on the remaining stitches evenly.
Maintain consistent tension while casting on; too tight makes knitting difficult, while too loose appears sloppy. After casting on, slide the stitches to the needle tips and check for twists. Establishing this step lays the groundwork for a stable and well-structured circular knitting project.
Also Read: How to Cast on Knitting with Two Needles
Step 2: Arranging and Checking for Twists
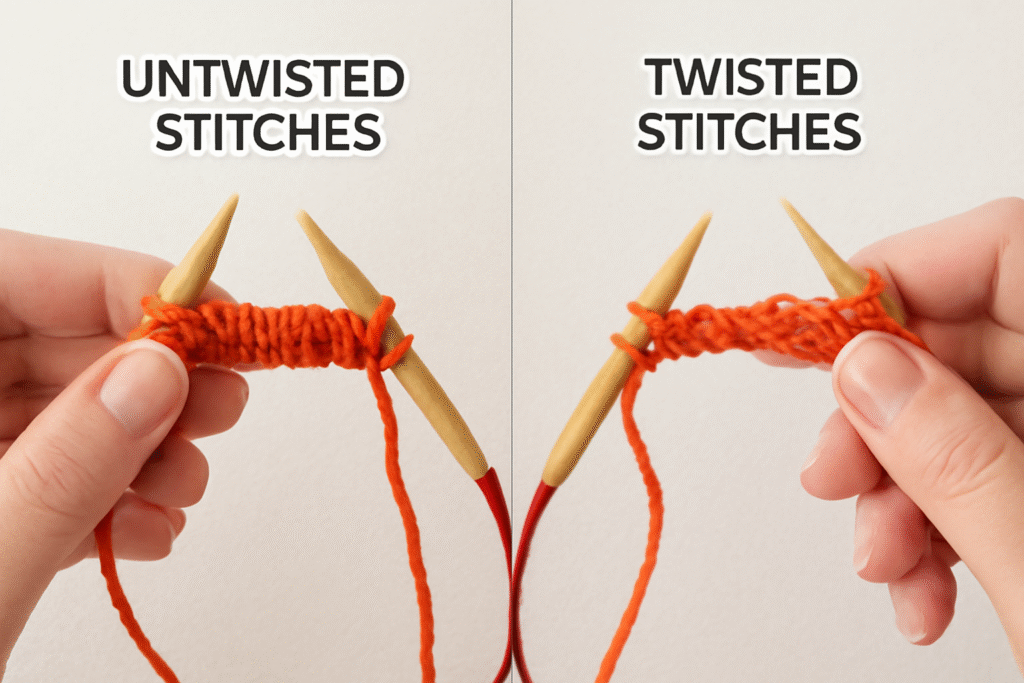
This step is the most crucial for successful circular knitting. After all stitches are cast on, carefully lay the work flat on a surface or in one’s lap, ensuring that the cast-on edge forms a neat, untwisted circle. All the bumps or V shapes of cast-on stitches should be facing inwards, towards the center of the circle, in a consistent direction. It is incredibly easy for stitches to flip over the cable, creating a twist, and once knitting begins, it is tough to undo without ripping back.
Take time to inspect stitches thoroughly. Gently slide them around the cable, ensuring they all lie flat and are not spiraled around the needle itself. If a twist is spotted, gently untwist it before proceeding. This careful inspection now will save one from the frustration of knitting several rounds only to discover a permanent twist in the fabric, necessitating a complete restart.
Step 3: Joining the Round (with Multiple Methods)
Once the stitches are aligned and untwisted, connect the first and last stitches to form a loop. Beginners can knit the first cast-on stitch with the working yarn, creating a slight jog at the joint.
For a neater finish, slide the first cast-on stitch to the correct needle, then pass the last cast-on stitch over it and off the needle, returning it to the left needle. This technique helps close the gap and minimize the jog. Ensure both yarn strands (working yarn and tail) are ready for the first stitch of the new round.
Step 4: Placing a Stitch Marker
After joining stitches into a circle, place a stitch marker on the right-hand needle after the first stitch of the new round. This marker helps identify the start of each round in circular knitting, preventing mistakes and uneven shaping. Choose a stitch marker that’s easy to slip but will not fall off easily.
Removable or locking markers are ideal for this purpose. Each time reach the marker, move it from the left needle to the right to indicate the start of a new round. This simple habit is essential for maintaining accuracy in the work.
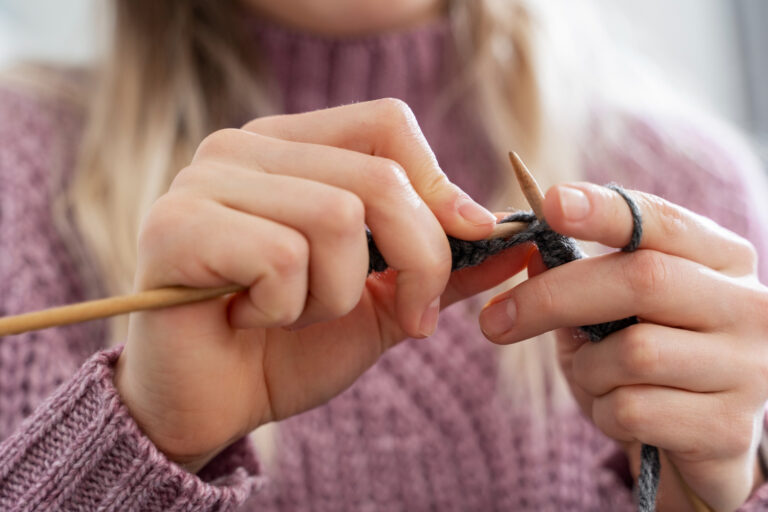
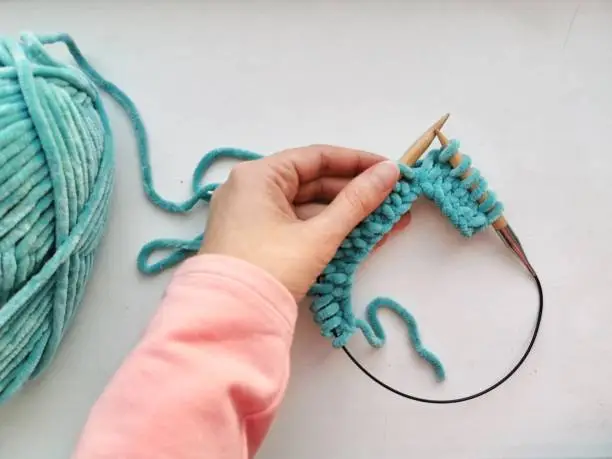
Step 5: Knitting the First Round
With stitches cast on, aligned, joined, and a stitch marker in place, one is now ready to knit the very first round. This round often feels the tightest, especially for new knitters, as one is working into the cast-on edge. Take your time, ensuring that you insert the needle cleanly into each stitch and maintain consistent tension. It is perfectly normal for the yarn tail from the cast-on to be hanging freely; this will be woven in later.
As one works around the circle, ensure that stitches are flowing smoothly along the cable of the circular needles or across DPNs. If any unexpected twists are encountered, stop immediately and carefully unravel back to the join to correct them. The first round sets the foundation for the entire project, so a little extra care here will pay off with a beautifully smooth and untwisted fabric.
Popular Methods to Join the Round
Knitters employ various techniques to minimize the jog that can occur when closing the circle in circular knitting, thereby ensuring a seamless appearance for visible joins. Each method has its advantages, so experimenting is key to finding the right balance between ease and aesthetics.
Simple Join
The simple join is quick and easy. After casting on the stitches without twists, bring the first stitch from the left needle and the last from the right needle together. Knit the first stitch using the working yarn to create a circle. This method can leave a slight jog but is suitable for beginner projects, especially where the join is not visible.
Invisible Join
The invisible join offers a seamless appearance by casting on an extra stitch and using a slip-and-pass technique. After casting on, slip the first stitch to the correct needle, pass the last cast-on stitch (the extra one) over the slipped stitch, and return the remaining stitch to the left needle. It helps hide the join for a tidy finish.
Stitch Swap Join
The stitch swap join, also known as the “slip-slip-knit” (SSK), provides a neat transition. After casting on, slip the first stitch to the correct needle, then knit the second stitch on the left needle with the last stitch on the right needle. That swaps their positions and creates a nearly invisible connection.
Add 1, Decrease 1, Join
The “Add One, Decrease One” method serves as a practical approach for creating a seamless transition when working in the round. Casting on an extra stitch allows for knitting the initial stitch on the left-hand needle together with the final cast-on stitch on the right-hand needle, thereby eliminating any visible gap. After completing this maneuver, placing a stitch marker at the join helps maintain alignment and supports consistent progress throughout the project.
Double Strand Join
The double-strand join reinforces the cast-on edge, providing a stronger connection and reducing gaps. Hold the working yarn and cast-on tail together as if they are one strand and knit the first one or two stitches. After that, drop the tail and continue with the working yarn. It creates a thicker, more stable join for a tidy finish.
Read Also: How to Add Stitches When Knitting
Common Mistakes and How to Avoid Them
Experienced knitters may encounter challenges when using circular needles, but many common issues can be avoided through careful practice and attention to detail. Recognizing mistakes early allows for easy corrections. Understanding potential problems is crucial for successful round-knit projects.
Twisted stitches can disrupt the fabric’s uniformity, and gaps at the join affect the seamless design. While these obstacles can be discouraging, identifying their causes and applying preventive strategies can enhance confidence in each project. Awareness of these factors contributes to a polished final product that showcases skill and attention to detail.
Preventing Twisted Stitches
Among the most frequent errors encountered is accidentally twisting the cast-on edge before joining. As emphasized earlier, take time to verify orientation. Rushing through this phase often leads to foundational issues in the finished piece.
If a twist is discovered a few rounds in, unfortunately, the cleanest solution involves unraveling and starting afresh. Mid-project corrections rarely result in satisfactory alignment or tension.
Managing Gaps at the Join
Another common issue is the appearance of a gap where the round begins. To prevent this, techniques such as the double-strand join or knitting with both yarn ends for the first stitch are recommended.
Should a gap persist, it can be discreetly closed using the tail during the finishing process. Gently adjusting the nearby stitches, especially after blocking, usually resolves minor unevenness.
Also Read: How to Fix a Dropped Stitch:
Completing a Circular Project: Binding Off
Finishing a circular piece involves binding it off in a way that maintains elasticity and shape. Standard bind-offs are suitable, though some prefer sewn or tubular techniques for a neater finish.
Afterward, yarn tails should be woven securely into the fabric’s interior. Blocking is advisable to enhance drape and smooth out inconsistencies, particularly for garments that require precision in fit and structure.
Also Read: How to Finish a Knitting Project
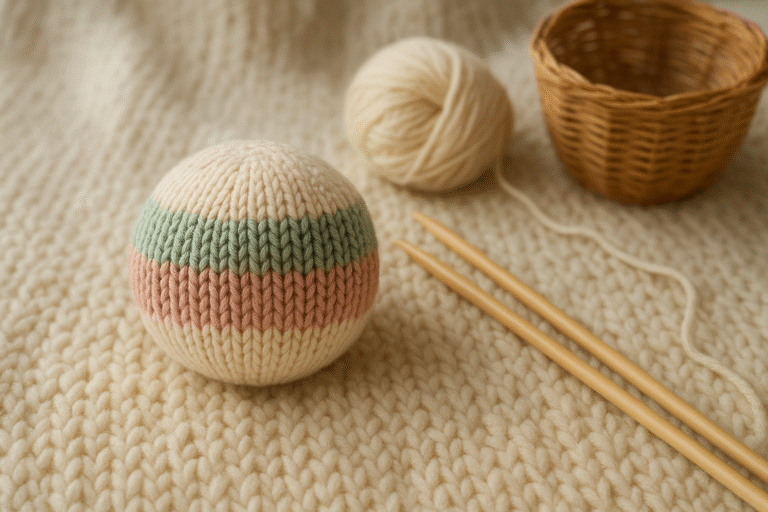
Beginner-Friendly Circular Knitting Projects
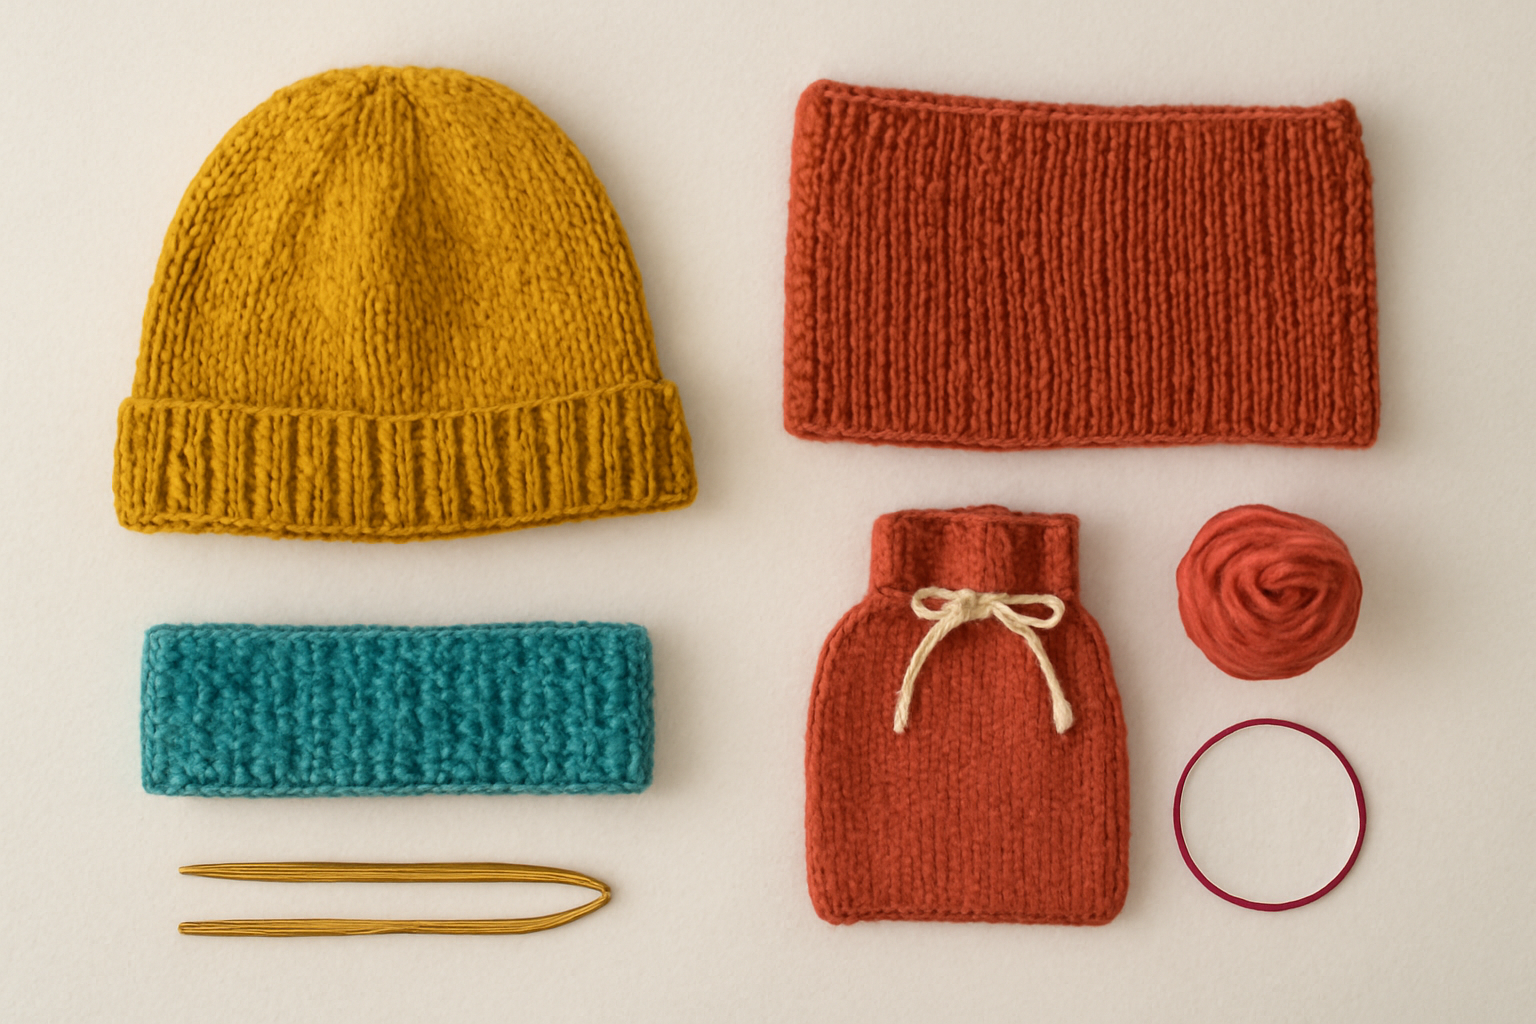
Starting circular knitting can seem overwhelming at first, but choosing the right projects can help build confidence while highlighting the enjoyable aspect of this technique. Simple, quick-to-finish items are ideal for practicing essential skills such as casting on, joining, and maintaining a consistent knit in the round, without the commitment of tackling a large, complex garment right away.
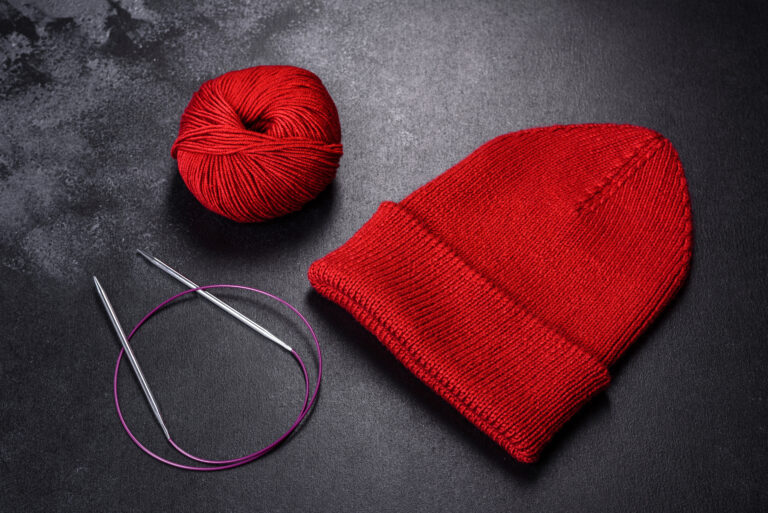
A classic choice for beginners is a basic beanie hat. Its simple tube shape allows for focusing on mastering the fundamental skills, and the rapid satisfaction of completing a wearable item can be highly motivating. Other excellent starting projects include straightforward cowls, headbands, or even small seamless bags. Each of these options provides ample opportunity to hone your knitting skills in the round before advancing to more intricate designs.
Frequently Asked Questions
Conclusion
Achieving success in circular knitting, much like any other craft, hinges on a blend of foundational knowledge and effective habits. Beyond mastering the technique of joining stitches, several key tips can significantly enhance both the experience and the quality of finished projects, making the process smoother and more enjoyable.
Key Success Tips:
- Confirm stitch alignment before joining – Take time to ensure no twists exist
- Use stitch markers generously – They clarify patterns and prevent mistakes
- Maintain consistent tension – This avoids ladders or gaps in your work
- Review the entire pattern before casting on – Understanding the full scope prevents surprises
- Address early errors – Don’t continue with uncertainty; fix issues immediately
For those interested in achieving a smooth, gap-free join in circular knitting, the principles outlined above provide a solid foundation for success. With careful preparation, the right tools, and a few tried-and-true techniques, mastering this craft becomes not only attainable but also truly rewarding.
Read Also: How to Read Knitting Patterns?