How to Add Stitches When Knitting: Easy Guide
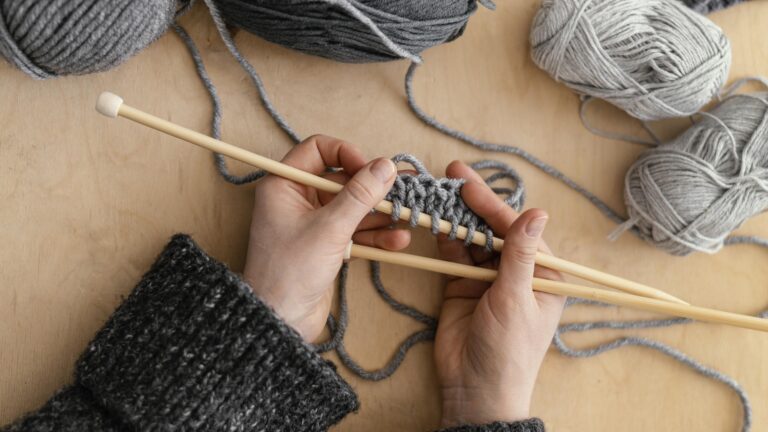
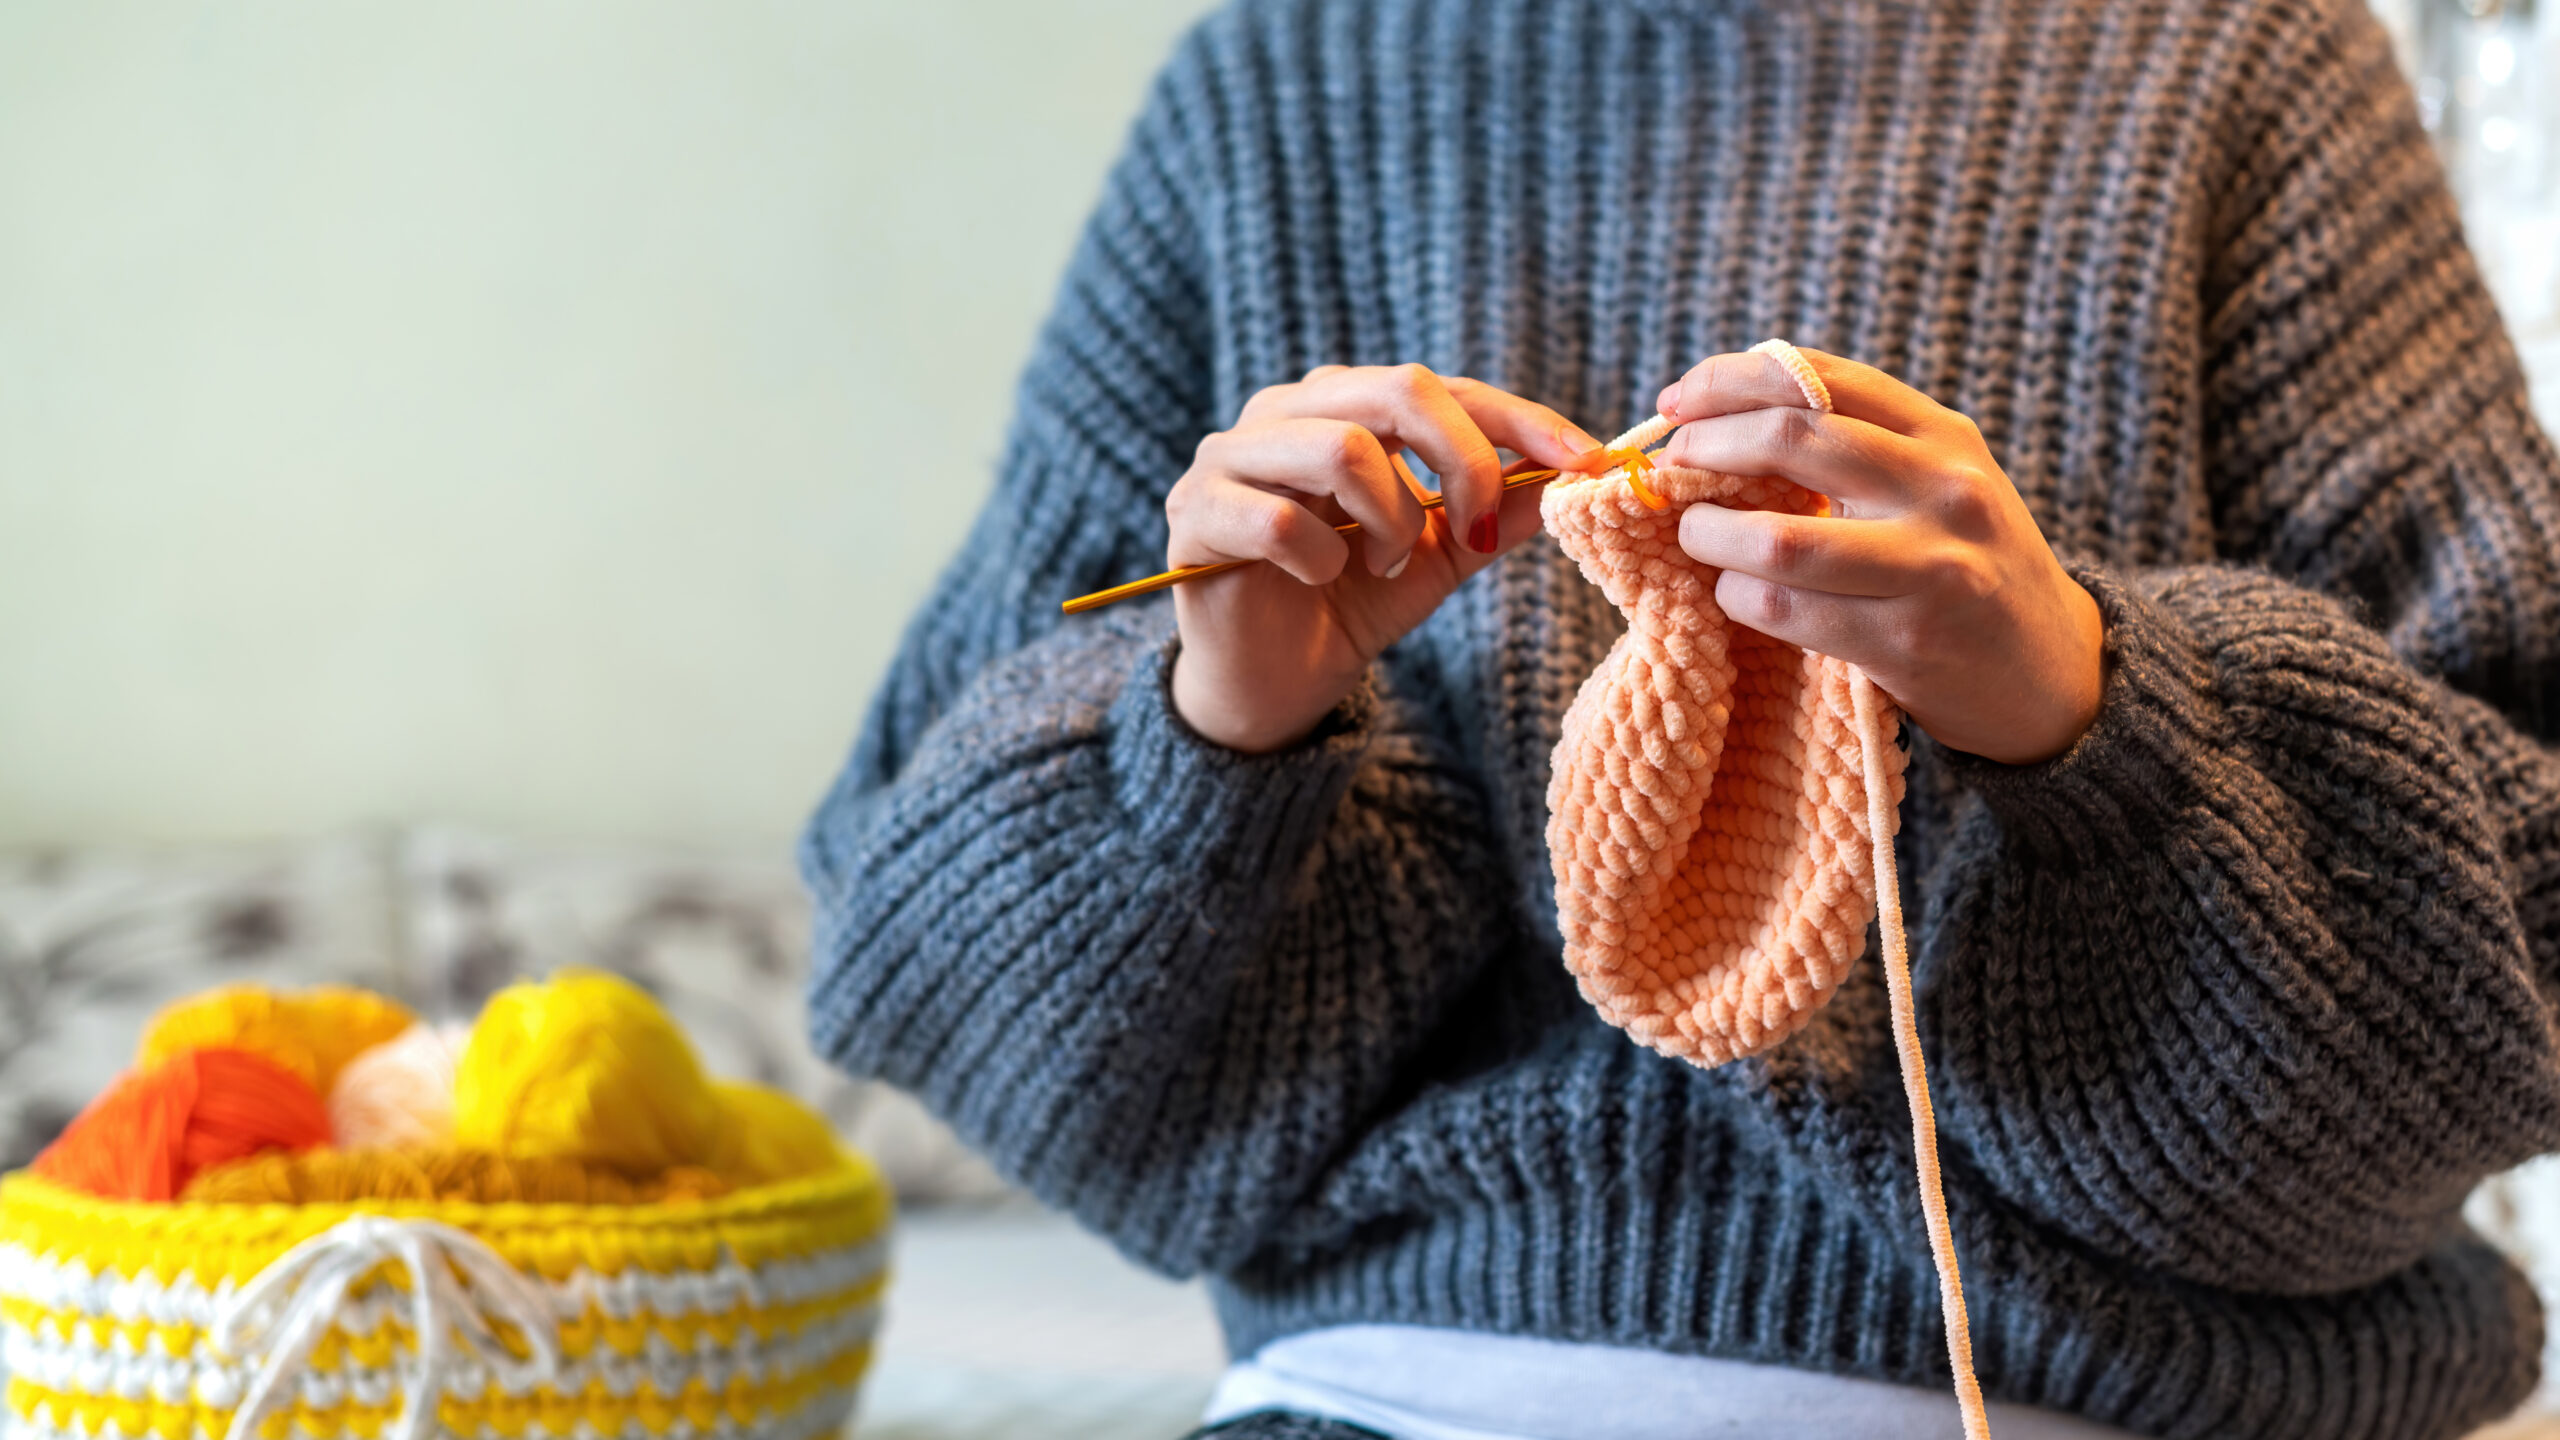
Knowing how to add stitches when knitting is one of the most valuable skills a knitter can learn. Once you understand how increases work, you can shape garments, widen sleeves, create lace details, and make your projects fit more naturally.
At first, adding stitches may seem confusing because there are several increase methods. Each affects the fabric differently. Some create decorative holes, while others blend almost invisibly for smooth shaping.
These techniques become easier once you understand when to use them and how they work. In this guide, I’ll walk you through the most common ways to increase stitches, explain the differences between methods, and help you choose the right technique for your project.
Also Read: How to Join in Round in Knitting?
What Does Adding Stitches Mean in Knitting?
Adding stitches in knitting means creating new stitches that are not already on the needle. This is called an increase.
Increases change the shape, width, and structure of knitted fabric. Without increases, most projects would remain flat rectangles with little shaping. By adding stitches strategically, knitters can create curves, widen sections, and shape garments more naturally.
You’ll commonly use increases in projects like:
Different increase methods create different results. Some increases blend almost invisibly into the fabric, while others create decorative lines or eyelets. Choosing the right method can affect the appearance and finish of your project.
When Do You Need to Increase Stitches?
Most knitting patterns use increases whenever the fabric needs to grow wider or change shape. Adding stitches allows you to create smoother shaping, better fit, and more dimension in your knitting projects.
You’ll commonly use increases for:
Some patterns require adding stitches at the start or end of a row for borders, underarm sections, or button bands.
While patterns usually explain where to place increases, understanding the methods yourself makes knitting easier. It helps you follow instructions confidently, recognize shaping techniques, and fix mistakes more effectively.
How to Add Stitches When Knitting?
There are several ways to add stitches when knitting, and each increase method creates a different effect in the fabric. Some increases are quick and beginner-friendly, while others create smoother, more invisible shaping for garments and fitted projects.
The most common knitting increase methods include:
Each technique works best in different situations. For example, make one increases is often used for clean, subtle shaping in sweaters and sleeves. Yarn overs create decorative holes commonly seen in lace knitting. Loop cast-on increases are useful when adding stitches at the edge of a row or creating underarm sections.
Understanding how each increase affects the finished fabric will help you choose the right method for your project and create more polished knitting results.
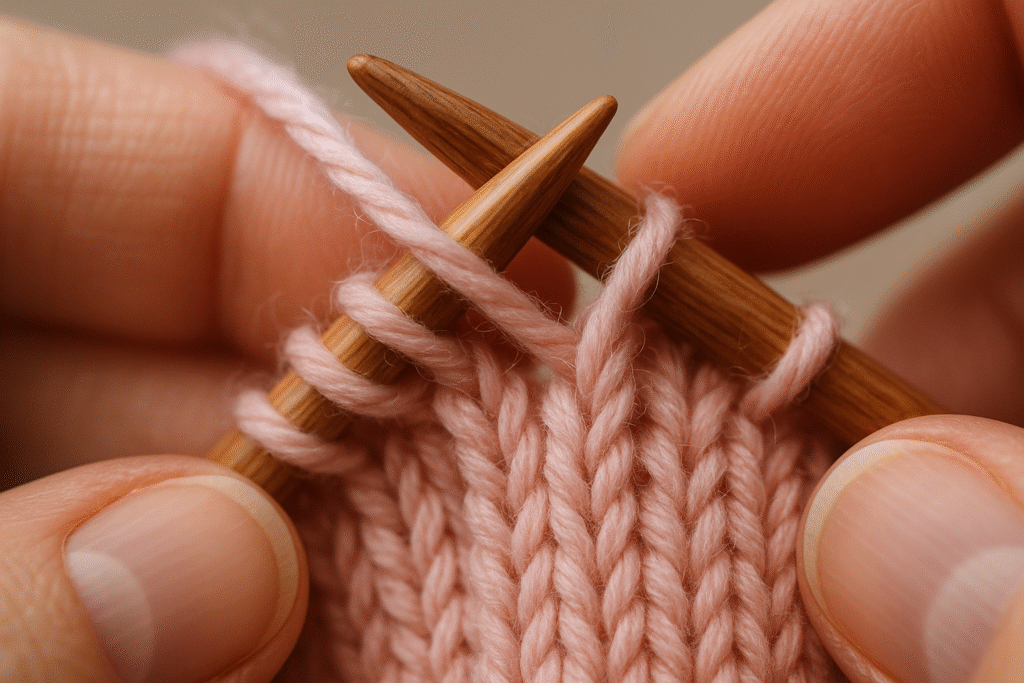
Knit Front and Back (KFB)
Knit Front and Back, usually shortened to KFB, is one of the easiest ways to add stitches when knitting. It is simple and quick to learn, so it is often the first increase method beginners practice.
KFB works by knitting into both the front and back of the same stitch before sliding it off the left needle. This creates one extra stitch from a single stitch.
How to Work KFB
Why Knitters Use KFB
KFB is popular because it:
Downsides of KFB
This increase creates a small horizontal bar beneath the new stitch. In textured yarns the bump may blend in, but smooth yarn makes it more noticeable.
Because of this, KFB is not usually considered an invisible increase. Many knitters still use it regularly for casual projects and textured designs.
Best Uses for KFB
KFB works especially well for:
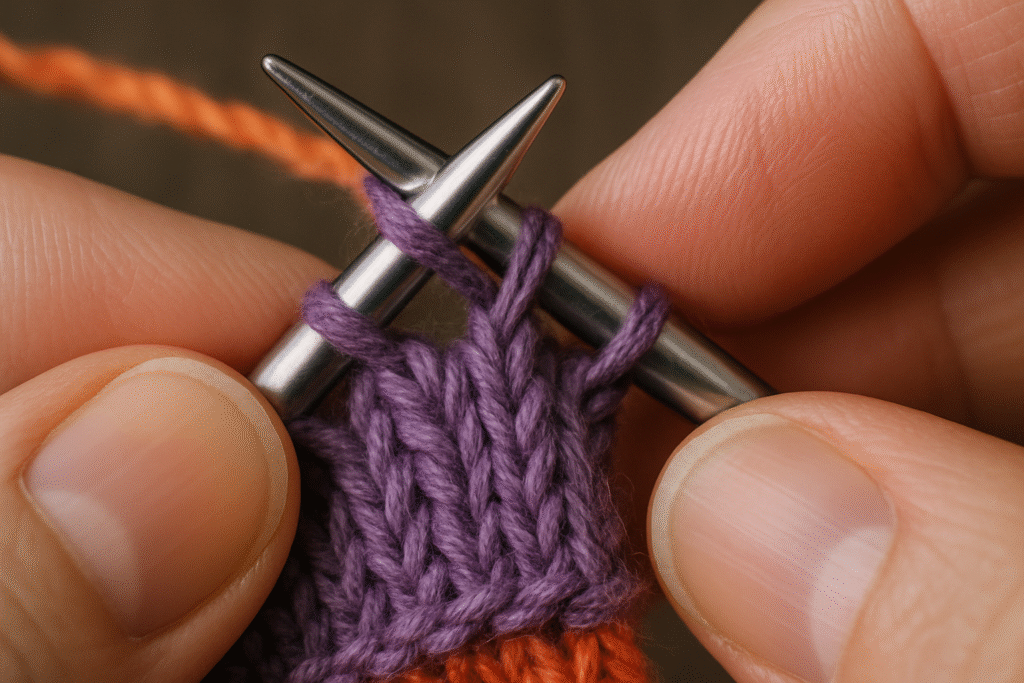
Make One Left and Make One Right (M1L and M1R)
Make One Left (M1L) and Make One Right (M1R) are popular increase methods for smoother, professional shaping. Unlike KFB increases, these techniques create less visible texture, ideal for garments and fitted knitting projects.
Both methods lift the horizontal strand between two stitches and knit into it in a specific direction. This creates a new stitch that helps prevent noticeable holes in the fabric.
What Is the Difference Between M1L and M1R?
The difference is the direction of the lean:
Patterns often use them together to create balanced and symmetrical shaping.
How to Knit M1L
How to Knit M1R
Why Knitters Use M1 Increases
M1L and M1R are widely used because they:
Many knitters consider these the best invisible increase methods for sweaters and professional knitting projects.
Best Uses for M1L and M1R
These increases are commonly used for:
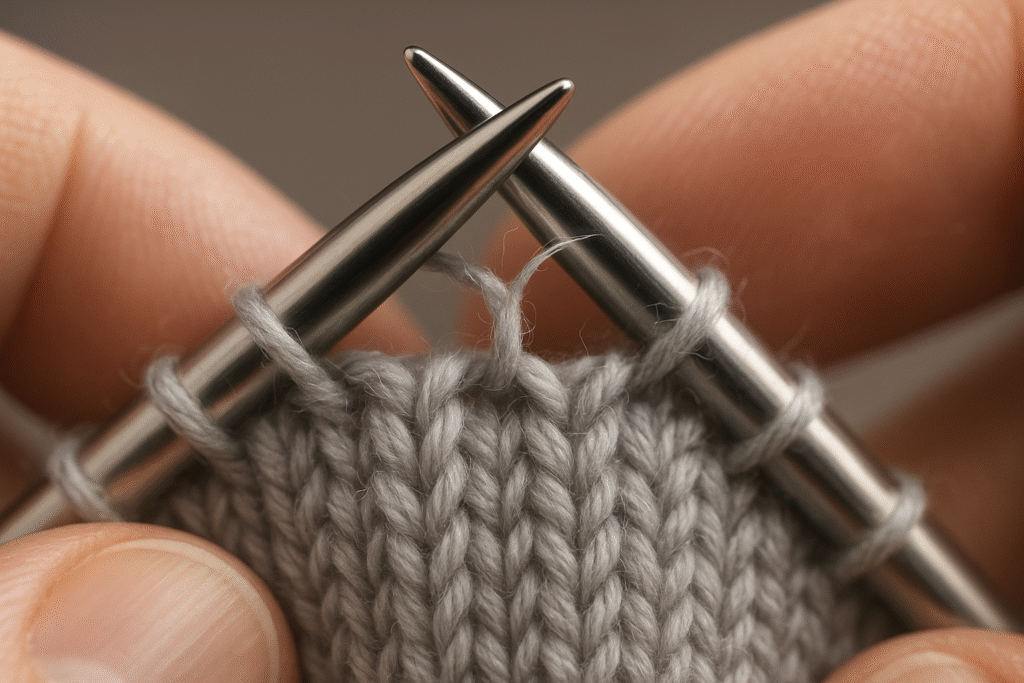
Yarn Over (YO) Increases
A yarn over is a simple way to add stitches when knitting. This increase creates a new stitch and a decorative hole, making it popular in lace knitting and openwork patterns.
Unlike invisible increases used to shape garments, yarn overs remain visible. They create airy eyelets and decorative textures that add detail to the fabric.
How to Do a Yarn Over
What Makes Yarn Overs Different?
Most increase methods hide the added stitch, but yarn overs create an opening in the fabric. They are commonly used in decorative knitting rather than subtle garment shaping.
Yarn overs are ideal when you want:
Best Uses for Yarn Overs
Yarn over increases work especially well for:
Loop Cast On Increase
Loop cast-on is a simple and practical way to add stitches when knitting, especially at the beginning or end of a row. This method creates new stitches directly on the needle using loops of yarn, making it useful for quickly expanding a project or casting on extra stitches mid-project.
Because it is fast and beginner-friendly, many knitters use loop cast-on increases for edge shaping and underarm sections.
How to Work a Loop Cast On
Why Knitters Use Loop Cast On
This increase method is popular because it:
Potential Drawbacks
Loop cast-on stitches can sometimes appear loose if your tension is uneven. They may also create small gaps, so they are not always the best choice for invisible shaping or polished garment details.
Best Uses for Loop Cast On
Loop cast on increases work especially well for:
Which Increase Method Should You Use?
The best increase method depends on your project type and the final look you want. Some increases are quick and beginner-friendly, while others create cleaner, more polished shaping.
Here’s a simple comparison of the most common knitting increases:
| Method | Visibility | Difficulty | Best For |
|---|---|---|---|
| KFB | Slightly visible | Easy | Beginner projects and casual knitting |
| M1L / M1R | Nearly invisible | Moderate | Garments, sleeves, and shaping |
| Yarn Over | Decorative hole | Easy | Lace knitting and eyelet patterns |
| Loop Cast On | Visible edge stitch | Easy | Underarms, edges, and adding multiple stitches |
If you are learning to increase stitches, KFB is usually the easiest place to start. Once comfortable, M1L and M1R are excellent choices for smoother, more professional shaping.
Yarn overs work best for decorative holes or airy lace textures, while loop cast-on increases add stitches at the edge of a row or create underarm sections.
Learning several increase methods gives you more flexibility as a knitter and makes it easier to follow a wide variety of knitting patterns.
Invisible Increase in Knitting
Many knitters look for increase methods that blend smoothly into the fabric without creating noticeable bumps or holes.
The most common invisible increases are:
These techniques twist the lifted strand between stitches, helping close the gap and creating a cleaner appearance.
Consistent yarn tension also plays a major role in making increases look smooth and professional.
Common Mistakes to Avoid When Adding Stitches
Even experienced knitters can make mistakes when learning how to add stitches when knitting. Being aware of these issues helps you create smoother, more professional results.
Pulling the Yarn Too Tight
A common mistake is tightening the yarn too much after an increase. This distorts the fabric, creates uneven stitches, or makes the row look stretched.
To avoid this, keep your tension consistent and let the new stitch sit naturally on the needle.
Accidentally Creating Holes
This often happens if:
Practicing M1L and M1R slowly helps reduce this issue, especially with garments.
Losing Track of Increase Rows
In garment shaping, missing or miscounting increase rows affects the final fit.
Helpful tools include:
These help you stay organized and avoid shaping mistakes.
Uneven Tension
Loose or tight increases stand out in the fabric.
To improve this:
Confusing Left-Leaning and Right-Leaning Increases
M1L and M1R can be confusing at first.
A simple guide:
With practice, the direction becomes easy to recognize and control.
Beginner Tips for Better Results
If you are new to increasing stitches when knitting, start small before working on a full project. Practicing on a swatch lets you see how different increase methods behave in real stitch patterns.
This makes it easier to choose the right technique with confidence when you begin a finished piece.
It is important to read your knitting pattern carefully. Designers sometimes use different abbreviations or terminology for the same increase methods, so understanding the basics helps you avoid confusion.
Once you understand how increases work, following knitting patterns becomes much easier and more intuitive.
How Increases Affect the Fabric
Different increase methods can change the final appearance of your knitting in subtle but important ways.
Some increases are almost invisible and blend smoothly into the fabric, making them ideal for garments and fitted pieces. Others create visible holes or texture changes that add to the design.
This is why it is important to think beyond just adding a stitch. The method you choose can affect:
A small technical choice can greatly improve how polished your knitting looks.
Best Increase Method for Beginners
For absolute beginners, KFB (Knit Front and Back) is usually the easiest increase method to learn.
It is popular because it:
Once you are comfortable with KFB, you can move on to M1L and M1R increases for cleaner, more professional shaping.
Tips for Cleaner Knitting Increases
Small adjustments can improve the quality of your increases.
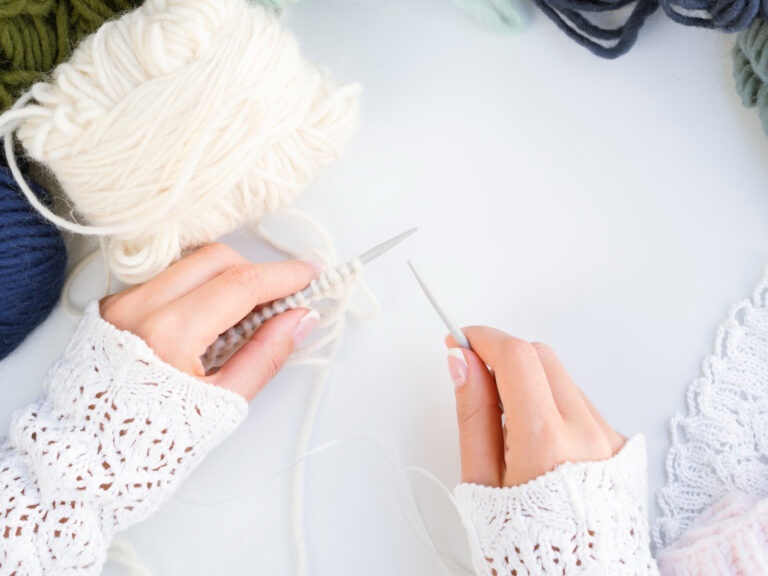
Use Smooth Yarn While Learning
Light-colored, smooth yarn helps you see each stitch clearly and understand how increases form.
Avoid:
during practice.
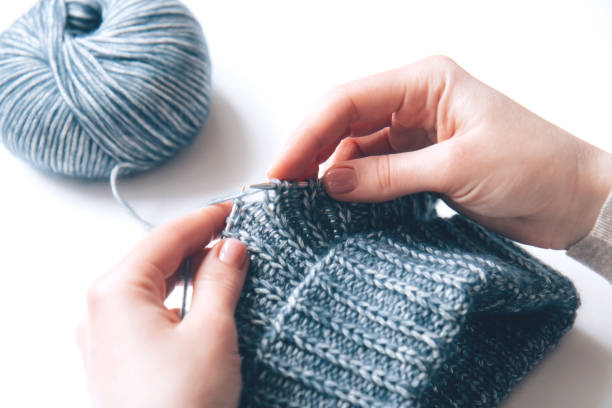
Practice on Swatches
Practice increases on small swatches instead of working directly on a finished project.
This helps you:
Read Your Knitting
Experienced knitters learn to read their stitches visually.
Pay attention to:
This skill makes it easier to identify and fix mistakes early.
Frequently Asked Questions
Final Thoughts: How to Add Stitches When Knitting
Learning how to add stitches when knitting opens the door to more creative and professional projects. Once you understand the difference between decorative increases and invisible shaping methods, knitting patterns become much easier to follow.
You do not need to choose the perfect technique immediately. Focus on understanding how each method behaves in the fabric and practice until the movements feel natural.
Every experienced knitter started with the same basics, learning one increase at a time and building skill through practice.