How to Finish a Knitting Project: A Complete Guide
Completing a knitting project involves more than casting off the final row. The last few steps play a vital role in how polished and wearable the finished piece becomes. Finishing techniques help bring structure, durability, and a professional edge to any handcrafted item.
Whether the project is a simple scarf or a complex sweater, attention to finishing can elevate the entire look. Proper binding off, weaving in ends, blocking, and seaming not only enhance the final product but also ensure it lasts through use and washing.
This guide covers the entire process of finishing, including joining in the round—a foundational technique for seamless circular knitting.
Also Read: How to Read Knitting Patterns?
Why Finishing Matters in Knitting
Finishing is a skill often overlooked, yet it defines the overall success of a knitted piece. Taking the time to follow a structured finishing process can make a dramatic difference in both appearance and longevity. Beyond simply putting the needles down, these finishing techniques are what truly distinguish a well-made item from one that appears unfinished or amateurish.
From securing the last stitch to shaping the entire garment, the finishing process is a testament to the knitter’s attention to detail. Neglecting these crucial steps can lead to unraveling edges, misshapen fabric, or visible imperfections that detract from the overall beauty of the handmade item.
Therefore, dedicating time and care to each finishing technique is an investment in the longevity and aesthetic success of any knitting endeavor.
How to Finish a Knitting Project?
Here are some techniques to help you successfully complete your knitting project with confidence and creativity. Experimenting with diverse stitches allows you to craft unique textures and patterns that elevate the overall design. Moreover, maintaining consistent tension throughout your work ensures a polished, professional finish, making your project truly stand out.
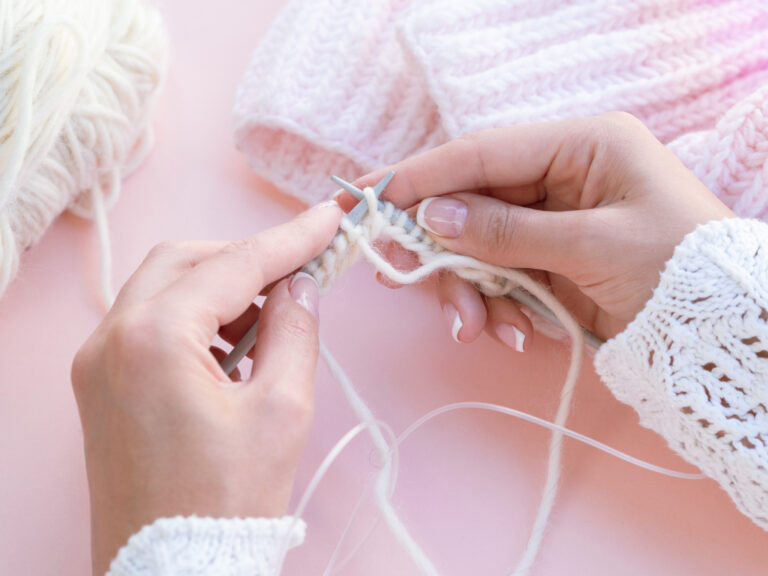
Binding Off: Step-by-Step Guide
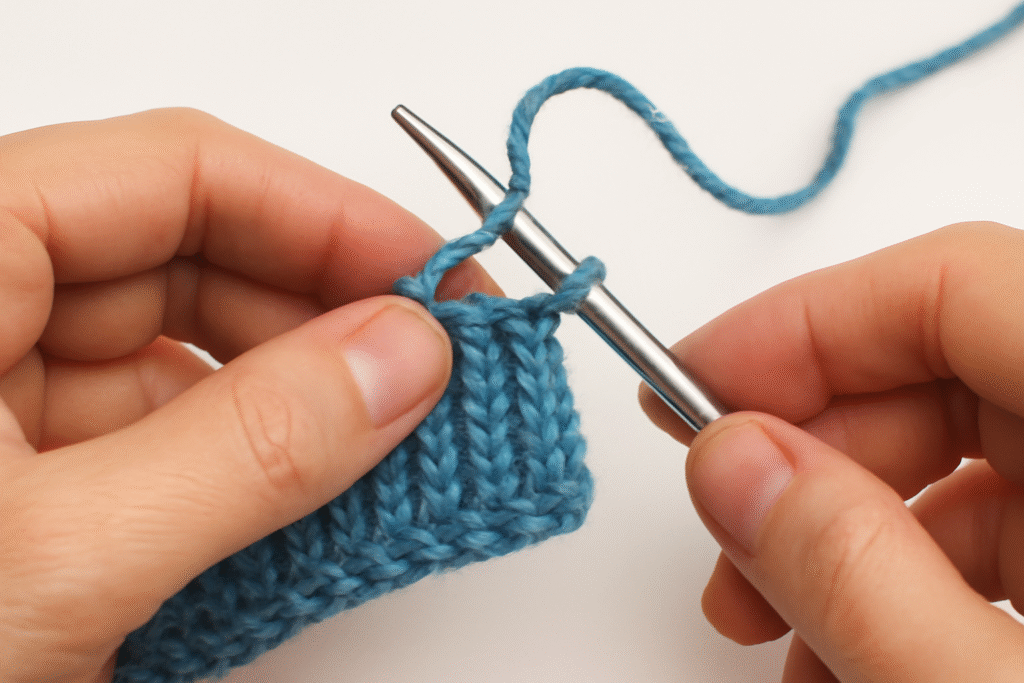
Binding off is the essential technique for securing the live stitches on the needle, preventing the knitted fabric from unraveling once removed. This crucial step creates a neat and stable edge, defining the perimeter of the knitted piece and providing a clean foundation for any subsequent assembly or embellishment.
There are various methods for binding off, each offering a slightly different result in terms of stretch and appearance. A standard bind-off creates a firm edge, while a stretchy bind-off is ideal for necklines or cuffs that require more give. Knowing these edge variations allows knitters to strategically select the perfect finish, elevating both the practical and visual aspects of their work.
Also Read: How to Cast on Knitting with Two Needles
Weaving in Ends for a Professional Look
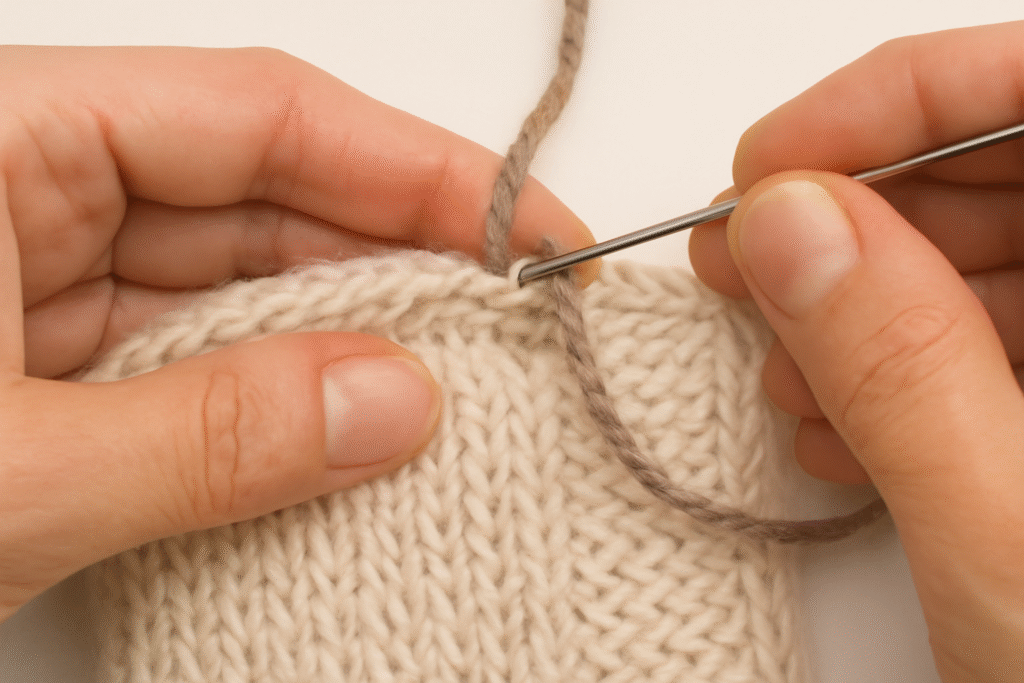
Once the knitting is complete, the various yarn tails from casting on, joining new skeins, and binding off remain, presenting a challenge to achieving a truly finished look. Weaving in these ends meticulously is a vital step in transforming a collection of loose threads into a seamless and professional-looking fabric.
The art of weaving in ends involves carefully threading the yarn tails through the existing stitches, mimicking the natural path of the yarn as it was initially used. This technique not only conceals the ends but also helps to secure them within the fabric, minimizing the risk of them working loose over time. A well-executed weave-in contributes significantly to the overall neatness and durability of the knitted item.
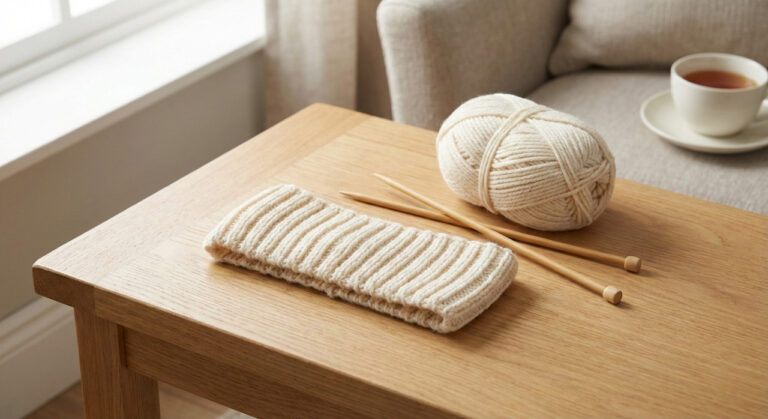
Blocking the Finished Piece
Blocking is a transformative process that involves shaping and setting a knitted item, often with the aid of moisture or heat, to even out stitches, open up lace patterns, and achieve the intended dimensions. This vital finishing step can dramatically improve the drape, texture, and overall appearance of a knitted fabric.
The method of blocking varies depending on the fiber content of the yarn, ranging from wet blocking for natural fibers to steam blocking for synthetics. Regardless of the technique, the goal remains the same: to relax the fibers, encourage stitch definition, and ensure the finished item meets the pattern’s desired specifications.
Seaming and Assembly
Projects made in pieces—such as sweaters or some shawls—require careful seaming to join the components. Mattress stitch is often used to connect stockinette edges with nearly invisible results.
To use the mattress stitch:
- Align the two pieces so their right sides (the finished, visible sides) are facing upwards
- Use a tapestry needle and working yarn to pick up bars between stitches on each side
- Alternate sides and tighten after every few stitches
Taking time during assembly ensures symmetry and comfort in the final item, reducing puckering or misaligned sections.
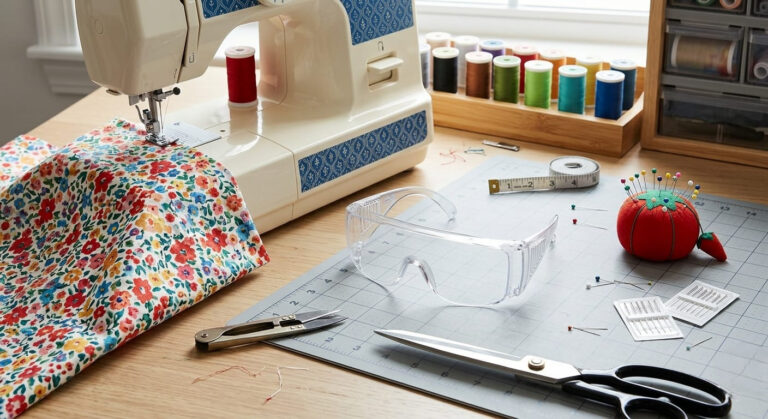
Adding Embellishments and Closures
The final flourish for many knitted projects comes in the form of embellishments and closures, which can elevate a simple design into a personalized and functional piece. These additions, such as buttons, zippers, snaps, or decorative appliqués, not only enhance the aesthetic appeal but also contribute to utility.
Whether it’s the elegant drape of a knitted shawl adorned with a vintage brooch or the practical functionality of a cardigan secured with handcrafted buttons, embellishments provide an opportunity for creative expression. Integrating these elements requires careful consideration of their placement, security, and compatibility with the knitted fabric.
Also Read: How to Join in Round in Knitting?
Troubleshooting and Tips
Common Problems and Solutions
Even experienced knitters can encounter common issues when working in the round, such as twisted joins, ladders, or inconsistent tension. A twisted join, where the initial cast-on stitches are inadvertently turned before joining, is a frequent frustration, resulting in a spiral fabric instead of a flat tube.
Ladders (vertical gaps between stitches) often appear when working with double-pointed needles due to uneven tension at the transitions between needles. Adjusting the tension and ensuring that stitches are pulled snugly when moving from one needle to the next can mitigate this issue.
Tips for Beginners
For those new to knitting, embarking on a project can seem daunting, but a few simple tips can make the journey much more approachable:
Caring for Your Finished Knits
Once a knitting project is complete and all finishing touches have been applied, understanding proper care is crucial to preserving its beauty and longevity. Different yarn fibers react uniquely to washing, drying, and storage.
Consulting the yarn label for specific care recommendations is always the first step, as it provides crucial information on washing temperatures, drying methods, and whether dry cleaning is advised. From gentle hand washing for delicate fibers to machine washing on a delicate cycle for more robust yarns, proper care routines maintain the integrity of the stitches and overall appearance.
Frequently Asked Questions
Conclusion
The journey of knitting, from the initial cast-on to the final weaving in of ends, is a rewarding process that culminates in the creation of unique, handmade items. Mastering essential finishing techniques, such as binding off, blocking, and seaming, transforms a simple collection of stitches into a polished and durable piece.
For projects worked in the round, a seamless join and effective use of stitch markers are fundamental to achieving a professional and comfortable finish. By embracing these comprehensive techniques and understanding their importance, knitters can elevate their craftsmanship, ensuring that every project is a testament to their skill and dedication.
Also Read: How to Add Stitches When Knitting