How to Do a Long Tail Cast On Knitting? Easy Guide
Starting any knitting project comes down to the first cast-on stitch. Among all the different ways to kick things off, the long-tail cast-on ranks high because it’s both stretchy and strong, and that’s why so many knitters keep it in their toolbox. This guide walks you through the method step by step, so you’ll be ready to tackle anything that comes next.
Most knitters call the long-tail cast-on an essential trick because it gives you a nice, tidy edge that’s still able to move. The cool part is that it gets you through the first row and creates the edge at the same time, so you’ll be ready to roll as soon as you finish. Once you get the hang of it, you’ll want to use it for everything from warm scarves to fancy sweaters.
Also Read: How Long Does It Take to Knit a Scarf?
What Is the Long-Tail Cast-On Method?
The long-tail cast-on is a two-in-one move that sets up the stitches and the first row simultaneously. You use a long piece of yarn—usually resting over your thumb and index finger—to form little loops that slide onto the needle. The result is a cast-on edge that looks tidy and can also stretch nicely. That’s why it’s a go-to for cuffs on socks, sweater hems, and anything else that needs a little give.
Unlike some cast-ons that end up stiff, the long-tail method sits softly and keeps the same feel as the knitted fabric. The way the stitches are made allows them to move without fighting the rest of the work, resulting in a nice drape that won’t pinch or tug, unlike a tight edge.
Also Read: How to Cast on Knitting with Two Needles
Why Choose Long-Tail Cast-On?
Flexibility and Stretch
The primary reason knitters love the long-tail cast-on is its bouncy nature. That stretch is key for anything that needs to flex and fit, like necklines that curve or the tops of socks that slide over the heel. A stretchy edge won’t pull or bulge, so the whole piece feels more comfy and looks polished from the first row to the last.
Professional Appearance
This method of casting on yields a neat, tidy edge that resembles a row of small knitted loops, giving the piece a finished appearance even before you begin the pattern. Once you’ve practiced the method a few times, you can zip through the cast-on, making it a smart pick for all kinds of projects.
Also Read: How to Read Knitting Patterns?
Materials and Tools Needed

Choosing the right tools is crucial to overcoming common learning hurdles. Each beginner tool offers a specific benefit that makes handling, visibility, and overall progress smoother.
Yarn Selection
Weight: Medium-weight yarn (worsted weight or category 4) has the best bite and is very forgiving, even when it tangles or splits. Beginners learning stitch theory and technique will significantly benefit from yarn that glides smoothly over needles.
Color: A light or pale color yarn, such as soft grey or ivory, improves visibility. Dark colored yarns obscure stitch details, complicating the learning process.
Texture: Smooth texture is essential. Fuzzy or novelty yarns should be avoided as they detract from stitch clarity and definition.
Knitting Needles
Size: US size 8 (5mm) works well with worsted-weight yarn, providing a comfortable grip.
Material: Bamboo and wooden needles help reduce the chances of stitches slipping. Metal needles provide smoother motion for those who prefer faster stitch movement.
Length: 10-inch (25 cm) straight needles are long enough to provide comfort without being unwieldy.
Additional Tools
Scissors: Small, sharp scissors for precision cutting to prevent damage to adjacent strands and loss of frayed ends.
Yarn Needle (Optional): Yarn needles feature large eyes for easy insertion of yarn and blunt tips designed not to split stitches. Handy for weaving in loose yarn ends or joining pieces together.
Also Read: How to Finish a Knitting Project
Step-by-Step Instructions
There are two popular methods for the long-tail cast-on: the thumb method and the slingshot method. Both achieve the same result, but each feels slightly different in your hands.
Long-Tail Cast-On: Thumb Method
- Create the foundation: Make a slipknot and place it on the needle
- Position the yarn: Grab the long tail of yarn and loop it around your thumb
- From the stitch: Slide the needle under the loop on your thumb, hook the working yarn, and pull it back through the loop on your thumb
- Complete the stitch: Pop a fresh stitch onto the needle
- Repeat: Continue until you have the desired number of stitches
This method produces a marginally softer and more elastic initial row, making it ideal for garment cuffs or textured pattern edges.
Long-Tail Cast-On: Slingshot Method
- Start with a slipknot on the needle
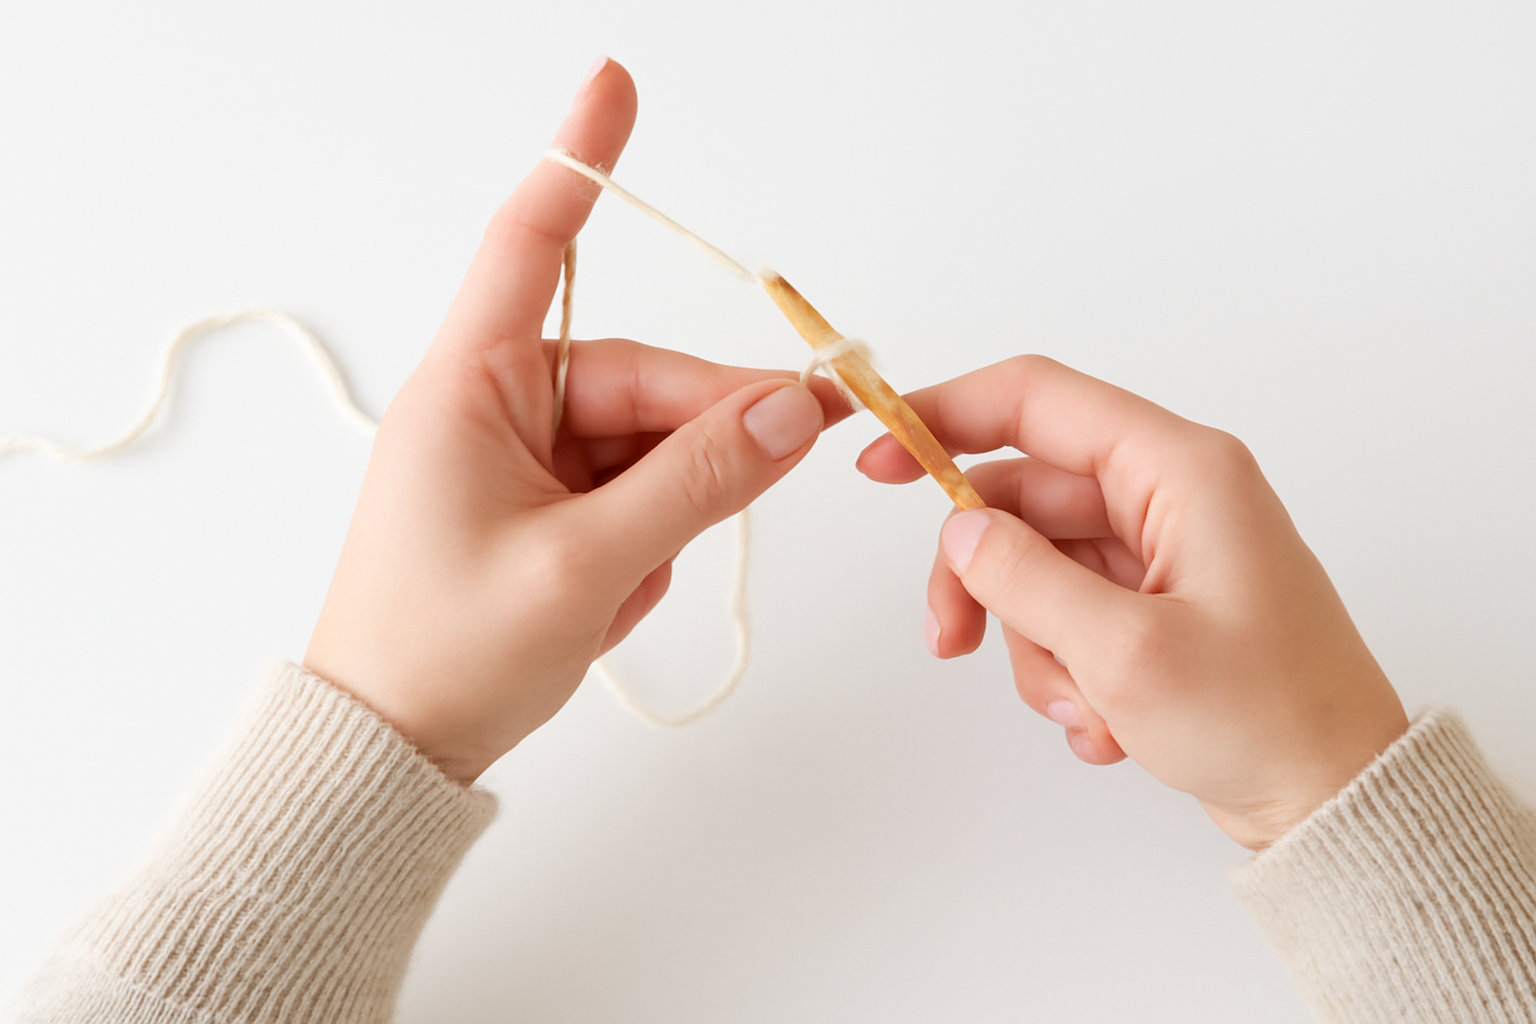
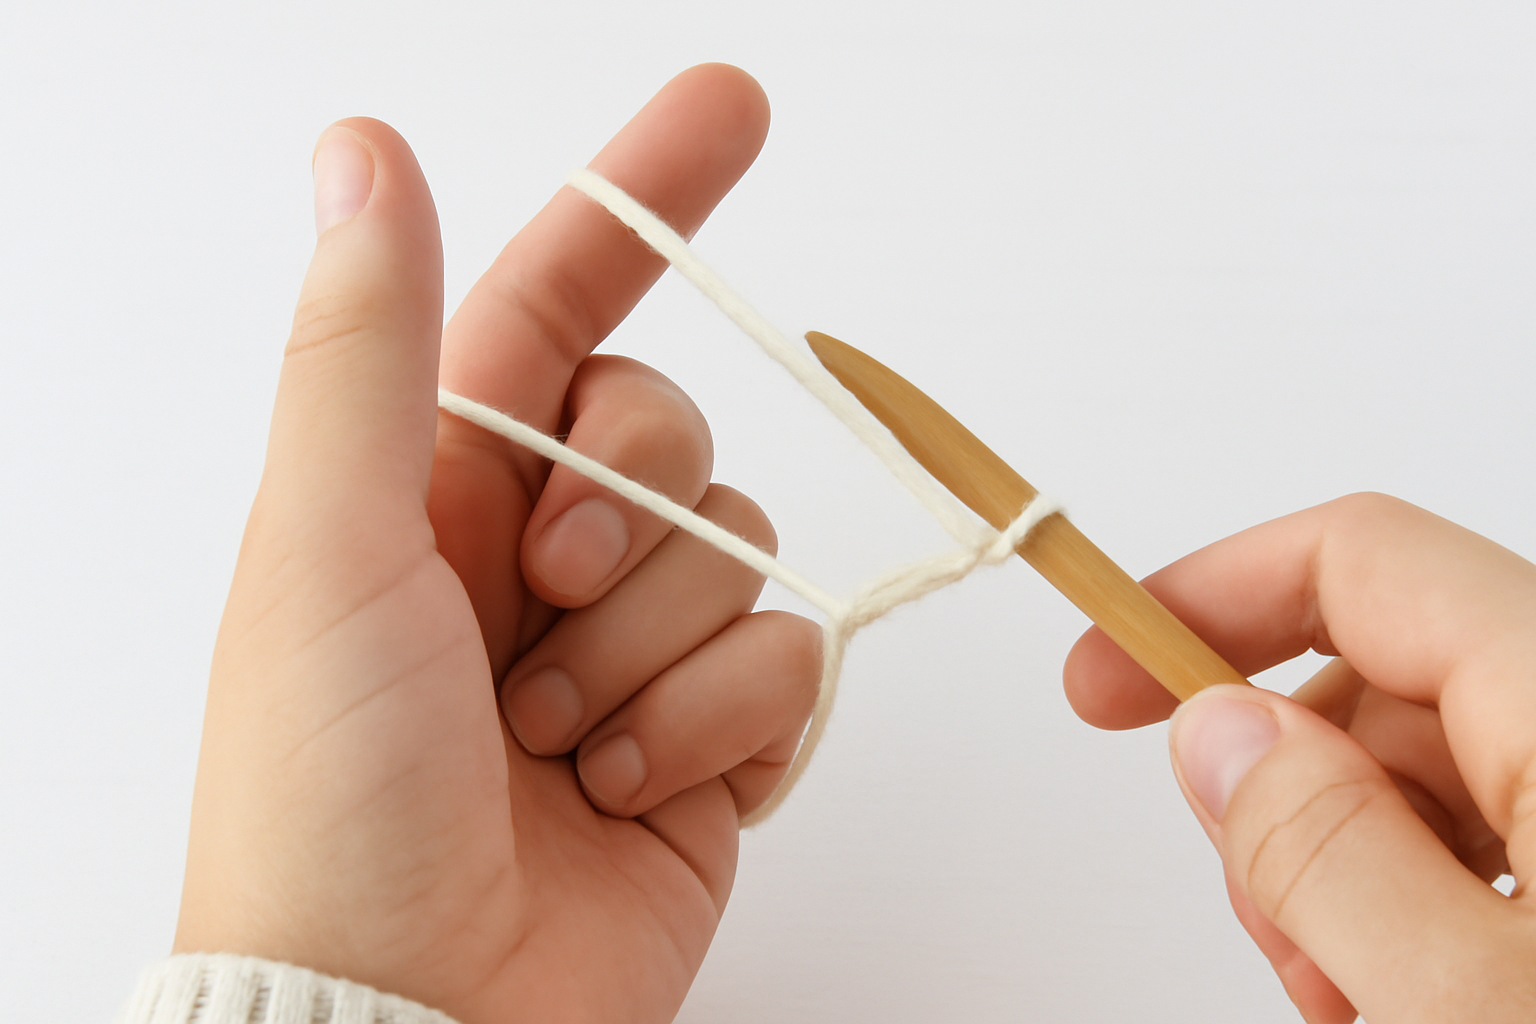
- Create the slingshot shape: Hold the yarn so the tail is around your thumb and the working yarn is around your index finger
- From the stitch: Slip the needle under the strand on your thumb, then over the one on your index finger
- Complete the loop: Pull the yarn through the loop on your thumb
- Reset and repeat: Let the loop go and prepare for the next stitch
This method offers a smooth rhythm once mastered and creates consistent tension.
Also Read: How to Count Rows in Knitting
Estimating Yarn Length
Accurately estimating the length of yarn needed is crucial to avoid frustration and the need to restart. Here are three proven techniques:
Method 1: The Inch-Per-Stitch Rule
Calculate one inch of yarn per stitch, then add 6-10 inches of extra yarn. For 40 stitches, you’d need approximately 46-50 inches of tail yarn. This method works great with worsted and DK yarns.
Method 2: The Wrap Method
- Take one knitting needle
- Wrap the yarn around it the same number of times as stitches needed
- Keep each wrap snug but not tight
- Measure the resulting yarn length
- Add 10-12 inches for safety
This provides the most accurate estimate for your specific yarn and tension.
Method 3: Mathematical Calculation
For precision with specialty yarns:
- Measure the yarn thickness in millimeters
- Multiply by the number of stitches needed
- Add 30-50% extra for yarn movement and twisting
Example: 4mm thick yarn × 80 stitches = 320mm (12.6 inches) + 30-50% extra
Pro Tips for All Methods
- Always overestimate: Better to have too much than run out mid-cast-on
- Test with swatches: Practice with a few stitches to refine your estimates
- Consider needle size: Larger needles require more yarn per stitch
- Account for yarn behavior: Stretchy or slippery yarns may need extra length
Troubleshooting Common Issues
Tension Problems
Too Tight: If the edge feels bunched up, try using a larger needle for cast-on only, or loosen your grip on the yarn.
Too Loose: Pay attention to yarn tension and keep it consistent for each loop.
Running Out of Yarn
Remember the estimation techniques and always cut a generous starting tail. If you do run short, you’ll need to start over.
Twisted or Dropped Stitches
Gently remove the last few stitches and redo them, ensuring loops are placed correctly on the needle.
Also Read: How to Fix a Dropped Stitch
Beginner Tips
- Practice consistency: Move your hands steadily and maintain even tension
- Start big: Use thicker needles and chunky yarn to see stitches clearly
- Create ideal conditions: Work in good lighting in a quiet space
- Be patient: Speed comes with practice—focus on technique first
Frequently Asked Questions
Conclusion
Whether you’re a seasoned knitter or just starting out, mastering the long-tail cast-on technique is one of the most essential skills to develop. It provides an attractive, stretchy, and robust foundation that works beautifully for virtually any knitting project.
With practice, you’ll find that this reliable technique becomes second nature, giving you the confidence to tackle any pattern, knowing you can create a professional-looking foundation. The time invested in perfecting this cast-on will enhance the quality and durability of all your future knitting projects.
Also Read: How Long Does It Take to Knit a Sweater?