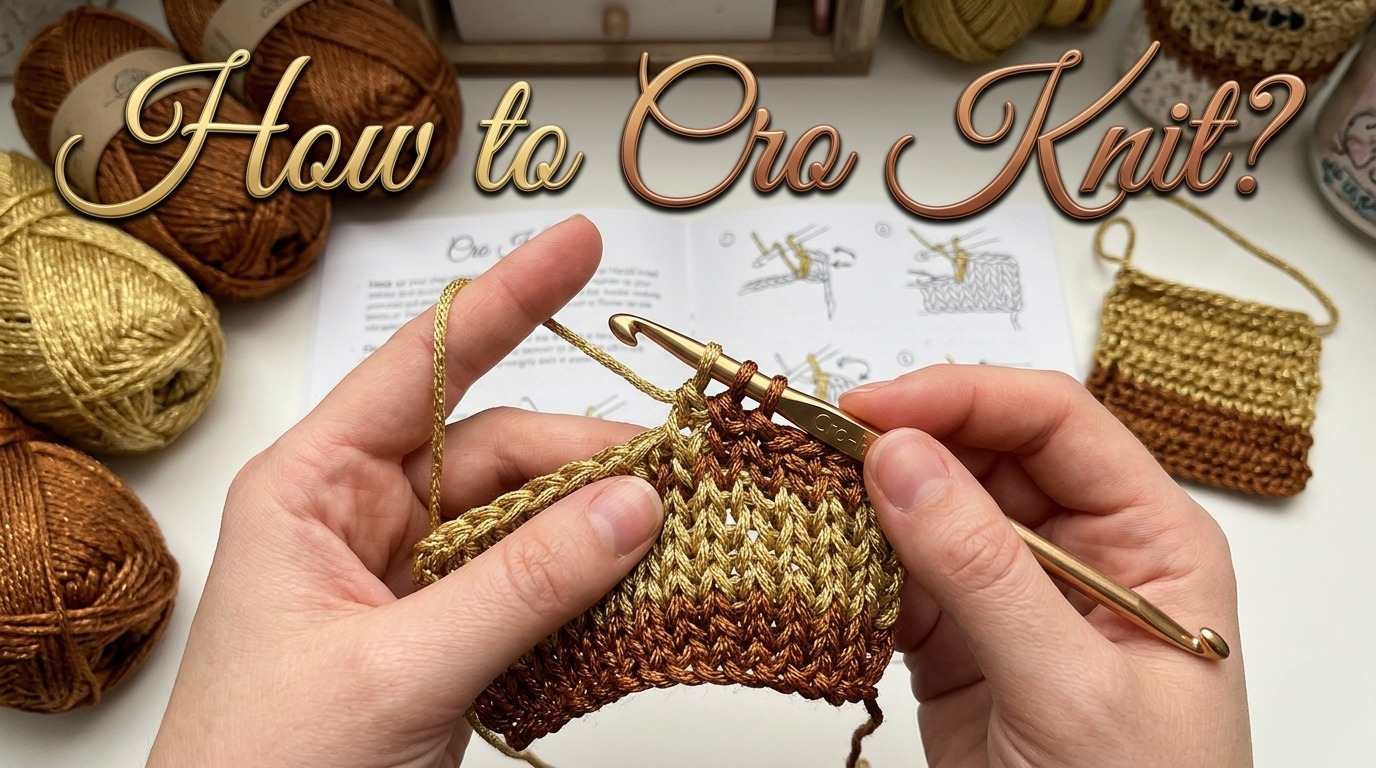
How to Cro Knit? Easy Beginner’s Guide
If you’re trying to learn how to cro knit, this guide is designed as a complete crochet for beginners resource to help you build confidence step by step. The basics are much easier than they first appear. Once you understand the tools, how to hold your hands, and how the first few stitches work, the process feels more natural and controlled.
Crochet is a craft that rewards patience. At first, even simple movements feel unfamiliar, and your stitches may not look as expected. That’s normal. With repetition, your hands adjust, and the stitching rhythm becomes smoother and more consistent.
This guide’s goal isn’t just to walk you through steps. It helps you understand why each step matters so you can troubleshoot mistakes, build confidence, and develop a comfortable technique over time. Once that clicks, learning crochet or transitioning into cro-knit methods becomes less frustrating and more enjoyable.
What Crochet Is
Crochet is a yarn craft using a single hook to create fabric from loops. Unlike knitting, which uses two needles, crochet builds stitches one at a time with one tool. This makes it especially appealing to beginners who want something simple to start but flexible enough to grow over time.
People use crochet to make scarves, blankets, garments, toys, and home décor. The core techniques stay the same even as projects become more detailed, which helps build confidence as you improve.
This is why many people exploring how to cro knit begin with crochet for beginners techniques before moving to more advanced methods.
Before moving further, it helps to understand where cro-knit fits in.
Cro-knit (often called knooking) is a variation where:
If your goal is to learn how to cro knit step by step, starting with standard crochet makes the process easier.
Also Read: How Do You Make a Slip Knot for Knitting? Easy Guide
Also Read: Does Knit or Crochet Use More Yarn? The Simple Solution
What You Need to Start Crocheting
You don’t need much to get started. A simple setup is enough for your first practice session. Keeping things basic makes learning far less overwhelming.
If you’re following a crochet for beginners approach to learning how to cro knit, this setup is all you need.
1. Yarn
For beginners, choosing the right yarn makes a big difference:
2. Crochet Hook
A hook size between 5mm and 6mm is ideal for beginners.
This size:
3. Optional (But Helpful)
You can also keep a few extra tools nearby:
Choosing the right materials early on helps you avoid frustration and makes it much easier to focus on learning the actual stitches. If you’re following a crochet beginner guide, this simple setup is all you need to get started with confidence.
Also Read: Best Crochet Hooks for Beginners: Guide 2025
Also Read: Best Knitting Accessories: Top Picks 2026
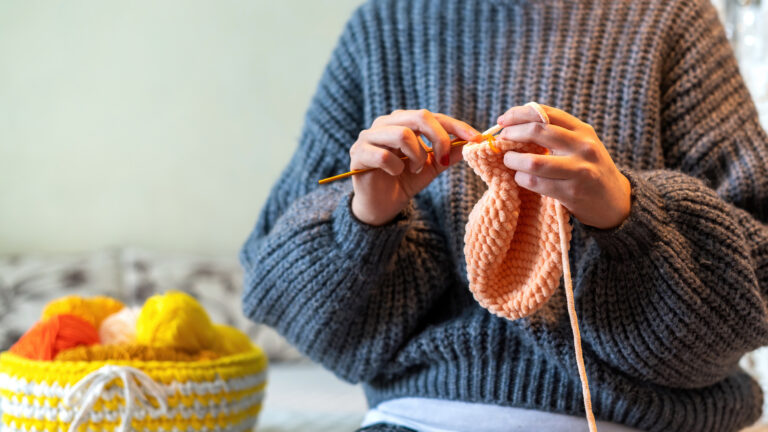
How to Hold a Crochet Hook and Yarn
Before your first stitch, take time to get comfortable holding both the hook and the yarn. There isn’t a single correct method; the goal is to find what feels natural and sustainable.
Mastering this step is essential when learning how to cro knit, because tension and grip directly affect how your stitches form.
How to Hold a Crochet Hook
A common beginner question is how to hold a crochet hook. Most beginners use one of two methods:
Pencil Grip
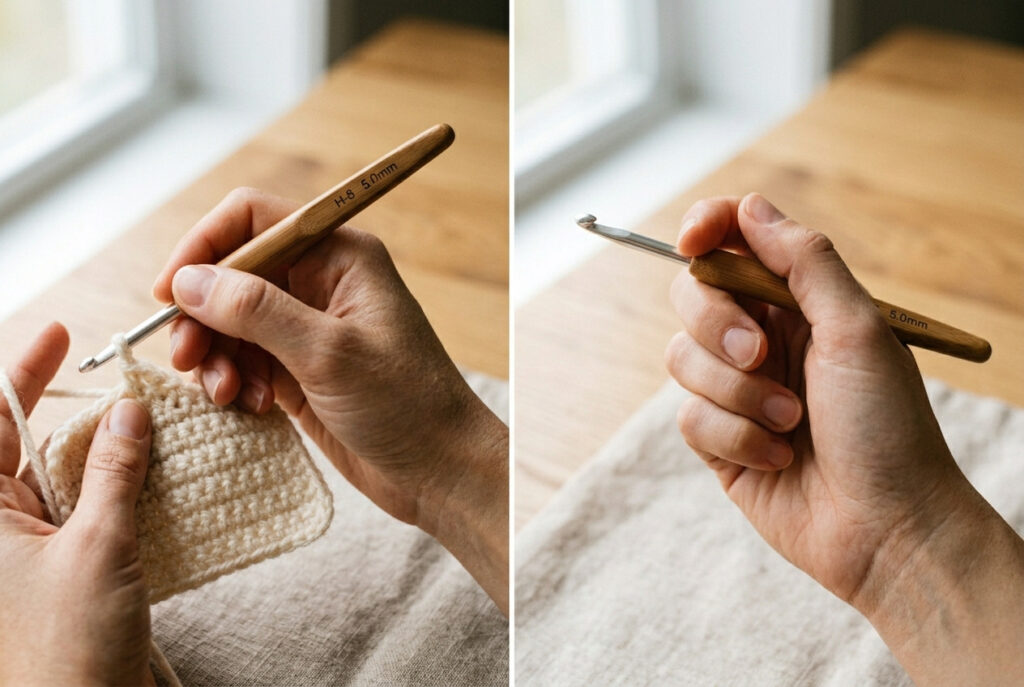
Knife Grip
Try both styles to see which feels more comfortable. The right choice lets you crochet without effort.
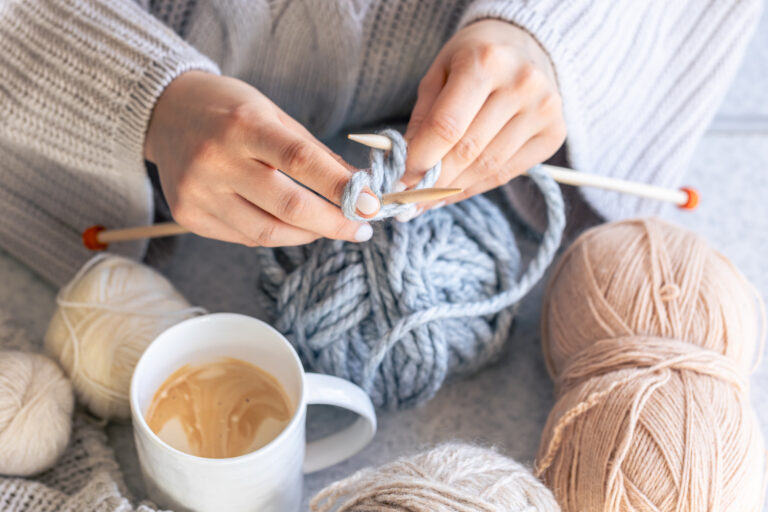
How to Hold Yarn When Crocheting
Your yarn hand controls tension, which plays a huge role in how your stitches look and feel.
A simple way to manage tension is to let the yarn flow over your index finger while guiding it with your other fingers. This keeps the yarn moving smoothly and your stitches consistent from row to row.
Getting comfortable with both your hook grip and yarn tension will make every step easier. It’s one of those small details that has a big impact on how quickly you improve.
How to Start Your First Stitch
Many beginners feel stuck here, but once you break it down, the first steps are simpler than they seem. When learning how to cro knit, mastering the slip knot and starting chain is essential because they form the foundation for everything that follows.
How to Make a Slip Knot
Every project begins with a slip knot. This first loop secures your yarn to the hook and creates your starting point.
Steps:
- Make a loop with your yarn.
- Pull a strand through the loop.
- Place the loop onto your hook.
- Tighten gently around the hook.
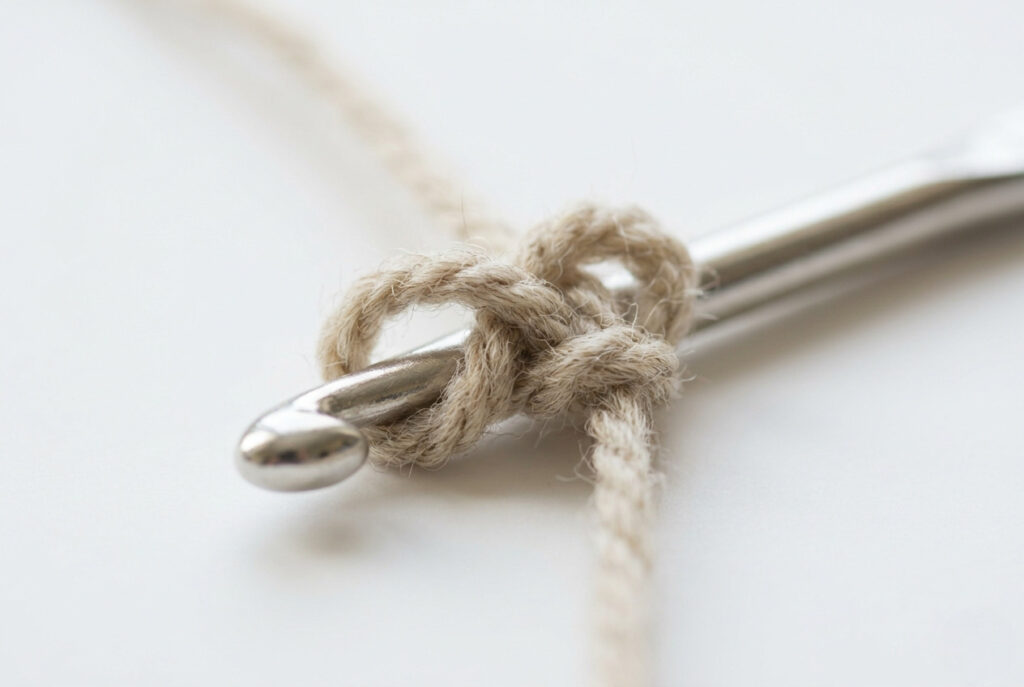
The knot should feel secure but still slide easily on the hook. If it is too tight, stitches will be harder to work.
Also Read: Does Slip Knot Count as First Stitch Knit?
Also Read: Does the Slip Knot Count as a Stitch in Knitting? Explained
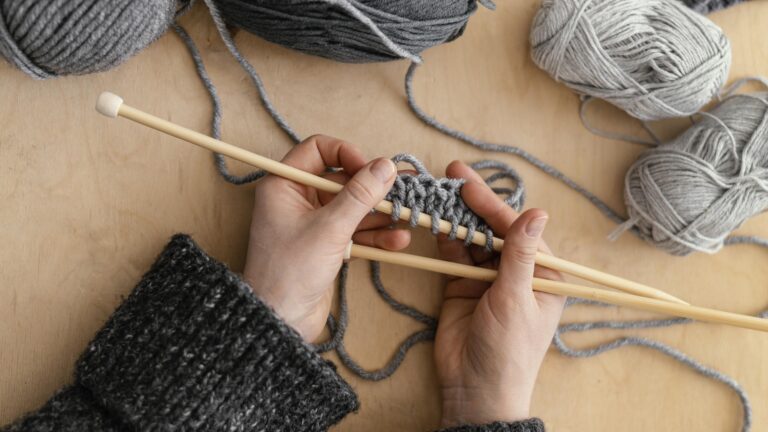
How to Make a Chain Stitch
The chain stitch creates the base row for most crochet projects and is one of the most important beginner crochet stitches.
Steps:
- Yarn over (wrap the yarn around the hook)
- Pull through the loop on your hook.
- Repeat to build your chain.
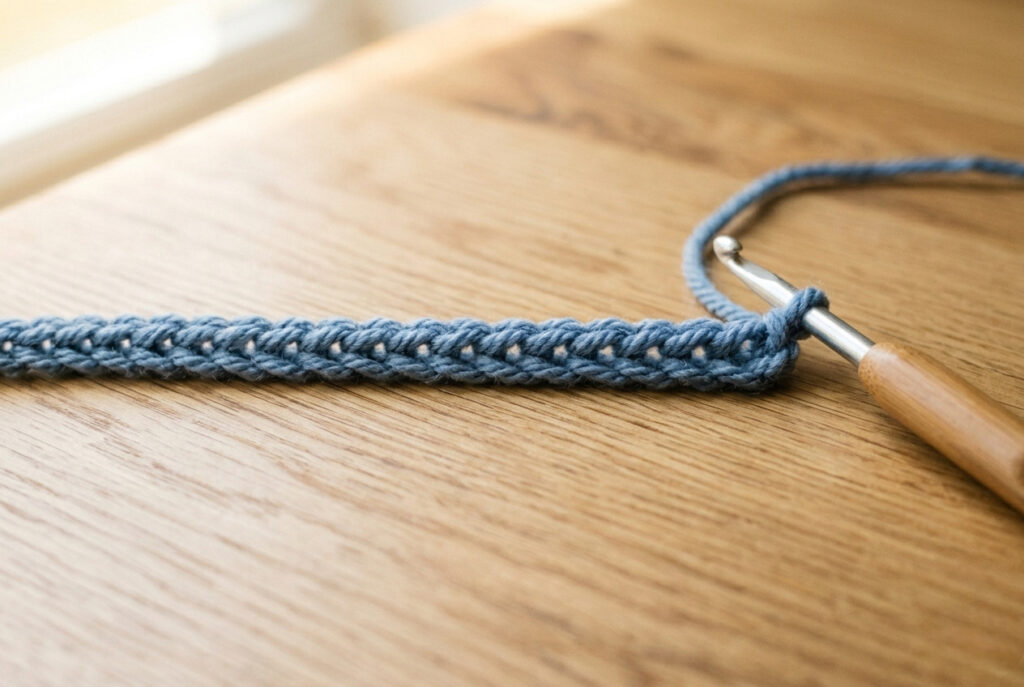
Beginner Tips for Better Chains
A short practice chain is enough when starting. Consistency matters more than length. Developing a smooth motion early will make future steps easier.
How to Single Crochet (Your First Real Stitch)
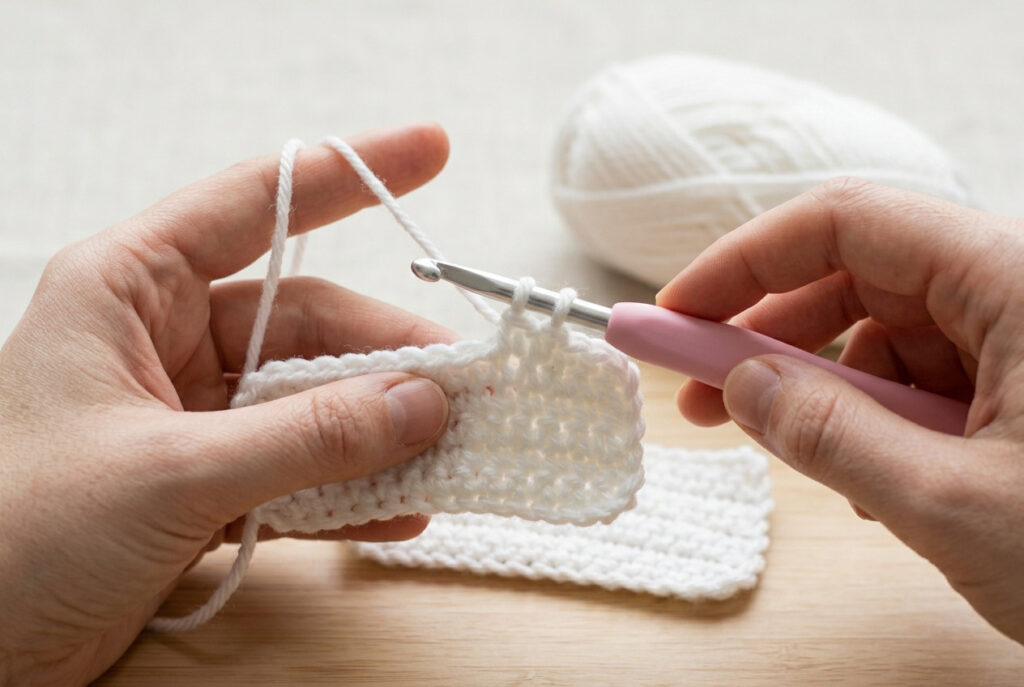
The single crochet stitch is one of the first and most important techniques beginners learn. It creates a firm, even fabric and is used in everything from scarves to blankets and simple garments.
Once you understand this stitch, you’ll start to see how crochet fabric is built, which makes learning new patterns much easier.
Steps to Make a Single Crochet Stitch
- Insert the hook into the next chain.
- Yarn over
- Pull up a loop (you will now have 2 loops on the hook)
- Yarn over again
- Pull through both loops.
You’ve now completed one single crochet stitch.
Repeat these steps across the row.
Also Read: How to Use Stitch Markers for Knitting: Easy Guide
Also Read: What is Garter Stitch in Knitting? Easy Knitting Explained
How to Crochet the First Row
Learning how to crochet the first row can feel a bit tricky at first, but it becomes easier with practice.
Here are a few tips to help:
This is where your hands begin to build muscle memory, and consistency matters much more than speed.
Beginner Tip for Better Stitches
If your stitches feel too tight or hard to work into, relax your grip slightly and let the yarn move more freely. Small tension adjustments greatly affect how your fabric looks and feels.
How to Turn and Continue Rows
After finishing a row, you need to turn your work so you can begin the next one. This step is essential in crochet because it builds the structure and height of your fabric.
Turning chains are used to create that height, and the number of chains depends on the stitch pattern you are working with. In simple beginner projects, usually one chain is enough.
How to Turn and Start the Next Row
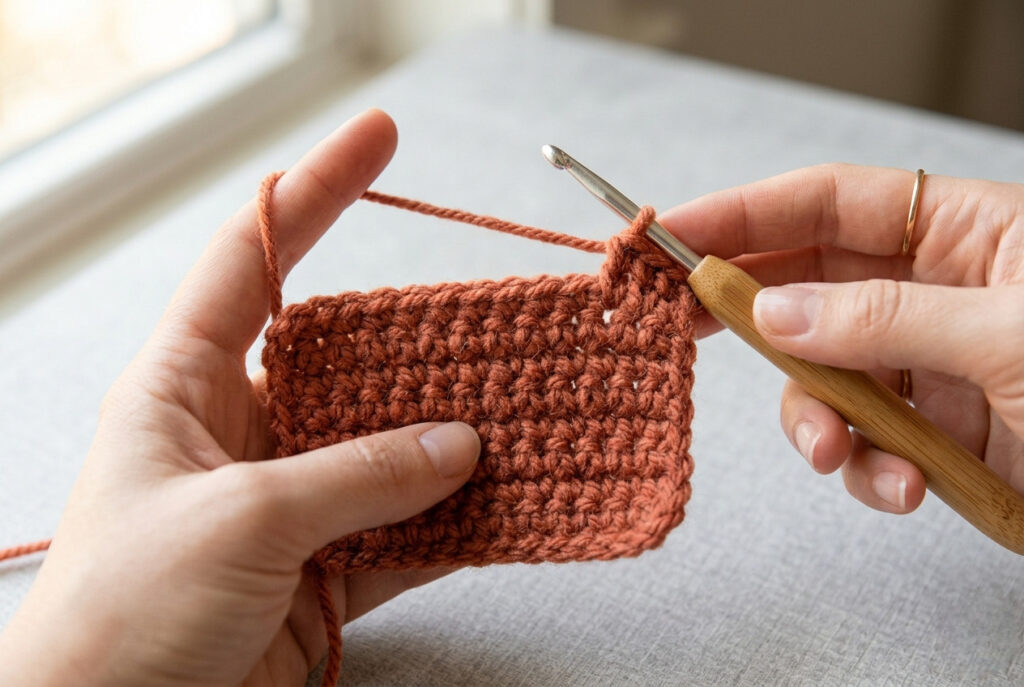
At the end of your row:
- Chain one (this acts as your turning chain)
- Turn your work
- Start stitching into the first stitch of the new row.
This process is how you build even rows in crochet and keeps your fabric consistent.
A common beginner mistake is missing the first stitch or inserting the hook into the wrong loop, which throws off your stitch count. If this happens often, use stitch markers to stay on track while building confidence.
Beginner Tip for Better Rows
When starting a new row, check your stitches before inserting the hook. Moving slowly helps prevent mistakes and keeps edges straight. Small adjustments now will save you from uneven rows later.
What to Practice First (So You Improve Faster)
Repetition is one of the most effective ways to improve when learning how to cro knit, especially for beginners, as it builds muscle memory.
Practice:
A great way to reinforce your skills is to make small practice squares. These simple swatches help you:
Common Beginner Mistakes (And How to Fix Them)
Every beginner crocheter makes mistakes; this is normal and part of learning. The goal is not perfection but awareness. When you understand what is going wrong, it becomes easier to adjust and improve. These are some of the most common challenges faced in crochet for beginners, especially when first learning how to cro knit.
1. Stitches Too Tight
The problem is that it becomes hard to insert the hook into stitches.
Fix:
2. Uneven Tension
The problem is that fabric looks lumpy, stretched, or inconsistent.
Fix:
3. Losing or Adding Stitches
The problem is that your project gets wider or narrower without intention.
Fix:
4. Twisted Foundation Chains
The problem is that your starting chain curls or twists.
Fix:
5. Skipping Stitches Without Noticing
The problem is that gaps or uneven rows appear.
Fix:
Also Read: How to Fix a Dropped Stitch: A Complete Guide for Knitters
Also Read: How to Fix a Knitting Hole: Easy 5 Techniques and Tips
How to Improve Faster
Improvement in crochet comes from repetition, not perfection. It is better to practice a few basic steps consistently than to rush through complex patterns.
Short daily practice sessions are often more effective than long, occasional ones because they help your hands build muscle memory.
It also helps to watch your stitches as you work. Instead of focusing only on the hook, observe how each loop forms. This makes spotting mistakes early and understanding how your fabric develops easier.
If you follow tutorials or photos, compare your work at each stage rather than waiting until the end. Small corrections made early lead to cleaner results over time.
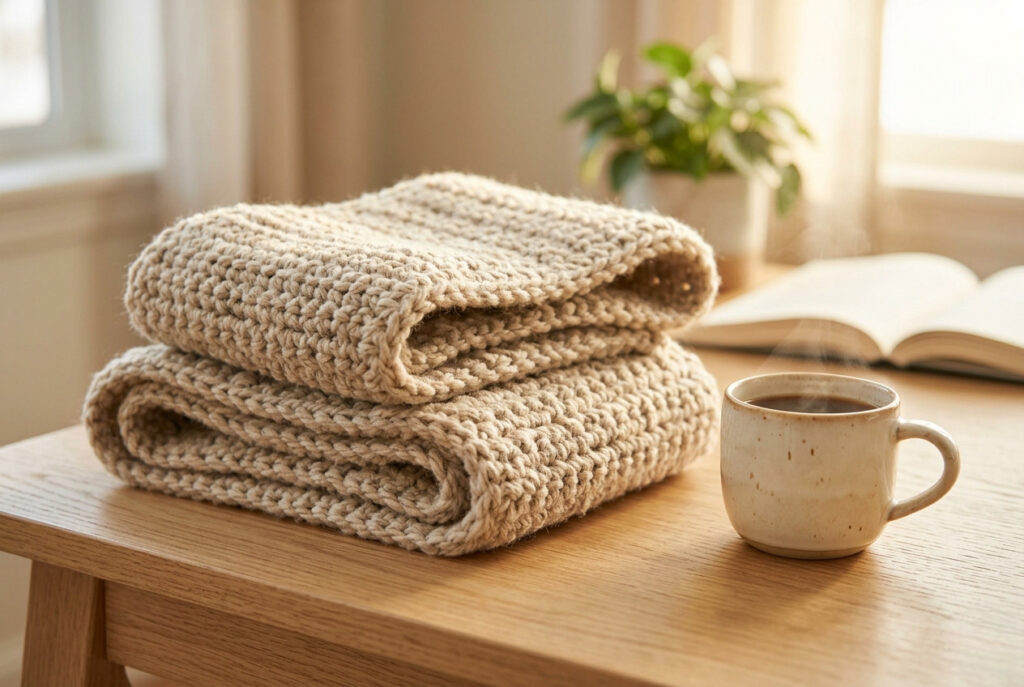
Easy First Project for Beginners
Once you are comfortable with the chain stitch and single crochet, the next step in learning how to cro knit is to choose a simple project to practice without pressure. A dishcloth, coaster, or small washcloth is an excellent place to start because these projects are practical, small, and forgiving if your tension is not perfect.
The goal of your first project is confidence, not perfection. Starting with something simple helps you build rhythm and understand how stitches work together in a real piece.
Beginner Scarf (Simple and Effective Project)
A scarf is one of the most popular beginner crochet projects because it uses only basic stitches and allows you to practice repetition.
It works because it repeats the same stitch pattern, builds consistency and muscle memory, and helps improve tension control.
Basic Pattern
That’s it. No shaping or complex steps, just repetition and practice.
This is one of the best ways to build confidence in easy crochet for beginners.
Tips for Better Results
Small habits can make a big difference when you are learning:
These simple adjustments help you create more even stitches and reduce frustration as you practice.
Also Read: How Long Does It Take to Knit a Scarf? Time Guide
Also Read: How to Block a Knitted Scarf: 5 Easy Steps
Also Read: How to Finish a Knitting Project: A Complete Guide
Crochet Terms to Know
As you begin following patterns, you will see repeated terms. Learning them early makes everything easier. Common terms include:
Understanding this basic vocabulary helps you follow tutorials more easily and prepares you for more advanced patterns later.
Also Read: Top 10 Best Knitting Patterns for Beginners: Easy Guide
Also Read: Top 10 Best Knitting Books for Beginners 2026
How Cro Knit Fits Into Your Learning
Once you understand crochet basics, you can explore cro-knit knooking, a technique that combines crochet tools with a knitting-style structure.
In cro-knit:
If your goal is to create knitted-style fabric without learning full knitting techniques, cro-knit is a natural next step after mastering crochet basics.
Also Read: How to Cast on Knitting with Two Needles: A Complete Guide
Also Read: How to Read Knitting Patterns? Beginners Guide
FAQs: How to Cro Knit
Final Thoughts: How to Cro Knit
Learning how to cro knit starts with understanding crochet basics and getting comfortable with simple stitches. From there, your skills naturally grow into more structured projects and even advanced techniques like cro-knit.
What matters most is not speed or perfection but consistency. Small, regular practice sessions lead to better results than rushing through complex patterns too early.
Take your time. Let your hands adjust. Pay attention to how each stitch feels.
Before long, what once felt confusing will become second nature, and that’s the point where crochet truly becomes enjoyable and creative.