How Do You Weave in Ends in Knitting? Step-by-Step
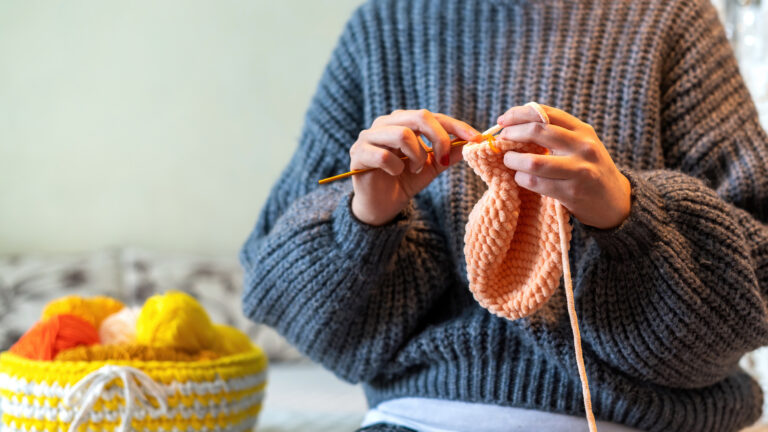
Few activities deliver as much quiet pleasure as knitting: watching needles push string into patterns, then stepping back to hold a freshly shaped item, is frankly magical. Even so, behind that magic sits a step often glossed over yet crucial: tucking in the loose yarn tails. How Do You Weave in Ends in Knitting becomes an essential consideration at this stage, since leaving them undone allows time to unravel the work, distort its outline, or, worse, mark it as unfinished.
Putting those ends to rest is more than tidying; it guards the very structure and appearance of the fabric. Each tail that locks into place shores up weak points, so stitches stand up to wear, washing, and repeated pulls. A discreet join also keeps the fabric’s lines clean, letting the intended design shine without distraction.
Attending to this humble detail early in the crafting routine elevates ordinary knitting into a durable keepsake worthy of praise—and of extended, pleasant use.
Also Read: How to Finish a Knitting Project: A Complete Guide
Why Weaving in Ends is Important in Knitting
No matter how complicated the pattern or how sumptuous the fibre, stray tails make the work look half done. Tucking those bits away is a simple task, yet it is the finishing touch that too many knitters overlook. When the ends are secured with a careful method, a piece gains both strength and shine, showing off a salon-quality look that endures through washing and wear.
Ignoring this tidy-up step can undo hours spent on swatching, counting rows, and seams. A few leftover inches may seem trivial, but they are the invisible thread that ties design to durability. Hidden tails keep the fabric lying smoothly, spare the skin from scratchy seams, and help the garment maintain its shape long after the last stitch is sewn. The benefit is more than pretty—it is what turns a hobby knit into a wardrobe staple.

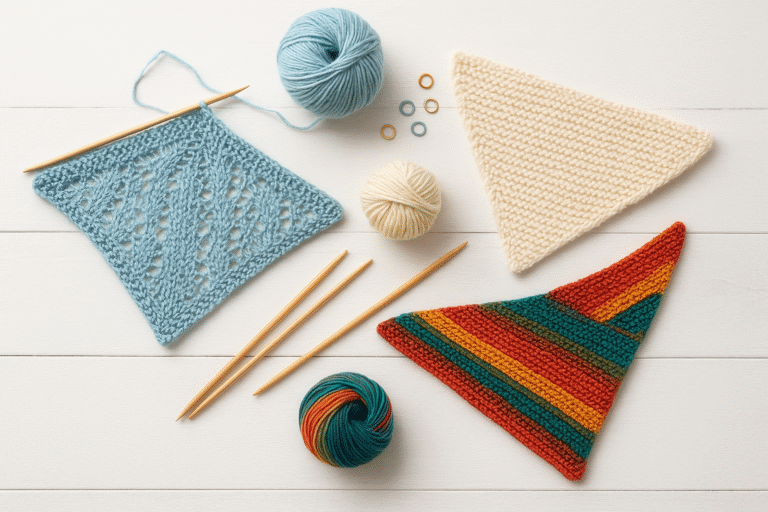
Tools Needed for Weaving in Ends
Gathering equipment in advance of the task increases ease of execution. The tools required for each task should be collected in advance.
Primary Tools
The yarn needle (or darning needle) is the most commonly used tool for the given job. The needles are categorically designed for yarn, featuring blunt tips to prevent yarn thread splitting and large eyes that accommodate a range of yarn weights. It is preferable to have a collection of yarn needles of different sizes, as there exists a difference in the required size of the eye.
Smaller sizes are optimal for finer threads, while larger ones are suitable for thicker yarns. A pair of sharp scissors is required for trimming excess material. These items are used to form the core toolkit. The degree of precision needs to be very exact because a clean cut retains the neatness and tidiness of the work.
Optional Additional Tools
Apart from these two items, some additional tools, such as a tape measure or cable needles, aid in the ease of execution by making it easier to maneuver through difficult yarns. However, most people prefer not to include these optional add-ons for basic tasks.
Also Read: How to Measure Circular Knitting Needles?
Basic Techniques for Weaving in Ends
Working with Stockinette Stitch
For flat items knitted in stockinette, which exhibit a smooth front and a bumpy back, it is advisable to tuck the tails on the less-visible reverse. One easy way is to thread the yarn straight up and down through the purl bumps, letting it blend with the existing columns.
For tighter zones, the diagonal pass catches more loops and feels sturdier. Knitters seeking the cleanest look can try the duplicate stitch, following the shape of nearby stitches so that the tail disappears nearly completely while still allowing the fabric to stretch.
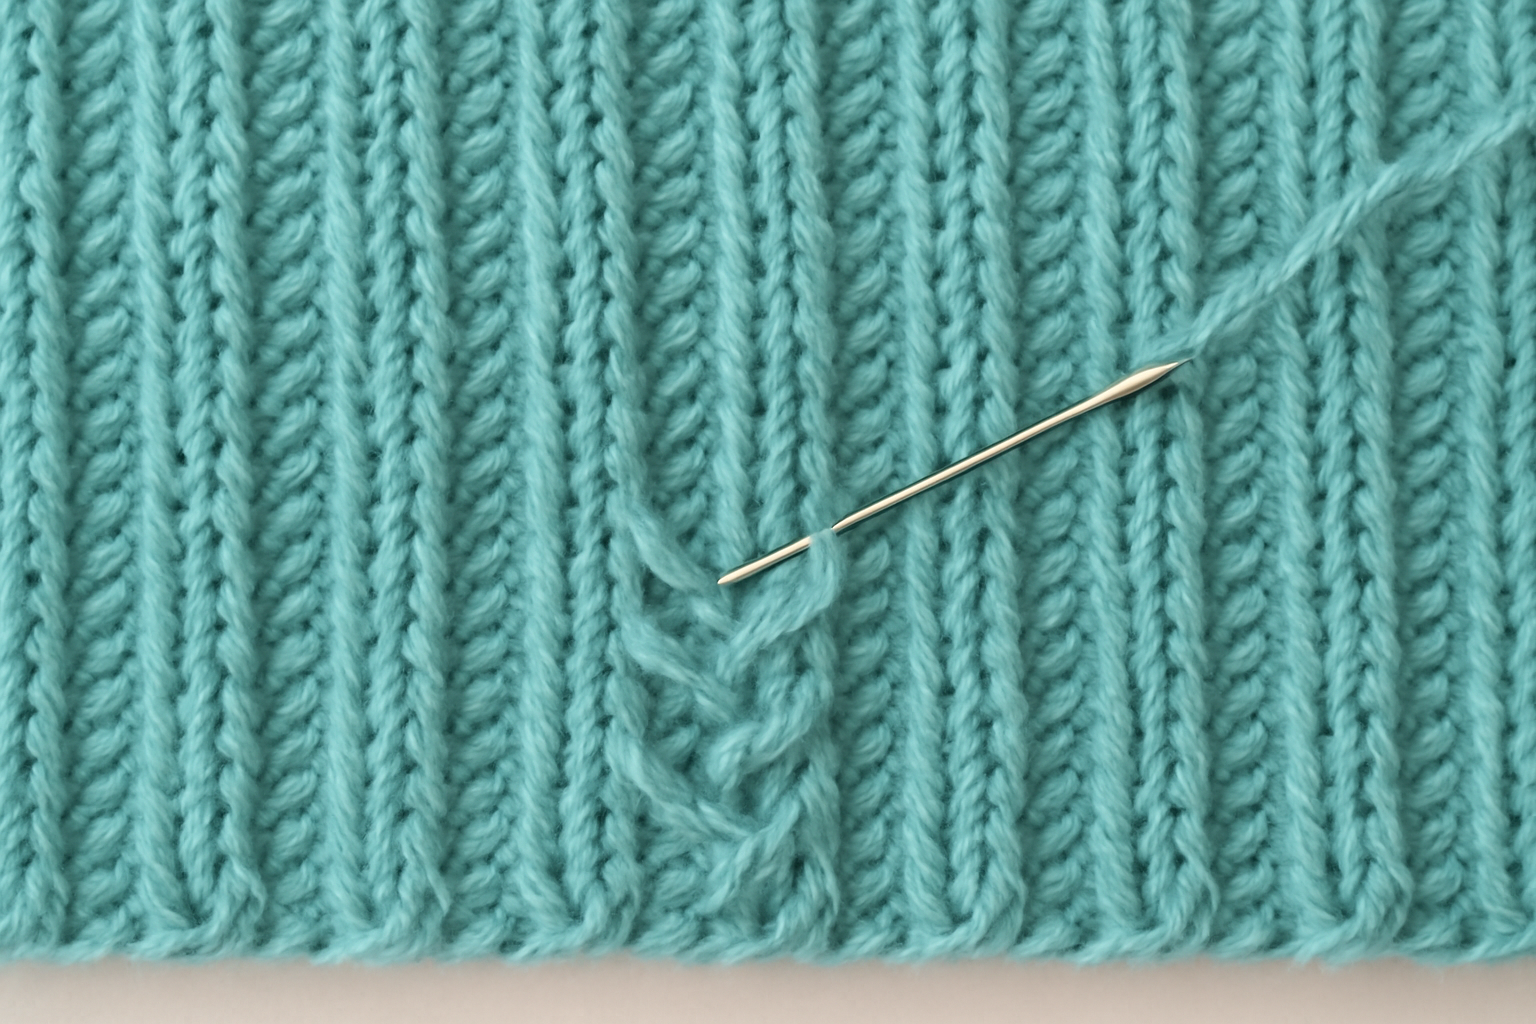
Working with Ribbed Textures
When knitting with a K2, P2 rib, attention to the column shapes determines the finished fabric. Weaving under a purl stitch, instead of over one, retains the band’s elasticity and keeps the visible ridges clean. Doing so guards against the tiny ripples that can spoil the neat outline while still locking the end securely.
Following the valleys created by the purls with a light zigzag also secures the tail. Before threading, tug gently on the fabric edge so the ribs open up slightly and reveal a discreet channel for the yarn. This approach is beneficial at cuffs, hems, and neckbands, where a snug finish must move easily.
Also Read: How to Read Knitting Patterns?
Invisible Weaving Techniques
Invisible Weaving for Reversible Items and Scarves
In pieces intended to look the same on both sides, such as scarves or cowls, every yarn end must vanish entirely. The best way to hide a tail is to slide it under the internal fabric, not through the outer stitches, along the ribs inside.
If the strand follows the existing line of loops, it practically melts away. Techniques such as duplicate stitch or simple weaving through the hidden valleys provide a crisp finish on both the front and back.
Invisible weaving on hat crowns and other shaped projects
Finishing the top of a hat or the back of a neckline can be especially challenging because the fabric curves inward, making it difficult to create a smooth finish. When that shaping occurs, every little strand matters, so loose ends must naturally follow the angle instead of jutting outward. The tail should slide through the turned folds along the decrease lines, almost like hiding a secret dart.
To keep the edge flat, avoid a single, long, room-wide chase. Instead, take small steps in opposing angles, tacking the yarn as one goes. This little anchor lessens the temptation for the yarn to pop later and stops unwelcome ridges in snug zones. Treat the piece like a gentle puzzle, and the final item will behave more comfortably on the body.
Also Read: How to Count Rows in Knitting
The Magic Knot Alternative
A second, less mainstream option for joining two colors, or simply picking up where the last ball ended, is the magic knot. No threaded needle is needed; one tidy double knot, pulled firmly, shrinks down and hides almost completely once the stitches move about.
The trick saves both time and the annoyance of searching for the darning needle, yet it works best in stitches or sections that will never be visible on the front. That promise of speed comes with caution, however, especially with laceweight strands or very airy fabrics. Before trusting the knot on an heirloom shawl or delicate sweater, tie a quick test on a spare swatch and see what happens after washing.
If a bump appears, rethink the plan; if it disappears, the shortcut will gladly swap a needle and save a small quantity of evening knitting time. Used mindfully, the method can shorten a project while maintaining the fabric’s strength for everyday wear.
Also Read: How to Add New Yarn to Knitting? Step-by-Step
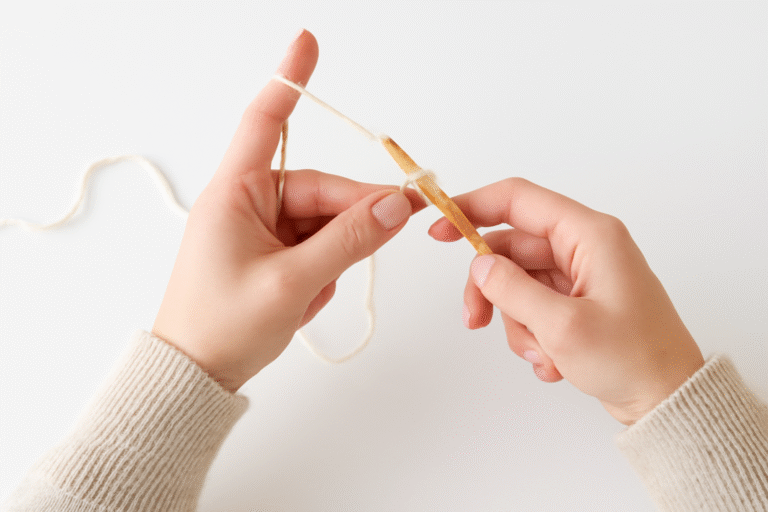
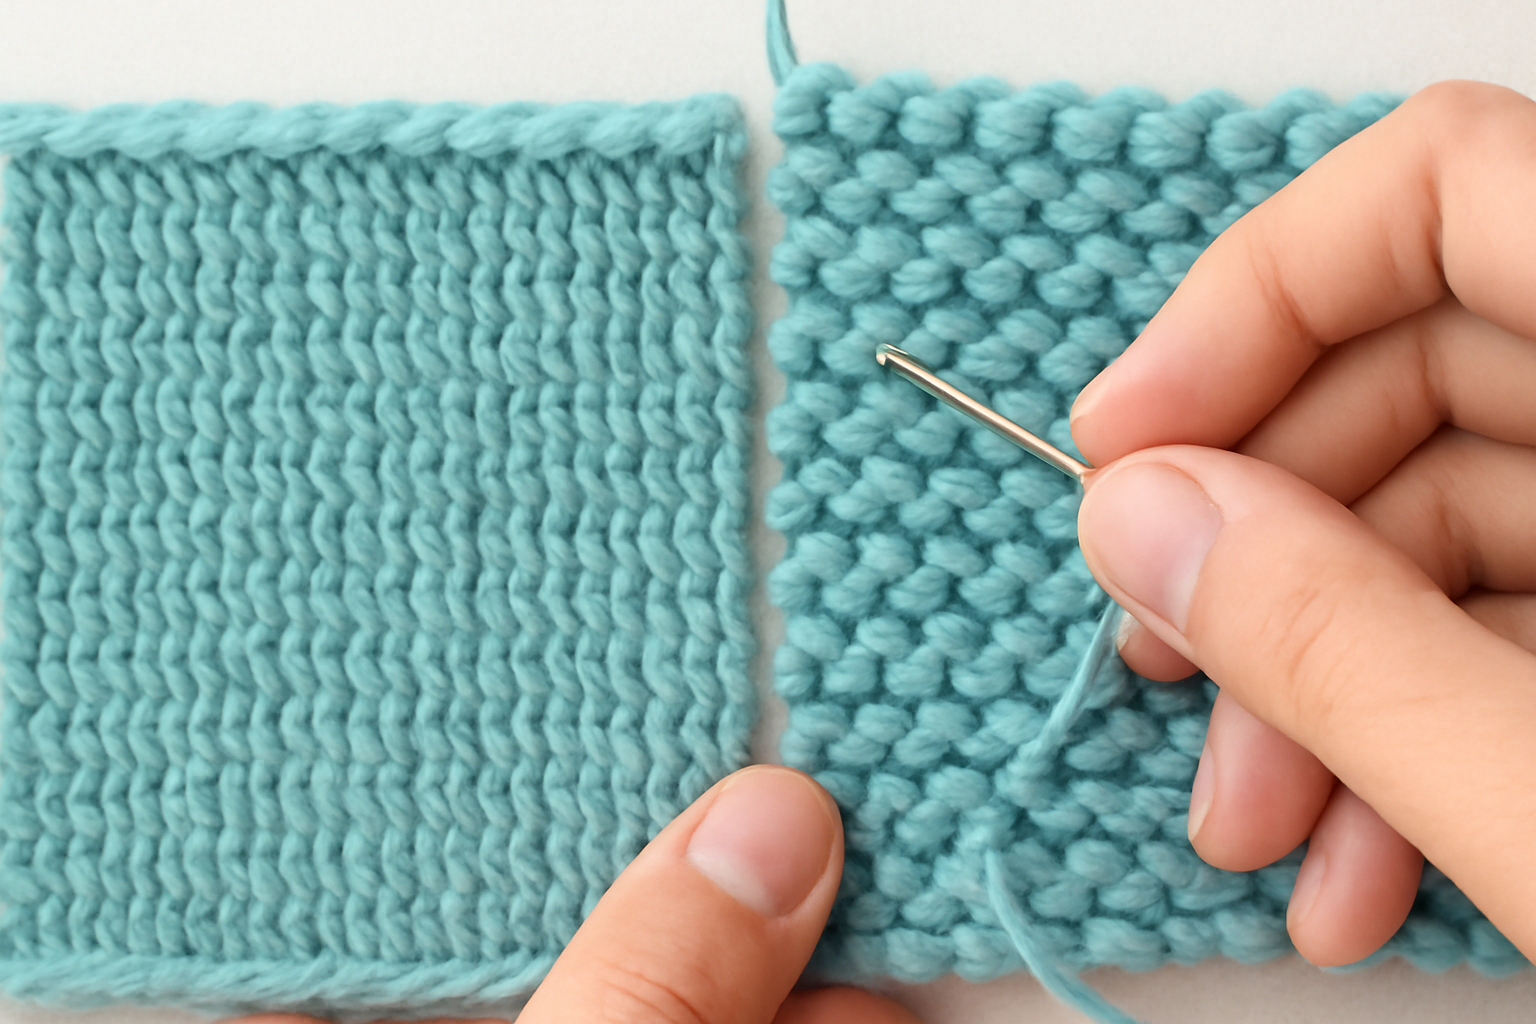
How Do You Weave in Ends in Knitting? Step-by-Step
Take a length of yarn about six inches long, thread it through a blunt-tipped needle, and sit down with the piece right-side up. By slipping the tail in the same path as adjacent stitches, this trick eye and the yarn into behaving like they have always been part of that section. Once the end travels through three or four links, pivot the needle ever so slightly, travel one strand over, and repeat.
This little turn guards against the tail working its way back out later. Before the call is done, give the area a gentle stretch to check for dimples, then snip the tail close enough to vanish yet far enough to leave a hair of securing twist. The finish should lie flat, pretend it has never been there, and let it worry about the next row instead of rogue threads.
Also Read: How Do I Block a Knitted Sweater? Step-by-Step
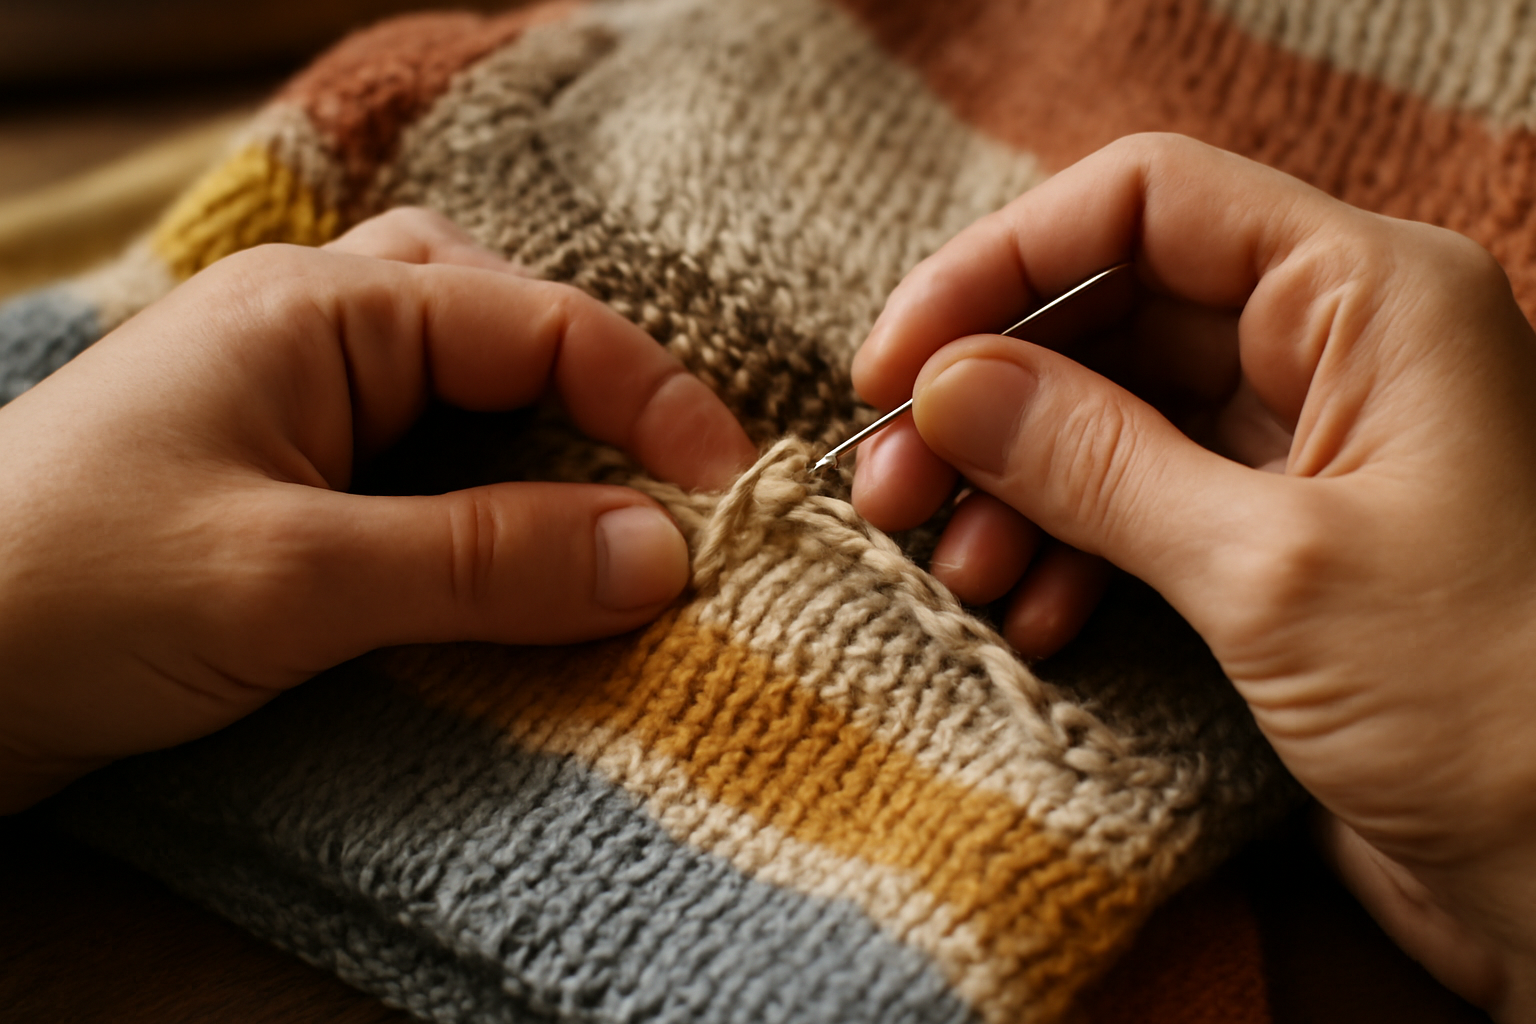
Best Practices for Secure and Neat Finishing
Achieving secure and neat ends requires looking at other details other than just putting a needle to thread. An example of such information is variation in direction; instead of a single straight line, two different directions can be joined together. After pulling horizontally for an inch, one can change direction and pull vertically for another half inch. Alternatively, they can slowly retrace their steps in reverse.
This alteration significantly reduces the chances of slipping free due to the added friction provided by the cross-weaving method. It is essential to avoid the common mistake of overtightening while drawing the yarn in, as this will result in puckering or damage to the stitches that encircle the area. Rather than enhancing the seam, the stitch in the center would become filled and lose its smooth, rounded shape.
It will also reduce the luster and movement of the knitted item. Lastly, while trimming yarn, precision is key. Ensure strands of yarn attached to stitches are left with a small loop; if too much is exposed, it will render them useless and susceptible to unraveling. A small dangle is always preferable to leaving portions too close, as too much freedom will enable undesirable changes.
Common Mistakes to Avoid
Even the most skilled crafters may still encounter simple mistakes when securing yarn ends, which can impact the aesthetics and functionality of a project. One of the most common mistakes is not blending the yarn tail for a long enough length. A short blended portion, such as one that is less than an inch and is likely to come undone over time, especially with repeated wear and laundering cycles.
For optimal security, approximately 1.5 to 2 inches of the fabric should be blended, depending on the yarn type and project type. Another focus on the same theme is slack tension. Tension inconsistency is also common. Tightening the yarn tail too much causes puckers or dimples in the knitted piece, adversely affecting its smoothness. On the other hand, Slack integration allows the yarn tail to become more apparent.
The best tension achieves invisibility while retaining the blended area, combining with existing stitches without straining the garment’s looseness, weight, and springiness. Moreover, neglecting style features and the closing technique may yield non-ideal results, such as compromising the stretch of the ribs when applying the stockinette method.
Also Read: How to Fix a Dropped Stitch
Weaving in Ends: Knitting FAQs
Advanced Tips for Colorwork and Reversible Knits
With colorwork, the stakes rise a bit. In stranded or intarsia methods, each tail must be tucked inside nearby stitches so it will not peek out later. Be especially careful not to run a dark strand across a light area, because even the strongest disguise can still show through.
On a double-sided fabric, split the yarn tail in two and weave one half up and the other half down. It keeps bulk to a minimum and preserves the smooth finish on both sides. If the design permits, leftover ends can also double as small decorative elements: turn them into tassels, fringes, or subtle pixel-like pops of extra color.
Also Read: How Long Does It Take to Knit a Sweater?
Conclusion: Mastering the Art of Finishing
Finishing off the yarn ends of a knitting project, although often considered the final step, is an essential process because it refines the work done by hand. Attention-grabbing details, such as finishing turns strands of yarn into a finished product that looks durable and professionally made.
It is only through careful attention that each strand is woven and tucked into place, which gives the item beauty, pristine boundaries, and artistry.The ability to neatly fasten yarn strands showcases one’s dedication to the craft because it truly demonstrates mastery over a knitted piece.
Its appeal not only rests in the flawless design but also in its perfect execution. As one takes on their next project, securing yarn ends should be viewed not as a burden, but instead as a means of preserving the creative endeavor for future admiration. It immortalizes the effort that went into executing a vision while ensuring that it can be cherished for many years.
Also Read: The Best Knitting Machines For Crafters