How to Add New Yarn to Knitting? Step-by-Step
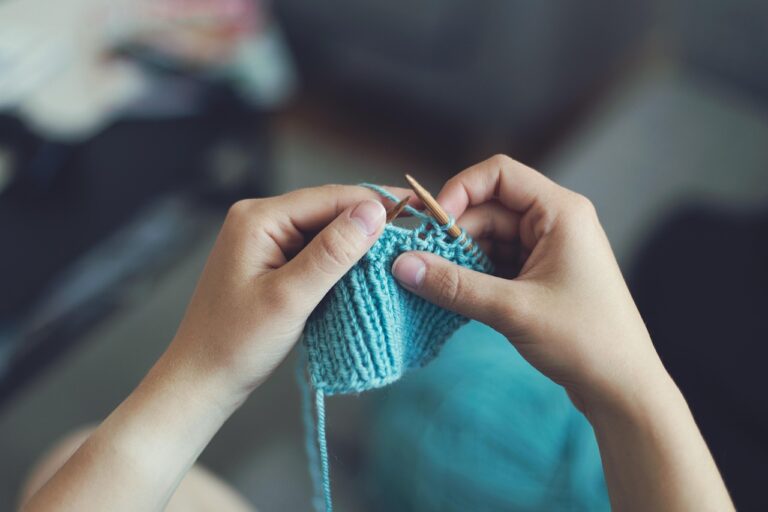
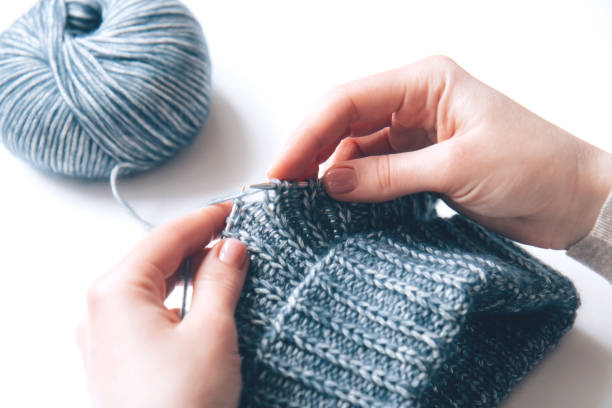
Seamlessly adding a new ball of yarn to a knitting project without any noticeable break is a crucial skill for the meticulous knitter. Their focus on strong technique goes hand in hand with care for the environment. Choosing yarns made from organic farming, with fair production practices and transparent supply chains, helps extend the life and appearance of the finished piece, thereby reducing the craft’s overall environmental impact.
This guide breaks down the process into clear, easy steps, so that the joins are both strong and nearly invisible, reducing waste and encouraging thoughtful making. When the entire process, from selecting the right fibers to joining yarns neatly, is done with care, the finished item reveals two things: the knitter’s skill and their commitment to protecting the environment. So, Today we’ll learn how to add new yarn to knitting with easy steps.
When Should You Add New Yarn?
The right time to grab a new ball of yarn is crucial for keeping your knitting smooth and looking good. You’ll usually notice you’re almost out of the old ball when you can see there’s not enough left to finish the row or a big pattern repeat. That’s your cue to plan the join. Doing it here means you won’t end up with a weird, lumpy spot in the middle of a design you worked hard on.
Where you place the yarn joins significantly impacts the appearance of your finished knit piece. Many seasoned knitters prefer to start a new ball of yarn at the beginning of a new row or immediately after a full pattern repeat, especially in colorwork or intricate stitch designs. By planning this out, the join stays hidden, so the finished item looks smooth and sharp, just like you want it.
Also Read: How to Join in Round in Knitting
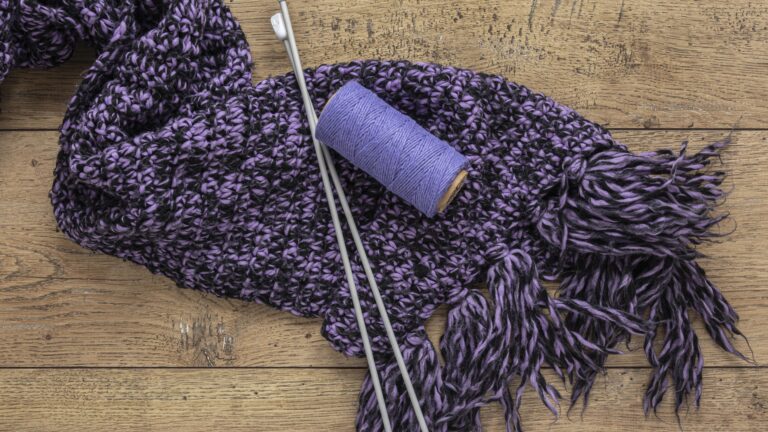
Essential Tools & Materials
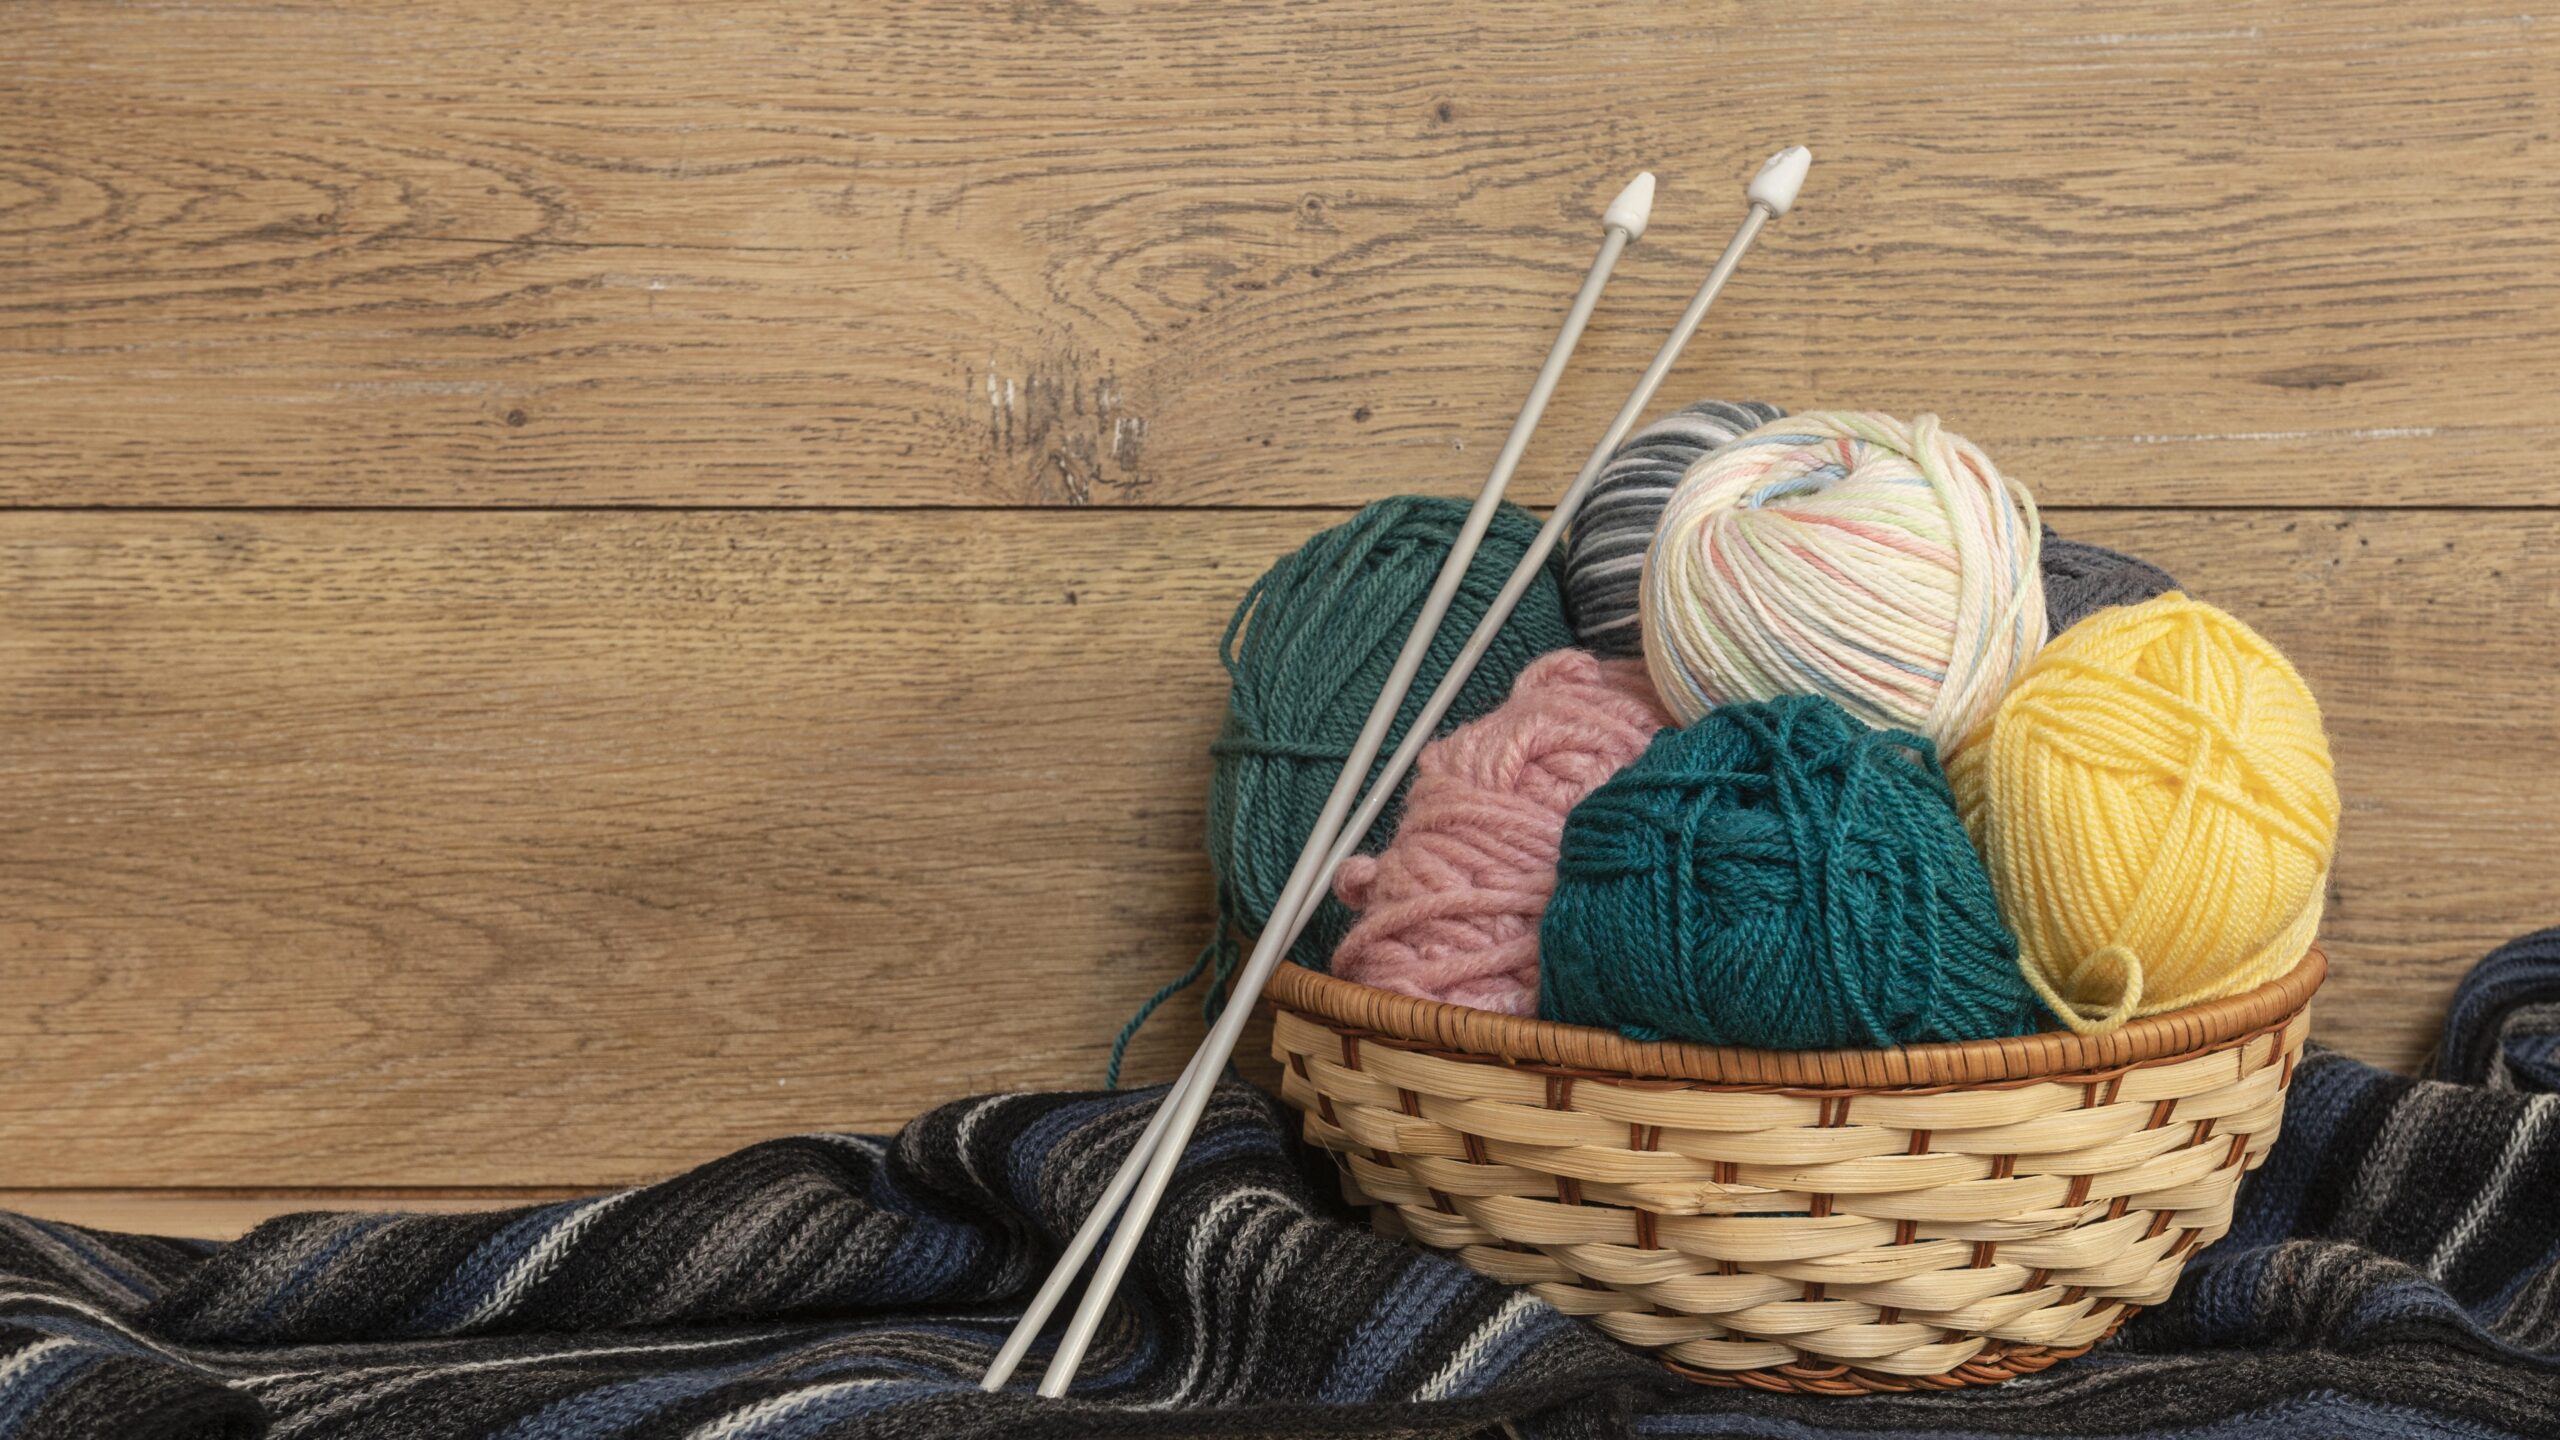
Before you dive in and start the new yarn, gather a few extra items to keep everything moving smoothly. If you already have your needles and the yarn you’re using, add a couple more tools to the pile so the whole process is quick and the result looks excellent.
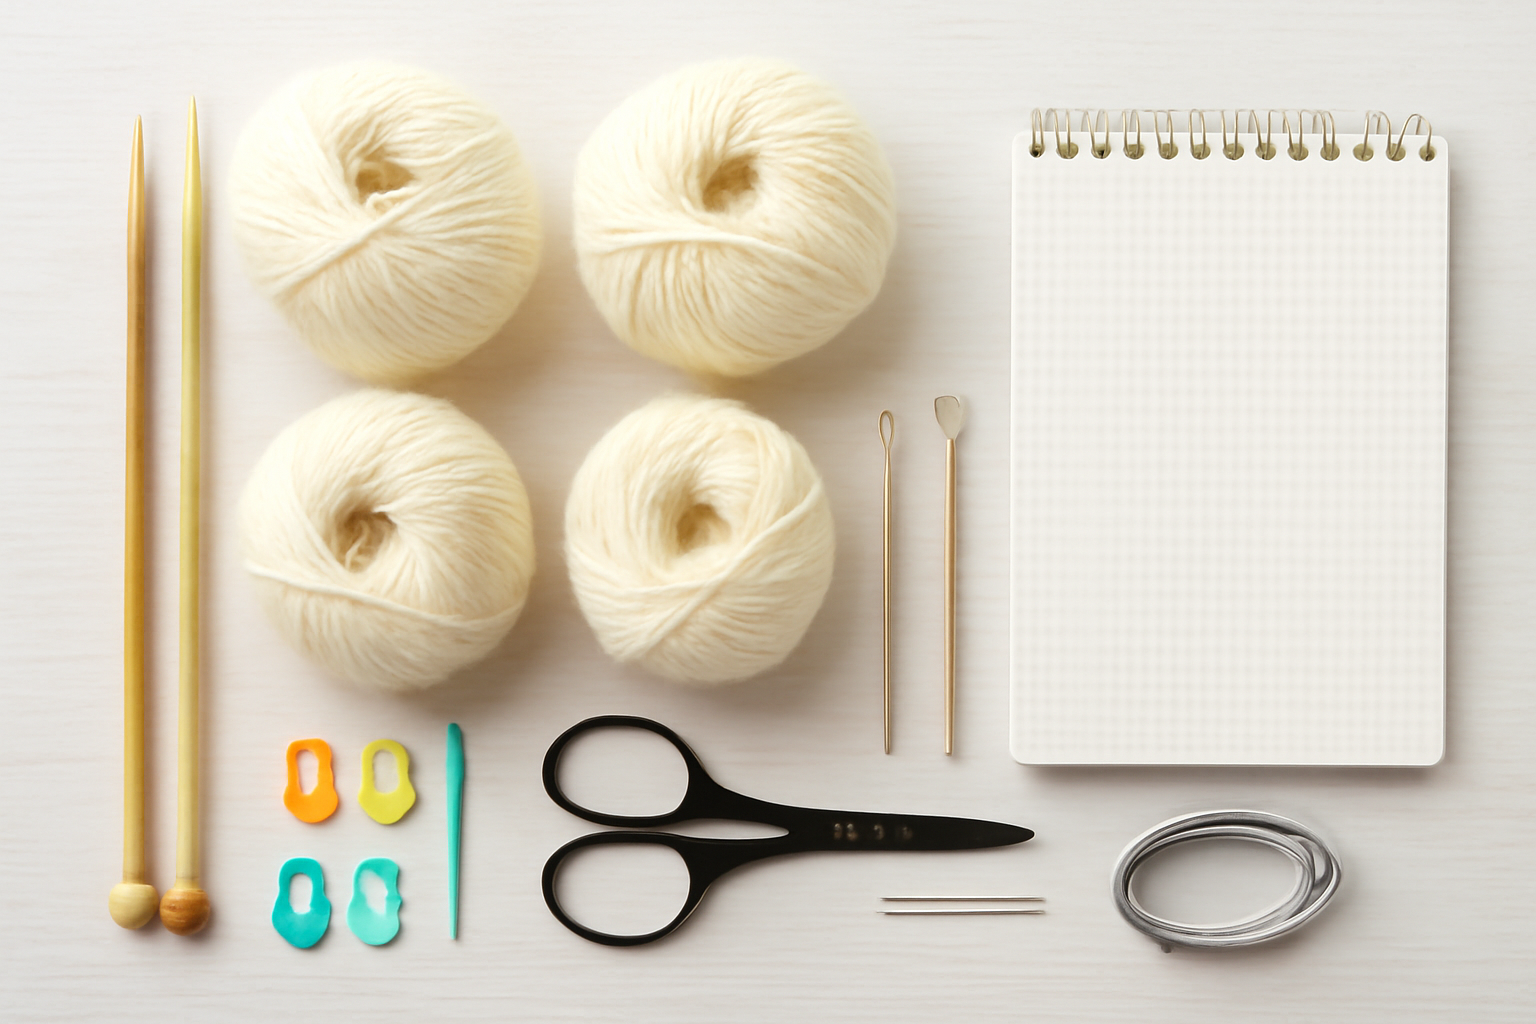
Required Tools
- Current Knitting Needles – Keep using your current needles for reliable gauge and tension—it’s one less thing to worry about!
- New Yarn (Matching Weight & Fiber) – Select yarn that closely matches your project in terms of weight and fiber. That will help everything blend beautifully.
- Sharp Scissors – A sharp pair of scissors makes it easy to snip yarn ends cleanly—enjoy the satisfying precision!
- Darning Needle (Tapestry Needle) – A darning needle is your secret weapon for weaving in tails neatly. Let its blunt tip glide through stitches for a flawless finish!
Also Read: How to Measure Circular Knitting Needles?
Optional Tools
- Stitch Markers – Stitch markers can be your best friend when marking yarn changes, especially if you’re a fan of keeping things organized.
- Small Crochet Hook – A small crochet hook comes in handy for tidying up loose ends or catching dropped stitches—don’t hesitate to use it!
- Measuring Tape – A measuring tape helps you keep tails even—just another way to set yourself up for a polished finish.
- Row Counter or Notebook – A row counter or notebook makes it easy to note yarn changes, allowing you to focus on the process and enjoy the experience.
Gathering those tools before you start helps you relax and enjoy a smooth, creative knitting experience. Your finished project will thank you!
Also Read: How to Read Knitting Patterns?
How to Add New Yarn to Knitting?
There are a bunch of good ways to join a new ball of yarn in your knitting. Each method works a little differently, so your yarn type, the kind of project you’re working on, and how tidy you want the join to look all play a part. Trying out different tricks helps to pick the one that best fits the project. Once you understand how each one works, you can maintain a tidy and strong work environment.
No single method stands out as the best for every situation. Instead, the yarn’s weight, what it’s made of, and how easily the join is visible all help you decide. Some ways hide the join so well you can barely spot it; those are handy in spots that will be seen a lot. Other methods are quick and solid, great for areas that won’t be examined closely or for yarns that can withstand a little extra rubbing.
Method 1: Overlapping Technique (Double Knit Stitch)

The overlapping method, sometimes referred to as the “double knit stitch join” in chatty circles, provides an intense and relatively low-key way to incorporate the new yarn. You knit with the old yarn and the new yarn held together for a few stitches.
This creates a slight bump that’s slightly thicker, so it works best on yarn that isn’t extremely bulky. After a few stitches, you drop the old yarn and continue with the new one, and the join will stay in place without requiring any extra finishing.
To do this, hold the end of the old yarn and the start of the new yarn together as if they were one strand, then knit a few stitches. Once you’ve done a couple of stitches, let go of the old yarn and keep going with just the new yarn. The small overlap keeps everything from coming apart, and you can’t tuck the short tails in so they vanish.
Method 2: Tie a Simple Knot
It might not win any beauty contests, but a straightforward knot gets the job done in a pinch, especially on the edges of a piece or with textured yarns that like to keep secrets. This no-fuss technique makes sure you use every last inch of yarn and keeps the landfill a little emptier.
A heads-up, though: knots can sometimes wave hello later by showing up or getting loose, so keep an eye on them. Start by tying the end of the outgoing yarn to the tip of the incoming one. A square knot will do, but if you want a little extra grip, loop a surgeon’s knot.
Pull the knot snug, but not so tight that it distorts the whole project. Leave a few inches of tail on both ends so you can tuck them in later. That little extra yarn keeps the join firm and allows all the good yarn to remain in play.
Method 3: Magic Knot Join (Waste-Minimizing Technique)
The magic knot join is a clever trick for creating a strong, nearly invisible join with minimal leftover yarn. This tiny knot hides right in your stitches, especially with medium-weight yarn, and it’s perfect for when you want your new yarn to blend in seamlessly and when you’d rather not waste any length.
To do it, lay the two yarn ends side by side. First, take the old yarn and make an overhand knot around the new yarn. Now, take the new yarn and make another overhand knot around the old yarn. Gently pull on the two ends so the knots slide together and lock into place. Snip away any extra yarn close to the knot so that nothing dangles, and you’re ready to continue knitting.
Method 4: Russian Join (Zero-Waste Option)
The Russian join is a nifty, zero-waste way to connect yarn by weaving the ends together with a needle. This method is ideal for yarns that don’t split easily and is perfect when you care about both the appearance of your project and minimizing waste—think lace shawls or delicate garments.
To do it, thread the end of your old yarn onto a needle and weave it back through itself to make a loop. Do the same with the new yarn. Then, pull both ends until the loops lock together—your yarns are joined! This method makes sure you use every inch, with no scraps left behind.
Method 5: Twist and Weave (Natural Fiber & Eco-Friendly)
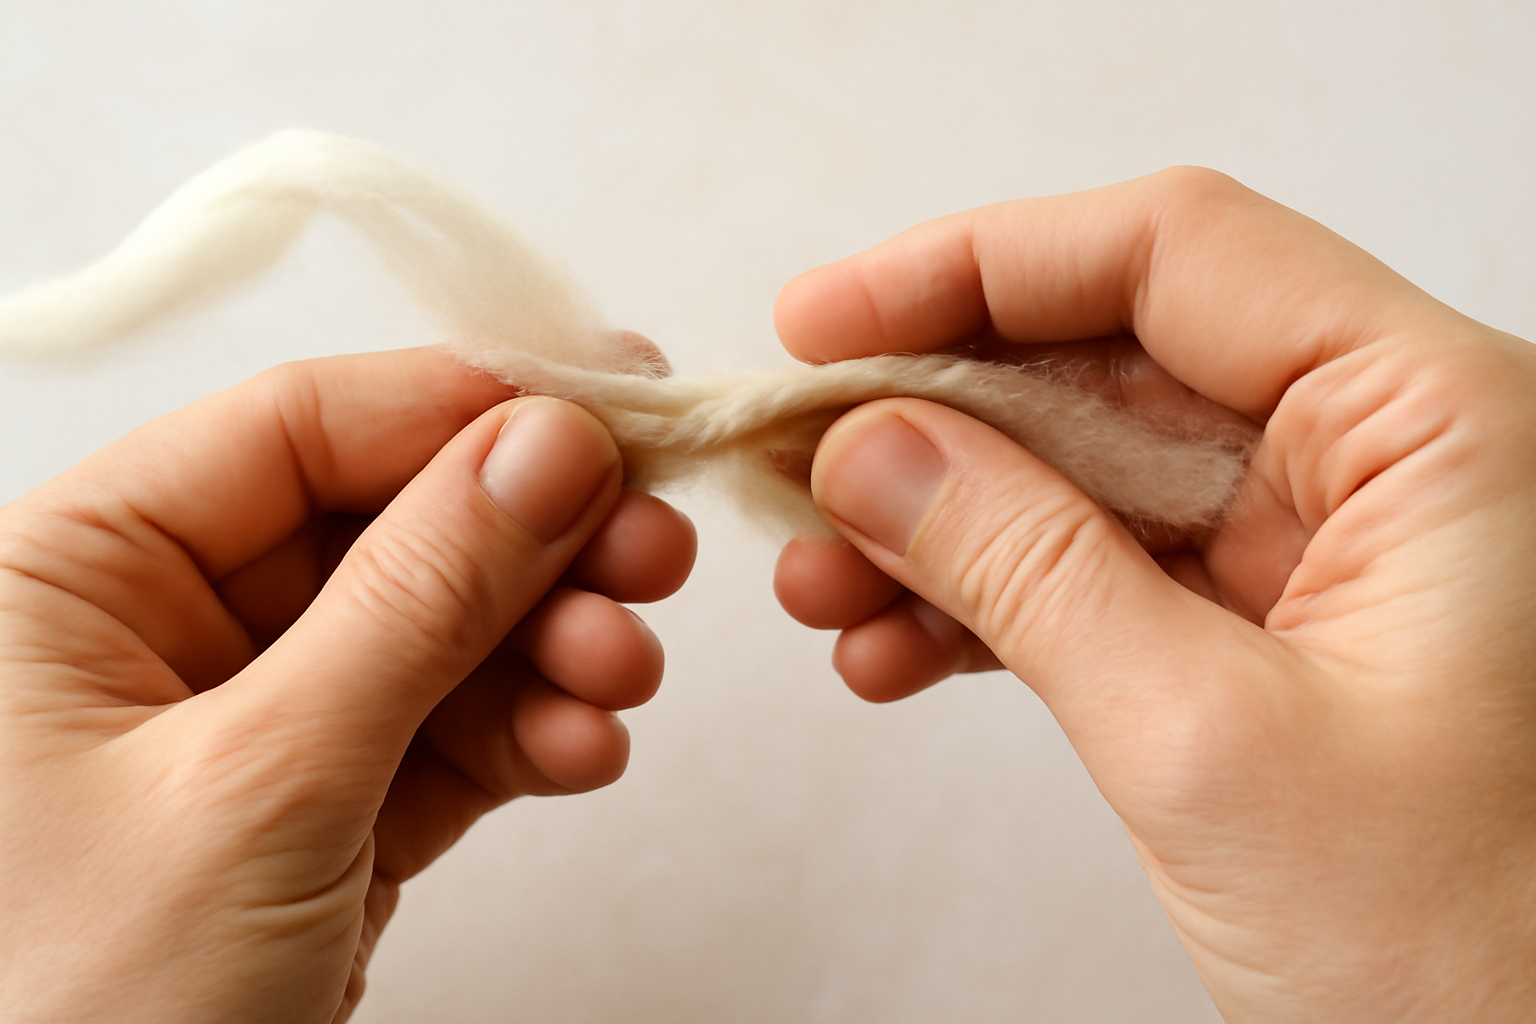
Twist and weave is a simple, natural way to join yarn—especially if you’re working with wool or other animal fibers. The fibers grip each other with just a little twist and some friction, so there’s no need for knots. It’s fast, strong, and lets you use every last bit of yarn, making it a perfect choice for low-waste knitting.
To try it, gently untwist a few inches of both the old and new yarn. Overlap the loose ends and twist them together in the opposite direction. The fibers will catch and stick. Roll the join briskly between your hands—this helps the fibers felt, locking everything in place for an almost invisible join. It’s a great way to save yarn and keep your project green.
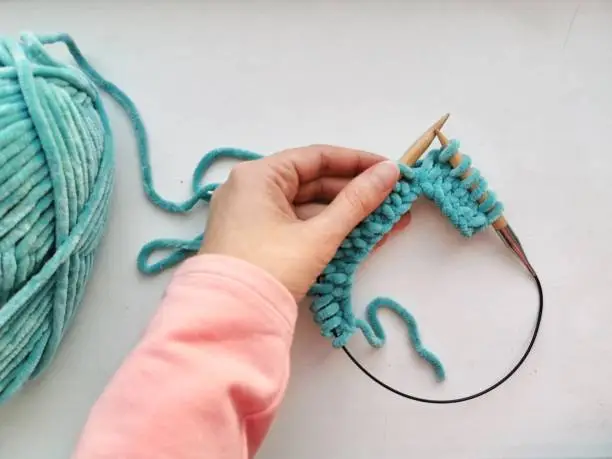
Adding Yarn in Practice
Once you decide how you want to proceed, bringing new yarn into your project requires a little extra care to ensure a seamless transition. Here’s a straightforward guide to nail it:
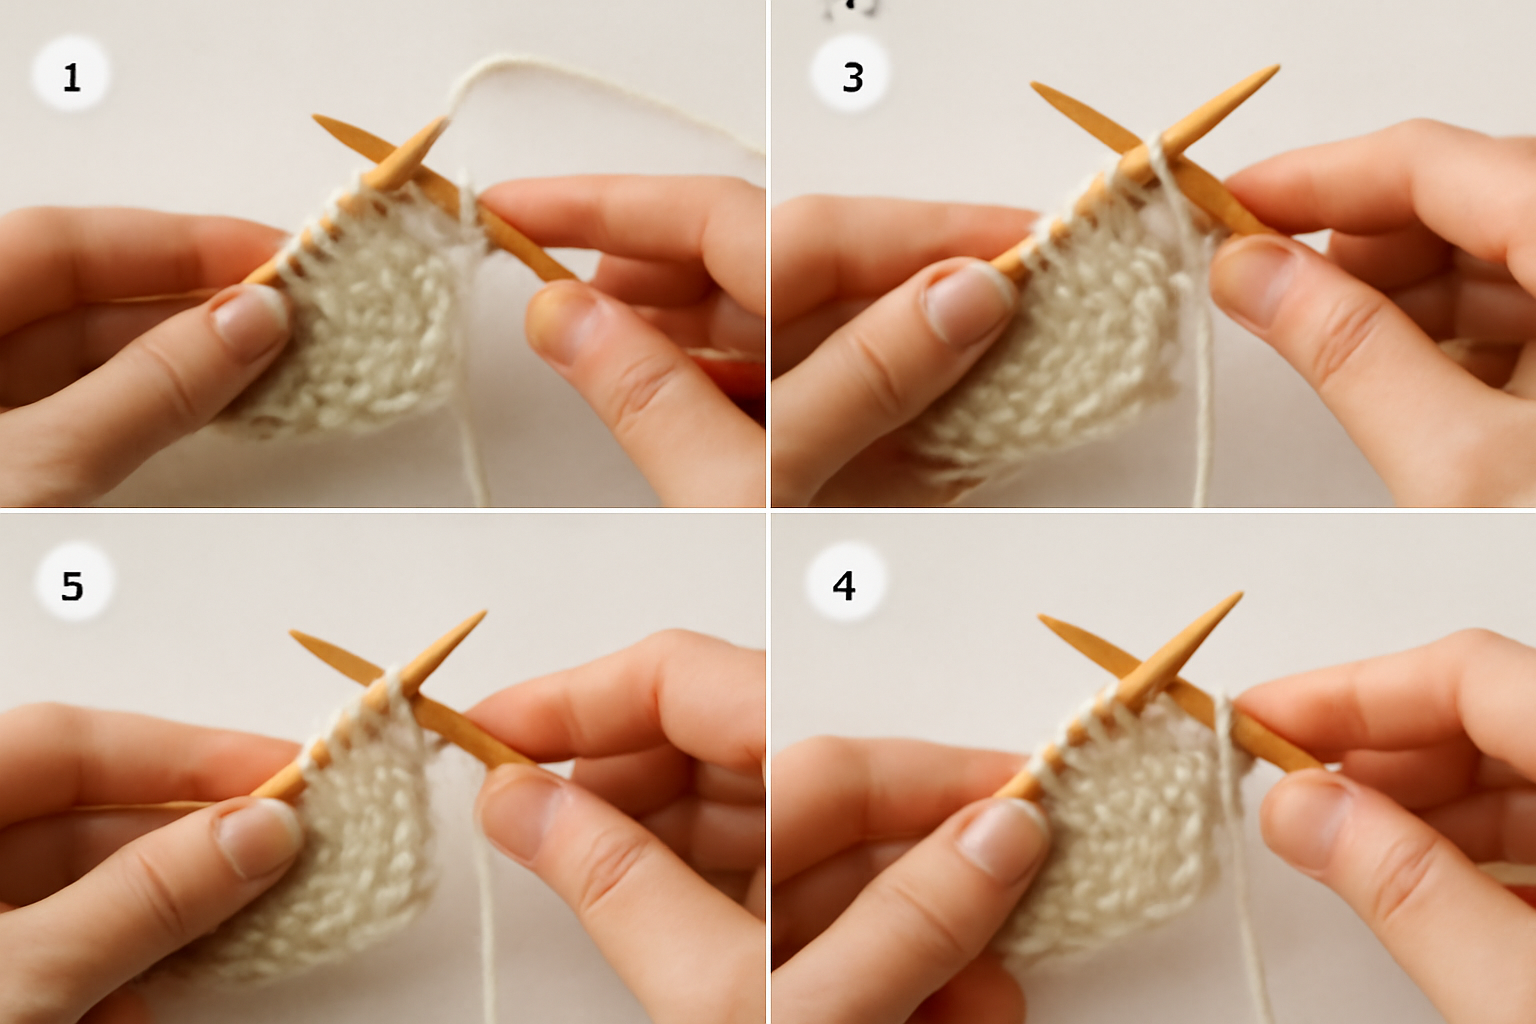
- Find the perfect moment to add the new yarn. A good place is at the beginning of a new row or immediately after finishing a pattern repeat. Those spots hide the new join best.
- Line up the new strand with the old one, letting the ends overlap slightly. That overlap gives you better control when you knit the first stitch.
- Grip both strands together, and knit the very next stitch using both of them. This step locks the new yarn in place without leaving a lump or knot.
- After that first stitch, drop the old strand and keep going with the new yarn only. Watch your tension: keep it even so the area around the join doesn’t end up tighter or looser than the rest of the project.
- Watch the first few stitches to ensure they appear even. If you see a tiny, uneven spot, you can usually fix it by gently pulling on the loose ends before tucking them away for good.
- When you’re all done with the project, tuck the two yarn tails back into the back side of the work. This keeps the joint extra secure and prevents any small gaps from forming.
- If the yarn is thick enough, you can pull apart the tails and tuck each half into the project, going in opposite directions. This makes the finish even neater and tougher.
- Like any knitting trick, the more you do it, the easier it gets. After a few times, moving between yarns will feel as comfy as the rest of your knitting.
Also Read: How to Cast on Knitting with Two Needles
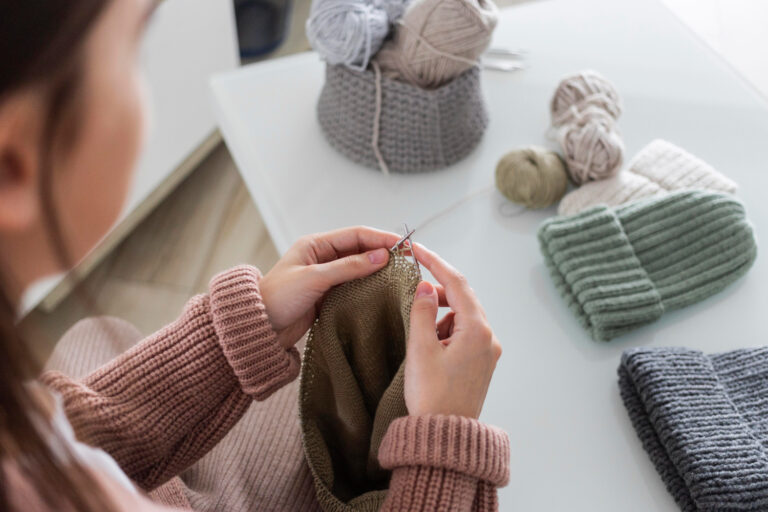
Troubleshooting Common Issues
Even when you follow the steps carefully, it’s normal to encounter problems such as loose stitches, visible joins, or yarn tails that won’t stay tucked in. Learning how to address these issues is part of improving your knitting skills and will help you create a neater, more polished project. If things don’t look perfect right away, don’t worry; spotting and fixing small mistakes is how you improve.
Dealing with yarn tails is a common challenge. Try not to cut them too short at first, as this can cause your work to come undone. It’s better to weave the tails in for a few inches on the back of your project, changing direction once or twice to keep them secure. If you notice a join that stands out, try a different joining method next time, or gently adjust the stitches to help them blend in more smoothly.
Also Read: How to Fix a Dropped Stitch
Frequently Asked Questions
Conclusion
Learning to add new yarn to your knitting is a beneficial technique that makes your projects look extra polished and helps you change colors or finish a row without a hitch. Try out different joins, and once you understand why each one works, you can select the best one for your specific project. Practice makes it easier, and you’ll end up with neater, more professional-looking results that you can be proud of.
Jump into the learning process, try out different ways to join, and keep practising without holding back. Every job that goes right gives you a little boost and helps you become more skilled at the craft. We’d love for you to drop your own stories, tricks, or questions in the comments! Your ideas make the whole knitting crew even stronger.
Also Read: How to Add Stitches When Knitting