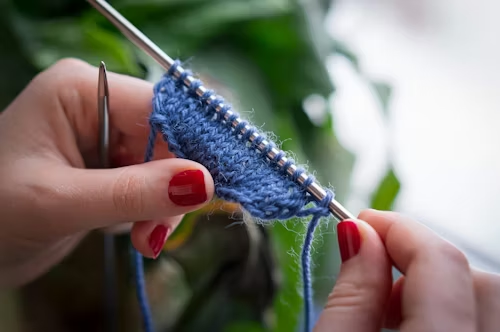
How to Add Stitches When Knitting: A Complete Guide
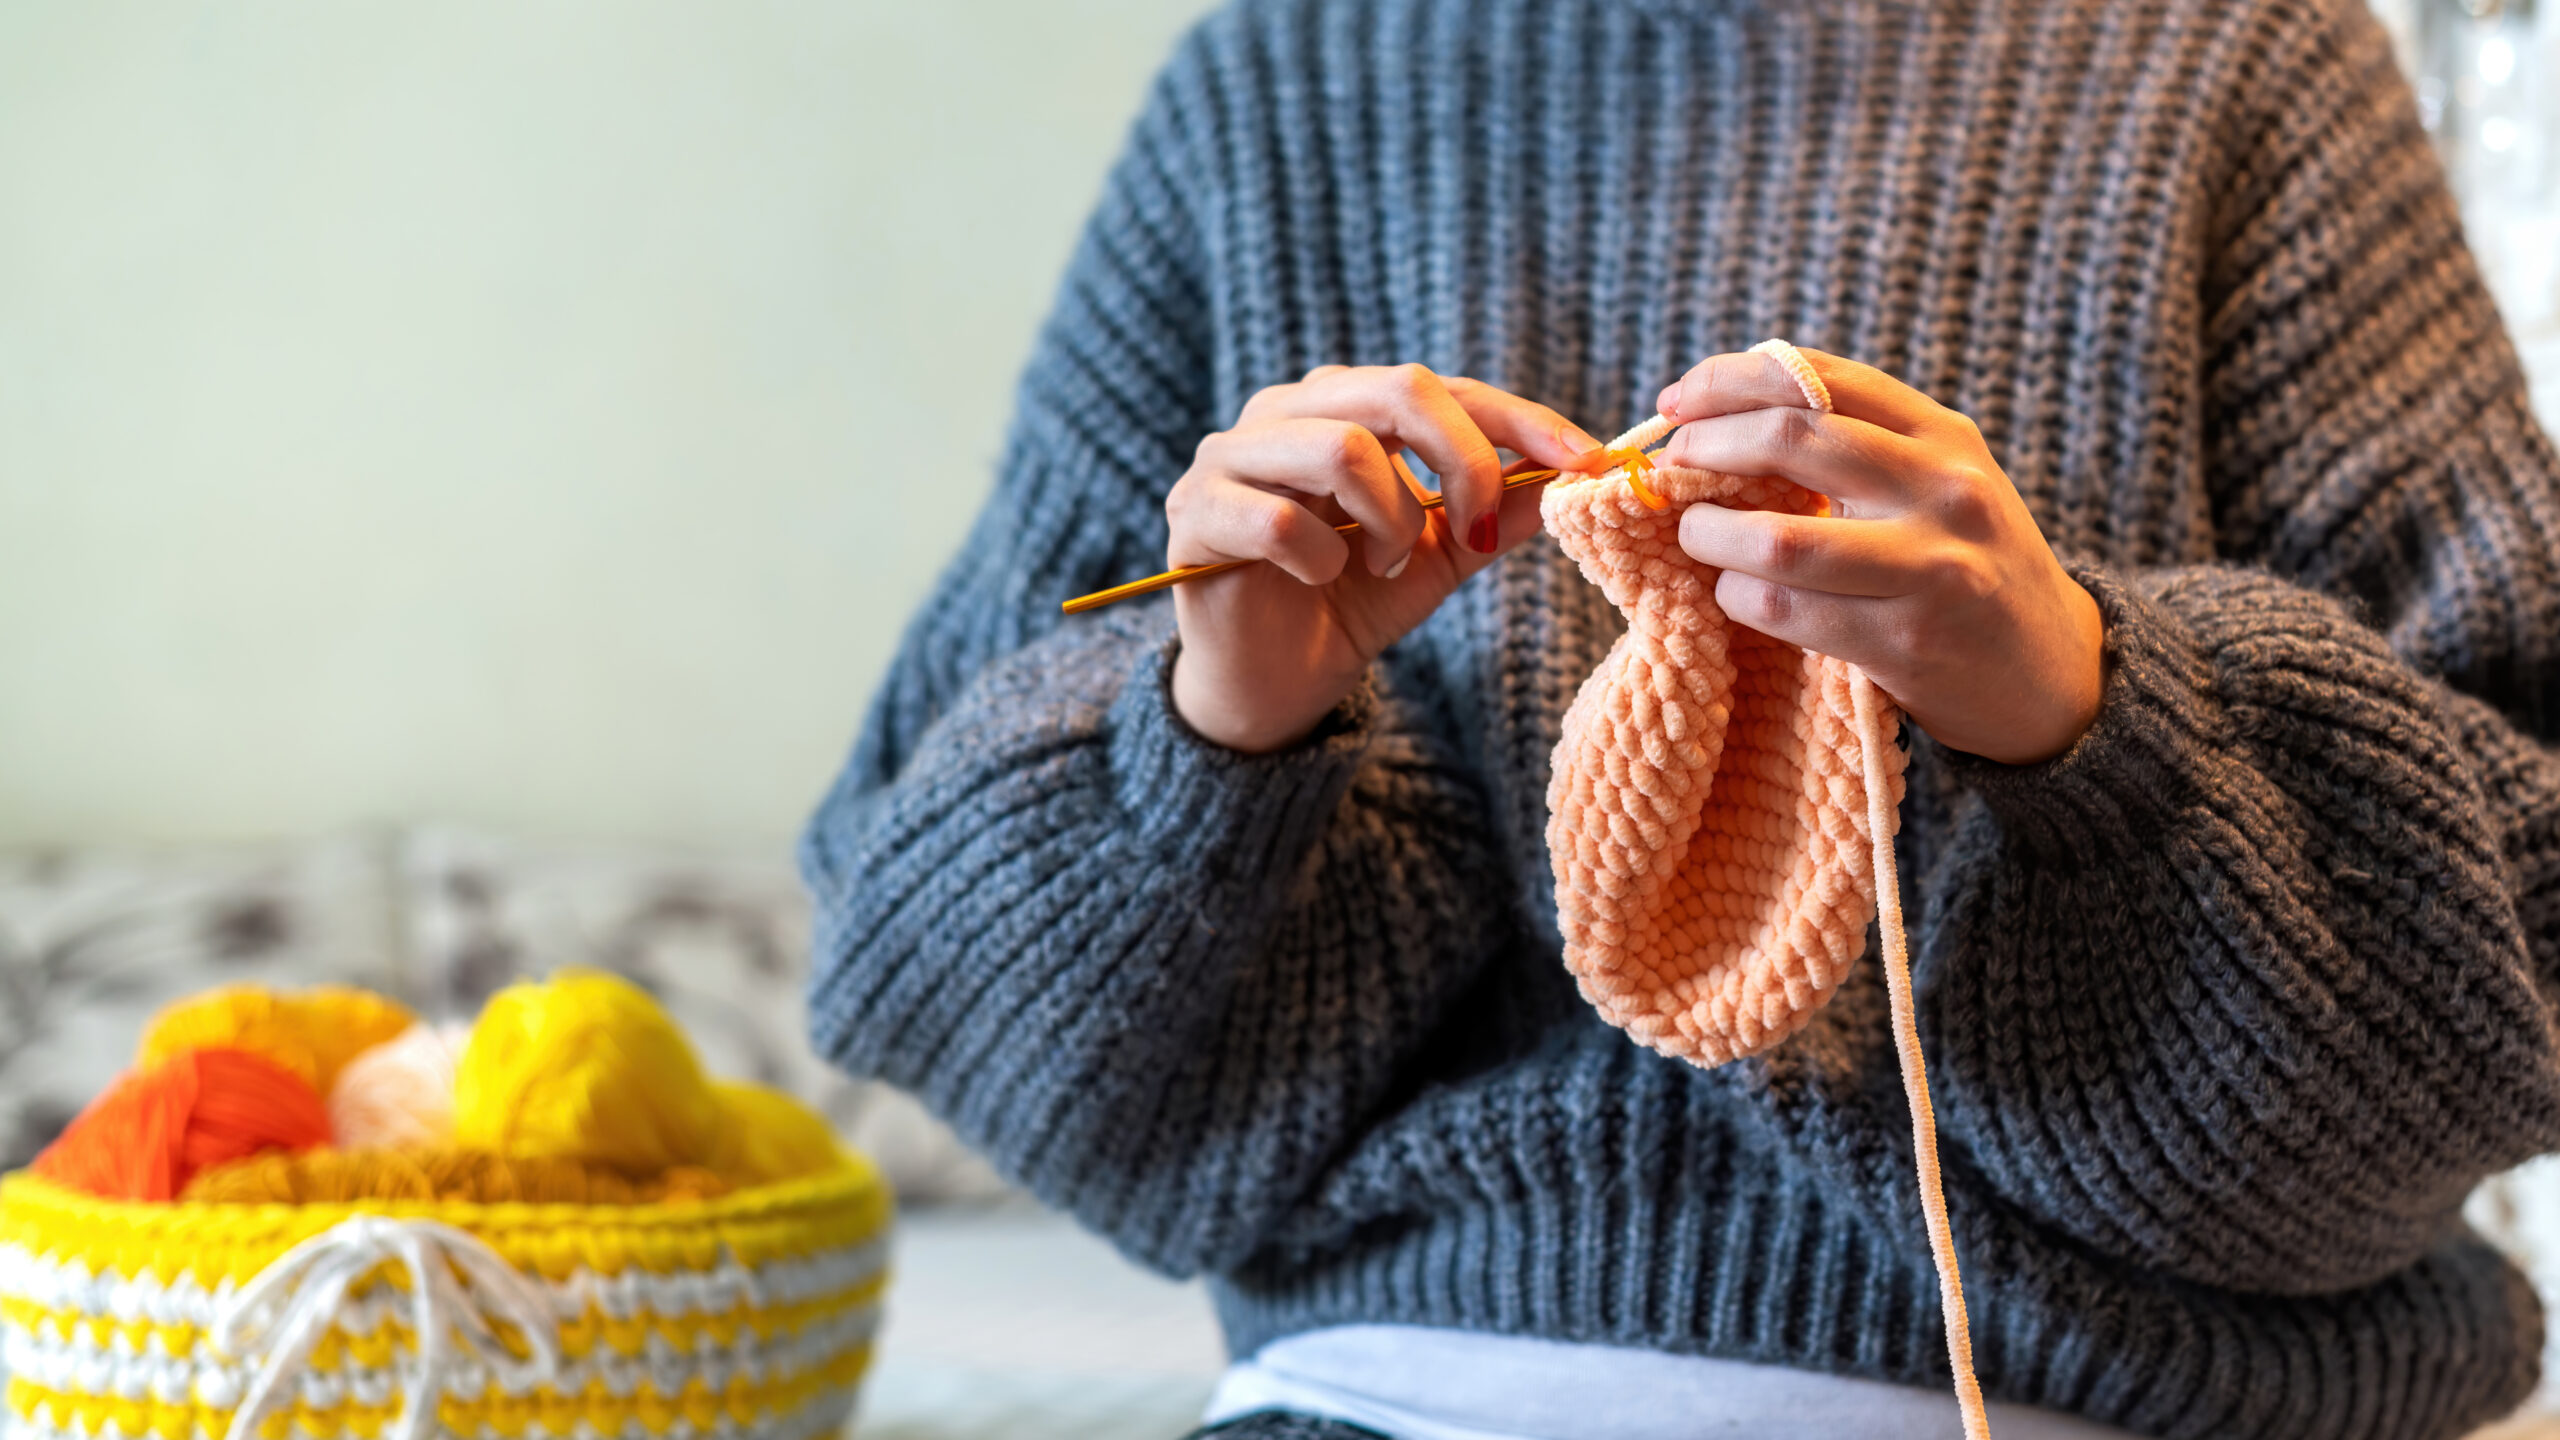
Learning how to add stitches when knitting is a fundamental skill that can help shape a garment effectively. Whether you’re shaping a sweater sleeve, widening a scarf, or designing decorative lace, knowing how to increase stitches allows for better control over the pattern.
Understanding the different methods of increasing stitches is essential for improving your knitting proficiency. This comprehensive guide will walk you through the basics of why and how to add stitches effectively.
Also Read: How to Join in Round in Knitting?
Why Add Stitches in Knitting
Adding stitches in knitting is not just a technique—it’s also a powerful design tool. Many patterns require increases to shape the garment or accessory, giving it a tailored fit or artistic flair. For example, increases are essential when:
Without these increases, most knitting projects would remain flat and shapeless.
Additionally, increases allow knitters to be more creative. Whether following a detailed pattern or improvising their own designs, increasing the number of stitches makes knitting more flexible and expressive. This technique allows crafters to shape their projects, transforming a simple rectangle into a custom-fit piece.
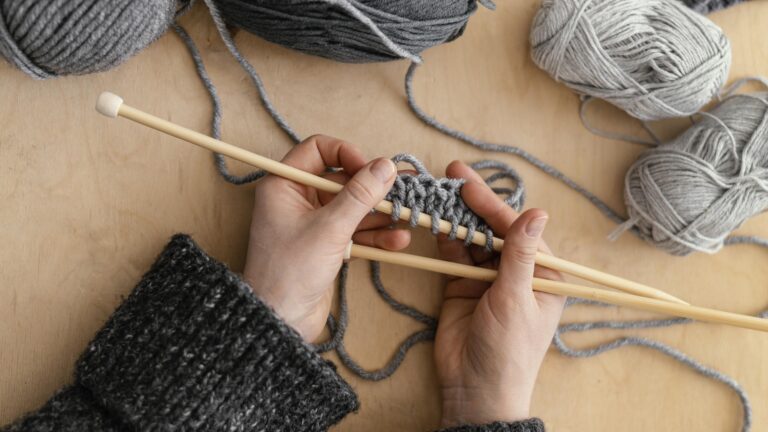
How to Add Stitches When Knitting?
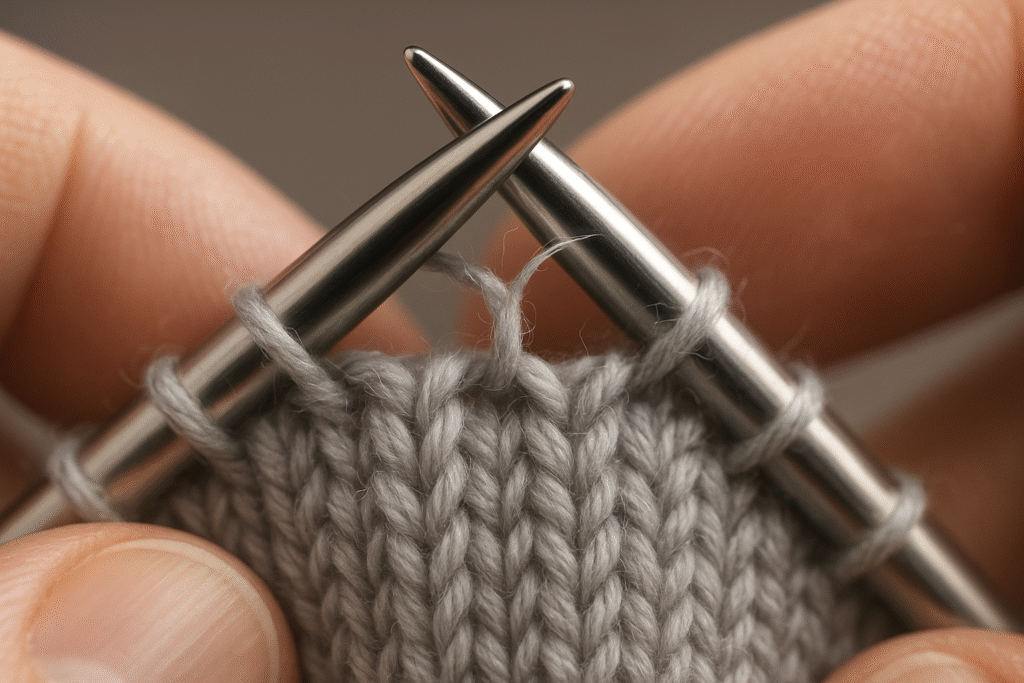
1. Knit Front Back (KFB) Increase
KFB is often taught first because it’s simple and doesn’t require extra tools. It works by knitting into the front and then the back of the same stitch, which effectively turns one stitch into two.
How to do it:
- Place the right needle into the stitch and work a knit stitch, keeping the original stitch on the left needle for now.
- Now, knit into the back of the same stitch before sliding it off.
- You’ll notice a small horizontal bar—this is the distinctive mark of a KFB increase.
This increase creates a visible bump that resembles a purl bar. It’s excellent when you want the increase to stand out, such as in decorative shaping or when working on the sides of garments.
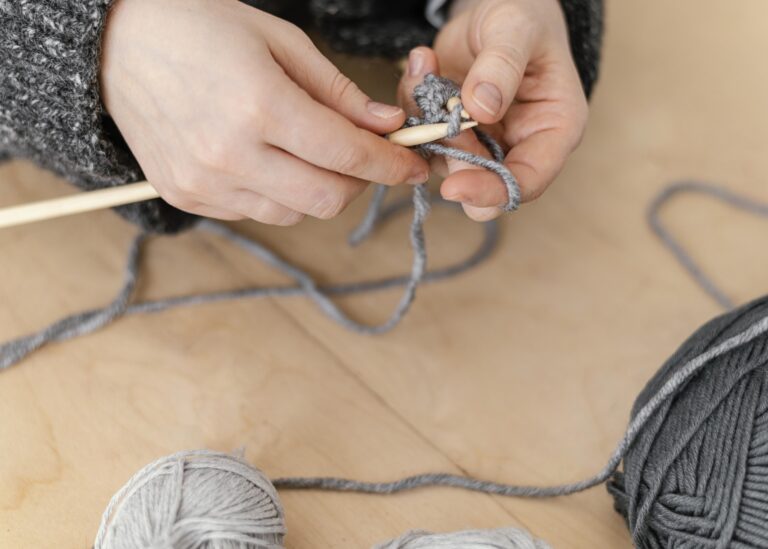
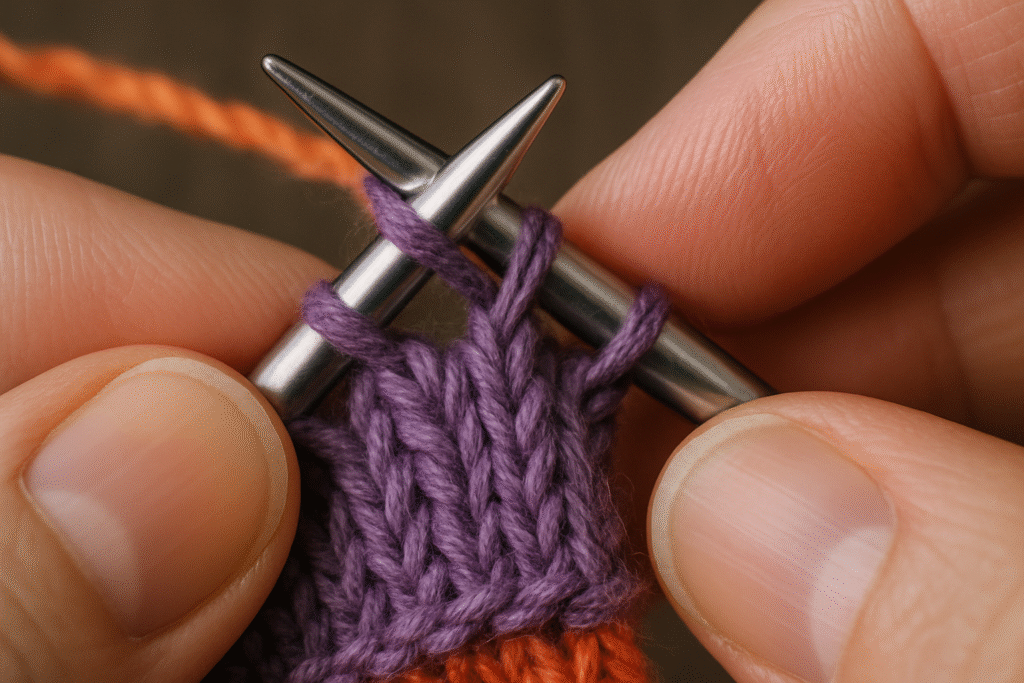
2. Make One (M1) Increase: Step-by-Step
M1 increases are preferred when you want the added stitch to blend seamlessly into the fabric. There are two variations: Make One Left (M1L) and Make One Right (M1R). These techniques help you create a new stitch in a specific direction.
Instructions:
- Locate the horizontal bar between two stitches.
- For M1L (Make One Left):
- Lift the bar from front to back
- Knit through the back loop of the stitch
- For M1R (Make One Right):
- Lift the bar from back to front
- Knit through the front loop
This technique produces a discreet and seamless result, making it well-suited for garments and projects that benefit from gentle, unobtrusive shaping. While it may be trickier than the Knit Front and Back (KFB) method, it becomes easy with a small amount of practice.
Why Choose M1?
The Make One (M1) increase is a subtle technique used to add a stitch between two existing stitches. To execute this, lift the strand of yarn that lies between the stitches and knit into it, twisting the yarn to prevent any holes from forming.
M1 increases are favored in lace patterns and garments because they maintain the fabric’s smooth appearance. Although this technique may require some practice to master, it’s ideal for knitters seeking precise shaping without noticeable changes in texture.
3. Yarn Over (YO) for Decorative Increases
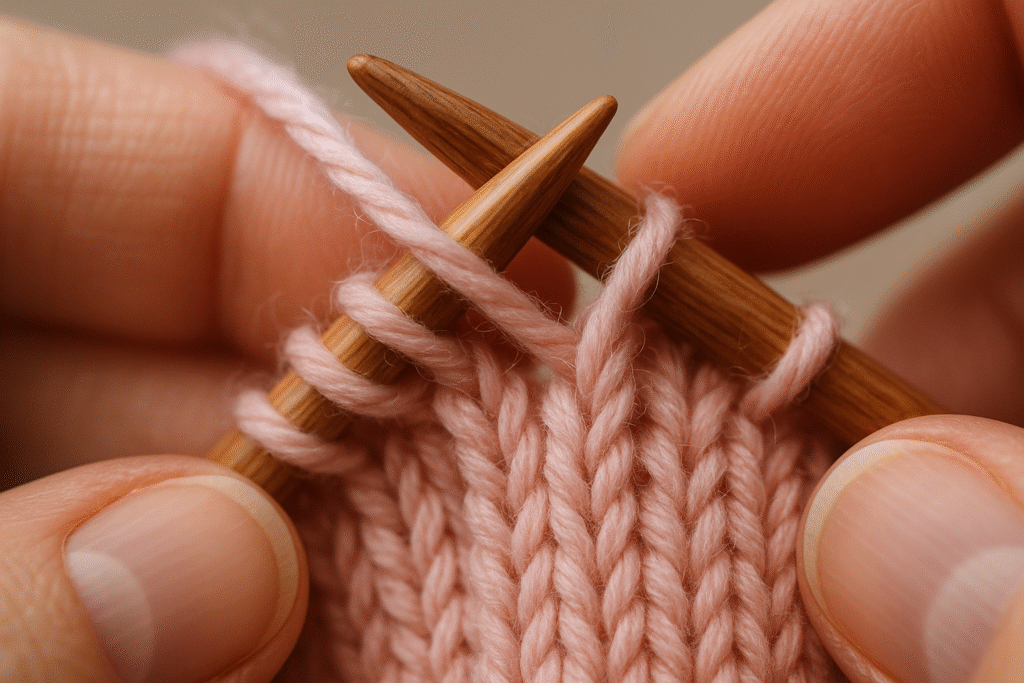
The Yarn Over (YO) technique is an excellent choice for decorative increases in knitting. Unlike M1 (Make One) or KFB (Knit Front and Back), which aim to blend in seamlessly with the fabric, YO intentionally creates a hole or eyelet.
This method is frequently employed in lace patterns and decorative openwork to add extra stitches and create a visually intricate appeal.
How to perform a yarn over:
To perform a yarn over, bring the yarn to the front of the work before knitting the next stitch. This action loops the yarn over the needle, creating a new stitch.
Although YO leaves a hole in the fabric, making it unsuitable for projects that require a smooth surface, it’s perfect for adding elegance and lightness to items like shawls or doilies.
4. Increasing at the Beginning or End of a Row

Sometimes, patterns instruct you to add stitches specifically at the edges of the work. This can be achieved through various methods, such as knitting through the front and back of the first or last stitch (KFB) or using a knitted cast-on to create extra stitches at the end of a row.
These edge increases are beneficial for shaping garments or expanding triangular pieces. Many patterns require edge shaping to form angles, curves, or widths. Increases at the beginning or end of a row are often used in shawls, sleeves, or asymmetrical designs.
Techniques for Edge Increases:
- KFB: Use on the first or last stitch of a row
- Knitted Cast-On: Add stitches by creating loops with the working needle
- Backward Loop Cast-On: Wrap the yarn over the needle to add stitches quickly (looser, less sturdy)
Tips for Clean Edges:
To maintain a clean edge while increasing stitches, it’s important to be consistent. Here are some helpful tips:
- Use border stitches in garter stitch to stabilize the edge
- Place stitch markers to separate shaping from decorative sections
- Increase consistently to avoid a lopsided appearance
Properly managed edges make seaming, blocking, and shaping much easier in the finishing stages.
Choosing the Right Increase for Your Project
The best increase depends on your desired design goals. Here’s a quick reference guide:
| Design Objective | Recommended Increase |
|---|---|
| Smooth, invisible shaping | M1L or M1R |
| Textured or visible increase | KFB |
| Decorative openwork or lace | YO |
| Adding stitches at fabric edges | Knitted or Backward Loop Cast-On |
Pick the method that matches how noticeable, where, or how fast the increase needs to be for your pattern.
If you need a subtle rise, opt for M1L or M1R. They’re ideal for sleeves, gussets, and sides where a visible mark is not required. On the other hand, if you want a small amount of texture or noticeable stitching, KFB will give a decorative effect.
Common Mistakes to Avoid When Adding Stitches
It’s easy to accidentally add too many stitches or twist the yarn incorrectly when learning new techniques. Here are some common pitfalls to watch out for:
Most Common Mistakes:
- Forgetting to twist the lifted bar in M1: This can lead to unwanted holes
- Misplacing yarn overs: This can throw off the stitch count if not tracked carefully
- Not counting stitches regularly: This leads to uneven increases
Prevention Tips:
To prevent these issues, always double-check your work after each row. Counting stitches regularly helps ensure increases are happening as planned. Moreover, if a mistake is detected early, it’s much easier to correct than after knitting several more rows.
Pro Tip: Count stitches after every row with increases to make sure the number adds up. When a mistake shows up early, it’s easier to think or pull out a lifeline than to fix a larger section.
If you’re struggling with these techniques, consider seeking professional instruction from a certified knitting instructor.
Frequently Asked Questions
Final Thoughts
Mastering the techniques for increasing stitches in knitting plays a vital role in developing greater confidence and advancing your overall crafting skills. Once you understand the differences between methods like KFB, M1, and YO, you have the freedom to shape your knitting precisely.
With practice and patience, you’ll begin to recognize where and how to apply these techniques naturally. Whether following a pattern or designing your own project, learning how to increase stitches will help you achieve more creative and professional-looking results.