How to Count Rows in Knitting: A Complete Guide
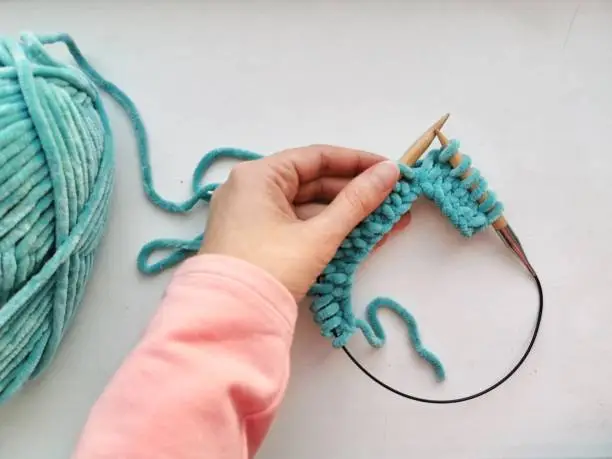
People often say that the art of knitting is as much about precision as it is about creativity. For new knitters, one common challenge is keeping track of which row they are on. Accurate row counting is crucial for ensuring that yarn-overs, decreases, and changes to the stitch pattern occur at the proper times. What looks like a simple task—how to count rows in knitting—is the foundation of even, neat projects, and the best way to avoid ripping out work that has gone wrong.
Once you master counting rows, you’ll feel more confident and can tackle more complex patterns without the fear of losing your place. At first, it feels straightforward, but different stitch patterns can present unique challenges. This guide provides easy methods for counting rows in garter stitch, stockinette, and other patterns. With a few simple tricks, tips, and tools, you’ll confidently keep track of your rows.
Also Read: How to Read Knitting Patterns?
Understanding Knit and Purl Stitches
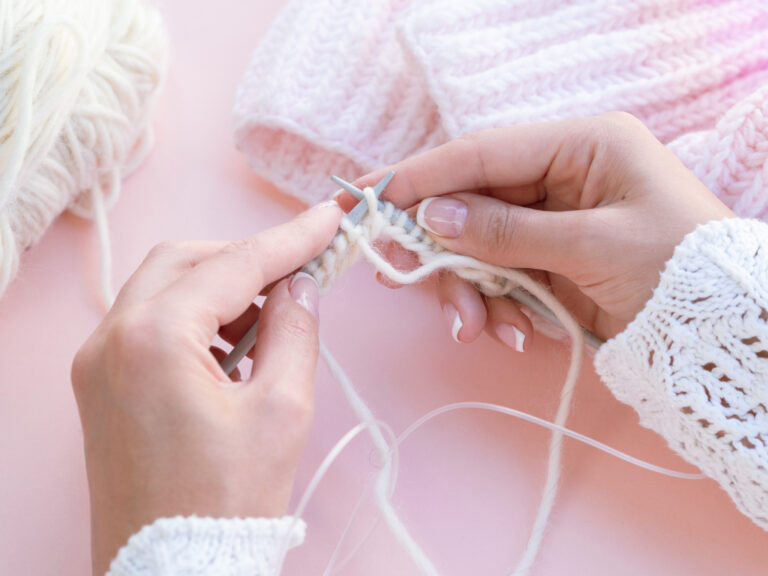
Before you can master counting rows in knitting, you need to understand the two fundamental stitches that make up most knitted fabric: knit and purl. Although they look different, they’re essentially two sides of the same coin.
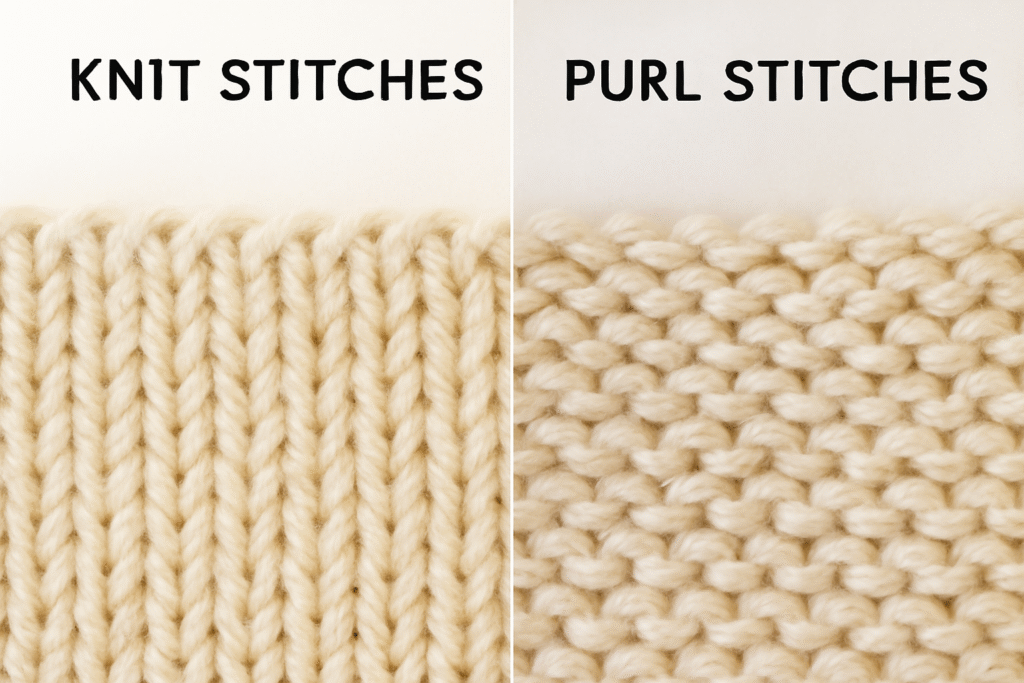
When you look at the knit stitch from the front side, you’ll see little “V” shapes that stack up like tiny braids. This neat pattern gives your fabric that smooth, almost shiny look, which serves as a valuable clue when tracking your progress.
To understand the relationship between the two stitches, flip your work over, and you’ll find purl stitches instead. From the front, they appear as small horizontal bumps or tiny ridges. If you turn the piece over, the knit stitches become purl bumps, and the purl bumps become knit stitches. By recognizing these visual cues—one side being the “V” and the other the bump—you’ll be able to determine your place in a pattern quickly. This is incredibly useful when counting rows, because you can use either the knit “V” or the purl bump as a signpost to know precisely where you are.
Also Read: How to Finish a Knitting Project
How to Count Rows in Knitting?
Counting Rows in Garter Stitch
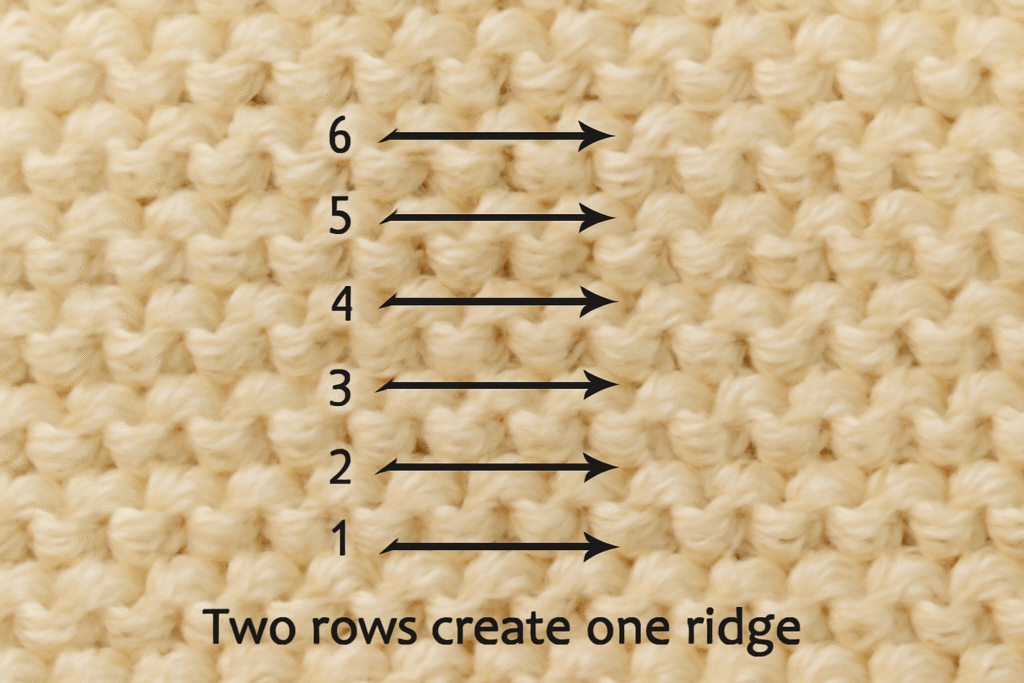
Counting rows in garter stitch is straightforward and a perfect first step for anyone learning to count rows in knitting. Garter stitch is created by knitting every row, resulting in a fabric characterized by distinctive, even horizontal ridges that appear on both the front and back sides. These ridges are like built-in mile markers that are easy to identify.
To count rows in garter stitch, remember that each horizontal ridge (the raised bump) equals two rows of knitting—one row creates each side of the ridge. So, when you count five ridges, you’ve knitted ten rows. This simple rule makes it easy to track your progress. Practicing with garter stitch will help you build confidence before moving on to more complex patterns.
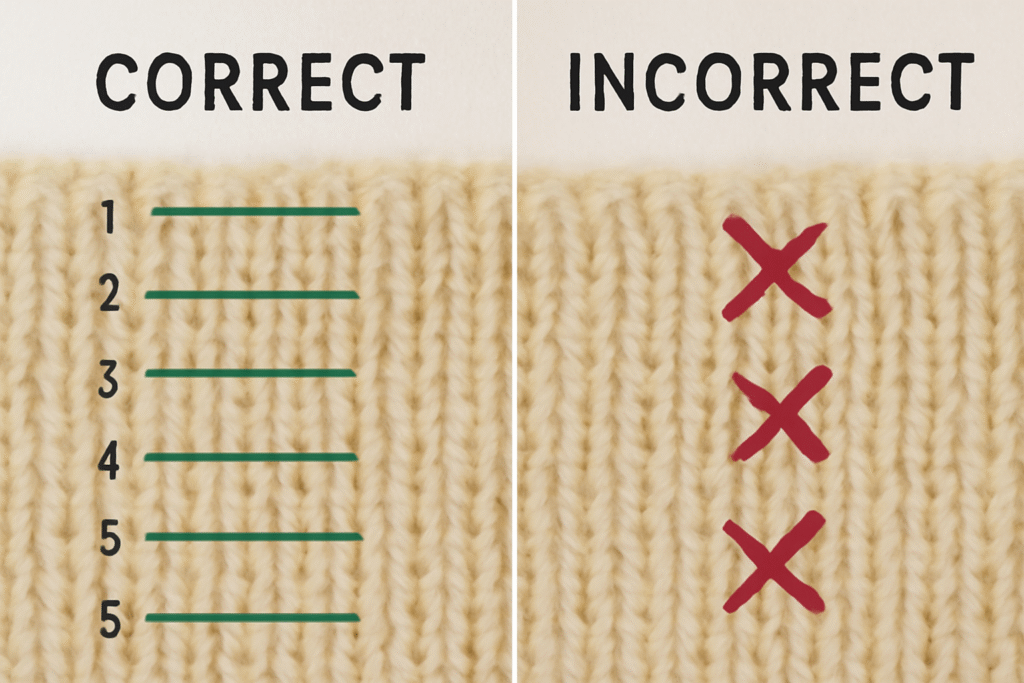
Counting Rows in Stockinette Stitch
Stockinette stitch displays “V” shapes on the front (right side) and bumps on the back (wrong side), formed by alternating knit and purl rows. Once you can identify these characteristics, counting rows becomes much easier.
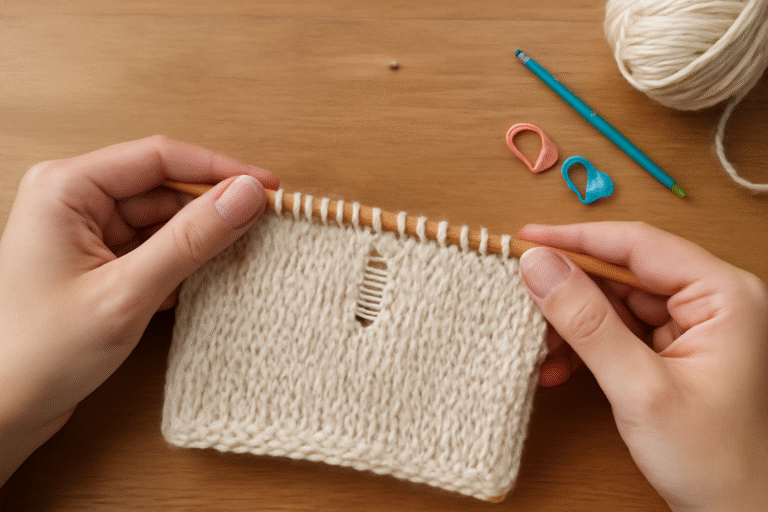
To count rows in stockinette stitch, focus on the knit “V”s on the right side of your work. Each complete “V” represents one row of knitting. Start at the bottom edge where you cast on, and follow a vertical line of “V”s straight up, counting each complete “V” as one row.
Here’s a helpful technique: place a spare needle or a piece of contrasting yarn at the base of a “V” as you count it. This prevents you from losing your place and having to start over. Remember that incomplete “V”s at the top of your work (the stitches currently on your needles) don’t count until they’re completed.
Counting Rows in Ribbing Patterns
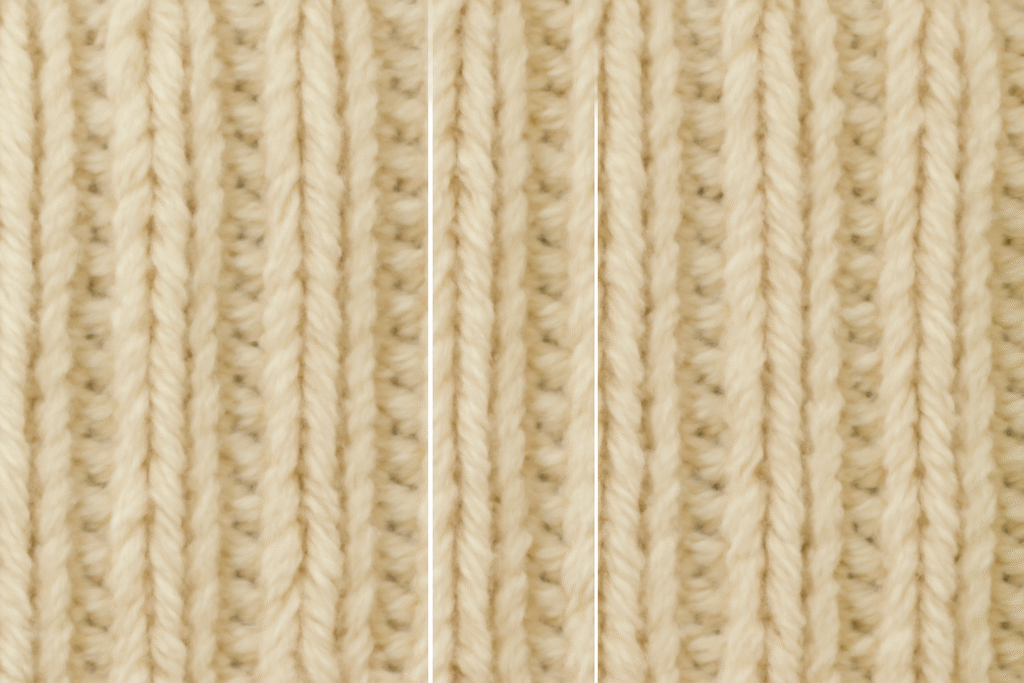
Ribbing is composed of alternating knit and purl columns, which creates the fabric’s characteristic stretch. This makes it excellent for cuffs, hems, and other areas that need elasticity. The alternating pattern can make row counting slightly more challenging than plain stockinette.
To count rows in ribbing, choose either the knit columns or the purl columns and stick with your choice throughout the counting process. If you follow the knit columns, each clear “V” represents one row. If you follow the purl columns, each horizontal bump indicates one row. The key is consistency—don’t switch between knit and purl columns mid-count, as this will throw off your numbers.
For ribbing patterns like 2×2 or 1×1 rib, identify one complete pattern repeat and use it as your reference point. The regular nature of ribbing makes it relatively easy to spot mistakes or missed rows.
Counting Rows in Cable Patterns
Cable patterns, with their intricate twists and crossings, can make row counting more challenging. The raised texture and interwoven design mean traditional counting methods may not work as well.
When working with cables, focus on the cable crossings as your primary reference points. Most cable patterns have crossings that occur at regular intervals, and these are clearly marked on cable charts. Count the number of rows between cable crossings to maintain proper spacing and pattern integrity.
Here are some strategies for cable row counting:
Also Read: How to Read Knitting Patterns?
Tools and Methods for Accurate Row Counting
Essential Row Counting Tools
Keeping an accurate record of your knitting rows doesn’t have to be difficult. By using the right tools and developing consistent habits, you can easily track your progress.
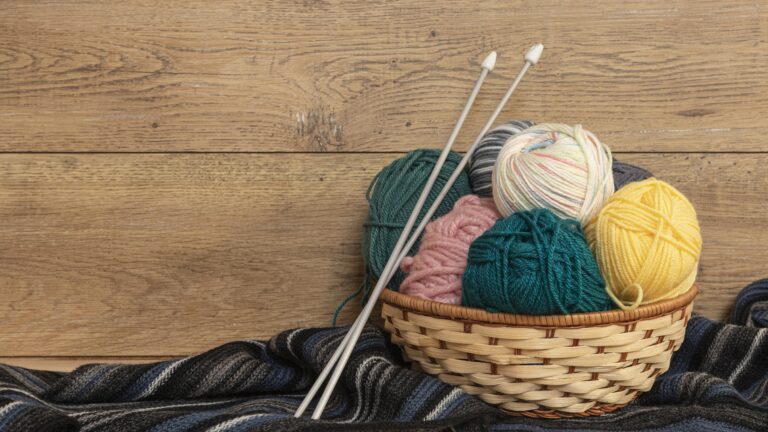
Row Counters
Row counters are invaluable tools for knitters, available in several formats:
Additional Counting Strategies
Developing Good Counting Habits
Also Read: How to Add Stitches When Knitting
Common Mistakes and How to Avoid Them
Even experienced knitters can lose track of rows, so it’s important to know the common pitfalls and how to avoid them.
Confusing Knit and Purl Stitches
One of the biggest mistakes is mixing up knit and purl stitches when counting. If you can’t distinguish between the little “V” shapes and the bumpy horizontal ridges, you might miscount your rows. Take time to slow down and examine your fabric closely—the clear “V”s are knit stitches, and the small bumps are purl stitches. Once you can reliably identify the difference, you’ll catch counting errors before they multiply.
Uncertainty About the Cast-On Row
A common source of confusion is whether to count the cast-on row in your total. Different patterns handle this differently—some count the cast-on as row 1, while others consider the first knitted row as row 1. Always check your pattern instructions to see how it treats the cast-on row. When in doubt, don’t count the cast-on row unless specifically instructed to do so.
Forgetting to Count Consistently
Inconsistent counting habits lead to errors. Some knitters forget to advance their counter, while others count the same row twice. Develop a reliable routine and stick to it throughout your project.
Not Checking Progress Regularly
Waiting until you think you’re finished to check your row count often leads to disappointment. Check your progress every few rows instead of only at major milestones. This way, you can spot and correct problems before they require significant frogging (ripping out stitches).
Tips for Beginner Knitters
If you’re new to knitting, keeping track of rows might seem tedious at first, but it’s a skill that pays enormous dividends. Start with simple projects like scarves or washcloths that use basic stitches like garter or stockinette. These stitches clearly show each row, making counting much easier.
When you make mistakes (and you will—everyone does), don’t get discouraged. Carefully unknit a few stitches and recount where you are. Each time you do this, you learn something new about reading your knitting. The more you practice, the more natural it becomes.
Remember that knitting is about growth and improvement. Using tools like row counters, stitch markers, and regular progress checks transforms what initially feels tedious into a smooth, natural part of your knitting process. Once you master these basics, you’ll be ready to tackle all sorts of beautiful, complex projects with confidence.
Frequently Asked Questions
Conclusion
Mastering row counting is an essential skill that forms the foundation of successful knitting projects. Whether you’re working on a simple scarf or an intricate cable sweater, accurate row counting ensures your patterns align correctly and your finished project looks professional.
Remember that different stitch patterns require slightly different counting approaches, but the fundamental principles remain the same. Combine visual recognition of your stitches with reliable tools and consistent habits, and you’ll never lose track of your progress again.
With practice and patience, row counting will become second nature, freeing you to focus on the creative and meditative aspects of knitting. Happy knitting!
Also Read: How to Cast on Knitting with Two Needles