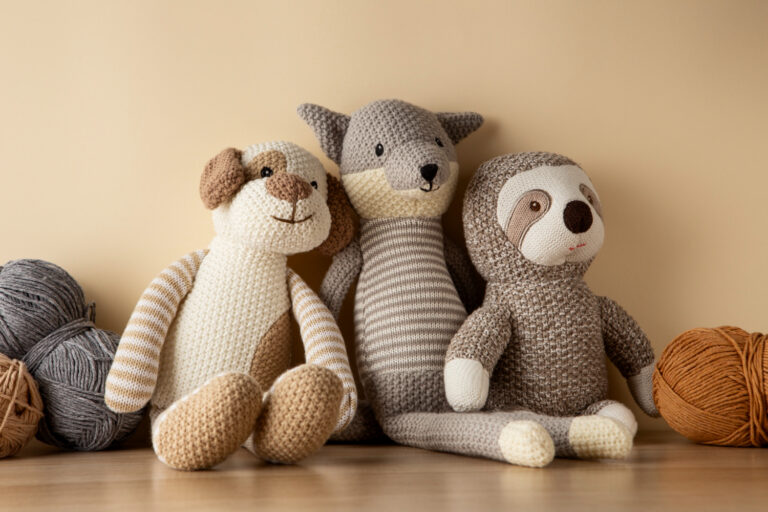
How to Fix a Dropped Stitch: A Complete Guide for Knitters
Among all the mistakes knitters make, one of the most common is dropping a stitch. To fix this, once you know the technique, it is simple. A dropped stitch is often the result of getting sidetracked. Dropping a stitch is a common mistake in knitting, but fixing it is simple once you know how.
It can happen if you get distracted, the yarn slips, or you lose track of your place on the row. Learning how to fix a dropped stitch will help you protect your project from damage. With a little practice, you’ll be able to fix it quickly and easily. Try pulling on the stitch to see if it moves down a row.
This will help you determine how far the stitch has dropped. Most of the time, pulling the slipped stitch up and then using a crochet hook or your knitting needle to push it back to its place will work. Ensure the stitch is correctly on the needle; otherwise, gaps will appear in your fabric.
Also Read: How to Count Rows in Knitting?
What is a Dropped Stitch?
Dropping a stitch is a common occurrence for knitters, but fixing it is a simple process. When a loop slips off your needle, it creates a line of loose stitches. It’s best to fix it right away so the problem doesn’t get worse and damage your work.
You don’t need to take your knitting apart or have special skills to fix it. Simply lift the dropped loop back into its original position. Whether it’s a row or several rows down, you use the same method and can keep knitting as usual.
You only need simple tools, like a blunt needle or a crochet hook, to fix a dropped stitch. If you have leftover yarn or old pins, you can reuse them to help. Use a safety pin to hold the fixed stitch in place and a yarn needle to tidy up loose ends. This way, you can repair your knitting without wasting materials, making it a more eco-friendly approach.
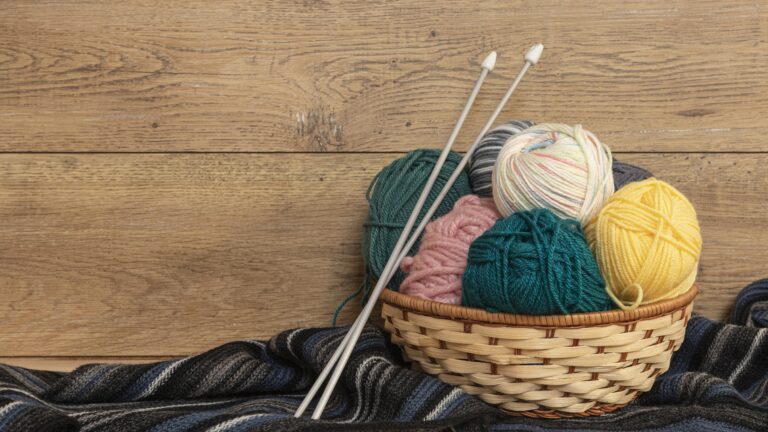
Essential Materials for Fixing a Dropped Stitch

Gathering just a few simple tools before you start will make fixing your knitting easier and help reduce waste. With the right tools on hand, you can quickly repair your work and keep your project looking great, all while using less and being more eco-friendly.
Crochet Hook
A small crochet hook is convenient for picking up dropped stitches. Pick one that is about the same size or a little smaller than your knitting needles. This tool helps you lift the yarn back into place without pulling on other stitches, and it stops the yarn from splitting. Using what you already have or borrowing one keeps things eco-friendly.
Knitting Needle (Same Size as Project)
Keep a knitting needle the same size as your project nearby so you can put the stitch back where it belongs. That helps the fixed stitch match the rest of your work and saves you from having to redo or waste yarn.
Tapestry Needle (Optional)
If a lot of yarn has come loose, a blunt tapestry needle can help you fix things neatly and weave in the ends. Using a reusable needle keeps things sustainable.
Spare Yarn (If Needed)
If a big section is damaged or missing, use a small piece of matching yarn to fix it. Save leftover yarn from other projects for repairs instead of throwing it away.
Also Read: How to Cast on Knitting with Two Needles?
How to Fix a Dropped Stitch?
To fix a dropped stitch correctly, you first need to identify the spot where the issue began. Hold your work up to the light and look for a little column of tiny, uneven rungs—that’s your clue. When you see the ladder, you want to stop the stitch from running any farther.
Clip a locking stitch marker to the bottom rung of the ladder, and you’re all set; it will keep everything from going sideways while you work. Next, how you lift the stitch back into place depends on whether the stitch is a knit stitch or a purl stitch. Grab a crochet hook and start gently.
For a knit stitch, slip the hook into the dropped loop from front to back, catch the bottom ladder rung, and pull it through the loop. For a purl stitch, do the same but go from back to front.
Remember to keep the same motion for each stitch you pick up, or the row will look uneven. This is especially important if you’re working in stockinette stitch, garter stitch, or a more intricate pattern.
Step 1: Spotting the Mistake
Catching a dropped stitch right away keeps your knitting from unravelling further. Usually, you’ll first spot the problem by a little hole or a ladder of loose loops. The ladder runs along the column where the stitch used to be. The moment you see this, set your needles down.
Then, gently stretching the area will help the ladder stand out more, clearly showing where the stitch slipped. After locating the missing stitch, your first task is to secure the stitches above and below it. This keeps the gap from growing.
A simple trick is to slide a locking stitch marker or a safety pin right through the ladder. This little safety net holds the loops in place, allowing you to work the dropped stitch back onto the needle without the rest of the fabric pulling loose.
Step 2 : Using a Crochet Hook or Tapestry Needle
If you drop a stitch, don’t panic. A crochet hook or a tapestry needle makes the fix way simpler. Start by inserting the hook or needle into the very first rung of the drop, which is the stitch sitting directly under the gap.
Gently pull the next loop of yarn through, one by one, until you work the ladder of yarn rungs back. Keep a steady hand as you work to ensure the yarn tension feels even. While you’re rebuilding the column, double-check that each stitch is sitting the same way as the surrounding stitches.
If one gets twisted, it’ll stick out, and that’ll show in the finished piece. Once all the rungs are back on the tool, transfer the last stitch back to your knitting needle. Take your time, and the fix will look so neat that most people won’t even spot the mistake.
Also Read: How to Read Knitting Patterns?
How To Fix Drop In Different Types of Stitches?
Knit vs. Purl Stitches

When you drop a stitch, how you fix it depends on whether the stitch was knit or purl. For a dropped knit stitch, you’ll want your crochet hook or needle to go in from the front and out the back. That matches how a knit stitch is made, allowing you to pull the strand back up and complete the little “V” on the right side.
For a dropped purl stitch, the tool goes in from back to front instead. It creates the little bump the purl stitch has on the right side of the fabric. In both cases, keep the new stitch from twisting, and it will slide right into the row, keeping the fabric looking even.
Stockinette, Garter, and Patterned Knitting

When you have to fix a dropped stitch, the stitch pattern you’re using will guide you on how to do it properly. In stockinette stitch, where one side shows smooth knit “V”s and the other side shows purl bumps, the dropped stitch shows telltale signs: horizontal bars on the purl side and little vertical legs on the knit side.
To fix it, work each bar back into the stitch below, so the new “Vs”s on the knit side and the bumps on the purl side stay in line with the rest of the fabric. If the fabric is garter stitch, where you knit a whole row and then knit back, a dropped stitch leaves a line of tiny ridges.
The fix here is to pick up the dropped stitch into alternating knit and purl stitches, so the new yarn matches the existing ridges. With more complicated patterns, such as cables or lace, the task becomes trickier.
You must not only re-establish the stitch, but also fit it back into the original pattern. Follow the same yarn path the stitch came from, so the cables cross and the lace holes remain in place.
Also Read: How to Join in Round in Knitting?
Fixing Dropped Stitches in Different Scenarios
A Few Rows Down
When you spot a dropped stitch a few rows down, don’t panic. First, use a stitch marker to hold it in place. Then, use a crochet hook to pick up each strand of loose yarn, one at a time, pulling it through the loop to rebuild the stitch, following the pattern, until the stitch is back on your needle. Take your time to ensure the fix blends in seamlessly.
At the Edge
When a stitch drops at the very edge of your knitting, repair can be more challenging since there is less surrounding fabric to stabilize the stitch. If the dropped stitch is an edge or selvedge stitch, use a crochet hook to pick up the loose stitch, then secure it with a stitch marker.
Next, carefully reform the loop so that it mirrors the adjacent edge stitches, ensuring that you follow the existing pattern. Once secure, you can weave the stitch back into the working row or column using a tapestry needle, ensuring it is anchored to the stable edge.
After Binding Off
If the drop occurs after binding off, unravel several stitches along the bound-off edge to expose the dropped stitch. Pick up and repair the stitch as usual, then rework the bind-off stitches. To finish, weave in the ends to fully secure the repair and restore the edge’s appearance.
Also Read: How to Add Stitches When Knitting?
Avoiding Common Mistakes
Preventing Twisted Stitches
A common pitfall when picking up dropped stitches is inadvertently creating a twisted stitch. A twisted stitch appears as a loop that crosses over itself rather than lying flat, which can affect the tension and appearance of your fabric.
Recognizing a twisted stitch usually involves observing the legs of the stitch: if they cross over each other, it’s twisted. To correct a twisted stitch, you need to reorient it on your needle so that the leading leg (the part of the loop closest to you) is positioned correctly.
When picking up a dropped stitch, always ensure that the new loop you create with your crochet hook is oriented in the same way as the surrounding stitches, with the front leg of the loop facing you. If you accidentally pick it up twisted, slip the stitch off your needle, untwist it, and place it back on correctly.
Issues After Finishing
Finding a dropped stitch right after binding off can feel awful. Don’t panic. Fixing it is possible, depending on the stitch’s location and the size of the gap. If the stitch is close to the bind-off and the gap is small, you can often repair it by simply reworking the stitch.
For Small Gaps Near Bind-Off:
- Gently unravel (ladder down) each stitch until you reach the dropped one
- Use a crochet hook to pick up the dropped stitch and pull it up, one row at a time, to the current row
- Place the retrieved stitch back onto your needle
- Rebind off any stitches you just unravelled
- Tuck in the loose ends with a yarn needle to secure your work
For Large Gaps or Finished Pieces:
If you have a big dropped stitch way down the work or if you’ve already seamed the piece, ripping it back could be overkill. Instead, try this:
- Thread a tapestry needle with matching yarn
- Gently weave or darn the yarn over the gap, bridging the dropped stitch to its neighbours so the hole is pulled closed
- Carefully match the tension and color so the repair blends in as much as possible
- Weave in the yarn ends securely on the wrong side of the work
Although the repair won’t eliminate the gap, it will stabilize the area and prevent laddering, so your piece remains wearable.
Frequently Asked Questions
Conclusion
It’s completely normal to feel uneasy when you notice a dropped stitch, but don’t worry—this happens to everyone and is easily fixable. Throughout this guide, you’ve learned what a dropped stitch is and how to deal with it at any stage of your project.
With a bit of practice, these situations become much less stressful. Before you know it, reaching for a crochet hook to fix a stitch will feel routine. Staying calm and taking it step by step will help you get back to your knitting quickly. Be kind to yourself—each time you fix a stitch, you’re building your confidence.
That first repair will feel great, and after a while, your hands will handle these moments almost automatically. As you get more comfortable, you’ll want to try new things in your knitting, knowing that one little mistake won’t slow you down. Grab your crochet hook, catch that loop, and have fun with your knitting.
Also Read: How to Finish a Knitting Project?