How to Join in Round in Knitting: Comprehensive Guide
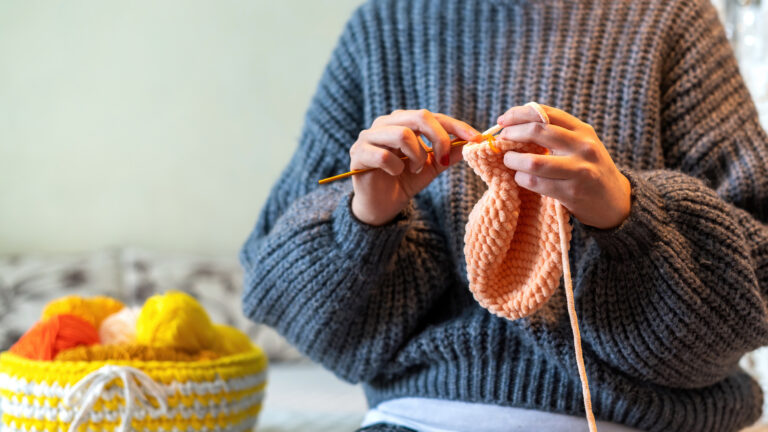
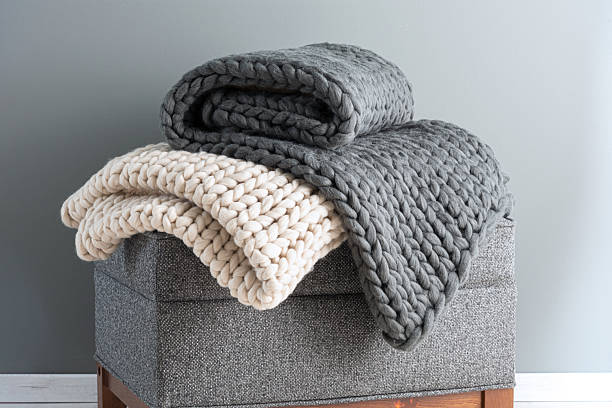
Knitting in the round is a fundamental technique that unlocks numerous creative opportunities for crafting seamless items, such as hats, socks, and sweaters. This method benefits both beginners and seasoned knitters, as it facilitates smooth, professional-looking projects without the hindrance of visible seams.
This comprehensive guide provides detailed, step-by-step instructions along with expert tips to help avoid common pitfalls, such as twisted stitches. Additionally, we’ll explore the most effective methods for achieving a flawless join. By mastering this technique, you can expand your knitting repertoire and gain the confidence to take on a wider variety of patterns.
Also Read: How to Add Stitches When Knitting?
What Does “Joining in the Round” Mean in Knitting?
Joining in the round is a basic knitting technique that enables knitting in a continuous circle, rather than flat rows. This method is ideal for making hats, socks, cowls, and sweaters without seams. Instead of turning the work after each row, you keep going around, which creates a smooth, tubular shape.
Unlike flat knitting, circular knitting eliminates the need for stitching pieces together, resulting in a cleaner and more professional-looking project. It also changes how stitches behave—the right side is always facing, and there’s no need to purl every other row for stockinette stitch. Understanding this technique opens up a world of seamless and efficient projects, especially for beginners venturing into more complex patterns.
Tools Needed for Knitting in the Round
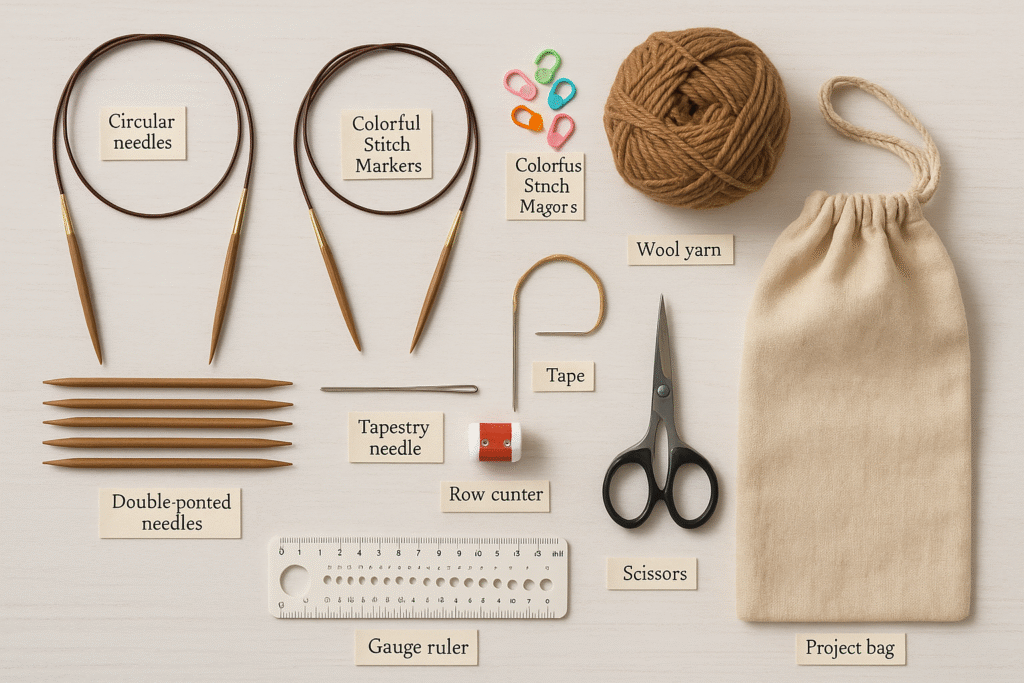
The essential tools required for knitting in the round are outlined below.
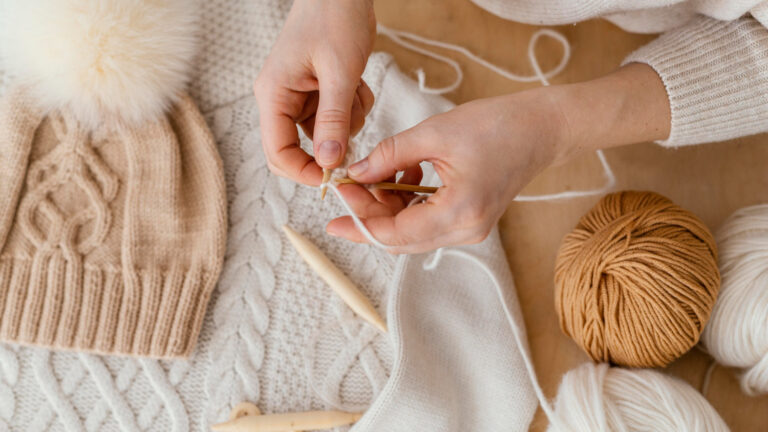
Types of Needles: Circular vs. Double-Pointed Needles
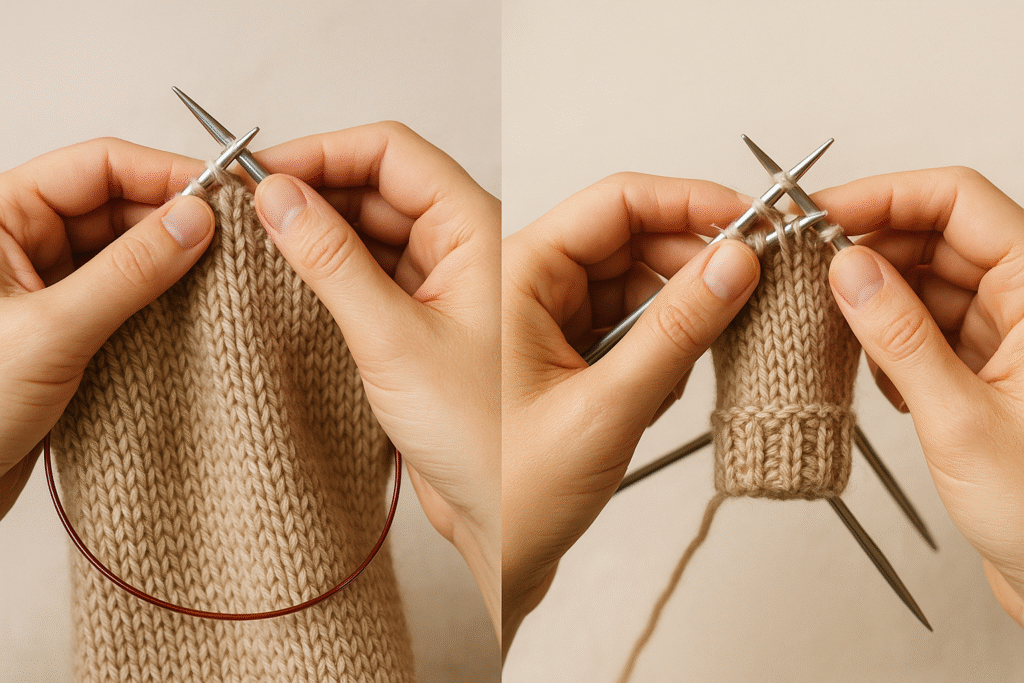
Circular needles consist of two short needle tips connected by a flexible cord, making them the preferred choice for most round knitting projects. They are handy for working on garments with a larger circumference. The length of the cable should either match or be slightly shorter than the item being knitted to ensure that the stitches are stretched evenly and to avoid loose tension.
Double-pointed needles, typically sold in sets of four or five, are ideally suited for working in narrow, circular sections, where circular needles may be too long. Each needle holds a portion of the stitches, and you work around them one by one. While DPNs may seem tricky to use at first, they offer more control over narrow projects and are especially helpful for closing up small ends, such as toes on socks or the crowns of hats.
Choosing the Right Yarn
Selecting appropriate yarn plays a vital role in achieving success with circular knitting. Opt for yarns with a smooth texture that will not easily split when picked up by the needle. Beginner-friendly options include cotton, wool, and acrylic blends, as these provide sufficient elasticity to maintain even tension throughout the project. It’s best to avoid overly fuzzy or novelty yarns when starting, as they can make it difficult to see the stitches.
Color is also an important consideration; lighter shades make it easier to see the stitches, which aids in troubleshooting and counting rounds. Be sure to select a yarn that matches both the pattern and the needle size recommended for it. Always knit a swatch to ensure a proper fit, and testing gauge in the round can help prevent surprises with fit, especially for wearable pieces.
How to Join in Round in Knitting?
Preparing Cast-On Stitches
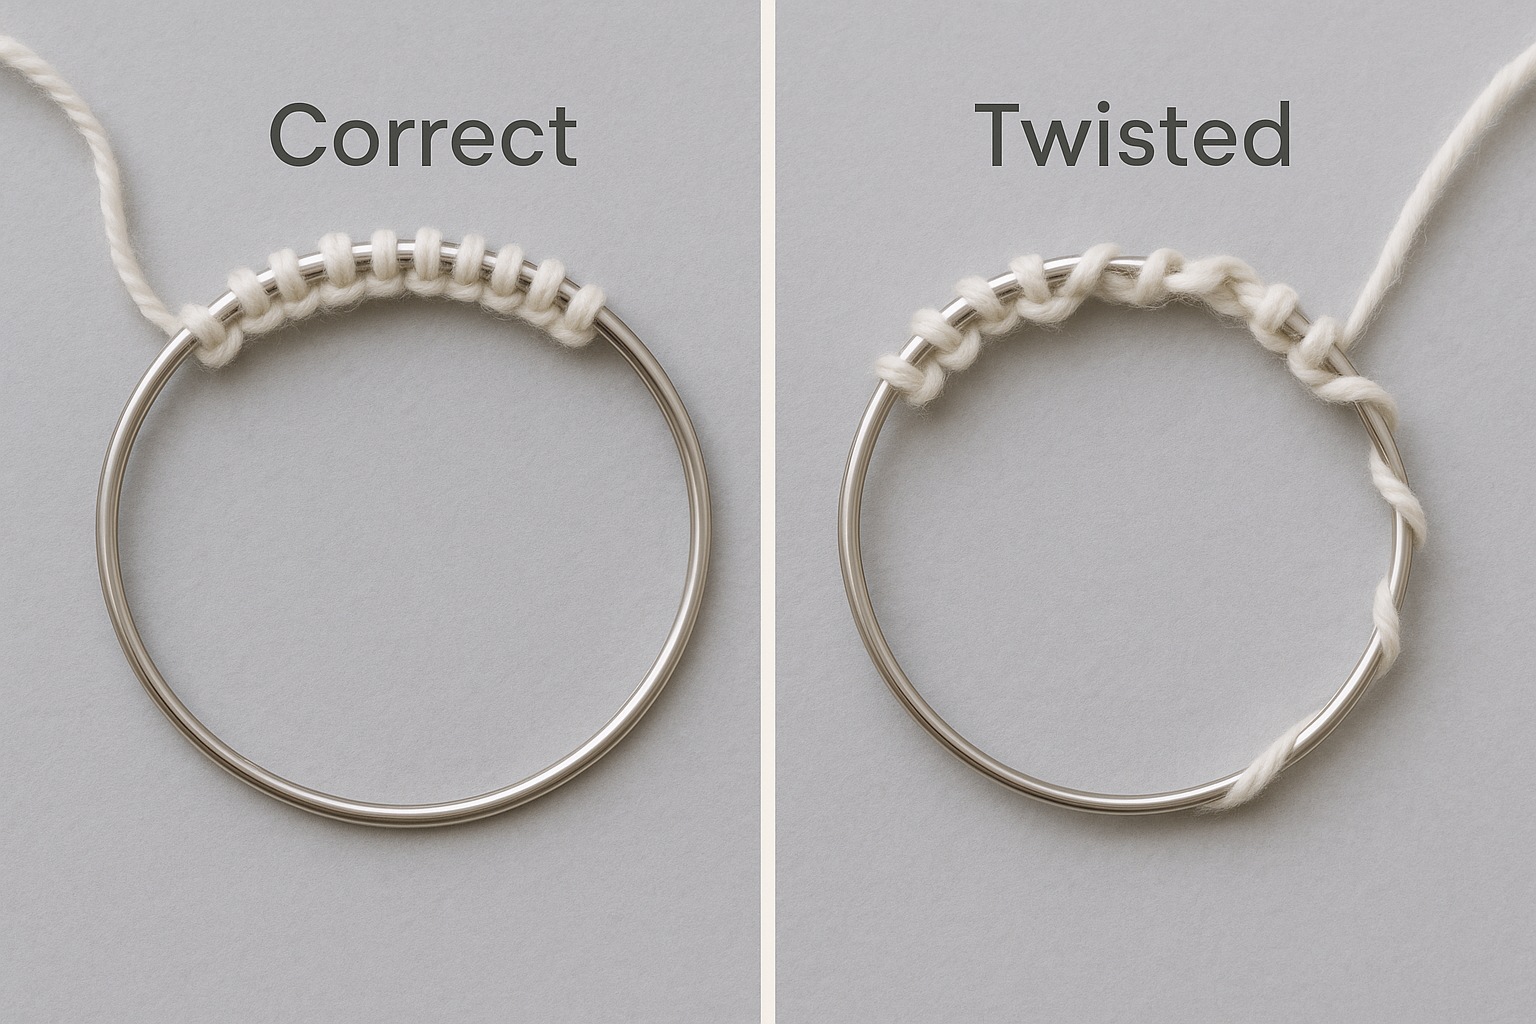
Start by using your chosen cast-on technique to create the necessary number of stitches. Once all stitches are on the needle, double-check that they are not twisted around the cable. A simple trick is to lay the work flat and ensure all the bottom bumps of the stitches face the same direction.
Slide stitches toward the needle tips, positioning the first stitch cast on at the left tip and the working yarn at the right. This setup provides the ideal foundation for a clean and seamless join. If you’re nervous about twisting, cast on an extra stitch and knit the first round flat before joining and seaming that one stitch later.
Placing a Stitch Marker
Positioning a stitch marker at the start of the round is vital for identifying the exact point where each round begins and concludes. Without it, you’ll lose your place quickly, and knitting will spiral upwards without any discernible beginning or end to a row. This small but mighty tool acts as a constant guide.
Typically, place the stitch marker on the right-hand needle after the last cast-on stitch, just before making the join. There are various types of stitch markers available, from simple plastic rings to more decorative charms. Choose one that’s easy to move and doesn’t snag yarn.
The Basic Join Method
The simplest way to join in the round is to knit the first stitch with the working yarn as you normally would. Pull the yarn snug but not tight—this helps prevent a loose gap where the join happens. After completing this stitch, continue knitting around the project in a spiral.
Though basic, this method works well for many beginners. It’s quick, requires no extra steps, and is easy to undo if a mistake is made. Keep your tension steady for the first few stitches to avoid visible gaps or uneven edges where the round begins.
Popular Techniques for a Smooth Join
The Smooth Join
The smooth join technique involves connecting the first and last stitches after casting on. Begin by slipping the first stitch from the left needle to the right needle. Then, pass the previous cast-on stitch over the first one, similar to a binding-off method. Slide the joined stitch back onto the left needle and start knitting.
This method helps minimize the gap that often appears at the beginning of a round. It also anchors the working yarn in place, making the join nearly invisible. Although this technique adds an extra step, many knitters find it worthwhile for achieving a polished result.
The Invisible Join
The invisible join takes the quest for seamlessness a step further, aiming to make the join virtually disappear into the fabric. To achieve this, after casting on stitches and ensuring they are untwisted, knit the first stitch of the round. Then, take the tail of the cast-on yarn and gently weave it through the first cast-on stitch (before it was knit) and the last cast-on stitch.
This weaving action helps to pull those initial stitches together, eliminating any potential gap and creating a continuous chain that mimics the rest of the knitting. Once the tail is neatly woven in, place a stitch marker and continue knitting.
This technique is particularly effective with yarns that have good stitch definition.
The Tail Join
The tail join uses the cast-on tail instead of the working yarn to knit the first few stitches. Knit the first two stitches using the yarn tail, then switch back to working yarn. Later, you can weave the tail in firmly across the join to close any gap and anchor the work.
This approach is beginner-friendly and avoids tricky stitch manipulations. It also offers an easy fix if the stitch marker is forgotten; tie a small quantity of tail yarn in a contrasting color at the join for visual guidance. The tail join is neat, simple, and adds stability to the project’s start.
The Decrease Join
To create a neater edge, particularly in ribbed designs, the decrease join technique eliminates one stitch to secure the start of the round. Begin by casting on one additional stitch, then knit the first and final stitches together at the beginning of the first round. This slight decrease eliminates the small jog often found in simple joins.
Although subtle, the effect is one of a more continuous and professional-looking finish. It’s beneficial when working on visible edges, such as necklines or brims. Be sure to account for the extra cast-on stitch when planning the pattern to avoid confusion.
Troubleshooting Common Problems
Even experienced knitters face challenges, and joining in the round can be particularly tricky. Don’t be discouraged if the first attempt isn’t perfect; understanding common mistakes and how to correct them can significantly enhance the knitting experience. Remember, patience and practice are the best allies throughout this process.
Addressing any issues promptly can save a significant portion of the work. Most problems related to joining the round are relatively easy to correct, and it’s essential to know what to look for and the techniques to use. A quick fix can help get back on track to complete the project successfully.
Avoiding Twisted Stitches
The most common mistake when joining in the round is accidentally twisting the cast-on stitches. A twisted join results in a Mobius strip-like fabric, where your own knitting spirals in on itself, and it can be pretty frustrating to discover after knitting several rounds. Prevention is key here: always double-check the stitches before joining.
After casting on, spread the stitches out on the needle or cable and examine the bottom edge of the cast-on row carefully. Ensure that the chain of Vs or bumps lies flat and faces inwards (or outwards, consistently). If any part of the chain is twisting around the needle, gently untwist it by hand until everything is aligned perfectly. This simple visual check can save hours of unravelling.
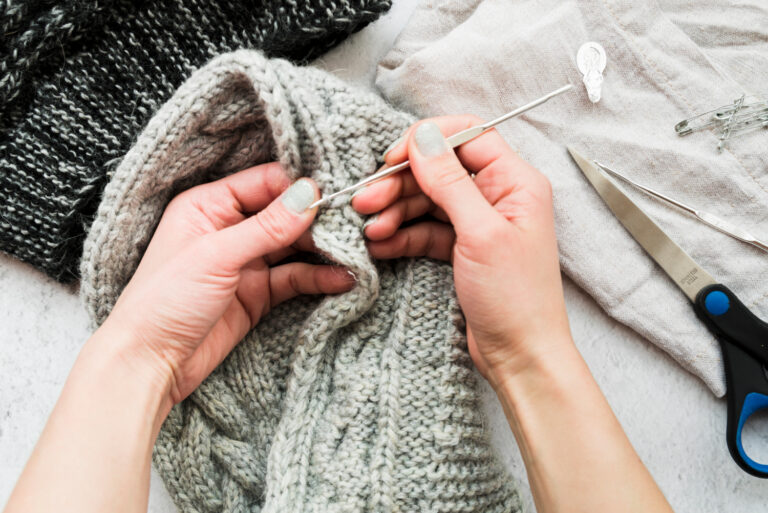
Fixing Gaps at the Join
Sometimes, even with careful joining, a small gap or hole may appear where the connected stitches are. This issue is common, particularly with specific cast-on methods or types of yarn. Don’t worry, it’s usually fixable without having to start over. The goal is to snug up those stitches at the join to eliminate the space.
One effective way to fix a gap is to use a cast-on tail. After knitting a few rounds, thread the tail onto a tapestry needle. Carefully weave the tail through the bases of the stitches around the gap, gently pulling to close the hole. Mimic the path of the existing yarn to make the repair invisible, then weave in the remaining tail securely on the wrong side of the work.
Tips for Beginners
Starting the journey into circular knitting can feel overwhelming. However, with a few helpful pointers, the key to creating seamless projects is to establish good habits from the beginning and to be patient with the process. You can learn these new techniques. Everyone starts somewhere, and every stitch is a step forward.
The key to becoming a better knitter is regular practice. Don’t be afraid to make mistakes; those are valuable learning opportunities. Embrace the process, and you’ll soon find that knitting in the round is as natural as knitting flat, opening up a world of exciting project possibilities.
Keeping Track of Rounds
When knitting in the round, it’s easy to lose your place, particularly when the pattern has specific stitch counts or changes for certain rounds. This is where a stitch marker becomes invaluable. Always place a removable stitch marker at the beginning of the round after joining the stitches. While completing each round, move the marker from the left needle to the right needle. For patterns that include many rounds or have complex instructions, a row counter, whether it’s a manual clicker or a digital app, can also be extremely helpful. Remember to advance the counter each time, and move the stitch marker to keep track of the exact progress.
Reading the Knitting
Learning to “read the knitting” is an invaluable skill that helps to understand the fabric created and troubleshoot any issues. In circular knitting, this means being able to identify knit stitches, purl stitches, and the beginning of the rounds. Knit stitches typically resemble small Vs, while purl stitches have a slight bump or a pearl-like appearance.
Practicing reading stitches helps identify errors such as dropped stitches, twisted stitches, or incorrect pattern repeats. Being able to confirm progress and the integrity of the fabric visually gives greater confidence and control over the knitting. It’s a skill that develops over time with practice and observation.
Frequently Asked Questions
Conclusion
Mastering how to join in the round in knitting requires a small amount of patience. However, the rewards are well worth it, as it enables the creation of seamless, professional-looking garments and accessories. Whether making a basic beanie or tackling an intricate sweater, joining in the round is a foundational skill.
The key is in the preparation: align the stitches, use a marker, and double-check for twists. Once that first round is secure, you’re well on your way to creating beautiful circular knitting projects. With a small quantity of practice, this technique is both efficient and enjoyable.