How to Knit a Ball: Easy Guide, Tips and Tricks
Knitting a ball provides both enjoyment and skill development. The process combines simple techniques with shaping methods to create a soft, symmetrical sphere suitable for decoration, play, or creative display. By mastering this small project, confidence grows in areas such as increasing, decreasing, and seaming — essential techniques that support more complex patterns in the future.
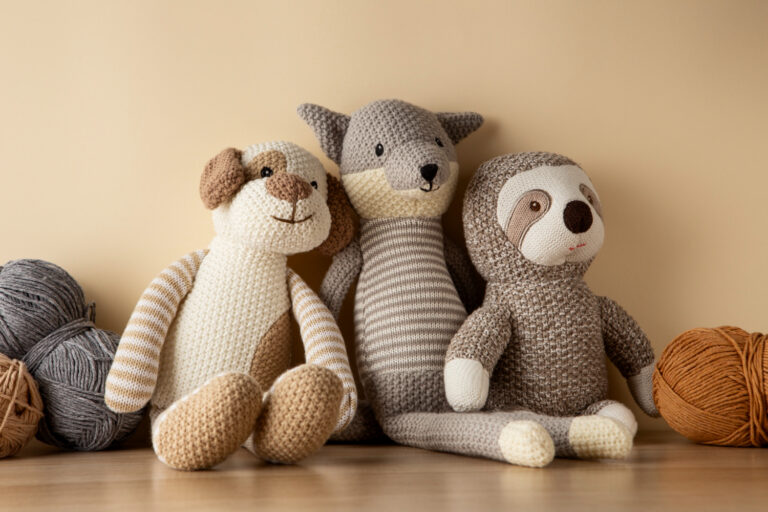
Learning how to knit a ball offers flexibility in design and color choices, allowing for a wide range of options. Every piece can become a reflection of individual creativity, whether made for decorative bowls, handmade toys, or seasonal ornaments. The project requires only a small amount of yarn and time, making it ideal for beginners wishing to explore shaping techniques without feeling overwhelmed.
Also Read: How to Read Knitting Patterns? Beginners Guide
Materials Needed for Knitting a Ball
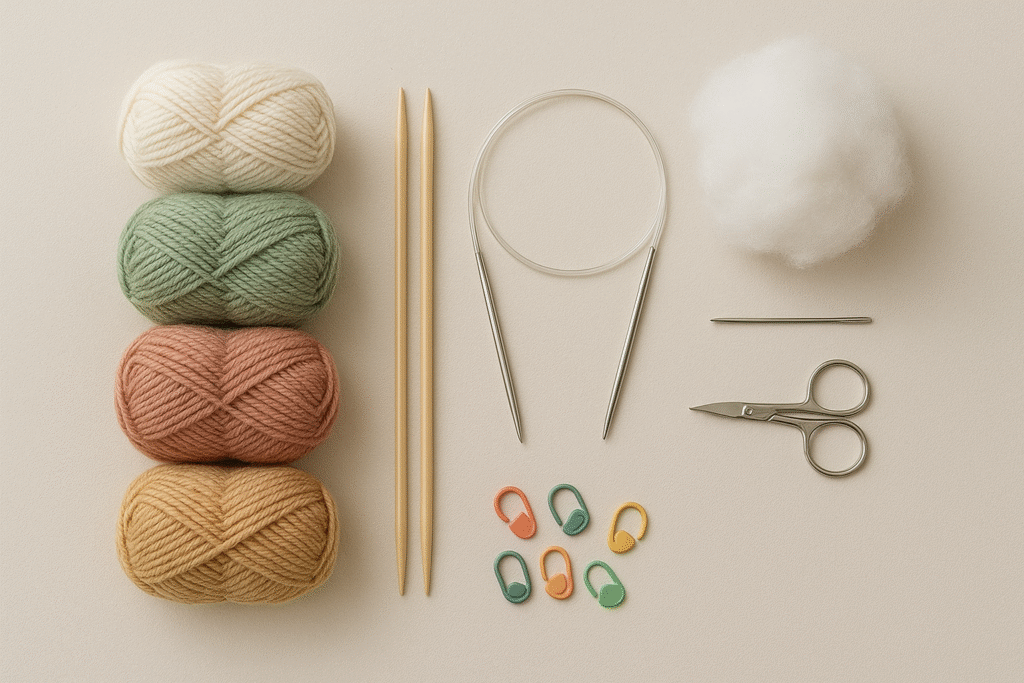
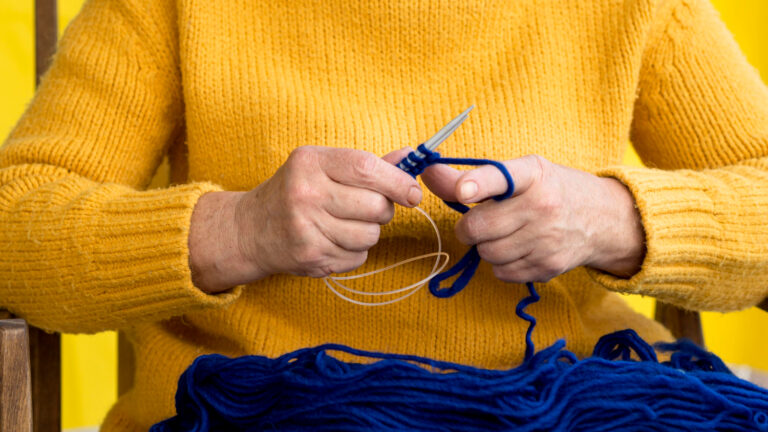
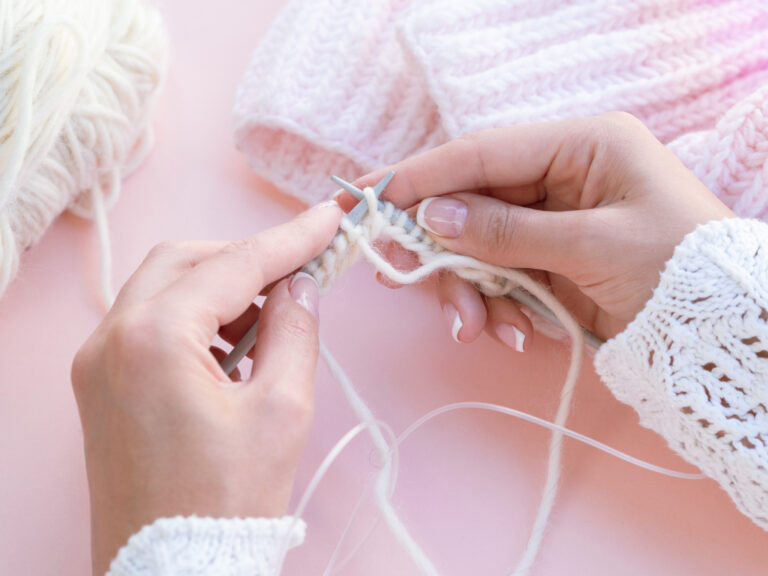
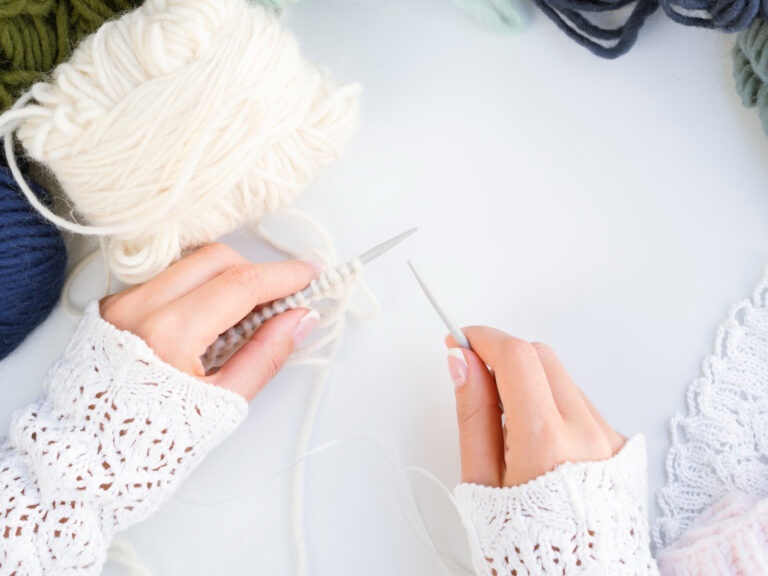
Before beginning to learn how to knit a ball, gathering the right materials ensures a smooth and uninterrupted process. Medium-weight yarns such as worsted or DK work best, providing an ideal balance between softness and structure. These yarns hold their shape well while maintaining a pleasant texture. Pair the chosen yarn with appropriately sized knitting needles—double-pointed or circular needles are most effective for shaping in the round. Straight needles can also be used if the pattern involves knitting flat pieces that will later be seamed together.
Also Read: The Best Interchangeable Knitting Needles
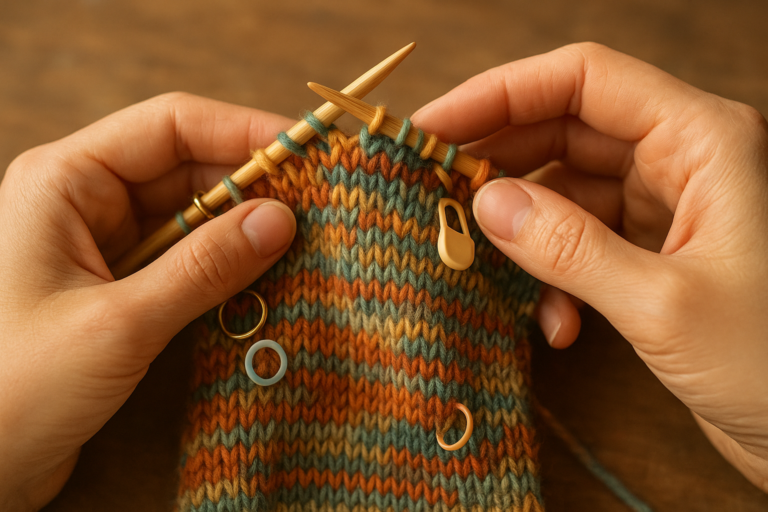
Use a small amount of polyester fiberfill or scrap yarn as stuffing to make the sphere firm and even. Essential accessories are a tapestry needle for sewing, scissors for trimming yarn, and optional stitch markers to mark the start of each round or section. Choose soft, non-irritating yarn if the ball will be used as a toy. Preparing these materials in advance keeps you focused on technique and creativity, rather than searching for tools.
Also Read: Best Knitting Bags 2025: Ultimate Guide
How to Knit a Ball
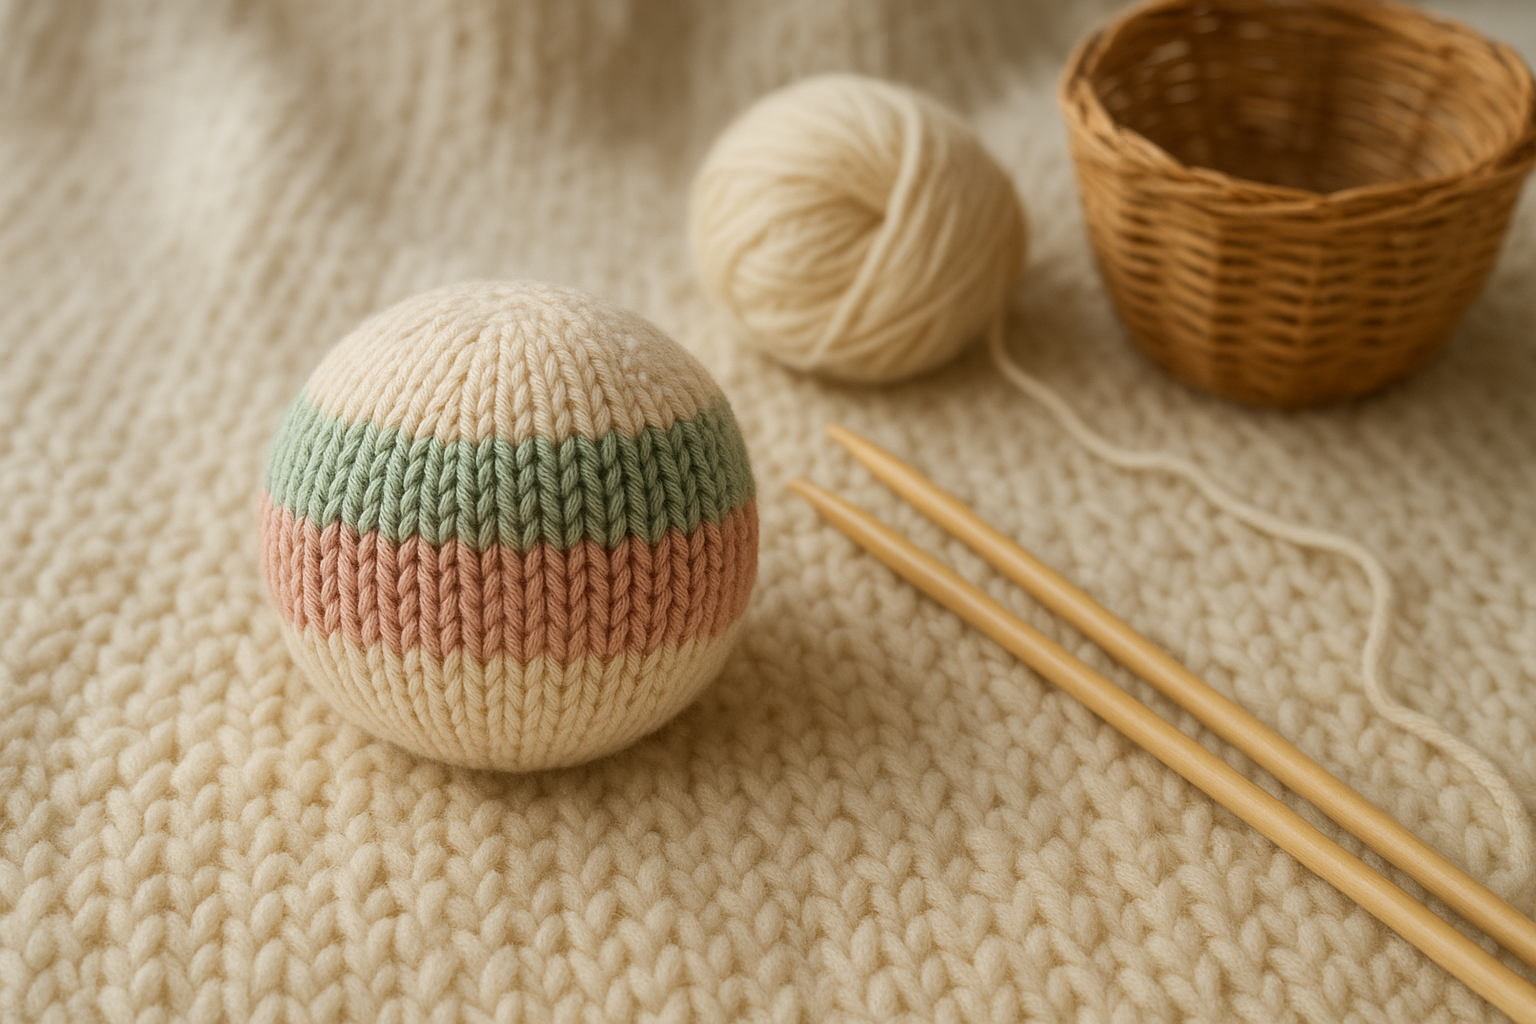
Knitting a ball means increasing and decreasing stitches to make a round shape. Start with a few stitches and add more until you reach the widest part, then reduce to shape the other half. Keep your stitches even and your tension steady for a smooth, round ball.
If you are new to knitting, try making a flat rectangle as your first project. With practice, you can knit in the round. Both ways can look nice if done carefully. Knitting in the round yields a smooth result with no seams, but flat knitting is more manageable for beginners who are still learning to maintain even tension.
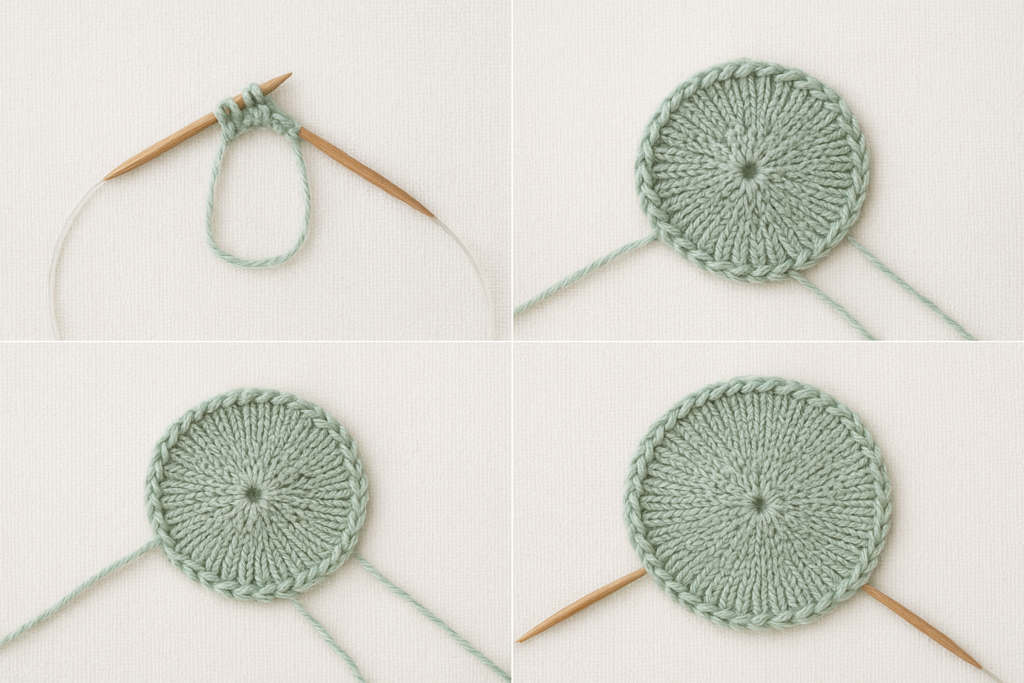
Casting On and Preparing
Casting on starts the ball. A long-tail cast-on makes a neat, firm base for even shaping and a tidy look. Depending on your method, start with six stitches for knitting in the round or around 20–30 for flat panels. Use circular or double-pointed needles to get a seamless ball and easy rounds.
When knitting in the round, connect your stitches carefully to avoid twisting the yarn. Increase evenly every other round to make the ball wider, maintaining a balanced shape as you progress. For flat knitting, add stitches in the same way, then sew the edges together to make a ball.
Paying attention at the beginning helps the ball look good. Keep your stitches even to avoid holes or bumps. This allows the ball to curve in smoothly as you decrease, resulting in a nice round shape.
Also Read: How to Cast on Knitting with Two Needles: A Complete Guide
Knitting in the Round or Flat
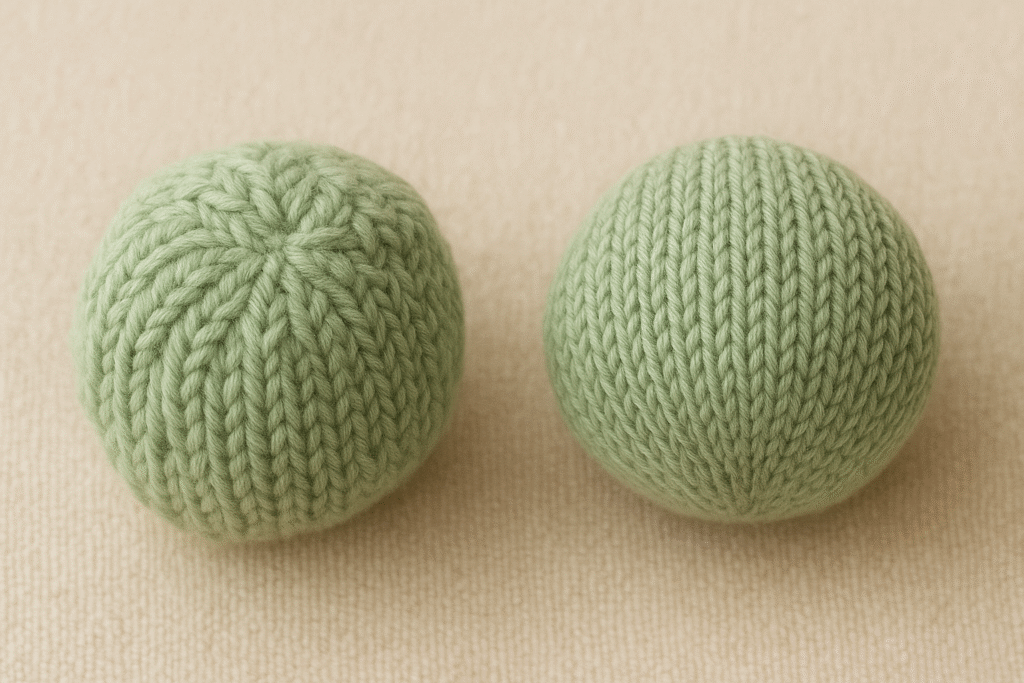
For those learning how to knit a ball, choosing between knitting in the round or flat impacts construction and technique. Knitting in the round produces a seamless ball using double-pointed or circular needles, ideal for smooth shaping without visible seams. This approach involves working in continuous rounds and adjusting stitch count via increases and decreases to form a sphere.
Alternatively, knitters can create a flat rectangular or square panel that is then sewn and stuffed to recreate a ball shape. This method is approachable for beginners who are more comfortable with straight needles and simple knit stitches, though it requires some sewing skills to assemble the final shape. Both techniques achieve similar results, but knitting in the round tends to yield a smoother, more professional finish.
Also Read: How to Knit a Hat with Straight Needles? Beginner’s Guide
Shaping the Ball
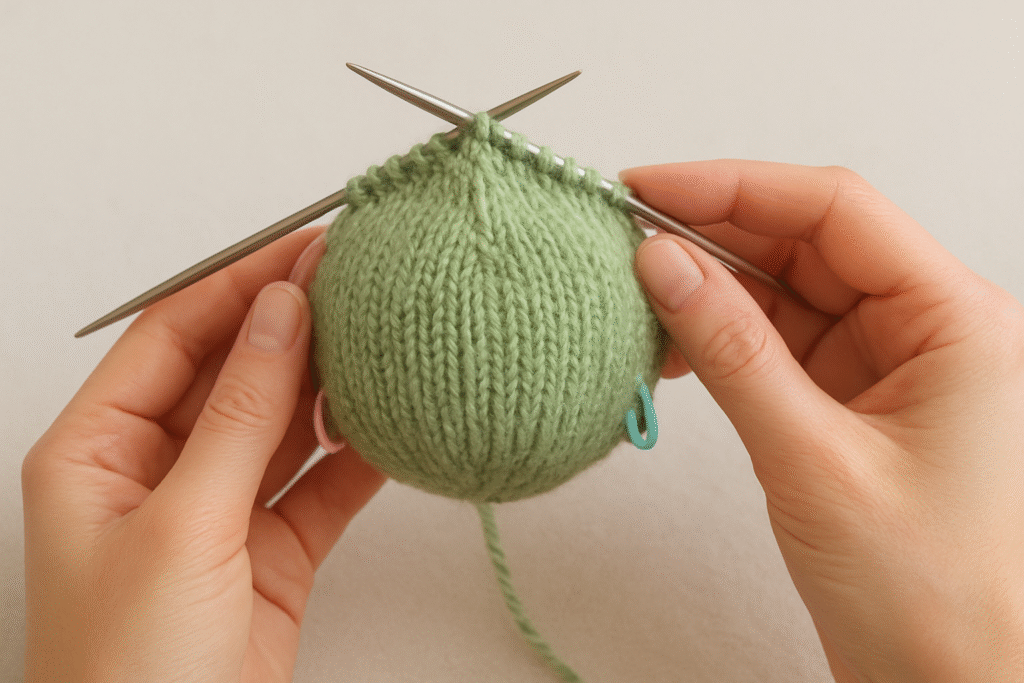
Shaping is the process of transforming a flat piece of fabric into a smooth, rounded sphere. The process usually begins with gradual increases from the base. With each round, expand evenly until reaching the widest point. Maintain consistent stitch counts and even tension. This prevents puckering or distortion, ensuring a balanced circumference.
Also Read: How to Add Stitches When Knitting: A Complete Guide
Once you reach the midpoint, begin symmetrical decreases. These shape the fabric toward a neat closure. Use stitch markers during shaping rounds to keep alignment and prevent bulging. As the opening narrows, leave a small gap for inserting stuffing. Then secure the final stitches. Keep a gentle curve throughout to avoid sharp folds. This helps create a uniform surface. Careful shaping now allows the knitted ball to maintain its structure and smooth appearance over time.
Finishing: Stuffing and Closing
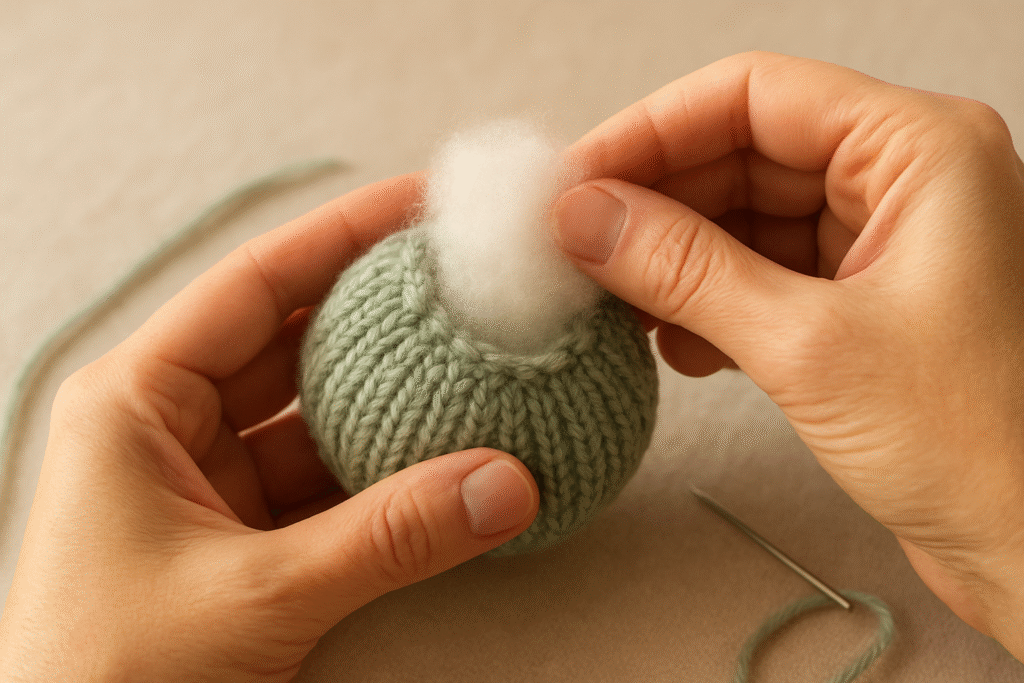
Stuff the knitted ball to give it softness and bounce. Use lightweight fiberfill, yarn scraps, or cotton wool. Add the filling gradually for a smooth, even shape with no lumps or gaps. Be gentle—too much stuffing stretches stitches; too little leaves the ball limp.
When the ball feels just right, thread a tapestry needle with the yarn tail and insert it through the remaining stitches around the opening. Pull the yarn to draw the stitches tightly closed. Secure the yarn, then weave in or tuck the tail inside to hide it. Ensuring the closure is neat will help your ball stay strong and look beautiful, ready for play or display.
Also Read: How to Finish a Knitting Project: A Complete Guide
Quick-Start Pattern: Knitted Ball (Beginner-Friendly)
A concise, ready-to-knit pattern for immediate results.
Yarn: Worsted
Needles: US 7 (4.5 mm)
Gauge: ~20 sts = 4″
Finished Size: ~3.5″ (9 cm)
Cast on 6 sts. Join in the round.
Increase Section
Rnd 1: Kfb around (12)
Rnd 2: K
Rnd 3: K1, kfb around (18)
Rnd 4: K
Rnd 5: K2, kfb around (24)
Rnd 6: K
Rnd 7: K3, kfb around (30)
Rnd 8: K
Continue this pattern until 48 sts.
Straight Section
Knit 6 rounds even.
Decrease Section
Reverse the increase pattern:
Rnd 1: K3, k2tog around
Rnd 2: K
Rnd 3: K2, k2tog around
Rnd 4: K
Rnd 5: K1, k2tog around
Rnd 6: K
Rnd 7: K2tog around (6 sts)
Stuff firmly before the final closure.
Break yarn, cinch through remaining sts, weave in ends.
Gauge & Size Conversion Table
| DK | 22–24 sts / 4″ | 48–54 sts | 3″–3.5″ |
| Worsted | 18–20 sts / 4″ | 48–60 sts | 3.5″–4.5″ |
| Bulky | 14–16 sts / 4″ | 36–48 sts | 4.5″–6″ |
| Super Bulky | 8–10 sts / 4″ | 24–36 sts | 6″–8″ |
Rule:
More stitches at the widest point → Larger ball.
Fewer stitches → Smaller ball.
Full Pattern: Two Sizes
Size A: Small Ball (3–3.5 in)
Perfect for toys and decorative use.
- Cast on 6 sts
- Increase to 42 sts
- Work 4 straight rounds
- Decrease to mirror increases.
- Stuff firmly and close
Size B: Medium Ball (4–5 in)
Ideal for home décor or children’s toys.
Increase sequence:
6 → 12 → 18 → 24 → 30 → 36 → 42 → 48 → 54
- Knit 8 straight rounds
- Decrease in reverse
- Stuff in layers for a perfectly rounded finish
- Close firmly
Technique Notes for a Professional Result
- Use markers to maintain symmetrical shaping.
- Polyfill provides the smoothest structure.
- Wool stuffing adds softness.
- Rotate DPN transitions to avoid laddering.
- Tighten the drawstring closure for a flawless top.
Troubleshooting Guide
Lumpy ball?
Stuff in small clusters and roll the ball between your hands.
Holes at increasing points?
Use M1L/M1R instead of kfb.
Misshapen ball?
A straight section may be too long or too short.
Match increase height ≈ decrease height.
Pointed ends?
Tighten the final closure and massage the shaping.
Variations: Multicolor and Sizes
Bold color choices set the stage for expressing creativity in every knitted ball pattern. Experimenting with alternating stripes, ombré fades, or random color blocks can transform a simple design into a visually striking piece.
Using variegated yarns provides unique shading effects without frequent color changes. These variations are ideal for creating sets of balls in complementary tones. Changing the ball’s size is also flexible. Thicker yarns and larger needles are used to create big versions, while finer yarns are used to make small ones for ornaments or keychains.
Understanding gauge ensures flexible design options, so each ball version keeps its shape and density. This adaptability provides knitters with numerous creative paths.
Tips and Tricks for a Smooth Knit Ball
Maintaining even tension is essential for a well-shaped sphere. To ensure consistent results, check stitch count regularly to prevent uneven sides and visible ridges. For further consistency, using a stitch marker at the start of each round simplifies tracking and ensures smooth transitions between increase and decrease rounds.
To complete the process, lightly blocking the finished piece can also enhance its shape and smoothness when knitting a ball. When working with multiple colors, twisting yarns neatly at the join prevents holes or gaps in the colorwork.
Additionally, if you are seeking a firm structure, blending a small amount of wool into the stuffing can add gentle resistance, which helps the ball retain its shape longer. With these minor adjustments, you can make a significant difference in the overall finish.
Also Read: How to Count Rows in Knitting: A Complete Guide
Common Mistakes and How to Avoid Them
Uneven shaping can happen when increases and decreases are placed inconsistently. Sticking to a reliable knitted ball pattern with simple steps makes this much easier. Try counting your stitches after every few rounds—that really helps keep things on track. If your ball closes too loosely and stuffing shows, just secure those final stitches tightly and weave in the ends for a polished finish when knitting a ball.
It’s easy to overlook tension control at first, which makes one side appear flat. Practicing on a small swatch before starting your project is a great way to find your rhythm. Paying attention to your yarn, needle size, and how much you stuff the ball also helps give your finished piece a lovely, rounded shape.
Also Read: How to Fix a Dropped Stitch: A Complete Guide for Knitters
Frequently Asked Questions About How to Knit a Ball
Conclusion: How to Knit a Ball
Knitting a ball not only develops valuable shaping skills but also sparks creativity for a diverse range of projects. You can transform these knitted spheres into soft toys, juggling balls, ornaments, or artistic display elements.
Their compact size allows you to complete quick projects that deliver satisfaction and tangible results. By mastering this craft, knitters gain confidence to tackle more intricate three-dimensional items, enriching their overall knitting repertoire.
With practice, creativity, and patience, knitting balls becomes both a fulfilling artistic expression and a practical skill. Start your next knitting project today and create your own collection of unique knit balls!
Also Read: What Is a Cable Knit Sweater? Complete Guide: Best Tips