How to Knit a Gauge Swatch: Quick Guide
A gauge swatch is a small knitted piece made before starting a bigger project. It helps check whether the stitches and rows match the pattern’s requirements. Getting the correct gauge is essential because it ensures the finished item fits properly and holds the correct shape.
Without an accurate gauge swatch, even skilled knitters may end up with pieces that are too tight, too loose, or unevenly sized. Mastering how to knit a gauge swatch is a fundamental step for achieving professional and reliable knitting results.
Creating this small sample allows knitters to see how the chosen yarn and needles will perform together. This simple yet crucial step saves time, prevents mistakes, and minimizes yarn waste, ensuring that every project aligns perfectly with the intended pattern dimensions and design.
Essential Supplies for Your Gauge Swatch
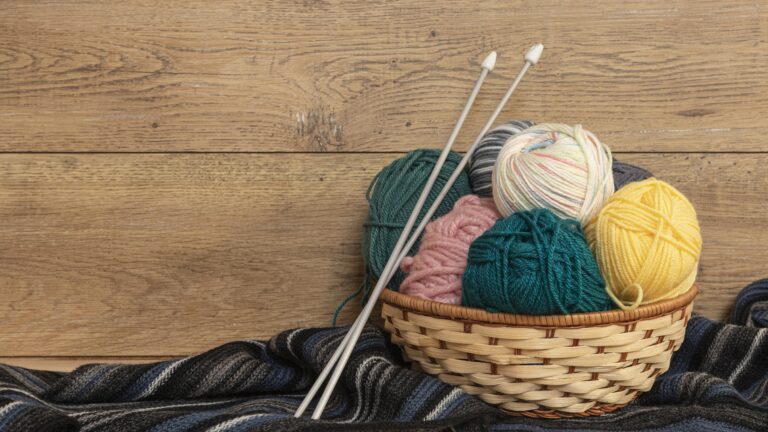
Yarn Selection
Preparing the right tools is the first step toward an accurate knitting gauge swatch. Always choose the exact yarn intended for the project, as fiber content, thickness, and ply can influence how stitches form. Even within the same brand, slight variations in fiber blends can affect results. Matching the yarn ensures that the swatch reflects the fabric qualities of the final piece.
Needle Requirements
Needles are just as important. Use the same size and type listed in the pattern. If the gauge does not match, try a size up or down until the stitches align. The material of the needles also matters—bamboo grips yarn differently than metal or plastic, and this can subtly shift tension.
Additional Tools
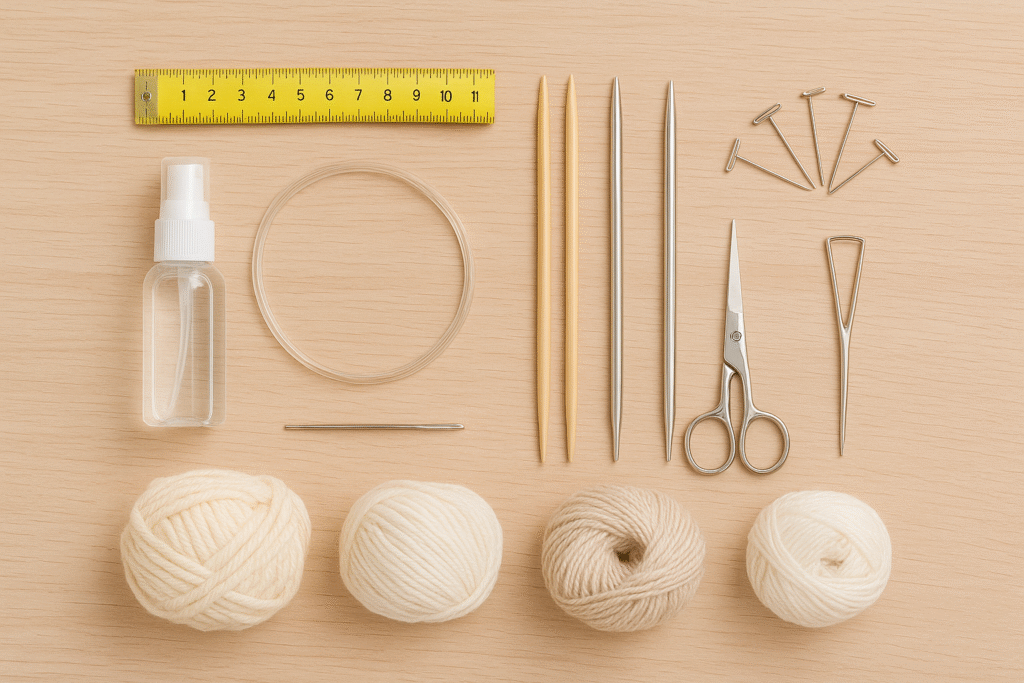
Essential supporting tools include:
- A ruler or flexible tape measure for precise stitch counts
- Sharp scissors for clean cuts
- A large needle for weaving in ends
- Blocking supplies (mats, rust-proof pins, spray bottle)
Blocking supplies are particularly helpful, as swatches should be measured after blocking to replicate the finished fabric accurately.
Step-by-Step Guide: How to Knit a Gauge Swatch
Creating an accurate gauge swatch is one of the most crucial steps in any knitting project. This comprehensive guide will walk you through each step to ensure your finished garment fits perfectly.
Why Gauge Matters
Before diving into the process, it’s essential to understand that gauge affects every aspect of your finished project—from fit and drape to yarn consumption. A proper gauge swatch is your roadmap to knitting success.
Step 1: Check Pattern Requirements
The foundation of an accurate gauge begins with understanding the specific requirements of your pattern. Locate and read the pattern’s gauge instructions carefully, paying close attention to both stitch and row counts required for a 4-inch square.
If the gauge is specified in a particular stitch pattern, such as cables, lace, or ribbing, it’s essential to prepare your swatch in that same pattern for maximum accuracy. Different stitch patterns can dramatically affect the fabric’s density and behavior.
Pro Tip for Pattern Review
Highlight or bookmark the gauge note in the pattern before starting your project. This prevents the gauge information from being overlooked later when you’re focused on the exciting parts of your knitting.
Also Read: How to Read Knitting Patterns? Beginners Guide
Step 2: Cast On the Right Number of Stitches
One of the most common mistakes knitters make is creating swatches that are too small to measure accurately. Cast on 28–32 stitches, regardless of what the minimum stitch count appears to be in the gauge instructions. This generous width gives you enough extra fabric to measure your gauge away from the unreliable edge stitches, which often behave differently from the interior fabric.
Edge stitches tend to be tighter or looser than the main body of knitting, making them poor indicators of your accurate gauge. By casting on extra stitches, you create a buffer zone that ensures precise measurements.
Pro Tip for Casting On
Add two extra selvedge stitches on each side that won’t be counted in your final measurement. These additional edge stitches help stabilize the entire swatch, making the blocking process much easier and more effective.
Also Read: How to Pick Up Knit Stitches In Knitting? Two Methods
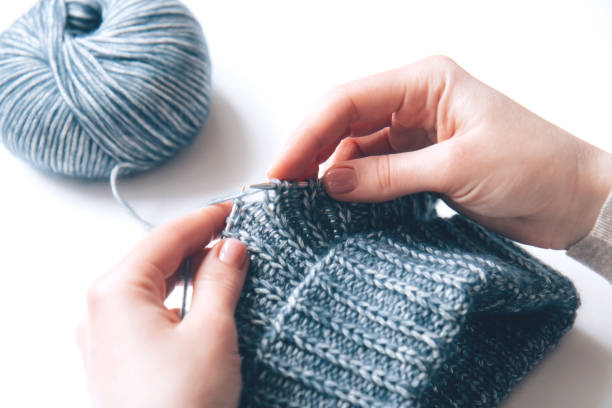
Step 3: Work the Swatch in the Required Stitch Pattern
Now comes the actual knitting phase. Work your swatch in the specified gauge stitch pattern, maintaining consistent tension throughout the entire piece. Continue knitting until your swatch measures at least 6 inches square. This generous size ensures you can measure a central area well away from the potentially inconsistent edges.
Complex stitch patterns, such as intricate cables, textured patterns, or colorwork, need this extra space for proper evaluation. The pattern may behave differently as it develops over multiple repeats, and a larger swatch captures this behavior more accurately.
Pro Tips for Working Your Swatch
Use Stitch Markers Strategically: Place stitch markers to mark off a 4-inch square while knitting. This technique makes later measurement much easier and helps you visualize the gauge area as you work.
Don’t Skimp on Rows: Knit more rows than the bare minimum requirement. Row gauge matters just as much as stitch gauge, especially for garments where length and proportion are critical to the final fit. Maintain Consistent Tension: Try to knit your swatch at the same time of day and in similar conditions to those you’ll use when knitting the actual project. Tension can vary based on stress levels, fatigue, and even the time of day.
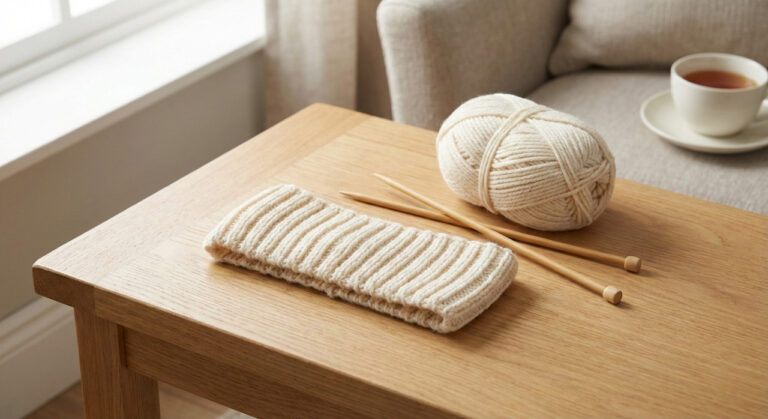
Step 4: Bind Off and Block the Swatch
The binding off and blocking stage is where many knitters notice a significant change in their gauge. Bind off loosely, preserving the fabric’s natural, relaxed structure. A tight bind-off can distort the entire swatch, leading to inaccurate gauge readings.
Immediately after binding off, wash and block the swatch exactly as you plan to treat the finished piece. This might involve soaking in wool wash, steaming with an iron, or pinning to specific measurements. This crucial step reveals how the fibers will behave in their final form.
Understanding Fiber Behavior During Blocking
Blooming: Many yarn fibers, particularly animal fibers like wool and alpaca, will expand during blocking. This blooming effect gives the fabric a softer, plumper appearance and can significantly change the gauge.
Shrinking: Certain fibers, particularly untreated wool, cotton, and some plant fibers, may contract during the blocking process. This shrinkage can dramatically tighten your gauge.
Relaxation: Most yarns will relax and settle into their natural drape during blocking, often resulting in a looser gauge than the unblocked swatch showed.
Skipping the blocking step is one of the most common causes of poor garment fit, as it prevents you from seeing how your stitches will behave in the finished piece.
Pro Tips for Blocking
Use Proper Pinning Technique: Pin the swatch to a blocking mat using T-pins, ensuring the fabric lies flat and square. Avoid stretching or compressing the fabric—let it find its natural dimensions.
Complete Drying is Essential: Always let the swatch dry completely before measuring. Damp fibers can still shift and settle, resulting in inaccurate readings that could compromise your entire project. Match Your Finishing Method: If you plan to machine wash your finished garment, wash your swatch the same way. If you’ll be hand-washing and laying it flat to dry, treat your swatch identically.
Also Read: How Do I Block a Knitted Sweater? Step-by-Step
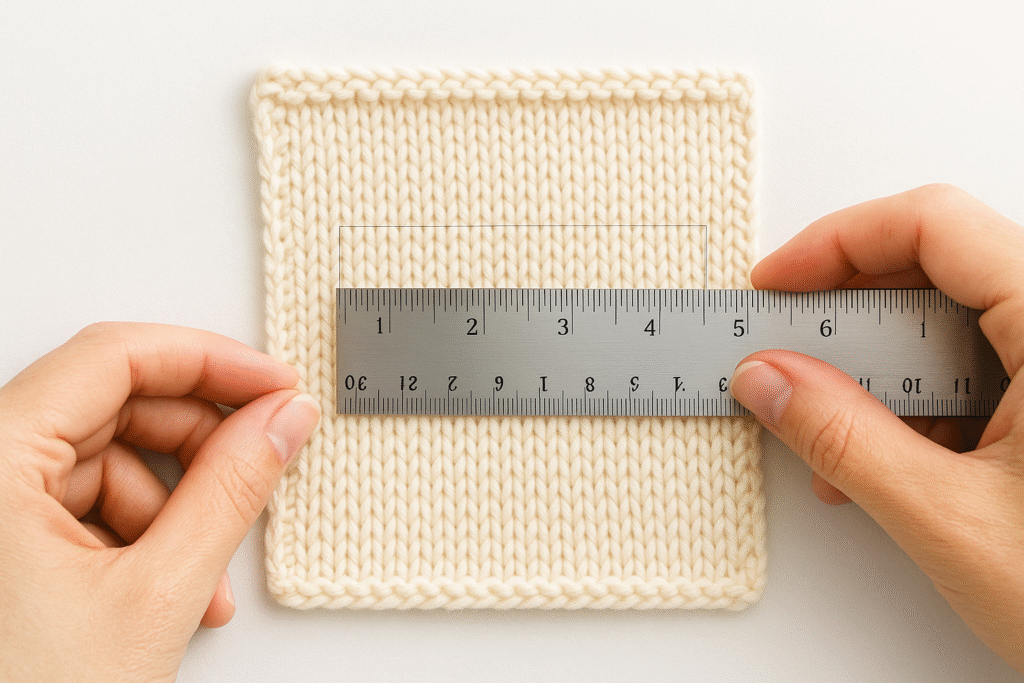
Step 5: Measure and Evaluate the Gauge
The final step requires precision and patience. Place the completely dry, blocked swatch on a flat surface with good lighting. Using a ruler or specialized gauge tool, measure a central 4-inch (10 cm) section of the swatch. Count both the stitches and rows within this measured area, being careful to avoid measuring at curled or inconsistent edges.
Interpreting Your Results
Too Many Stitches Per Inch: If your swatch shows more stitches than the pattern requires, your knitting is too tight. Switch to larger needles to loosen the fabric and create the proper gauge.
Too Few Stitches Per Inch: If your swatch has fewer stitches than specified, your knitting is too loose. Switch to smaller needles to tighten the fabric and achieve the correct gauge.
Pro Tips for Accurate Measurement
Use Visual Aids: Lay a contrasting yarn thread to outline a 4-inch square before taking the measurement. This technique maintains a consistent measurement area, making counting easier, especially with complex stitch patterns.
Optimize Your Environment: Check the gauge in good lighting conditions. Use a magnifier if necessary, especially when working with dark yarns or excellent stitches, as individual stitches can be difficult to distinguish.
Multiple Measurements: For highly textured fabrics, cables, or colorwork, measure in various spots within your central area and average the results to ensure accuracy. This gives you a more accurate overall gauge reading.
Document Everything: Take photos of your swatch and write down your needle size, yarn information, and gauge measurements. This documentation becomes invaluable for future projects with the same yarn.
When Gauge Doesn’t Match
Remember that achieving perfect gauge sometimes requires multiple attempts. Don’t be discouraged if your first swatch doesn’t match—this is entirely normal and part of the process. Make the necessary needle adjustments and create a new swatch. The time invested in getting the gauge right will pay dividends in a perfectly fitting finished garment.
Choosing the Right Yarn and Needles
Yarn Selection Principles
The yarn chosen for a gauge swatch must match the intended project yarn exactly. Fiber content, ply, and twist all influence gauge. For example, merino wool provides elasticity, while linen or cotton creates fabrics with a firmer texture. Even slight variations between blends or dye lots may affect the result. Using the project’s yarn ensures the swatch reflects the proper drape and texture of the final fabric.
Understanding Needle Impact
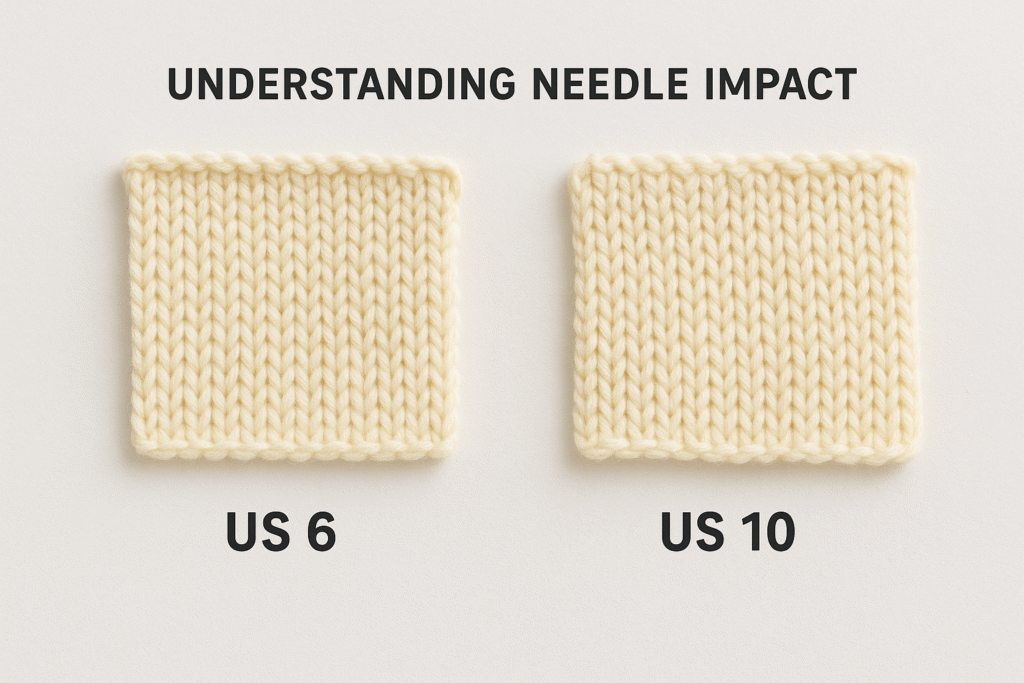
Needles also have a direct impact on gauge. (Gauge is the number of stitches and rows per inch.) Size (diameter of the needle), material (what the needle is made of, such as bamboo or metal), and type (shape or construction, like straight or circular) all alter tension. Some knitters produce looser stitches with circular needles compared to straight needles. Bamboo can grip yarn more effectively than metal.
Also Read: How to Measure Circular Knitting Needles? Beginners Guide
Matching Project Conditions
Swatches (small sample pieces) should accurately replicate project conditions. For example, if the garment will be knit in the round (in a continuous circle), the swatch should also be knit in the round. Adjust needle size, material, or style as needed to achieve the correct gauge.
How to Cast On for a Gauge Swatch
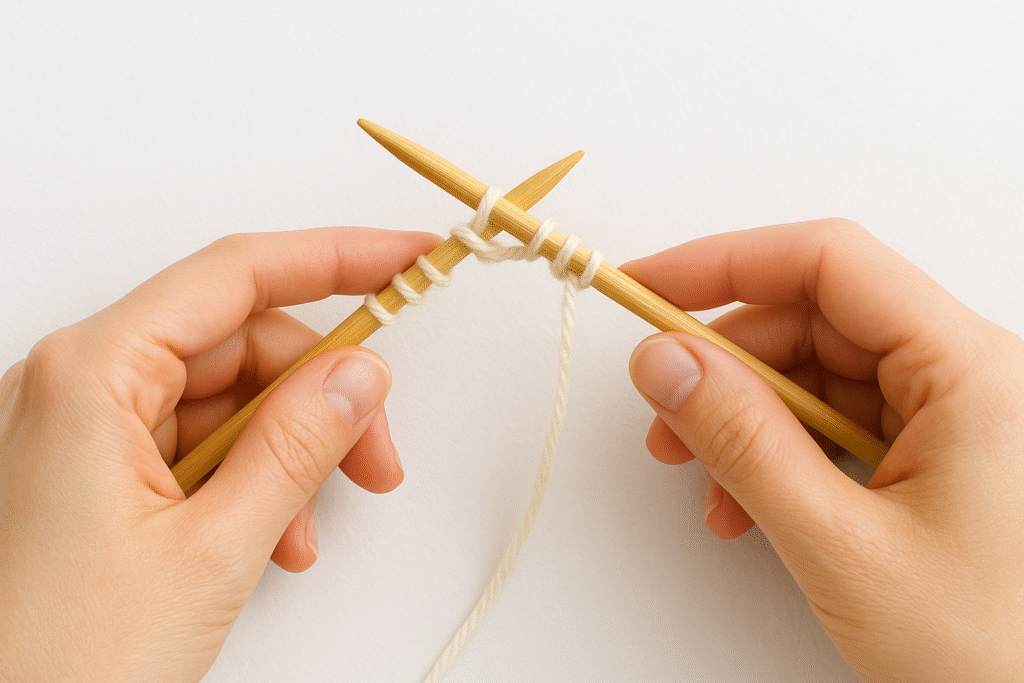
Recommended Cast-On Method
The first step in knitting a gauge swatch is casting on the correct number of stitches. A long-tail cast-on is recommended for its elasticity and stability, making it particularly helpful for swatches that require stretching and maintaining their shape. Any method is acceptable as long as tension remains even.
Also Read: How to Cast on Knitting with Two Needles: A Complete Guide
Preventing Edge Distortion
To minimize curling or distortion, many knitters add a two- or three-stitch garter border on each side of the work. Using both a suitable cast-on and a garter border helps the swatch lie flat and stable, especially in stockinette stitch.
Calculating Stitch Count
Cast on more stitches than the pattern’s gauge requires. Add 6–10 extra stitches beyond the four-inch count. This buffer lets you measure from the center, away from irregular edges, for more accurate results.
Knit a Gauge Swatch: Size and Stitch Recommendations
Optimal Swatch Size
Swatch size affects accuracy. While many patterns recommend a 4×4-inch square, a 6×6-inch sample allows for more accurate measurement and takes into account yarn relaxation after blocking. A small swatch can lead to mistakes that affect the final garment’s fit.
Stitch Pattern Considerations
Follow the specified stitch type. Stockinette is standard for gauge, but swatch ribbing, lace, or texture as written. Different stitches behave differently, so matching the pattern stitch avoids misleading results. For in-the-round projects, swatch in the round for accurate tension.
Measuring and Calculating Your Gauge
Proper Measurement Technique
After washing and blocking, lay the swatch flat on a surface. Use a ruler or knitting gauge tool to count stitches across the central four-inch area, avoiding distorted selvedges. Repeat vertically to count rows in four inches.
Also Read: How to Count Rows in Knitting: A Complete Guide
Interpreting Your Results
Compare your swatch to the pattern’s gauge. Fewer stitches mean the fabric is too loose—use smaller needles. More stitches mean it is too tight—use larger needles. Usually, changing by one or two sizes aligns the gauge and ensures a proper fit.
Professional Tips for Accurate Gauge Swatching
Working in the Round
Work your gauge swatch under the same conditions as your project. If knitting in the round, swatch in the round to avoid tension differences between knit and purl rows. Use a flat “faux round” swatch by carrying the yarn loosely across the back after each row to mimic circular knitting tension.
Also Read: How to Join in Round in Knitting: Comprehensive Guide
Special Stitch Patterns
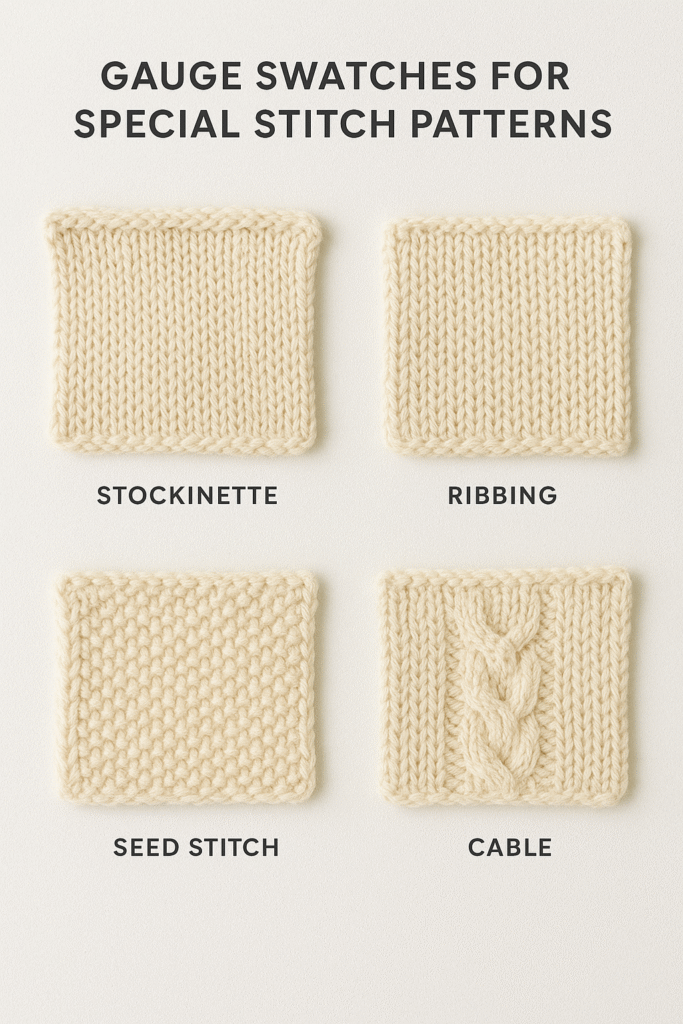
Pay equal attention to stitch patterns. Lace, cables, and ribbing change fabric differently from stockinette. Swatch in the actual pattern to predict how the fabric will behave when worn and blocked. Always wash and block swatches, since textures often shift after finishing. These steps ensure that the final garment meets both the designer’s intent and your vision.
Also Read: How to Change Colors While Knitting? Beginners Tips
Common Mistakes and How to Avoid Them
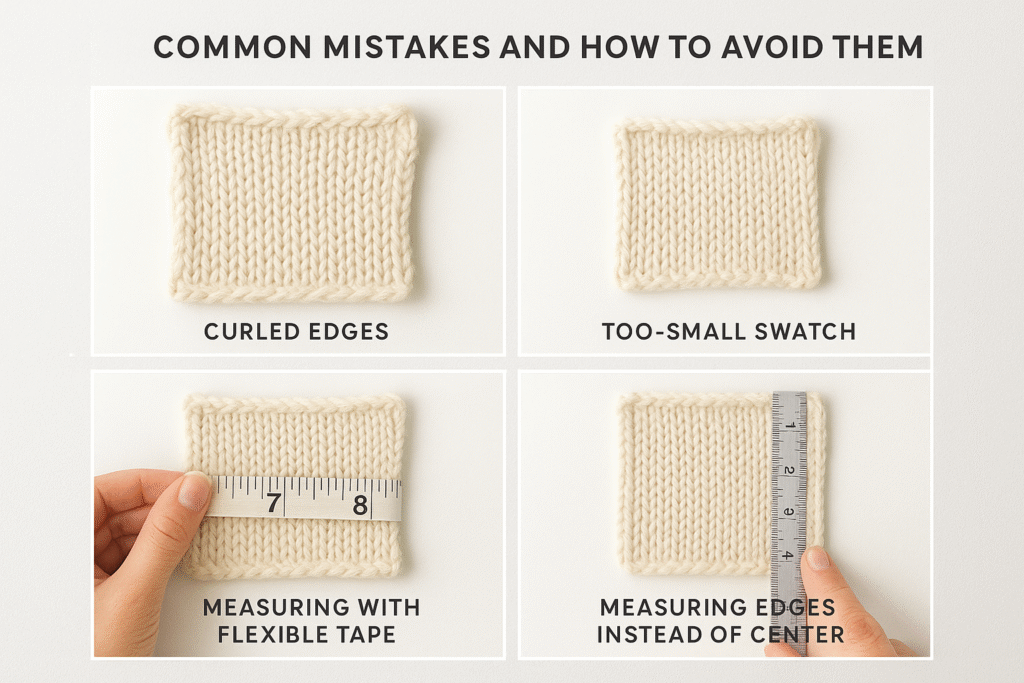
Size-Related Errors
One of the most frequent errors is knitting a swatch that is too small. A square only a few inches wide often yields misleading results, as edge stitches curl or tighten differently than central stitches. A larger swatch—about 6×6 inches—provides a more precise measurement.
Also Read: How to Fix a Dropped Stitch: A Complete Guide for Knitters
Blocking Oversights
Another mistake is measuring the swatch before blocking. Fibers can bloom, relax, or shrink after washing, and skipping this step may cause sizing issues in the finished project.
Measurement Issues
Another common pitfall is measuring inconsistently. Using a flexible tape measure stretched across the swatch can cause the stitch count to be distorted. A rigid ruler or specialized gauge tool ensures greater accuracy. Counting edge stitches instead of focusing on the center also distorts results.
The Skip-and-Hope Approach
Finally, some knitters skip swatching altogether, assuming gauge differences are negligible. This often produces garments that are overly tight, oversized, or misshapen. Avoiding these pitfalls saves time, yarn, and frustration.
Frequently Asked Questions About Gauge Swatches
Conclusion: How to Knit a Gauge Swatch
Mastering the process of knitting a gauge swatch is more than a preliminary step—it is the foundation of a successful project. A well-prepared swatch reveals how yarn, needles, and stitch patterns interact, ensuring that the finished piece matches the intended size, drape, and structure.
Skipping or rushing this stage often results in garments that do not fit properly or fabrics that fail to behave as expected. By selecting the correct materials, following proper techniques, and carefully measuring after blocking, knitters gain control over their craft and eliminate unnecessary guesswork.
Accurate swatching not only protects time and resources but also builds confidence in achieving professional, consistent, and satisfying results in every project.