How to Knit a Hat with Straight Needles? Beginner’s Guide
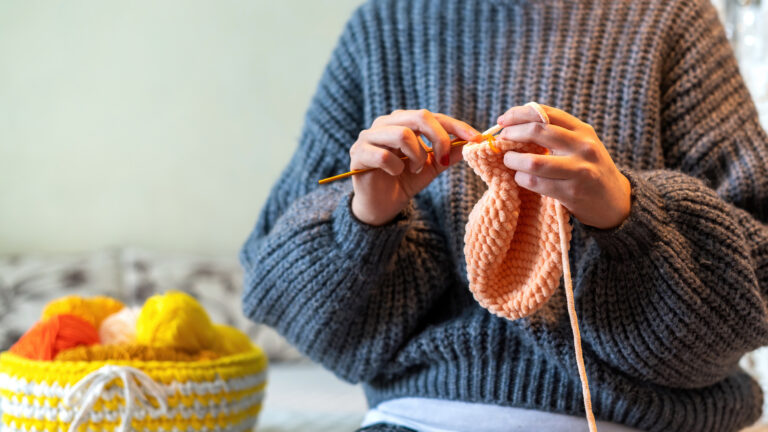
Knitting a hat doesn’t have to be daunting, even for beginners. Forget the complexity of circular needles, straight needles offer a simple, beginner-friendly approach to crafting a stylish, well-fitting hat. This guide walks you through every step, ensuring a satisfying experience and a handmade piece you’ll wear with pride.
Using straight needles eliminates the need for “working in the round,” letting you focus on basic stitches like knit and purl to create a beautiful, wearable work of art. This method is perfect for newcomers, as it builds confidence with straightforward techniques, avoids the need for complex tools, and still produces a cozy, professional-looking hat that’s uniquely yours.
Also Read: How to Join in Round in Knitting?
How to Knit a Hat on Straight Needles?
To knit a hat with straight needles, follow these steps to create a flat fabric that’s seamed into a neat, finished hat. Start by casting on stitches and knitting a ribbed brim for a snug fit. Next, work the main body in stockinette or your chosen stitch. Shape the crown with decreasing stitches, then seam the flat piece into a three-dimensional hat.
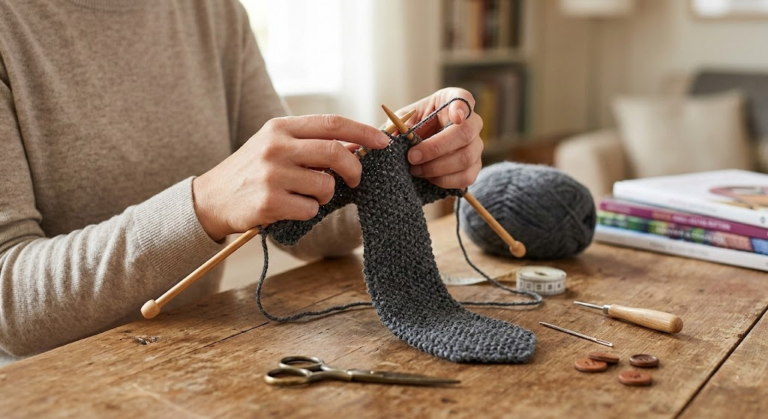
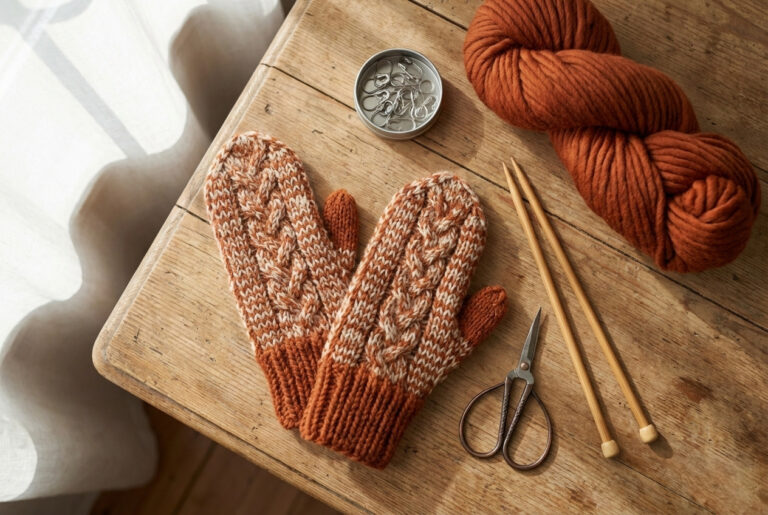
Step 1: Gather Your Knitting Supplies
Having the right materials ready ensures a smooth knitting process and a personalized result. Choose yarn that offers the desired warmth and texture, and pair it with straight knitting needles that match the yarn’s weight (check the yarn label for recommendations). You’ll also need a tapestry needle for seaming, scissors, and optionally a stitch marker to track rows.
Step 2: Casting On Stitches
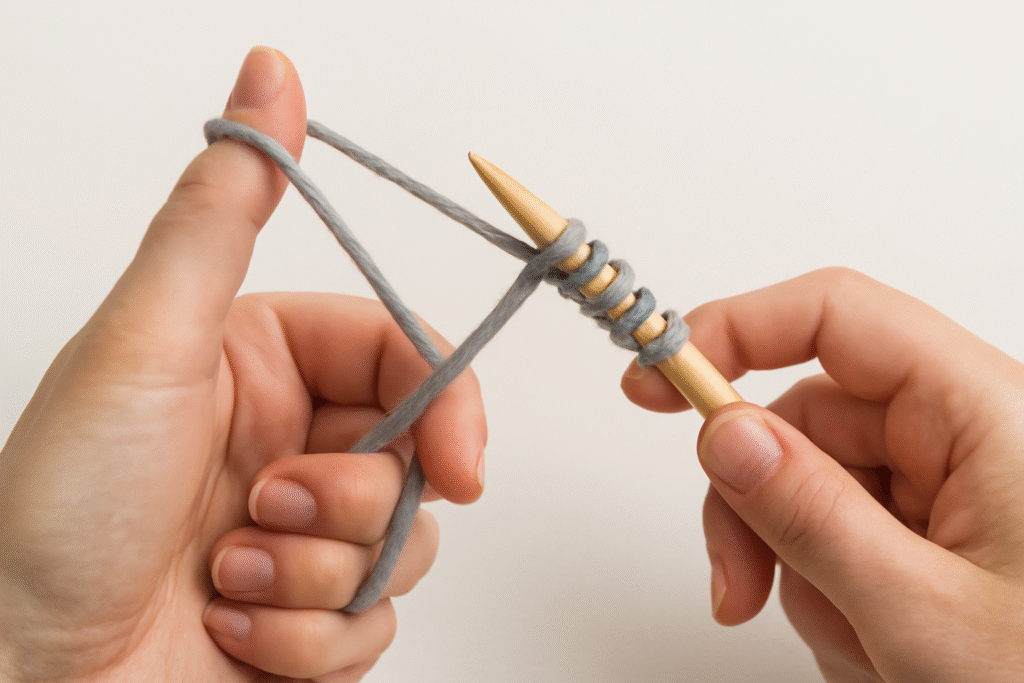
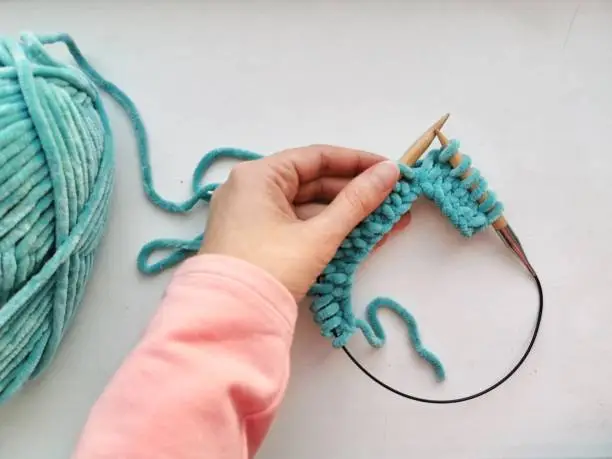
The first step in knitting a hat is to cast on the correct number of stitches onto one of your needles. This first row sets the base of the project and determines the size and shape of the hat’s opening. The way you cast on determines the neatness of the start. It is good to cast on evenly.
There are multiple ways to cast on stitches, but for a simpler project, long-tail cast-on or knitted cast-on is usually the most helpful. The number of stitches will depend on the size of the hat and the gauge of the yarn and needles used.
Also Read: How to Add Stitches When Knitting?
Step 3: Knitting the Ribbed Brim
The next step after casting the stitches is to knit the ribbed brim. This rim is vital as it keeps the hat snug on the head, preventing it from falling off. Stretchable and recoverable materials give the needed snugness and stretchy recovery. A ribbed pattern achieved with knit and purl stitches will work well, as it is elastic.
Popular ribbing techniques include the 1×1 rib (knit one, purl one) and the 2×2 rib (knit two, purl two). Following this sequence for a few inches will form a friendly, warm, and helpful band. This brim also serves as a warm hat, making an outstanding contribution to the art of the hat.
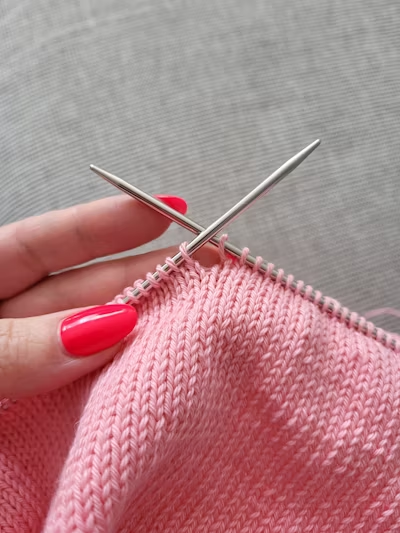
Step 4: Knit the Main Body
The next part to focus on is the top section of the hat, starting with the head and expanding outwards to the top. This part can be done in many stitch patterns, but a simple one is stockinette stitch, where you knit and purl alternately, as it is neat. Another option is to continue the ribbed pattern from the brim, maintaining the stitched consistency throughout the hat.
The depth of the hat also depends on the length of the main body. It is also advisable for knitters to periodically test the piece on their head to ensure the coverage is sufficient before proceeding to crown shaping. Achieving uniformity in tension is critical to an even fabric during this stage.
Step 5: Shape the Crown
As the hat’s central part approaches the desired length, the process for the hat’s crown begins by reducing the number of stitches. This rounded section of the hat will provide comfort for the user. Careful reductions will ensure a rounded finish that is both visually appealing and smooth to the touch.
All decrease techniques can be utilized, for example, knitting two together or slip, slip, knit. These techniques can be easily added at set intervals across rows. The decrease instructions will provide the hat with the final desired crown shape, which can be rounded or pointed.
Step 6: Seam the Hat
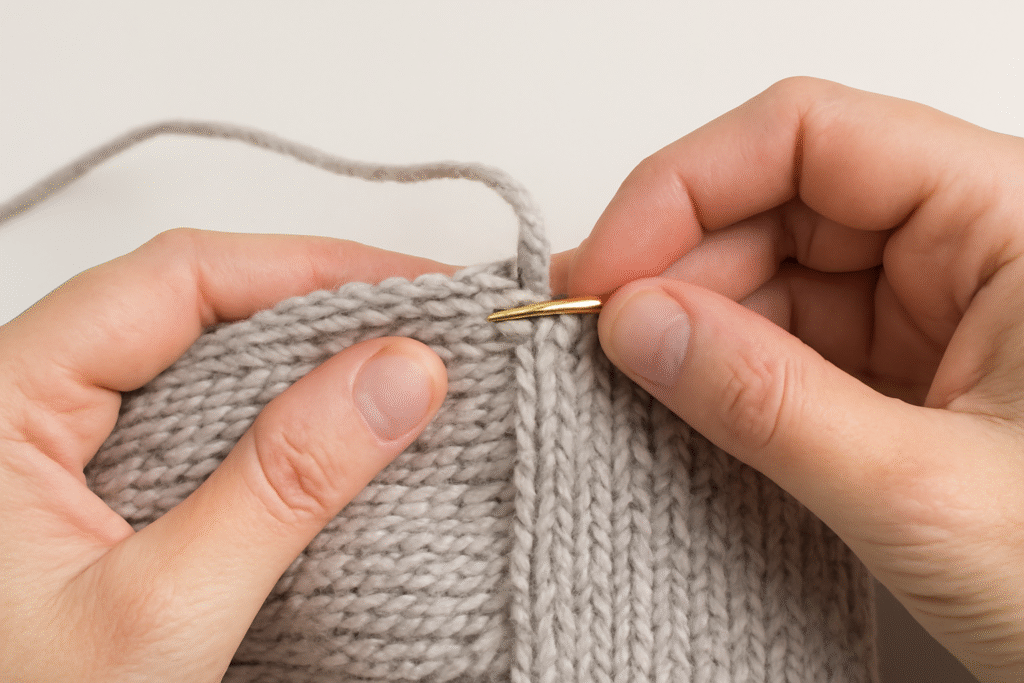
Once the required decreases have been made and the stitches have been bound off, the flat, knitted section is transformed into a hat. This part of the process involves sewing the two long edges of the knitted fabric together into a hat shape. The seam is the central part of the hat, which will determine the professional look of the final product.
Using a tapestry needle and a yarn tail, the edges are often sewn together with a mattress or whipstitch, which gives a nearly invisible seam. In this final step, the flat piece transforms into a hat that can be worn and enjoyed.
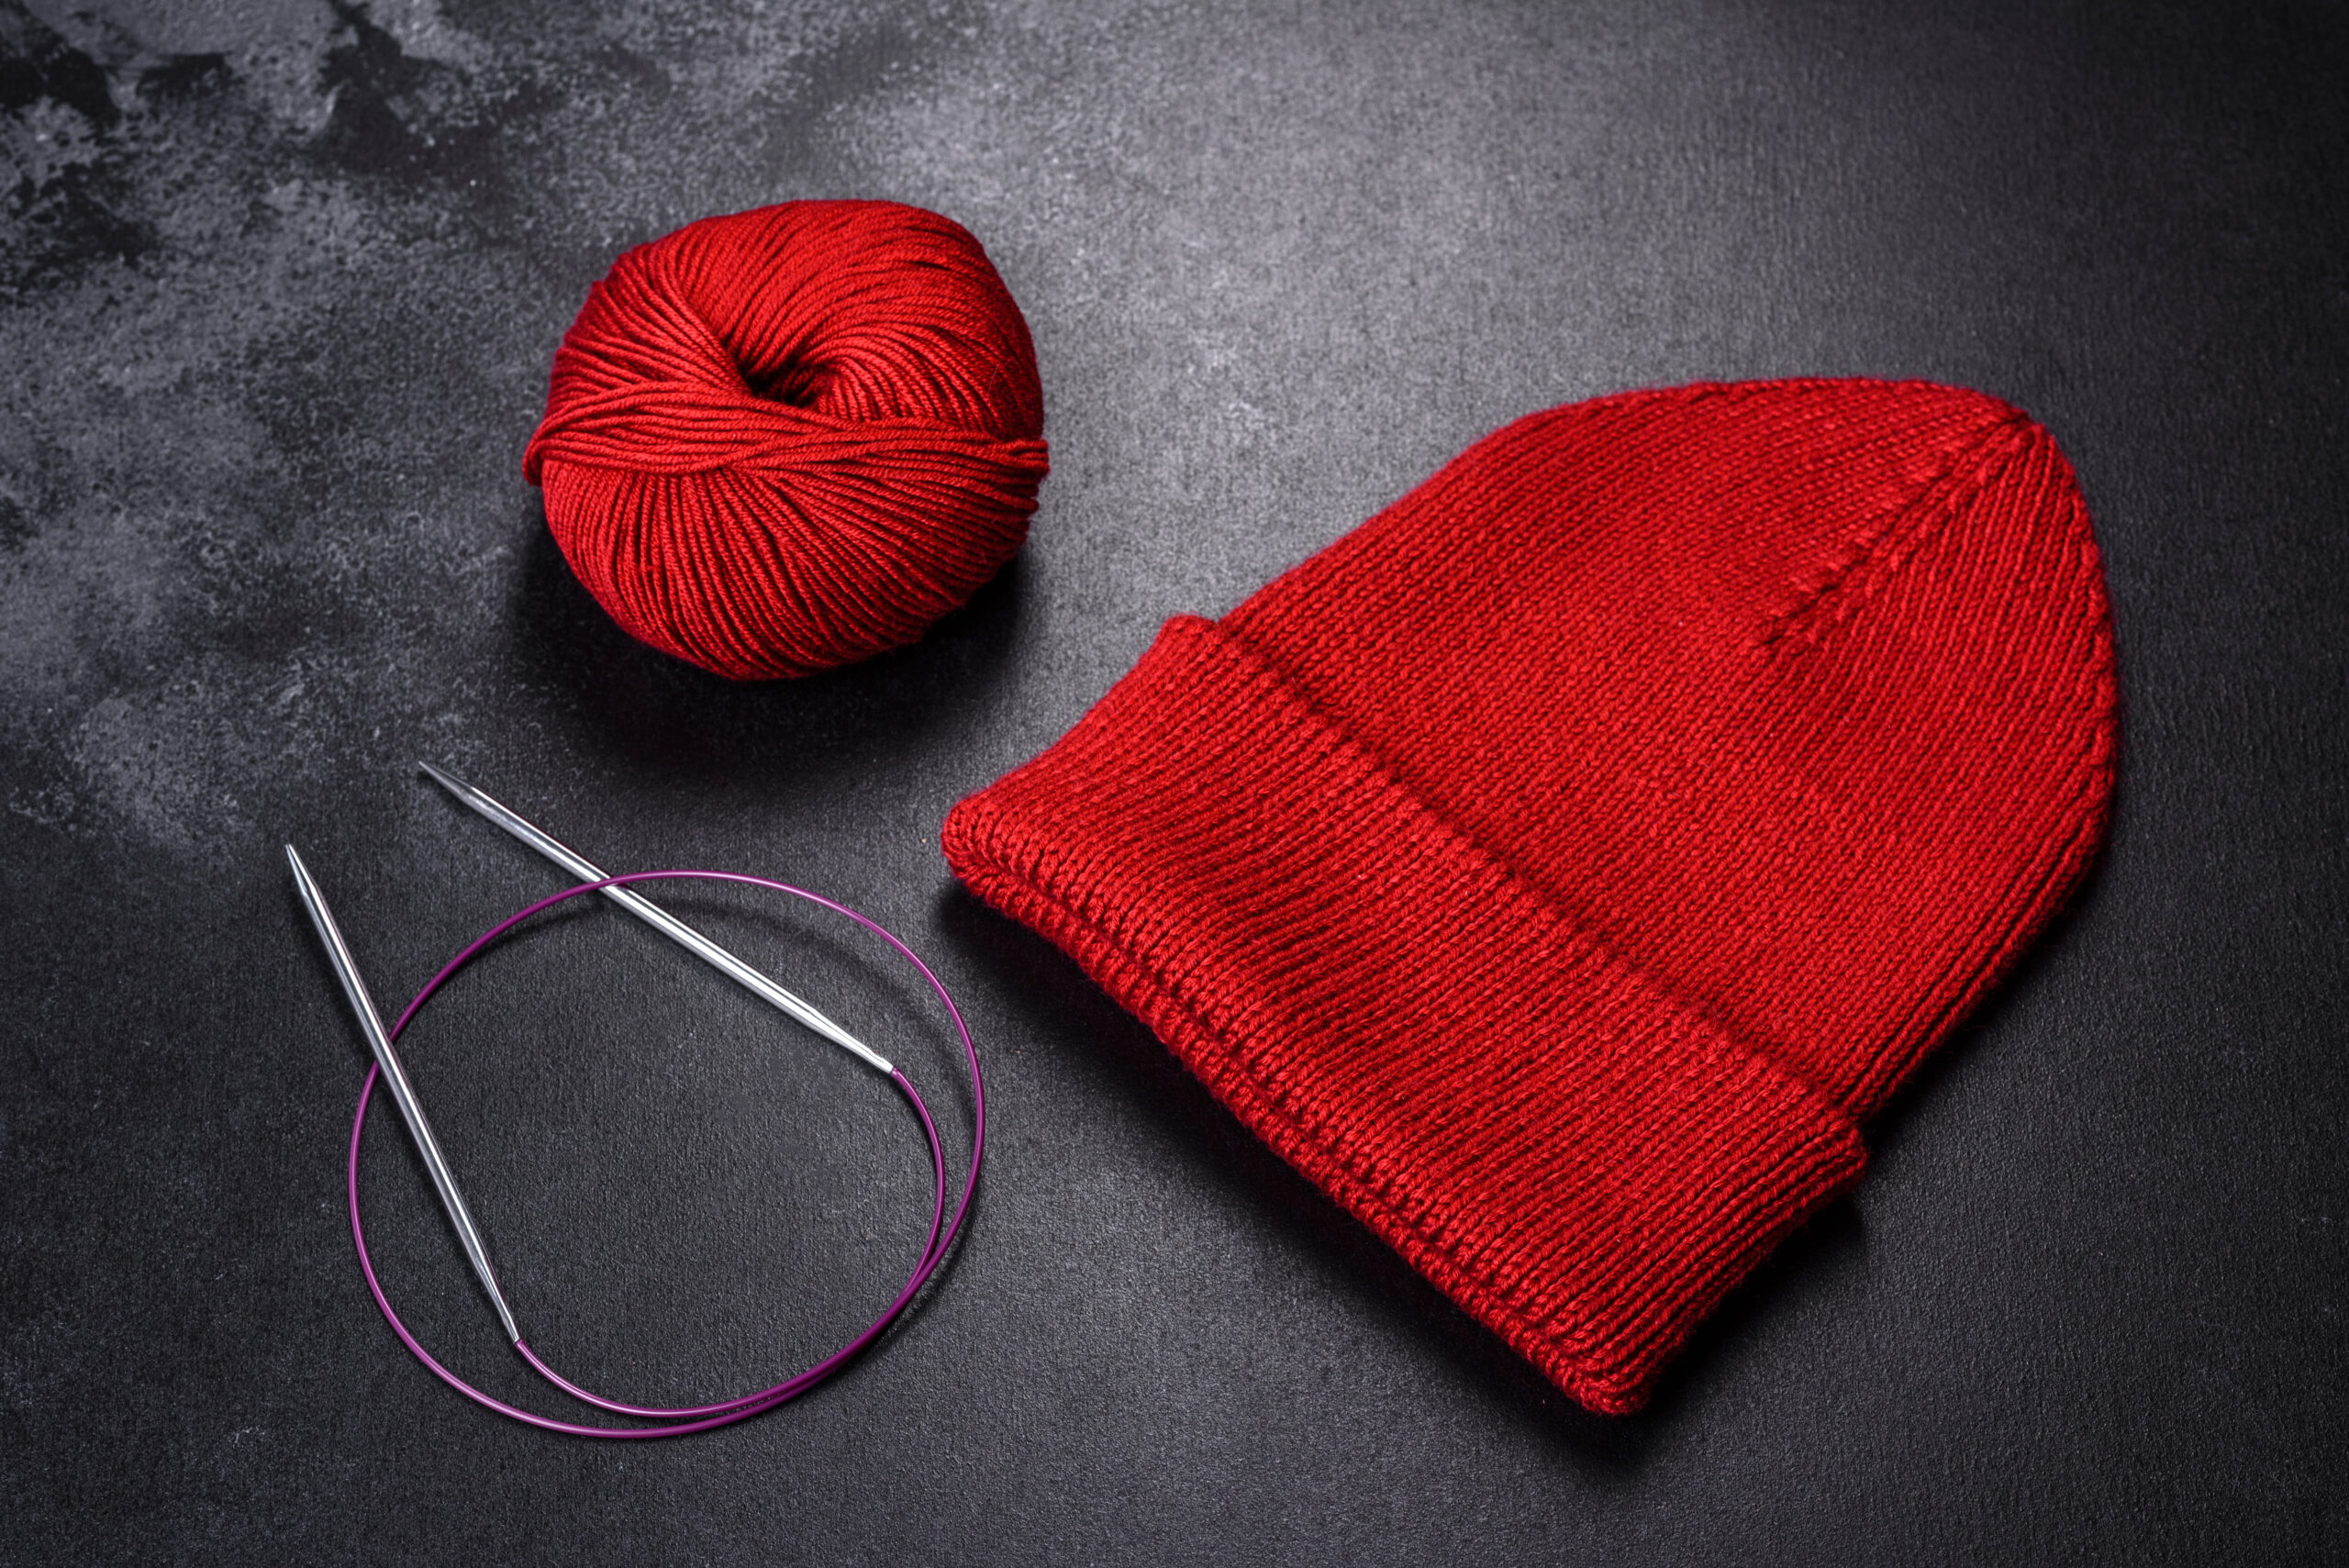
Step 7: Finishing Your Hat
Turn the hat right-side out and try it on to check the fit and appearance. Your handmade hat is now ready to wear or gift! For a personalized touch, consider adding a pom-pom to the crown, embroidering a small design, or attaching a decorative tag. These embellishments can enhance the hat’s style and make it uniquely yours.
Optional Embellishments:
Congratulations on completing your knitted hat! Enjoy the satisfaction of wearing or sharing your creation, crafted with care and creativity.
Also Read: How to Count Rows in Knitting?
Guidelines for Beginner Flat Knit Hats
For newbies to knitting, a great way to start is by knitting hats flat with straight needles. This form of knitting allows new knitters to build proficiency in basic skills, such as casting on and basic stitches, as there is no need to worry about working in rounds.
To help even more, the following tips and best practices will help build proficiency and confidence as you knit:
Mark The Right And Wrong Sides

In the process of row knitting, a piece of fabric will be created that has a right side (the front) and a wrong side (the back). While working on a piece, it is essential to know the right and wrong sides to ensure accuracy of the pattern, and this is very critical in ribbing and stockinette patterns.
A right side with row knits can be marked using a safety pin, yarn scraps, and stitch markers. To ensure the best results, it is advisable to keep the Right Side Mark.
Also Read: How to Read Knitting Patterns?
Create and Measure a Gauge Swatch
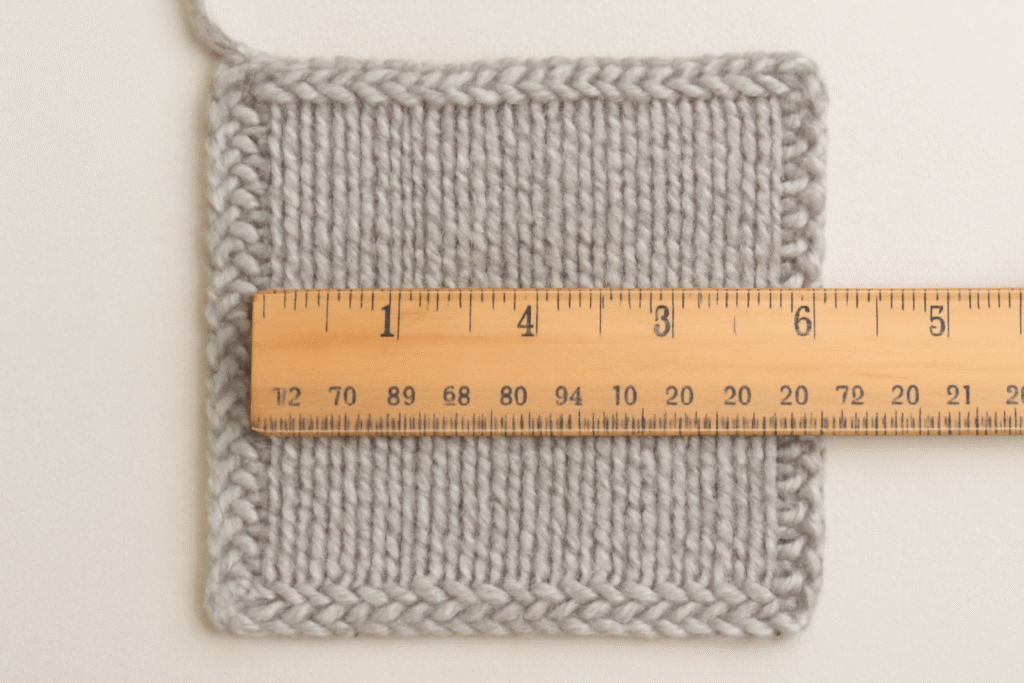
Gauge or “gauge swatch” refers to counting stitches and rows for a particular measurement, usually 4 inches. A swatch is meant to test if adjustments are needed for fit and is done with the same yarn and needles as the main project.
Try to help with the fit; if the gauge is too tight, a larger needle is suggested, and if the gauge is too loose, a tighter one is meant. Measure knitting gauge before starting the project to ensure that the swatch measurement matches the intended size. That is very important for fitted hats.
Follow a Simplified Pattern
Beginners can learn by either taking a stroll or referring to printed copies of the pattern. Having physical copies allows one to keep track of rows and reduces the risk of losing one’s place.
After completing a section, use a marker and highlighter to track your progress. Try to avoid reading ahead. Help for reading in clarity is sectioned, marked with row counters, and instructs the user not to skip through rows or misplace them.
Maintain Consistent Tension
Beginners often struggle with achieving an even stitch size. It occurs when consistent tension is not maintained on the yarn. Maintaining a consistent hold on the yarn throughout the entire project and taking regular hand relaxation breaks improves consistency.
In the Case of Seaming, Practice Separately
In the case of flat-knit hats, the edges must be joined, which means learning the mattress stitch beforehand and practising it on scrap fabric before working on the main piece, as this ensures good seams. Clean seams and good alignment not only enhance the aesthetics but also contribute to the comfort of the hat.
The hat is not the only thing that the strategies will help with. Confidence in knitting will also increase, making the finished product appear more professional and polished. As is the case with any other craft, patience and practice make perfect. Each hat is a milestone on the journey to perfecting the beautiful craft of knitting.
How to Add a Pom-Pom (Optional)
Adding a pom-pom to knit hats makes the whole project more fun. Using the tie method, you can easily create pom-poms with leftover yarn by using a fork, a cardboard circle, or a pom-pom maker. Wrap, tie, trim, and fluff to get your desired structure.
Complete the hat by using the leftover yarn to secure the pom-pom and placing it in a sturdy knot on the inside. For removable pom-poms, simply attach a button or snap for easy removal and replacement.
Also Read: How to Cast on Knitting with Two Needles?
Common Issues and Fixes
Even experienced knitters run into problems when making hats. Solving issues promptly with straightforward strategies helps keep your project on track and leads to a great finished product.
Dropped Stitches
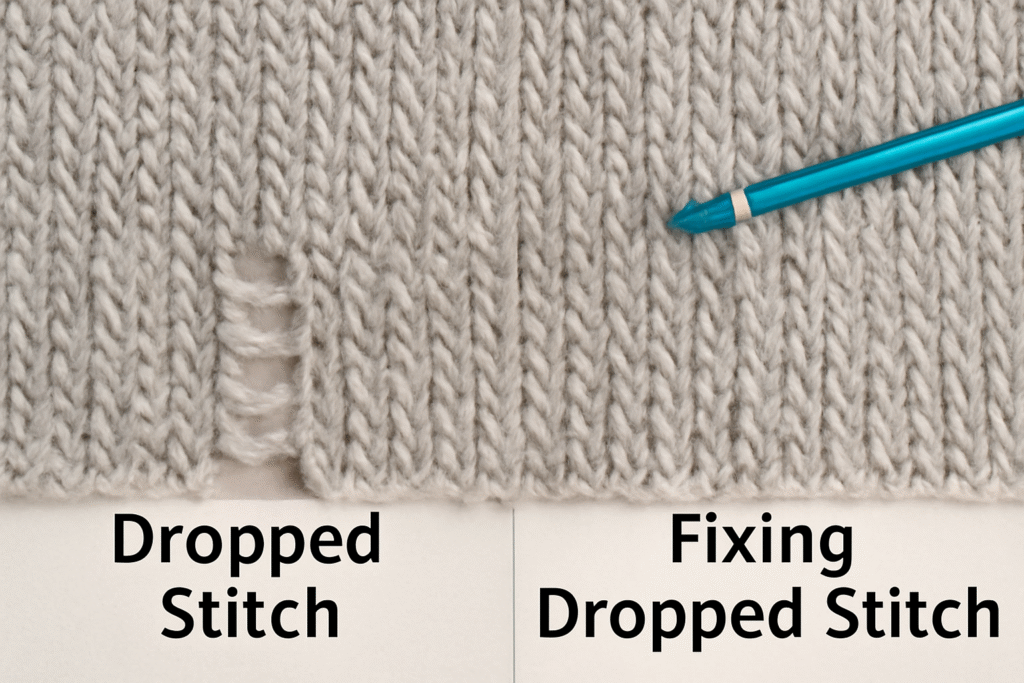
Dropped stitches are one of the most common problems in flat knitting, as stitches can become ‘dropped’ and can be left to become ‘gapped’, or rows can unravel.
To fix this issue, use a crochet hook to gently pull the ‘dropped stitch’ up to the loops above it so that it can be ‘pulled’ up through the loops, creating the stitch.
Then, reinforce the fix with a tight knit or purl over it on the next row so that the stitch can be secured and the fabric structure is not compromised.
Also Read: How to Fix a Dropped Stitch?
Uneven Tension
Fluctuation in hand tension or posture can create inconsistencies in stitch size, resulting in ‘laddering’ or even uneven tension on the yarn as a whole.
A more relaxed but ‘fitted’ hold on the yarn and the needles allows for even tension on the stitches. Practising on swatches enables improvement in hand memory and muscle control. That is particularly useful for beginners.
Curling Edges
With stockinette stitch, edges tend to curl due to the pullover brim, which has no elasticity, may be cast on too loosely, or worked with a needle that is too large.
To address this issue in future pieces, try using a smaller needle on the brim section or consider using a stretchy cast-on technique, such as the long-tail cast-on.
Loose Brim or Crown
A brim which has no spring may be cast on too loosely or worked with a too large needle. To fix this on other pieces, try using a smaller needle on the brim section or use a stretchy cast-on technique, like the long-tail cast-on.
If the crown is bulky or puckered, it might be because the decreases were too few, poorly spaced, or uneven. Stick to the decrease schedule and balance the placement of decreases.
Seaming Errors
The overall appearance is significantly affected by incorrectly placed joins or seams, which can be very noticeable.
Align the columns to be stitched before sewing and use mattress stitch for an invisible seam to correct these issues. However, ensure you practice on swatches before the final piece.
If knitters pay attention to these problems, they can develop their skills gradually. Fixing problems is not a failure; it is an essential part of the creative process that improves skills and yields better results in subsequent projects.
Frequently Asked Questions (FAQs)
Conclusion
Knitting a hat with straight needles is a rewarding way to create a warm, custom accessory for colder days. With eco-friendly yarn choices like organic cotton, bamboo, or ethically sourced wool, you can craft sustainably while enjoying the soothing rhythm of knitting. This project lets you hone your skills and produce a hat that’s uniquely yours.
Stick with simple patterns like ribbing for ease or experiment with bold textures as you gain confidence—your creativity is the only limit. Gather your materials, choose yarn that inspires you, and enjoy the satisfaction of wearing or gifting a handmade hat you’re proud of.
Also Read: How Long Does It Take to Knit a Scarf?