How to Knit a Tie: Easy Step-by-Step Guide
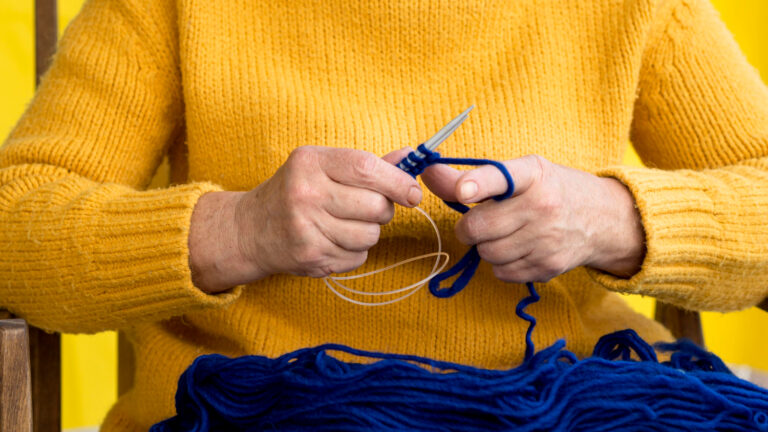
Learning how to knit a tie might seem like a hard project, but once you understand how it is shaped, it makes sense and is easier than you think. A knitted tie has a nice texture, an easy style, and a handmade feel you cannot get from store-bought ties.
Whether you want a classic men’s knit tie, a modern slim necktie, or a special handmade gift, this full knit tie pattern lets you choose the width, length, stitch style, and how the tie hangs.
This step-by-step knitted tie guide shows you how to knit a tie using easy stitches like seed stitch or moss stitch. You will learn how to shape the tie, which yarns work best, and how to finish your project so it looks neat and well-made.
Even if you are new to knitting, this guide makes everything clear and helps you feel confident from the first stitch to the last.
Also Read: How to Read Knitting Patterns? Beginners Guide
Why Knitting a Necktie Is Easier Than It Looks
At first glance, learning how to knit a tie may seem like an advanced technique reserved for experienced knitters. The tapered shape and polished finish can give that impression. In reality, knitting a necktie follows a predictable structure built on basic skills most beginners already know.
The construction is straightforward. Start with a narrow cast-on, gradually increase stitches, knit straight for the body, then gradually decrease to taper the end. That’s the entire framework.
Mastering how to knit a tie is not about complicated stitchwork. It is about consistency. Even tension, symmetrical shaping, and choosing the correct yarn weight make far more difference than advanced techniques.
If you think of knitting a necktie as shaping the fabric instead of just making it look pretty, the steps make sense and are easy to follow.
Also Read: Top 10 Best Knitting Books for Beginners 2026
How to Knit a Tie: Step-by-Step Overview
Before you start your knit tie pattern, it helps to know how the shape is made. A knitted tie is not made the same way as a scarf or blanket. Instead, you slowly shape it to get the pointed look.
A classic knitted tie starts thin at one end, widens in the middle, stays straight for a while, and then narrows again at the other end. This careful shaping is what makes the tie look neat and fitted.
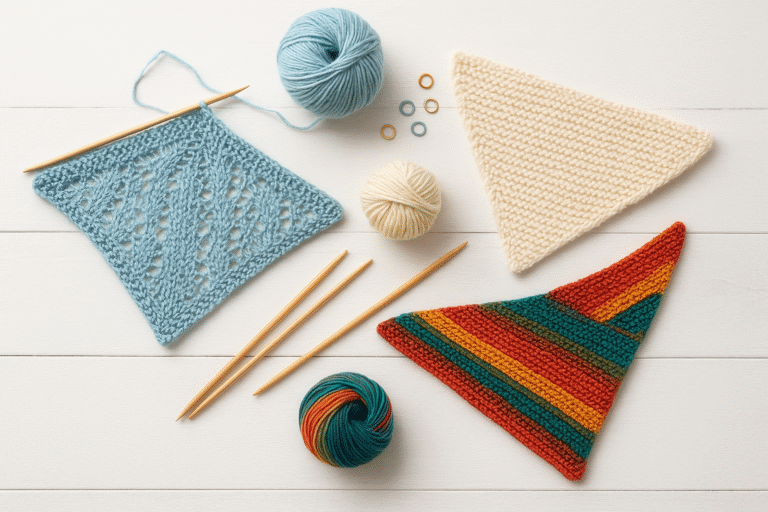
Most guides for knitting a tie suggest using bumpy stitches rather than smooth ones. These bumpy patterns stop the edges from curling and help the tie keep its shape. The most reliable options include seed stitch tie, moss stitch, and subtle rib patterns.
A seed stitch tie is very popular because it stays flat on its own and looks neat and stylish. For beginners using a knitted tie guide, the seed stitch is the easiest way to get a good-looking result.
The Basic Structure of a Knit Tie Pattern
Here are all the steps used in most men’s knit tie patterns. First, cast on a small number of stitches to form the narrow tip. Work a textured stitch pattern immediately, usually seed stitch. Increase stitches gradually at consistent intervals. Knit straight once the full width is reached.
Decrease stitches evenly to taper the opposite end. Finally, finish off your stitches neatly and shape the tie so it looks right. Once you know these steps, knitting a tie is just about repeating them, not guessing what to do next. The shaping is gradual.
The stitches are simple. The result looks sophisticated. That mix of easy steps and a fancy-looking result is what makes knitting a necktie such a great project for beginners.
Also Read: How to Cast on Knitting with Two Needles: A Complete Guide
Materials and Tools for Knitting a Tie
Picking the right materials is very important for how your finished tie looks, feels, and works. When you are learning how to knit a tie, the yarn and needles you use determine whether the tie keeps its shape or turns out too floppy, too thick, or too hard to tie. A well-made knitted tie should feel structured but flexible, smooth but textured.
Yarn Selection for a Knit Tie Pattern
A good yarn for a knit tie pattern should be lightweight but firm, smooth with minimal fuzz, able to show the pattern of the stitches clearly, and structured enough to maintain shape. The recommended yarn weights are sport weight and DK weight, as these yarn types make the fabric just right for a necktie.
For fiber types, fine wool is stretchy and bounces back into shape, wool-silk blends hang nicely, and cotton-linen blends feel fresh and let air through. You should avoid bulky yarn, very stretchy yarn, fuzzy fibers like mohair, and heavy worsted yarn.
Most ties require approximately 300–400 yards, depending on length and width. The thickness of the yarn is very important when learning to knit a tie, because the tie should tie easily and not be too thick.
Also Read: Best Yarn for Blanket Knitting| Expert Guide 2025
Needles for Knitting a Necktie
Use US 3–5 (3.25–3.75 mm) straight or circular needles. Using needles slightly smaller than normal makes the fabric tighter and firmer. Tight fabric is important for making a knitted tie look neat and professional. If your stitches appear loose, size down.
Also Read: The Best Interchangeable Knitting Needles
Additional Tools
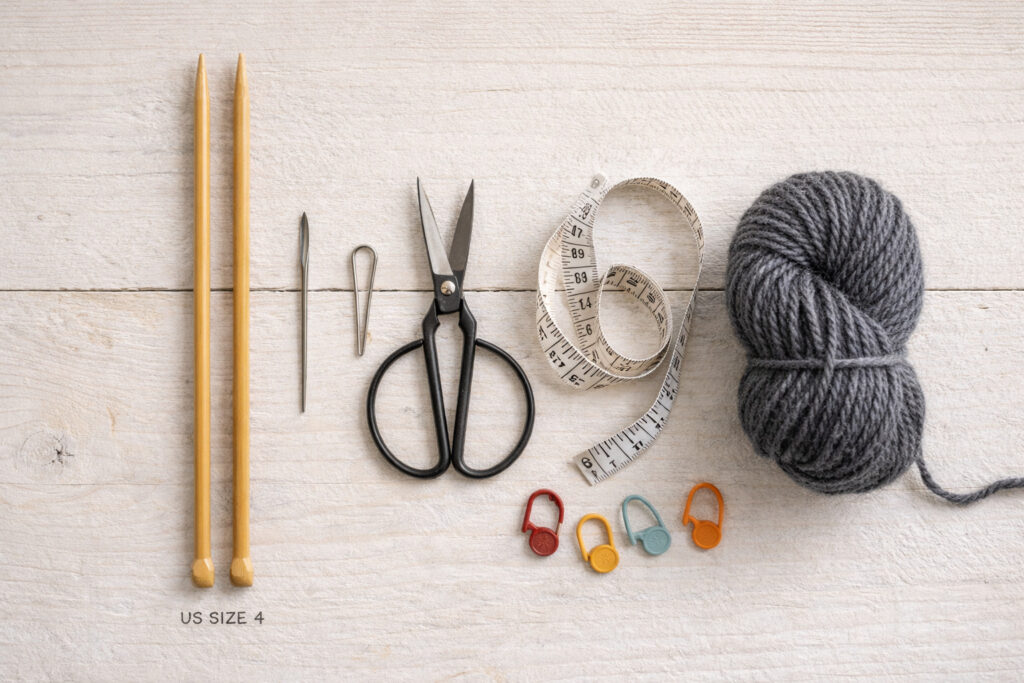
You will need a tapestry needle for weaving ends, scissors, a measuring tape, and stitch markers, which are optional but helpful for shaping sections. You do not need speciality tools to complete a knitted tie tutorial successfully. Precision and consistency matter more than equipment.
Casting On and Creating the Seed Stitch Base
Most guides on how to knit a tie begin at the narrow end. This portion eventually sits behind the wide blade, so it does not need much width, but it does require structure.
Casting On
Cast on 6 to 8 stitches, depending on how slim you want the tie. Start with the long-tail cast-on to get a neat, stretchy edge. Casting on fewer stitches gives you a neat, well-shaped, narrow tip, which is important for a good-looking knit tie.
Also Read: How to Do a Long Tail Cast On Knitting? Easy Guide
Seed Stitch Foundation
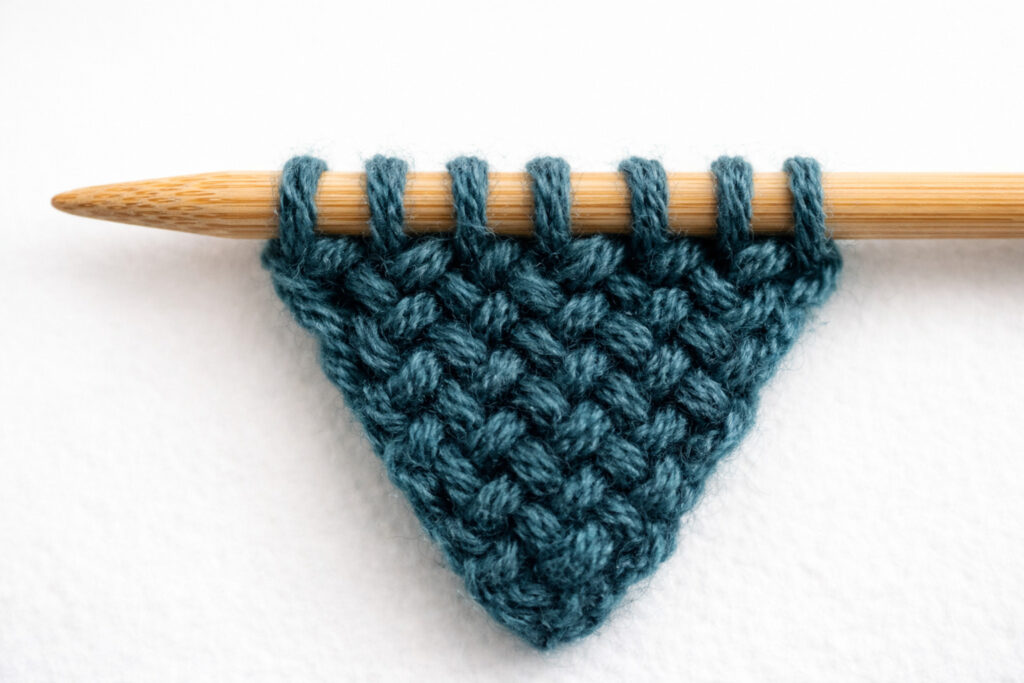
Seed stitch is one of the most reliable stitches for knitting a necktie because it prevents curling, lies flat naturally, creates a balanced texture, and looks polished on both sides.
To work the seed stitch, Row 1 is Knit 1, Purl 1 across, and Row 2 is Purl the knits, Knit the purls. Repeat these two rows. Work the narrow section for approximately 5–6 inches before beginning increases. Keeping your stitches even at this stage helps make the fabric firm, which is important for tying the tie well later.
Also Read: How to Knit a Moss Stitch: Best Expert Guide
Shaping the Tie with Gradual Increases
Shaping turns your flat knitting into a tapered accessory. This step defines the silhouette of a men’s knit tie pattern.
Increasing Stitches
Increase 1 stitch at each edge every 4–6 rows. Add stitches by knitting into the front and back of a stitch or by picking up a stitch from below. Maintain the seed stitch pattern as stitches are added. Consistency is critical. Uneven increases are the most common mistake beginners make when learning how to knit a tie.
Also Read: How to Add Stitches When Knitting: A Complete Guide
Reaching Full Width
For a traditional tie, aim for 40–50 stitches at full width. For a slim tie, 30–35 stitches is the standard. Once you reach your desired width, stop increasing and continue knitting straight.
Knitting the Wide End and Optional Color Changes
The wide blade is the part everyone will see, so being careful here is important. When learning how to knit a tie, this section decides how neat the finished tie will look.
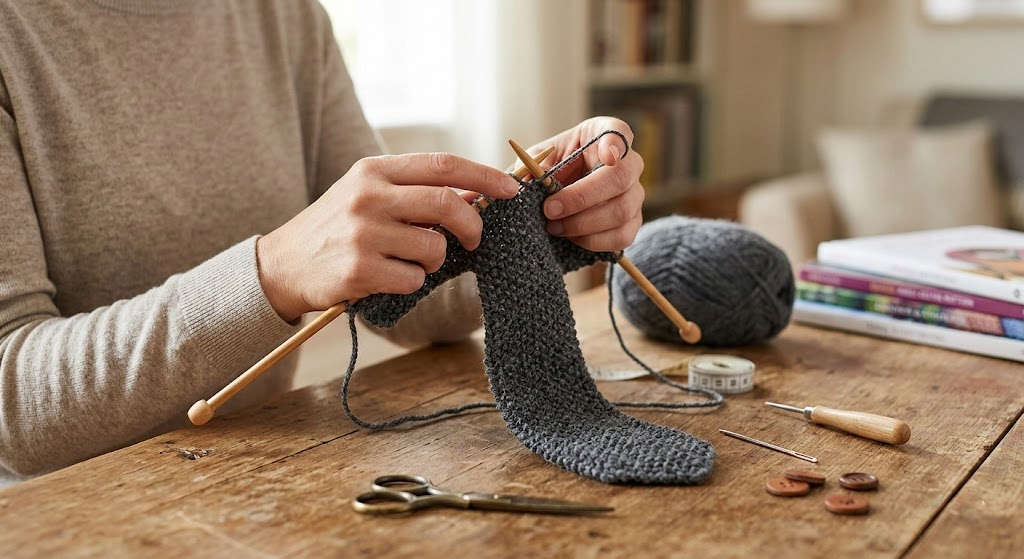
Knitting Straight
Once you have reached the full width, keep knitting in seed stitch without adding or removing any stitches. This section typically measures 10–12 inches, depending on your desired finished length. Keeping your stitches even during this part helps the blade stay flat and tie neatly.
Adding Color or Subtle Variation
If you want to personalize your knit tie pattern, this is the ideal section to do so. Options include subtle horizontal stripes, changing to a similar color, or small changes in texture. Always switch colors at the end of a row to keep the change looking neat. For a classic look, use colors that are not too different from each other. Very different colors can take away from the simple style of a knitted tie.
Also Read: How to Change Colors While Knitting? Beginners Tips
Tapering and Decreasing for the Tip
This step copies the shaping you did at the start, but backwards.
Decreasing Stitches
Decrease one stitch at each edge every 4–6 rows. Keep the seed stitch pattern lined up and keep your stitches at the edges even. Continue decreasing until you return to your original stitch count. Making both sides match is important if you want your tie to look well-made.
Also Read: How to Knit SSK Stitch: Easy Guide for Beginners
Final Length
A standard knitted necktie measures 55–58 inches. Adjust slightly based on personal height or style preference.
How to Knit a Keeper Loop (Optional but Recommended)
A keeper loop holds the narrow end in place, keeping your tie neat and finished.
Simple Keeper Loop Method
Pick up stitches from the back of the wide blade, knit a small strip approximately 1 inch long, then sew both ends securely to the back. This small detail enhances durability and elevates your mastery of how to knit a tie.
Also Read: How to Pick Up Knit Stitches In Knitting? Two Methods
Finishing, Blocking, and Weaving in Ends
How you finish your tie decides if it looks homemade or store-bought.
Weaving in Ends
Use a tapestry needle to hide the yarn as you follow the stitches. Do not tie knots or make thick joins.
Also Read: How Do You Weave in Ends in Knitting? Step-by-Step
Blocking the Tie
Blocking helps even out stitches, set the final shape, and improve drape. Gently steam or dampen the tie, then pin it flat without pulling it out of shape. Blocking the tie is the last step and helps it keep its shape for a long time.
Also Read: How to Block a Knitted Scarf: 5 Easy Steps
Common Mistakes When Learning How to Knit a Tie (And How to Fix Them)
Even experienced knitters encounter challenges when mastering how to knit a tie. The difference between a homemade look and a professional finish often comes down to small adjustments.
Edges Look Wavy
The cause is adding stitches unevenly or pulling the yarn tighter or looser in different places. The fix is to add stitches at the same spot in each row as you go and use markers to help remember where to shape the tie. Symmetry is essential in a polished knit tie pattern.
Tie Curls at the Edges
The cause is using stockinette stitch. The fix is to try using seed stitch or moss stitch to keep the tie flat. Texture provides both structure and durability when knitting a necktie.
Also Read: How to Fix a Knitting Hole: Easy 5 Techniques and Tips
Tie Feels Too Thick
The cause is that the yarn weight is too heavy. The fix is to use lighter yarn and smaller needles. It is important for the tie to be firm but not heavy when you are learning to knit the right way.
Knot Looks Bulky
The cause is fabric that is too stiff or too wide. The fix is to pick a stretchy wool-blend yarn and use fewer stitches to make the tie slimmer. Mastering these corrections builds confidence and improves long-term results.
Knit Tie Variations: Patterns, Yarn Choices, and Sizes
Once you know how to knit a tie, it is easy to make changes. Changing the width, feel, or type of yarn gives you many different looks using the same basic steps.
Popular Knit Tie Pattern Variations
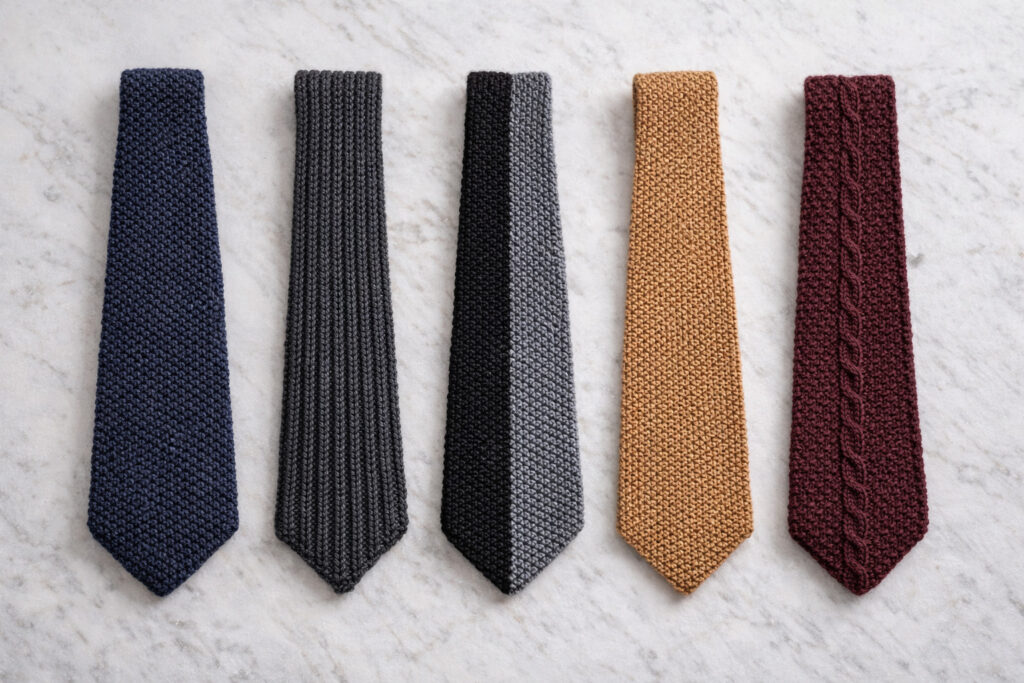
1. Classic Seed Stitch Tie
2. Ribbed Knit Tie
3. Double-Knit Reversible Tie
4. Slim Modern Tie
5. Textured Men’s Knit Tie Pattern
Trying different styles helps you learn more about knitting ties and keeps your projects interesting.
Also Read: How to Knit a Headband: Easy Beginner Guide
Yarn Comparison for Knitting a Necktie
| Yarn Type | Feel | Drape | Best For |
|---|---|---|---|
| 100% Wool | Elastic | Medium | Everyday ties |
| Wool-Silk Blend | Soft | High | Formal wear |
| Cotton Blend | Firm | Low | Summer ties |
| Merino | Smooth | Balanced | Professional finish |
Picking the right yarn makes a big difference in how your finished tie looks and feels.
How Long Does It Take to Knit a Tie?
Beginners can expect 10–15 hours, intermediate knitters around 6–8 hours, and advanced knitters 4–6 hours. The repetitive texture makes the process steady and meditative.
Size Adjustments for a Custom Fit
To adjust length, add or subtract rows in the straight body section. To adjust width, increase until you reach your preferred stitch count while maintaining symmetry in shaping. For a wider tie, aim for 55–60 stitches. For a slim tie, 35–45 stitches is the right range. Getting the size just right shows you really know how to knit a tie well.
FAQs: How to Knit a Tie
Conclusion: Mastering How to Knit a Tie with Confidence
Learning how to knit a tie brings together shape, form, and easy patterns into one neat project. Even though it might seem hard, making a tie follows clear steps:
What really makes a knitted tie look great instead of just okay comes down to:
No matter whether you pick a classic tie, a thin, modern style, or one with a different texture, the same basic steps apply. After you finish your first tie, changing the width, length, or pattern will feel natural.
Knitting a necktie is more than just making something to wear. It helps you learn control, careful work, and finishing skills that make you a better knitter overall.
With the right yarn, careful shaping, and patience, you can make a handmade knit tie that looks neat, well-made, and truly one of a kind.
Also Read: How to Knit Flat on Circular Needles: Easy 4-Step Guide