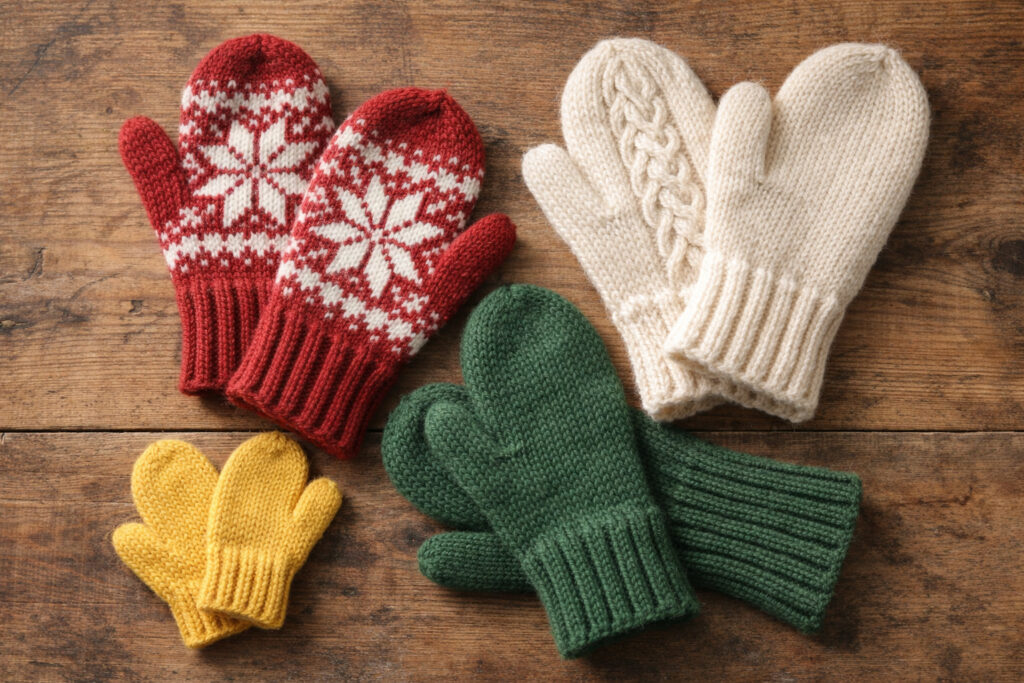
How to Knit Mittens: The Easy Complete Guide
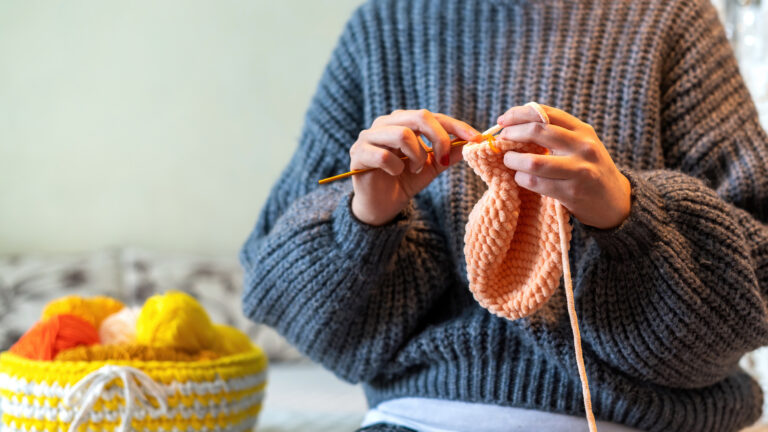
If you want to learn how to knit mittens, you’ll find the process simpler and more rewarding than it may appear. Wearing handmade mittens offers a unique sense of comfort and accomplishment. Once you understand the basic structure, knitting mittens becomes logical, repeatable, and relaxing.
Mittens are one of the best projects for learning important knitting skills. They are small enough to finish quickly, useful for everyday wear, and designed to help you learn shaping without making things too hard for beginners. Unlike flat projects, mittens teach you how to knit in a circle, add and remove stitches, and make thumbs, all in a pattern that is easy to handle.
By the end of this guide, you will not only know how to follow a mitten pattern but also how to adjust it for size and improve its design. This is when knitting becomes a true skill rather than simply following instructions.
Let’s build your confidence stitch by stitch.
Also Read: How to Read Knitting Patterns? Beginners Guide
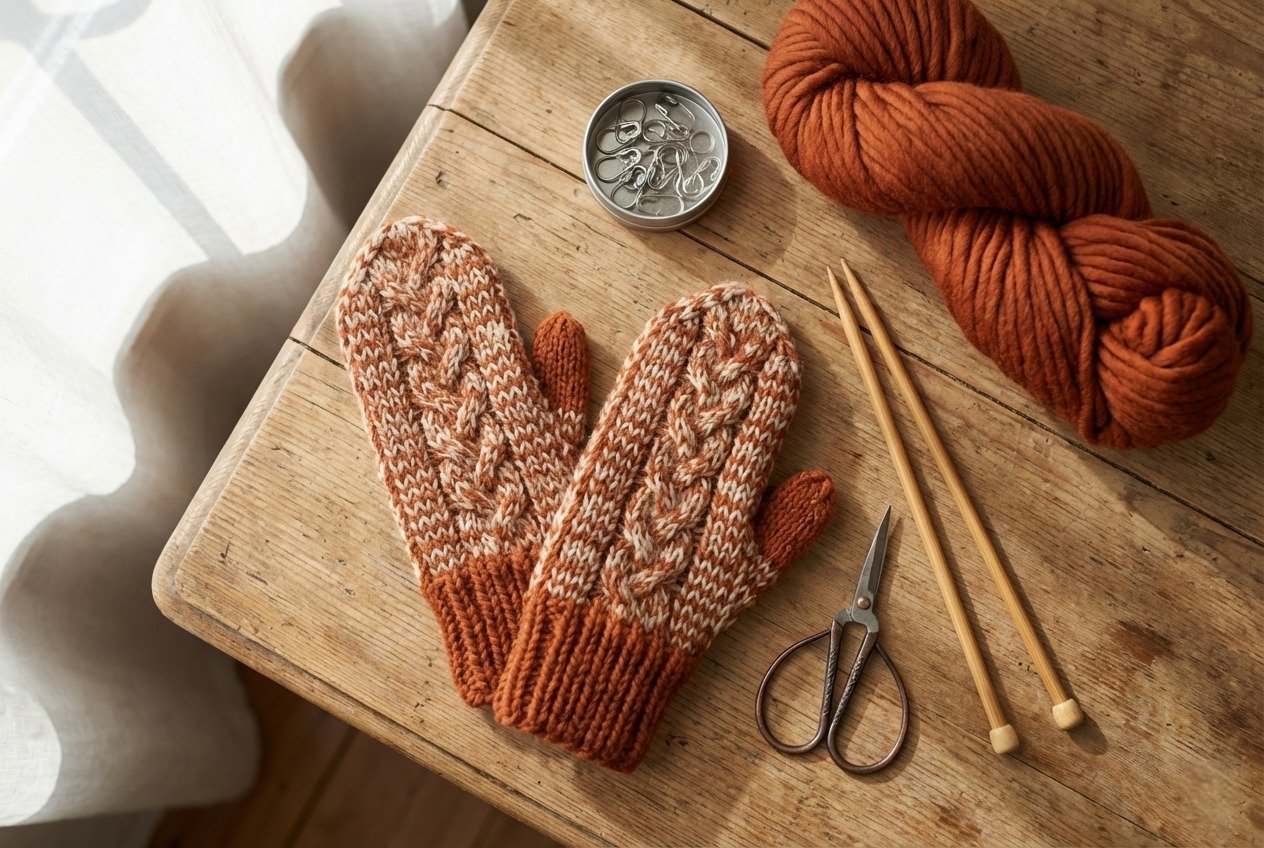
Materials and Tools for Knitting Mittens
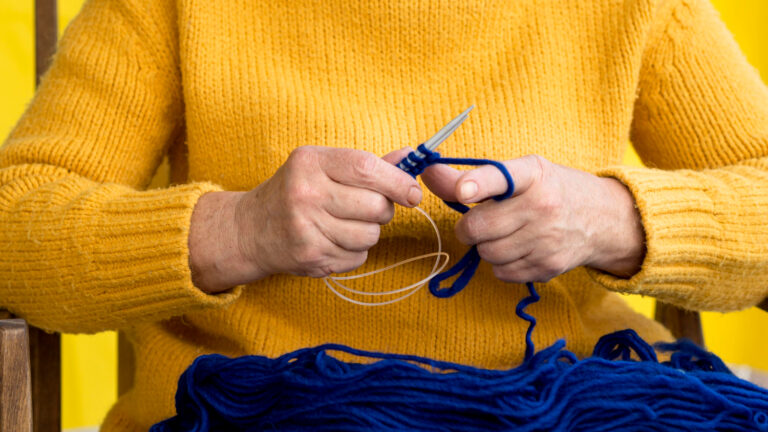
Before you start learning how to knit mittens, having the right materials makes everything easier. Many tutorials skip this step, but the yarn and needles you choose affect how your stitches look, how the mittens fit and feel, and even how easy it is to follow a mitten pattern.
If you’re focused on knitting mittens for beginners, this section is especially important. The wrong tools can make an easy project feel frustrating. The right setup makes even your first pair feel manageable.
What You Need to Knit Mittens
Here’s a clear checklist before starting your easy knit mittens pattern:
These tools help at every step of knitting mittens, from making the cuff to shaping the thumb and finishing.
Also Read: The Best Interchangeable Knitting Needles
Yarn Guide for a Successful Knit Mittens Pattern
Choosing yarn is not just about color. It affects how warm your mittens are, how much they stretch, how long they last, and how easy they are to make.
Best Yarn for Warm Mittens
Wool remains the top recommendation in almost every free knit mittens pattern beginners’ guide because it stretches, holds shape, and forgives tension mistakes.
Softer Options for Sensitive Skin
If you are new to knitting mittens, avoid very slippery yarns. They can unravel easily, which makes it harder to keep your stitches tight.
Yarn to Avoid for Mittens
Mittens need warmth and stretch. That’s why most experienced knitters stick with wool-based yarns when following a knit mittens pattern.
Yardage
For adult mittens, you will need 150–220 yards of worsted-weight yarn. Always check how many stitches you make in an inch. Thicker or thinner yarn will change how big your mittens turn out.
Also Read: Best Yarn for Blanket Knitting| Expert Guide 2025
Needle Options: What Actually Works Best
Because mittens are made in a circle, you need a way to knit small, round pieces.
| Tool | Type | Pros | Watch Out For |
|---|---|---|---|
| Yarn | Worsted wool or wool blend | Warm, elastic, clear stitches | Slippery acrylic may split |
| Needles | DPNs (5 needles) | Traditional, easy-to-visualize shaping | Can feel awkward at first |
| Needles | Magic loop (32″ circular) | Fewer dropped needle worries | Requires tension control |
| Markers | Locking + ring marker | Tracks gusset increases | Easy to misplace |
| Thumb Hold | Scrap yarn | Flexible and inexpensive | Too thin can cut stitches |
This comparison makes choosing tools easier when starting how to knit mittens for the first time.
DPNs vs Magic Loop
If you browse any free knit mittens pattern beginner’s tutorial, you’ll notice two common methods:
Double-Pointed Needles (DPNs) are the classic method, easy to see the mitten shape forming, and ideal for beginners who like structure. Many knitters find DPNs easy to use when first learning how to knit mittens with a thumb section because the parts are clearly separated.
Magic Loop uses a long circular needle with fewer needles to manage and is highly portable. Magic loop works well once you are good at keeping your stitches even. If you already use this method in other knitting projects, keep using it.
There is no correct method. The best needle choice is the one that feels stable in your hands as you follow your easy knit mittens pattern.
Also Read: How to Measure Circular Knitting Needles? Beginners Guide
Why Setup Matters When Learning How to Knit Mittens
A good mitten pattern expects you to use the right yarn and needles. If your yarn doesn’t stretch or your needles are hard to use, even simple steps can feel difficult.
Good tools allow you to focus on even tension, clean thumb gusset shaping, smooth decreases, and accurate sizing. That’s especially important in knitting mittens for beginners, where confidence builds quickly when stitches behave predictably.
How to Knit Mittens: Step-by-Step Guide with Thumb Gusset
If you really want to learn how to knit mittens, you need more than just a list of steps. You need to know how they fit together. Every good mitten pattern has a ribbed cuff for grip, a smooth hand section for comfort, a thumb area for movement, and shaping at the top.
Once you see that framework, mitten knitting stops feeling complicated.
This guide shows you how to knit mittens with a thumb area using circular knitting without seams. It is simple enough for beginners but has enough detail to make your mittens look neat and well-made.
Construction Overview (Understand Before You Start)
Before you start, understand the parts:
- Stretchy cuff
- Straight hand section
- Thumb area gets wider
- Thumb stitches set aside
- Hand continued to the fingertip
- The top of the mitten gets smaller and more rounded
- Thumb completed
Every good, simple mitten pattern follows these steps. When you know this order, you can change the size or style without worry.
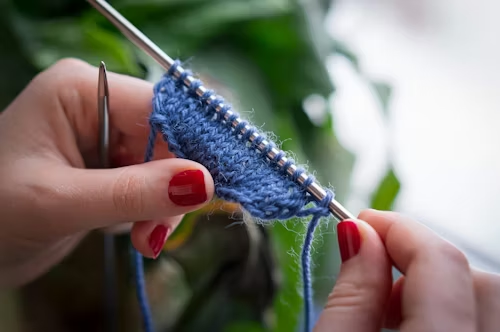
Step 1: Cast On and Work the Ribbed Cuff
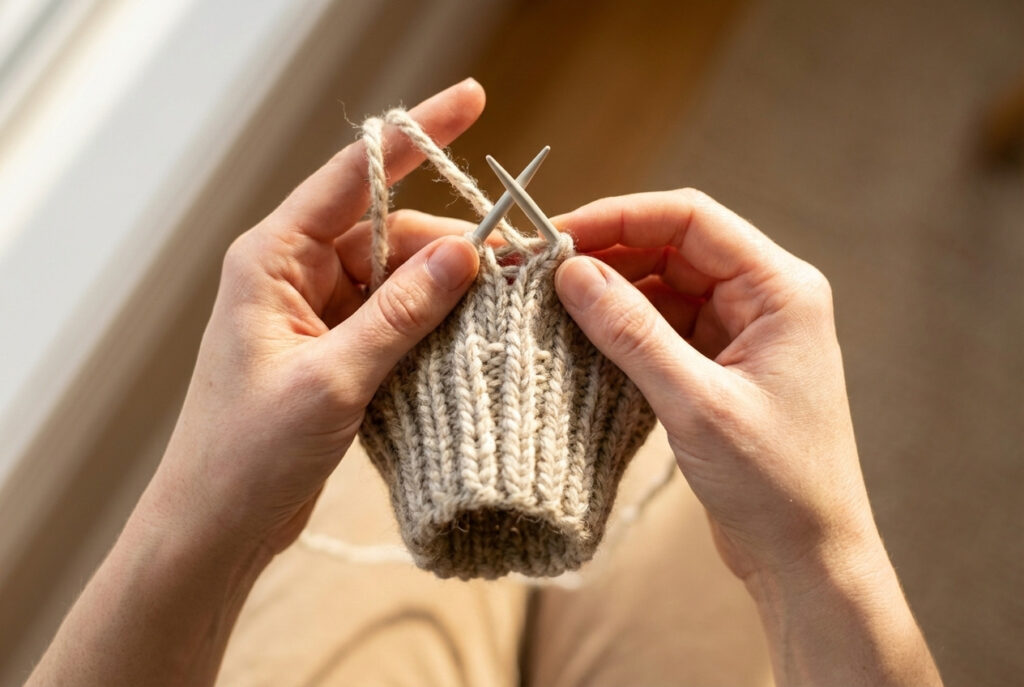
Cast On: 32 stitches (Adult Small–Medium)
Use the long-tail method to start, so the cuff will stretch. Split the stitches evenly onto double-pointed needles, or set them up for the magic loop method. Join the stitches carefully so they are not twisted. Put a marker at the start of the round.
Rib Options:
Work ribbing for:
Why Ribbing Matters
In any knit mittens pattern, ribbing anchors the mitten at the wrist, prevents cold air entry, makes up for small sizing mistakes, and improves durability. When you are learning to knit mittens, neat ribbing helps you feel more confident early on.
Also Read: How to Cast on Knitting with Two Needles: A Complete Guide
Step 2: Knit the Hand Setup
Switch to knitting every round to make a smooth surface. Work 4–6 rounds plain.
At this stage, place a marker dividing the palm from the back of the hand, check that your stitches look even and the size is right, and make sure you are knitting at the same tension throughout.
Continue knitting until the mitten measures about 3–3.5 inches from the cast-on edge, or slightly above the wrist bone. This is where you start shaping the mitten.
Also Read: How to Join in Round in Knitting: Comprehensive Guide
Step 3: How to Knit Mittens with Thumb Gusset (The Key Skill)
The thumb area is what makes a mitten fit well, rather than just a simple tube. Without it, the mitten will feel tight across your palm. Understanding this part is key to learning to knit mittens with a thumb.
Thumb Area Setup
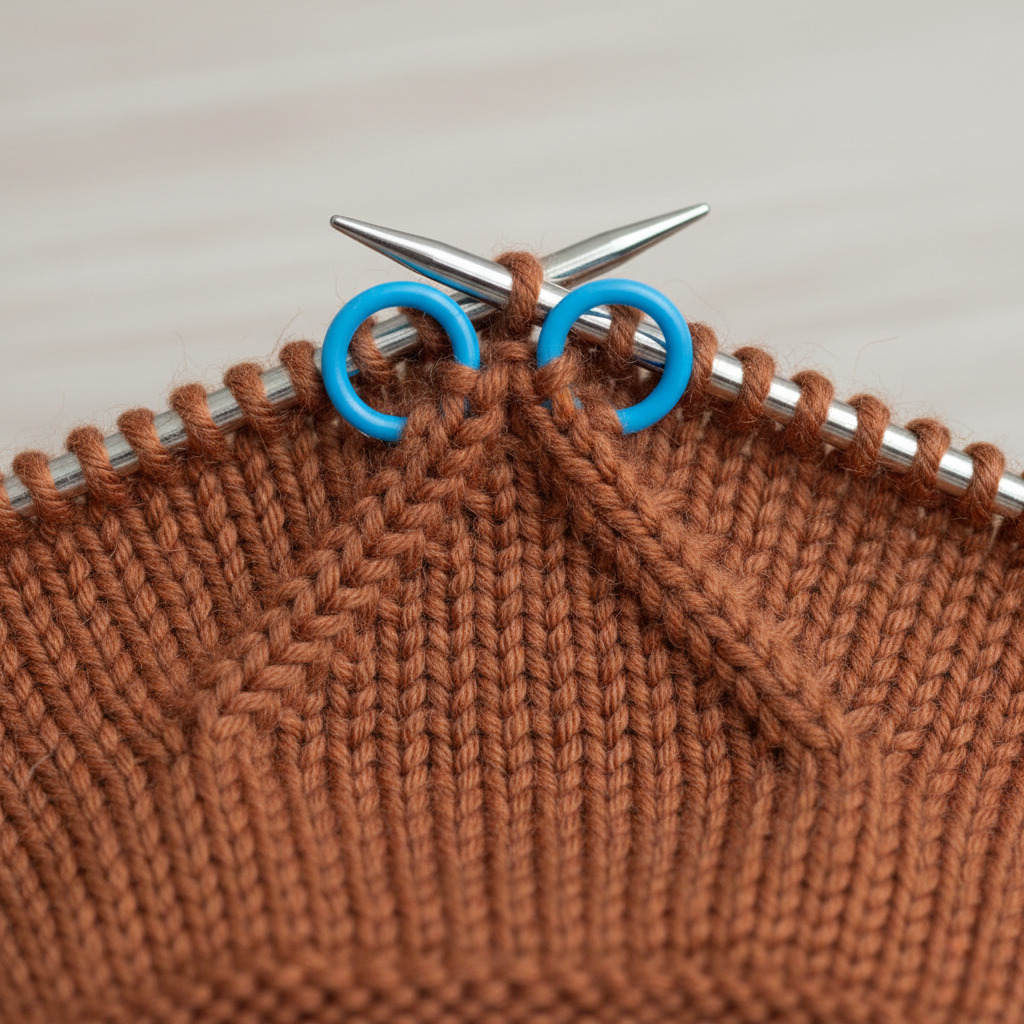
(You now have 34 stitches total.)
Thumb Area Increase Pattern
Increase Round:
Plain Round: Knit all stitches
Repeat the increase round every other round. Continue until 12–14 stitches are between the markers and the thumb area measures about 2 inches deep. This wedge shape makes the mitten comfortable and helps it fit your hand well.
Technical Note
M1L and M1R lean in opposite directions, which makes the shaping look neat. This stops the fabric from bunching up and gives you smooth edges for the thumb area — something many simple guides do not explain. Understanding this helps you knit mittens better than a beginner.
Also Read: How to Increase a Stitch While Knitting: Quick Easy Steps
Step 4: Hold Thumb Stitches
When the gusset width matches the thumb base:
Your mitten returns to circular form. At this point, you have finished the hardest part of knitting mittens with a thumb area.
Also Read: How to Pick Up Knit Stitches In Knitting? Two Methods
Step 5: Knit Hand to Length
Continue knitting until the mitten reaches the base of your fingernails, or slightly shorter for a snug fit. It is very important to try the mitten on as you go, especially for beginners. The number of rows you need will change depending on how tightly you knit. Fit matters more than numbers.
Step 6: Mitten Top Decreases (Smooth Shaping)
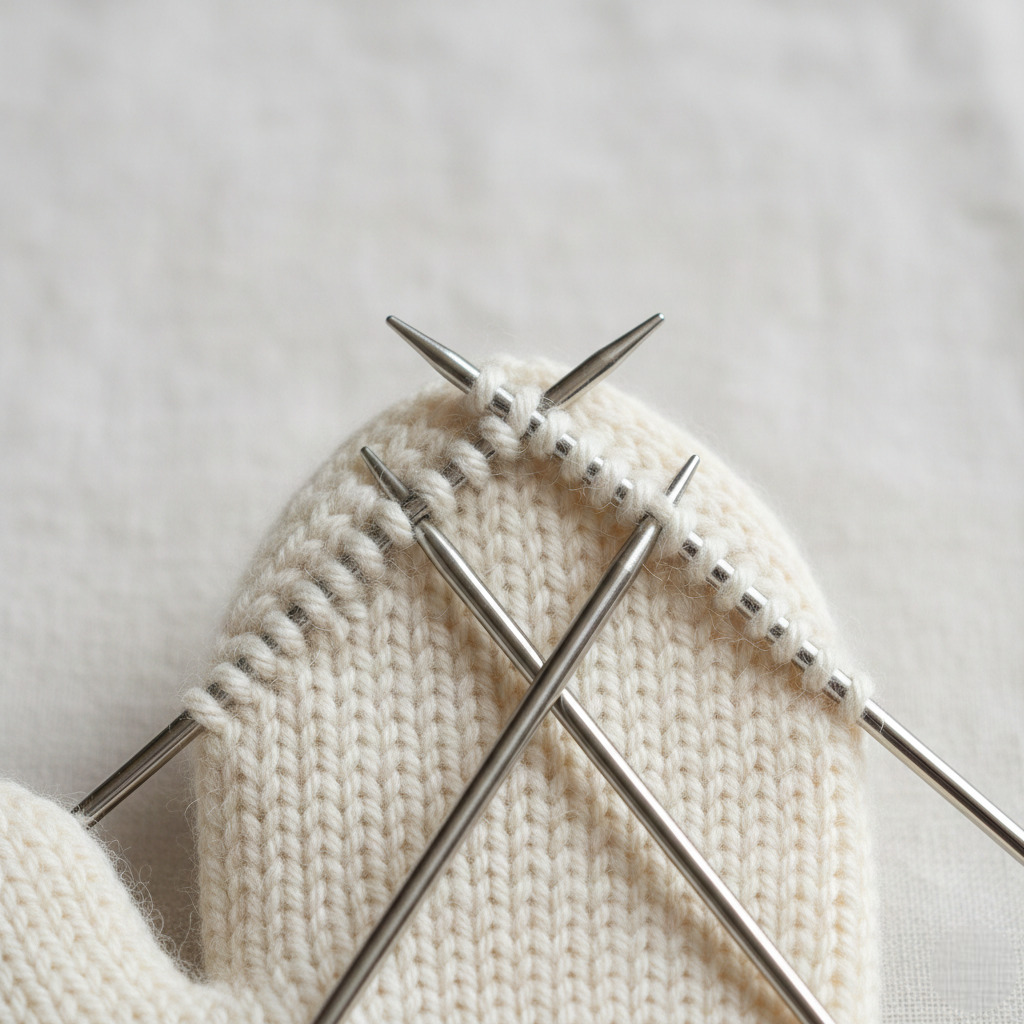
Making the top of the mitten rounded gives it a smooth shape. Divide stitches evenly across needles.
Decrease Sequence:
When 8 stitches remain, cut the yarn, thread it through the stitches, and pull tight. Making the decreases evenly gives your mitten a neat finish.
Also Read: How to Knit SSK Stitch: Easy Guide for Beginners
Step 7: Knit the Thumb
Return held stitches to needles. Pick up 2–4 stitches across the gap and 1 extra at each corner if needed. Join yarn and knit in the round until the thumb covers the nail.
Decrease: K2tog around, then pull yarn through remaining stitches and tighten. A thumb that fits well is the last step to making a good mitten.
Preventing Thumb Holes (Common Beginner Fix)
When learning how to knit mittens with a thumb gusset, small holes often appear at the corners. To fix this, pick up extra stitches, decrease on the next round, and weave the tail in snugly. This small step makes your mittens look much neater.
Also Read: How to Fix a Dropped Stitch: A Complete Guide for Knitters
Finishing and Blocking Mittens
When learning how to knit mittens, many beginners skip blocking — but this final step is what makes a homemade pair look polished rather than handmade.
For most wool or wool-blend mittens, you do not need to block them very firmly. A gentle soak is enough to loosen the stitches and smooth out the shape.
How to Block Knit Mittens Correctly
- Fill a bowl with lukewarm water
- Add wool wash (optional)
- Soak mittens for 15–20 minutes
- Gently squeeze out water (never wring)
- Roll in a towel to remove excess moisture
- Reshape carefully by hand
- Lay flat to dry
Also Read: How to Block a Knitted Blanket: Easy 3 Methods
Why Blocking Matters
Blocking improves the evenness of the stockinette fabric, the area around the thumb, the appearance of the mitten top, and the overall fit. If you followed a structured knit mittens pattern, blocking helps that shaping fully settle into place.
For acrylic yarn, using steam (hold the steam above, do not press down) works better than soaking.
Sizing Adjustments
To resize this knit mittens pattern, add or subtract stitches in multiples of 4, change needle size for tighter or looser stitches, increase gusset rounds for larger thumbs, and extend the hand length before it decreases. Knowing these ideas helps you get better at knitting mittens.
Why This Method Outperforms Flat Mittens
Knitting in the round without seams eliminates side seams, creates ergonomic shaping, improves durability, and allows easier resizing. That’s why most advanced knitting patterns favor in-the-round construction.
Also Read: How to Knit a Hat with Straight Needles? Beginner’s Guide
Common Mistakes and Smart Fixes
Most “how to knit mittens” tutorials tell you to be careful. That’s not helpful. Real authority means giving real solutions. Here are the most common mitten problems — and exactly how to fix them.
1. Twisted Join After Cast-On
Problem: Your cuff spirals strangely and won’t lie flat.
Why It Happens: Stitches were twisted before joining in the round.
Fix: Lay stitches flat along needles before joining, or knit one row flat first, then join in the round for safety. If already twisted and only a few rounds in — restart early. Prevention saves time.
2. Thumb Gusset Looks Crooked
Problem: Gusset increases drift sideways.
Why It Happens: Markers shifted or increases weren’t symmetrical.
Fix: Keep one fixed center marker, increase on both sides of the marker, and double-check placement every increase round. A clean gusset is the backbone of a good knit mittens pattern.
3. Mittens Too Tight Across Knuckles
Problem: Fabric stretches uncomfortably over the hand.
Why It Happens: Not enough looseness or using needles that are too small.
Fix: Add 2–4 stitches before beginning the gusset, switch to needles 0.5–1 size larger, or check your stitch size again before starting the second mitten. Mittens should be a little snug, but not too tight.
4. Thumb Is Too Short
Problem: Thumb feels tight when bending.
Why It Happens: Decreases started too early.
Fix: Always try on before shaping the thumb tip. Thumb length matters more than most people think in knitting mittens for beginners.
5. Holes at the Thumb Join
Problem: Gaps appear where thumb stitches reconnect.
Why It Happens: No extra stitches picked up at corners.
Fix: Pick up 1–2 extra stitches at each gap, decrease them on the next round, and close the remaining space while weaving in the tail. This simple step dramatically improves the look of your knit mittens pattern.
6. One Mitten Larger Than the Other
Problem: The second mitten fits differently.
Why It Happens: Tension changed between pairs.
Fix: Write down stitch counts, track round numbers, use a row counter, or knit both mittens simultaneously (advanced option). Consistency separates hobby knitting from skillful knitting.
Also Read: How to Finish a Knitting Project: A Complete Guide
Variations That Transform a Basic Knit Mittens Pattern
Once you understand how to knit mittens structurally, you can reuse the same framework for dozens of designs. The construction stays the same — decoration changes.
1. Colorwork Mittens
Add stranded colorwork only to the back of the hand. This keeps the palm flexible, reduces bulk, and makes knitting patterns more wearable. Begin with simple two-color motifs before attempting complex Fair Isle.
Also Read: What Is a Cable Knit Sweater? Complete Guide: Best Tips
2. Cabled Mittens
Insert a narrow cable panel centered on the back. Keep the palm plain for comfort and proper fit, as dense cables across the palm reduce flexibility.
3. Convertible Cuff Lengths
Adjust cuff style for different needs: a short cuff for fashion wear, standard cuff for everyday use, long cuff for tucking into coats, or a folded cuff for extra insulation. Cuff customization is one of the easiest upgrades in knitting mittens for beginners.
4. Kids and Gift Sizes
Do not guess by age. Instead, measure hand circumference, multiply by how many stitches you have per inch, and subtract 5–10% so the mitten will fit snugly. This method makes your free knit mittens pattern beginner-friendly and accurate.
5. Extra Warmth Techniques
For colder climates, choose thick fluffy wool, knit with smaller stitches, add a folded cuff, use wool that can be felted and gently shrink it, or knit a separate lining mitten. Understanding fabric density improves your results far more than changing yarn brands.
Knitting Mittens for Beginners: Confidence Strategies
If you’re new to knitting for beginners, keep these in mind:
Mittens are forgiving — that’s why they’re one of the best projects when learning how to knit mittens for the first time.
Free Knit Mittens Pattern Beginners Can Reuse
Here’s a universal structure you can adapt across yarn weights:
- Cast on 32–40 stitches
- Rib 2 inches
- Knit 2–3 inches
- Increase for thumb gusset
- Place thumb stitches on hold
- Knit to pinky tip
- Decrease evenly to close
- Knit thumb and decrease
This simple knit mittens pattern works across wool, wool blends, and acrylic in DK or worsted weight. Change the number of stitches to match your stitch size, not by guessing the mitten size.
Also Read: How to Knit a Headband: Easy Beginner Guide
Advanced Fit Adjustments (For Better Than Store-Bought Results)
Once you’re comfortable with how to knit mittens, you can refine fit beyond beginner level.
Anatomical Thumb Placement: Move the thumb section a little closer to the palm side for a more comfortable thumb position.
Afterthought Thumb: Knit a tube first, put in a piece of scrap yarn, and then make the thumb afterward.
Extended Gusset Depth: Improves comfort for wider thumbs.
Lined Mittens: Knit two lightweight mittens and place one inside the other.
Expert knitters treat every knit mittens pattern as a template — not a fixed formula.
Also Read: How to Knit a Gauge Swatch: Quick Guide
FAQs: How to Knit Mittens
Conclusion
Learning how to knit mittens is a milestone in knitting. You move beyond flat fabric, understand shaping, and control fit. The cuff secures the mitten. The gusset creates movement. The decreases form a clean, rounded top.
Once you understand this structure, you are no longer just following a pattern — you are building with intention. Mittens may be small projects, but they teach lasting skills. Master the method, refine your technique, and knit with confidence and precision.