How to Purl Stitch Knit? Quick Guide
If you’re learning how to purl stitch knit, you’re unlocking one of the essential techniques in knitting. The purl stitch creates rich textures and allows for versatile patterns, bringing those cozy, textured designs to life. It serves as the backbone of everything from simple scarves to detailed sweaters.
This guide will show you how to purl stitch knit, explain its importance, help you fix mistakes, and teach you to improve your tension, all in a simple way.
Also Read: How Do You Make a Slip Knot for Knitting? Easy Guide
What Is the Purl Stitch in Knitting?
The purl stitch is one of the two essential stitches every knitter needs to learn—the other being the knit stitch. If you’re learning how to purl stitch knit, this is the foundation that allows you to create texture, depth, and structure in your projects.
The purl stitch is the reverse of the knit stitch. While the knit stitch forms a smooth, V-shaped surface, the purl stitch creates a raised, bumpy texture that stands out on the fabric.
Think of it like this:
This contrast makes knitting versatile. Combining both stitches lets you create some of the most popular and widely used patterns, including:
If the knit stitch looks like smooth waves, the purl stitch is the reverse side, with small ridges that add dimension and character to your fabric. This is why mastering the purl stitch is an important step for beginners.
At first, the movement may feel awkward compared to knitting, but once you learn the purl stitch step by step, it becomes natural. With practice, your hands will remember the motion, and you’ll be able to switch between knit and purl stitches effortlessly.
Learning how to purl stitch knit gives you full control over your knitting. It opens the door to advanced patterns, improves your stitch consistency, and lets you create everything from simple scarves to detailed garments with confidence.
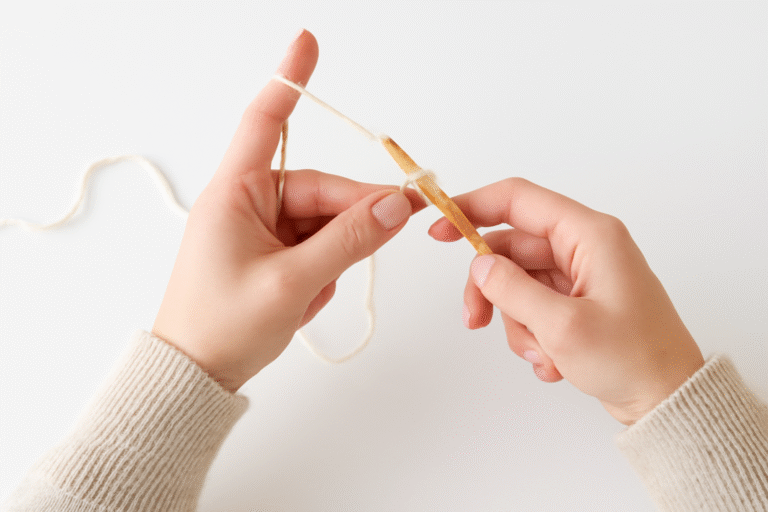
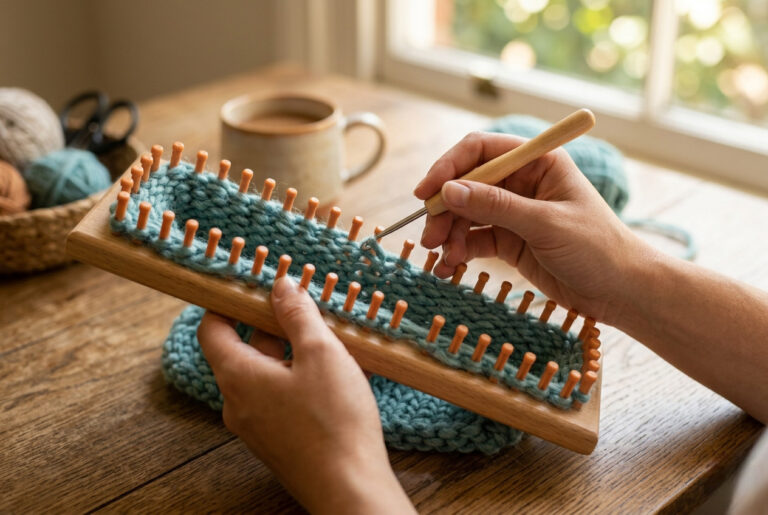
Tools and Materials Needed
Before starting your knit purl stitch tutorial, make sure you have the right tools. You do not need anything complicated to learn how to purl stitch knit successfully.
Here are the essential materials:
- Knitting needles: US 7–9 (4.5–5.5mm) work best for beginners. Straight or circular needles both work—choose what feels most comfortable in your hands.
- Yarn: Medium-weight yarn (worsted weight, category 4) is ideal for learning purl stitch knitting because it is easy to control and shows each stitch clearly.
- Scissors: For cutting yarn during practice or finishing.
- Yarn needle (tapestry needle): Useful for weaving in ends after completing your swatch.
- Optional – Stitch markers: You may want to use them to track rows or practice patterns while learning the purl stitch, but they are not required.
Beginner Tip: Use light-colored yarn so you can easily see each stitch while learning the purl stitch.
You do not need expensive tools, just a comfortable setup and some patience. Practicing your purl stitch will make knitting smoother and more enjoyable.
Also Read: What Size Needles for Beginner Knitting: 6 Easy Tips
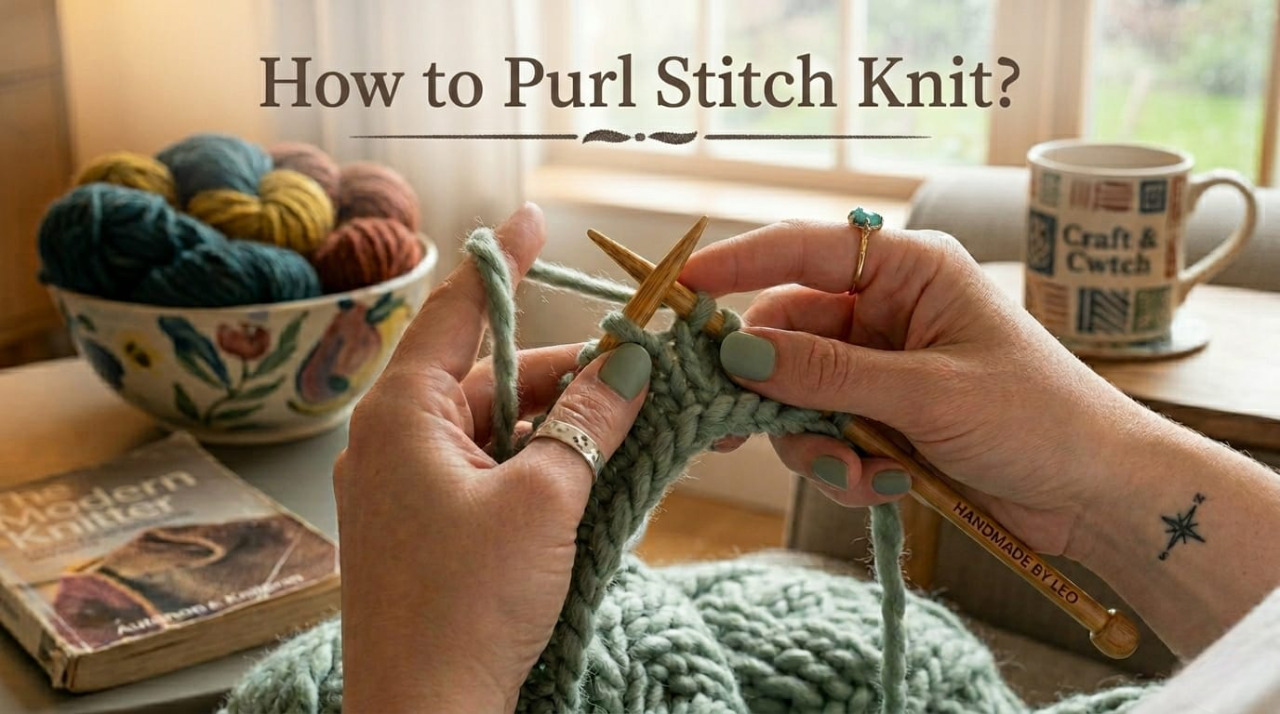
How to Purl Stitch Knit? : Step-by-Step Guide
Learning how to purl stitch knit is one of the most important steps in knitting. This technique adds texture and depth to your fabric. Once you understand it, you’ll be able to create a wide range of patterns with confidence. If you’re following a knit purl stitch tutorial, focus on slow, consistent movements. Speed will come naturally over time.
Before you begin, cast on 15–20 stitches and hold your needles comfortably. When practicing the knit-purl stitch, maintaining even tension is more important than working quickly.
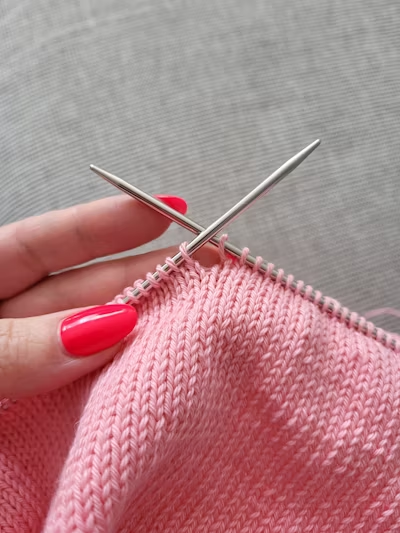
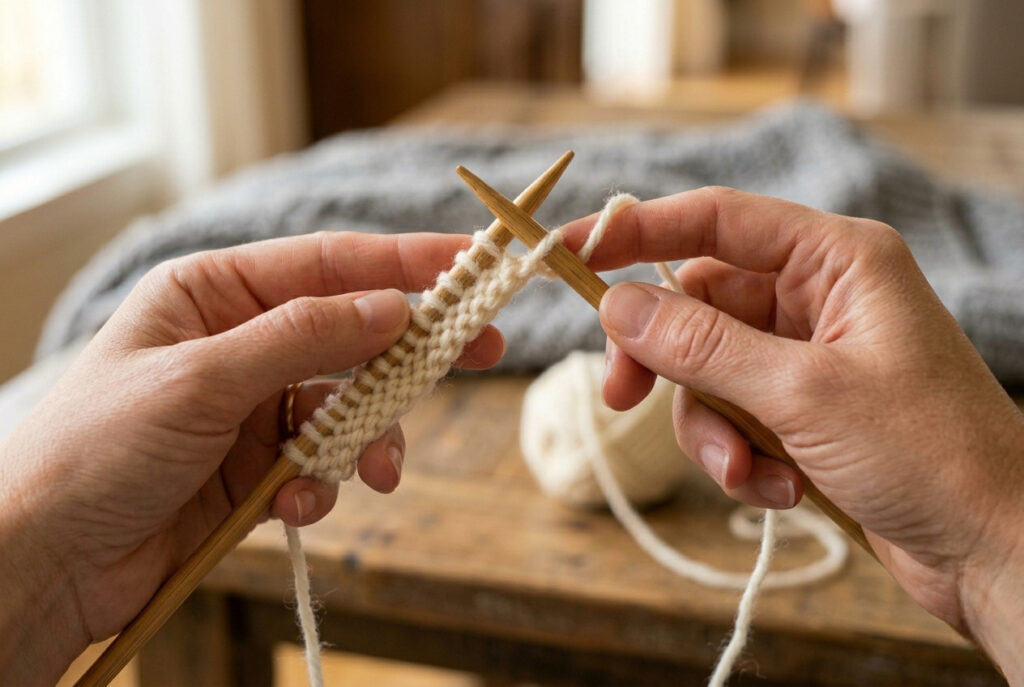
Step 1: Hold Your Needles and Yarn Properly
Begin with all cast-on stitches on your left needle. Hold the right needle in your right hand, keeping your hands relaxed to prevent tight or uneven stitches.
Step 2: Bring the Yarn to the Front
Move your working yarn to the front of your work, between the two needles. This is a key part of the purl stitch for beginners and the most common step to overlook.
Step 3: Insert the Needle (Back to Front)
Insert the right needle into the first stitch on the left needle, going from the back toward the front. This is the opposite direction from a knit stitch.
Step 4: Wrap the Yarn Counterclockwise
Wrap the yarn around the right needle in a counterclockwise direction. Keep the tension even. Too tight can make it difficult to work the stitches, while too loose can affect your fabric as you learn to purl.
Step 5: Pull the Loop Through
Gently pull the wrapped yarn through the stitch toward the front using the right needle. This forms a new loop, a key step in the purl stitch.
Step 6: Slide the Old Stitch Off
Carefully slide the old stitch off the left needle. Follow the same steps for each stitch in the row to maintain a steady rhythm.
Keep practicing across each row, focusing on smooth, even movements. As you do this more, your hands will get used to it, and your purl stitches will look more even.
For practice, try purling every stitch for 8 to 10 rows. This helps you learn the purl stitch and lets you see the bumpy texture appear.
While practicing, look out for common problems like the yarn slipping to the back, uneven stitches, or poking the needle through the yarn by mistake. These small mistakes are normal for beginners and get better quickly with practice.
To get better results, keep your hands relaxed, use light-colored yarn so you can see your stitches clearly, and work at a steady pace. With regular practice, how to purl stitch knit will start to feel natural, and switching between knit and purl stitches will become much easier.
Also Read: How to Fix a Dropped Stitch: A Complete Guide for Knitters
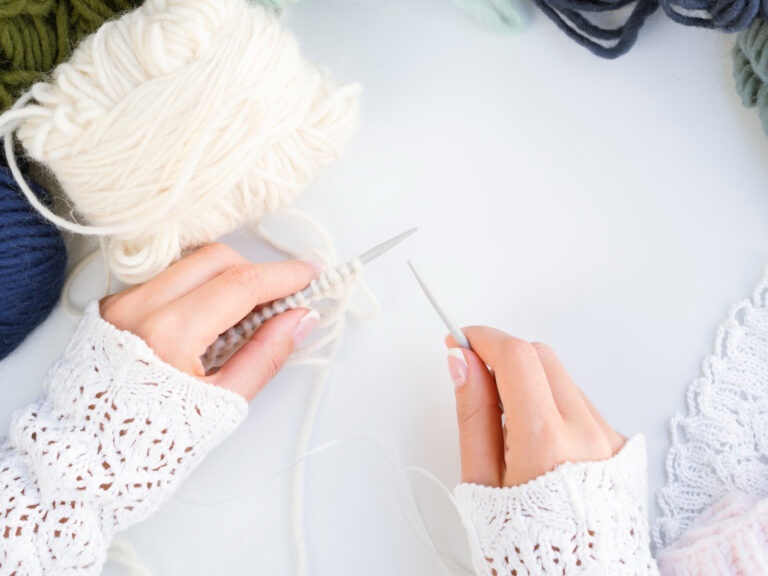
Purl Stitch Instructions (Continental vs. English Method)

When learning how to purl stitch knit, it’s important to know there are two main styles: the English method and the Continental method. Both produce the same purl stitch knitting result; the difference lies in how you hold and control the yarn.
Choosing the method that works best for you can help you feel more comfortable, knit faster, and keep your stitches even, especially when you are learning the purl stitch one step at a time.
English Method (Throwing)
The English method is the most common approach for beginners.
This method is ideal if you’re just starting, as it lets you see each step in your knit-purl stitch tutorial.
Continental Method (Picking)
The Continental method is usually quicker and easier once you get the hang of it.
When learning to purl, some beginners find it a bit harder to keep their stitches even with this method at first. But once you get used to it, you can knit much faster as you practice the purl stitch.
Key Differences at a Glance
If you’re learning how to purl stitch knit, try both methods using a small swatch. Some knitters naturally prefer one style over the other. Start with the English method to understand the basics, then experiment with Continental as your confidence grows in purl stitch knitting. Over time, you’ll find the technique that feels the most natural and comfortable for your knitting style.
Common Purl Stitch Mistakes and Fixes
Making mistakes is a normal part of learning how to purl stitch knit. Even experienced knitters occasionally encounter minor issues with purl stitch knitting. The key is knowing how to quickly identify and fix them before they affect your entire project.
Here are the most common purl stitch mistakes and how to solve them:
1. Yarn Overs (Extra Stitches)
Problem: You notice extra stitches or small gaps forming in your fabric.
Cause: The yarn accidentally wraps over the needle instead of staying in position.
Fix: Always move the yarn between the needles, not over them, when switching steps. This is one of the most common errors when learning to purl stitch.
2. Twisted Stitches
Problem: Stitches look tight, uneven, or difficult to work into on the next row.
Cause: The needle is inserted incorrectly, or the yarn is wrapped the wrong way.
Fix: Insert the needle from back to front and wrap the yarn consistently. If you notice a twisted stitch, gently untwist it before continuing your purl stitch knitting.
3. Uneven or Loose Tension
Problem: Your fabric looks wavy, stretched, or inconsistent.
Cause: Inconsistent yarn control while forming stitches.
Fix: Practice steady yarn tension by guiding the yarn over your fingers. Keep your hands relaxed and avoid pulling too tightly. Consistent tension is essential when improving purl stitch for beginners.
4. Splitting the Yarn
Problem: The needle passes through the yarn fibers rather than the full stitch, resulting in messy or weak stitches.
Cause: Using sharp needles or inserting the needle inaccurately.
Fix: Use smooth, beginner-friendly yarn and insert the needle cleanly into each stitch. This will improve the overall look of your purl stitch knitting.
5. Yarn in the Wrong Position
Problem: You accidentally knit instead of purl, or your stitches look incorrect.
Cause: The yarn slips to the back instead of staying in the front.
Fix: Always check your yarn position before each stitch. Yarn in front means purl stitch. This simple habit makes a big difference when learning to purl stitch.
After completing each row, pause and lay your work flat. This helps you spot mistakes early and understand how your purl stitch knitting is developing. Practicing for 20–30 minutes a day can quickly improve your confidence and consistency in purl stitch.
Also Read: How to Fix a Knitting Hole: Easy 5 Techniques and Tips
Tips for Perfect Tension and Even Stitches
Achieving a smooth, even fabric is the true mark of mastering the purl stitch. If your stitches look uneven at first, don’t worry—this is completely normal when learning purl stitch knitting. With a bit of practice, your tension will become more consistent, and your results will be more professional.
Good tension is what turns basic stitches into polished knitting, especially when working on projects like scarves, blankets, or stockinette patterns.
Here are the best ways to get better results when learning how to purl stitch knit:
Keep Your Hands Relaxed Tension comes from control, not force. Keep your hands, shoulders, and fingers relaxed while practicing the purl stitch. A tight grip leads to uneven stitches and fatigue.
Practice Slow, Consistent Movements Speed is not the goal at the beginning. Focus on repeating each motion evenly when learning how to purl stitch knit. Consistency builds muscle memory and improves stitch uniformity over time.
Maintain the Same Yarn Tension Throughout Keep your yarn tension consistent with every stitch. Think of it as a steady rhythm rather than individual movements. This is essential for achieving clean purl stitch results.
Use the Same Needle Size Stick with one needle size during practice. Switching sizes too early can affect stitch height and disrupt your learning process.
Don’t Pull Stitches Too Tight A common beginner mistake in purl stitch knitting is tightening each loop after forming it. Instead, let stitches sit naturally on the needle without forcing them.
Practice with a Swatch First Before you start a project, make a small practice piece. This helps you feel more confident with the purl stitch and lets you make mistakes without worry.
Pro Tip: Keeping your tension the same is what makes your knitting look neat instead of like beginner’s work. Once you get steady with the purl stitch, your knit and purl stitches will fit together smoothly in patterns like stockinette and ribbing.
Also Read: How to Knit a Gauge Swatch: Quick Guide
Purl Stitch Patterns for Beginners
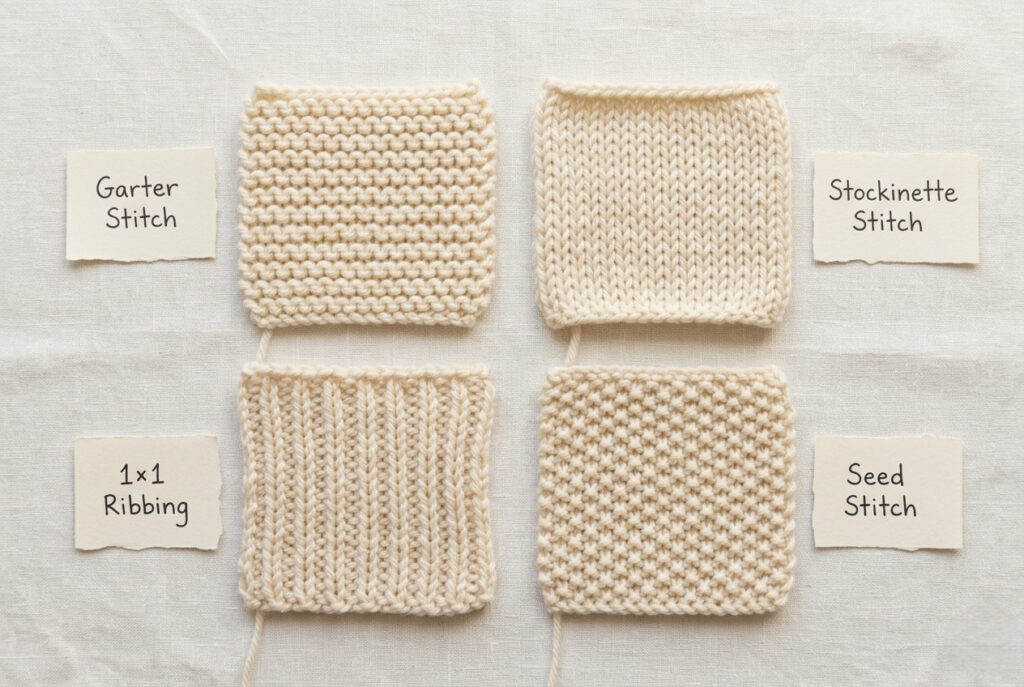
Once you know how to do the purl stitch, you can start using it in real projects. Trying out different patterns helps you get better at purling, making your stitches more even and helping you feel more confident. These easy patterns are important for learning purl stitch knitting because they mix knit and purl stitches in simple ways.
1. Garter Stitch
2. Stockinette Stitch
3. 1×1 Ribbing (K1, P1)
4. Seed Stitch
Also Read: What is Garter Stitch in Knitting? Easy Knitting Explained
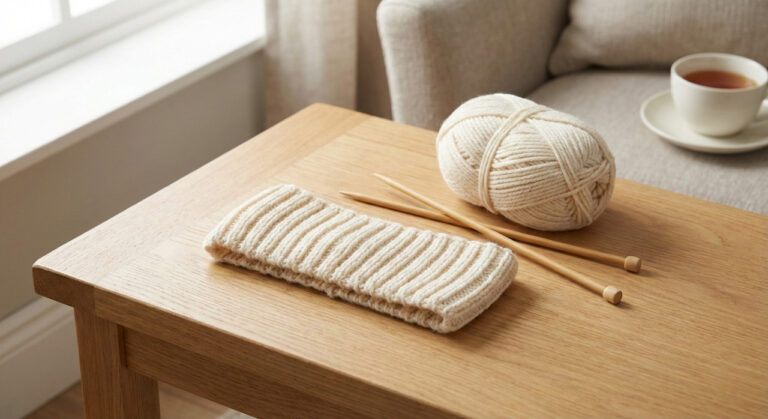
Practice Project: Ribbed Headband
Apply your purl stitch knitting skills with this simple project:
- Cast on 70 stitches
- Work in 1×1 ribbing (K1, P1) for 60 rows
- Bind off loosely
- Sew ends together to form a loop
- Gently shape your headband by soaking it in warm water
This project lets you practice the purl stitch step by step while making something you can use and wear.
Also Read: Headband: Easy Beginner Guide
Purl vs. Knit Stitch Differences
Understanding the difference between knit and purl stitches is essential when learning how to purl stitch knit. These two foundational stitches form the basis of almost every knitting pattern, from simple scarves to complex garments. They are opposites in movement but equal in importance in purl stitch knitting.
| Feature | Knit Stitch | Purl Stitch |
|---|---|---|
| Texture | Smooth, V-shaped surface | Bumpy, raised texture |
| Yarn Position | Yarn held at the back | Yarn held at the front |
| Needle Entry | Front to back | Back to front |
| Main Use | Right side of stockinette fabric | Wrong side or textured patterns |
| Learning Focus | Builds speed and rhythm | Builds control and tension |
Also Read: How to Read Knitting Patterns? Beginners Guide
Why This Difference Matters
When practicing how to knit purl stitch step by step, understanding these differences helps you avoid mistakes like mixing stitch directions or placing yarn in the wrong position.
Simple Way to Remember:
Once you understand this visual difference, the purl stitch is much easier to learn and recognize in your work.
Advanced Purl Stitch Variations
Once you’re comfortable with the basics of purl stitch knitting, you can explore advanced techniques. These variations help shape fabric, add texture, and improve your skills for more complex projects, such as sweaters and accessories.
Purl Through Back Loop (ptbl)
Important: This differs from a regular purl stitch and is often used as a beginner’s move to the intermediate level.
Purl 2 Together Through Back Loop (p2tog tbl)
This technique is useful for refining your purl stitch skills when shaping projects.
Make One Purl (M1P)
Purl Stitches in Cable Patterns
While there is no standalone technique called cable purls, purl stitches play an essential role in cable knitting.
This is where purl stitch knitting becomes essential in advanced pattern design.
Also Read: How to Knit Cables: Step-by-Step Easy Beginner Guide
Troubleshooting Your First Swatch
If your practice swatch doesn’t look perfect, don’t worry—this is completely normal when learning how to purl stitch knit. Most early issues come from tension, stitch placement, or edge control.
Swatch Not Lying Flat?
If your fabric curls or looks uneven:
Blocking improves appearance, but will not fix stitch structure or tension mistakes in purl stitch knitting.
Also Read: How to Block a Knitted Scarf: 5 Easy Steps
Uneven or Messy Edges?
A common beginner issue with the purl stitch is uneven edge tension.
Fix:
This creates a smoother, more professional-looking edge.
Left-Handed Knitting Adjustment
Left-handed knitters can learn purl stitches, but the technique depends on your method. Some knitters mirror English-style knitting, while others mirror Continental-style knitting. In both cases, yarn and needle movement are reversed compared to right-handed knitting, but the goal remains the same: consistent loop formation and tension control. The stitch structure does not change; only the hand orientation does.
Why Master Purl Stitch Knitting?
Learning how to purl stitch knit is one of the most important steps in becoming a confident knitter. The purl stitch is not just a basic skill; it is the foundation for nearly every textured and structured knitting pattern. Once you understand purl stitch knitting, you can create more advanced designs and improve overall fabric quality.
Why the Purl Stitch Matters in Knitting
There are several key reasons why mastering the purl stitch for beginners is essential:
What You Can Do After Learning It
Once you are comfortable with purl stitch knitting, you can progress to:
Also Read: How to Knit SSK Stitch: Easy Guide for Beginners
Why Practice Matters
Mastering purling takes repetition and patience. Joining knitting communities or sharing swatches online helps you improve faster through feedback and pattern discussion.
Practice Exercise: Simple Swatch
To master the purl stitch step by step, consistent practice is best. This simple swatch exercise builds muscle memory and quickly improves your beginner purl stitch skills.
Step-by-Step Practice
- Cast on 20 stitches
- Row 1: Knit all stitches
- Row 2: Purl all stitches
- Repeat Rows 1–2 for 10–15 rows
This creates a stockinette stitch swatch, one of the most important foundational patterns in knitting.
Why This Exercise Works
Beginner-Friendly Learning Tips
If you are just starting to purl stitch, these tips will help you progress faster and avoid frustration:
Knitting becomes easier and more enjoyable once your hands develop memory through repetition. With regular practice, your beginner purl stitch skills will naturally become smooth, consistent, and confident.
Also Read: Top 10 Best Knitting Patterns for Beginners: Easy Guide
Frequently Asked Questions
Also Read: How to Knit a Hat with Straight Needles? Beginner’s Guide
Final Thoughts: Mastering How to Purl Stitch Knit
Learning how to purl stitch knit is one of the most important steps in your knitting journey. It may feel awkward at first, but with consistent practice, it becomes second nature.
The key is simple:
Once you’re comfortable with purl stitch knitting, you’ll be able to create beautiful textures, patterns, and projects with ease.