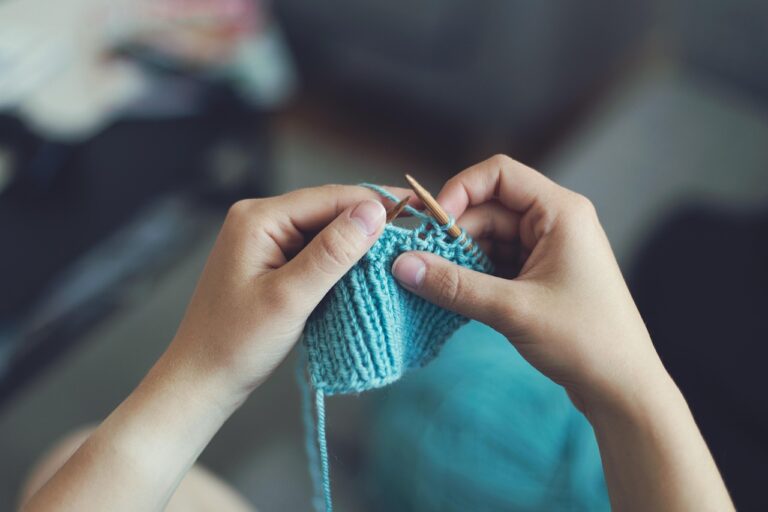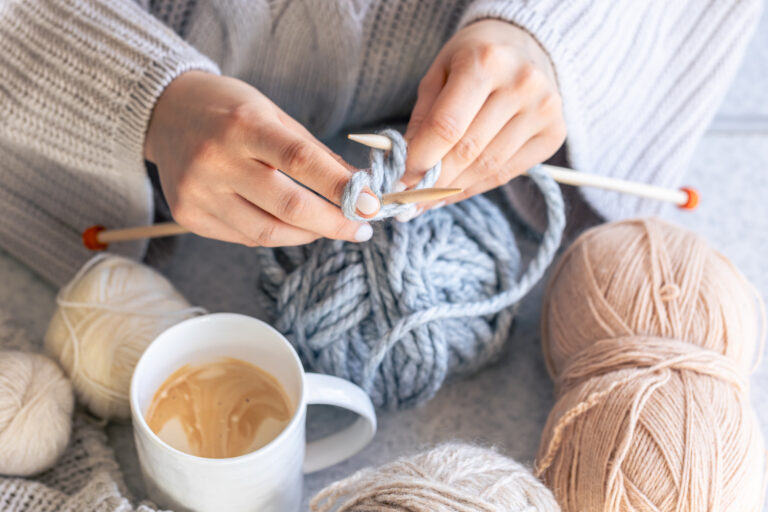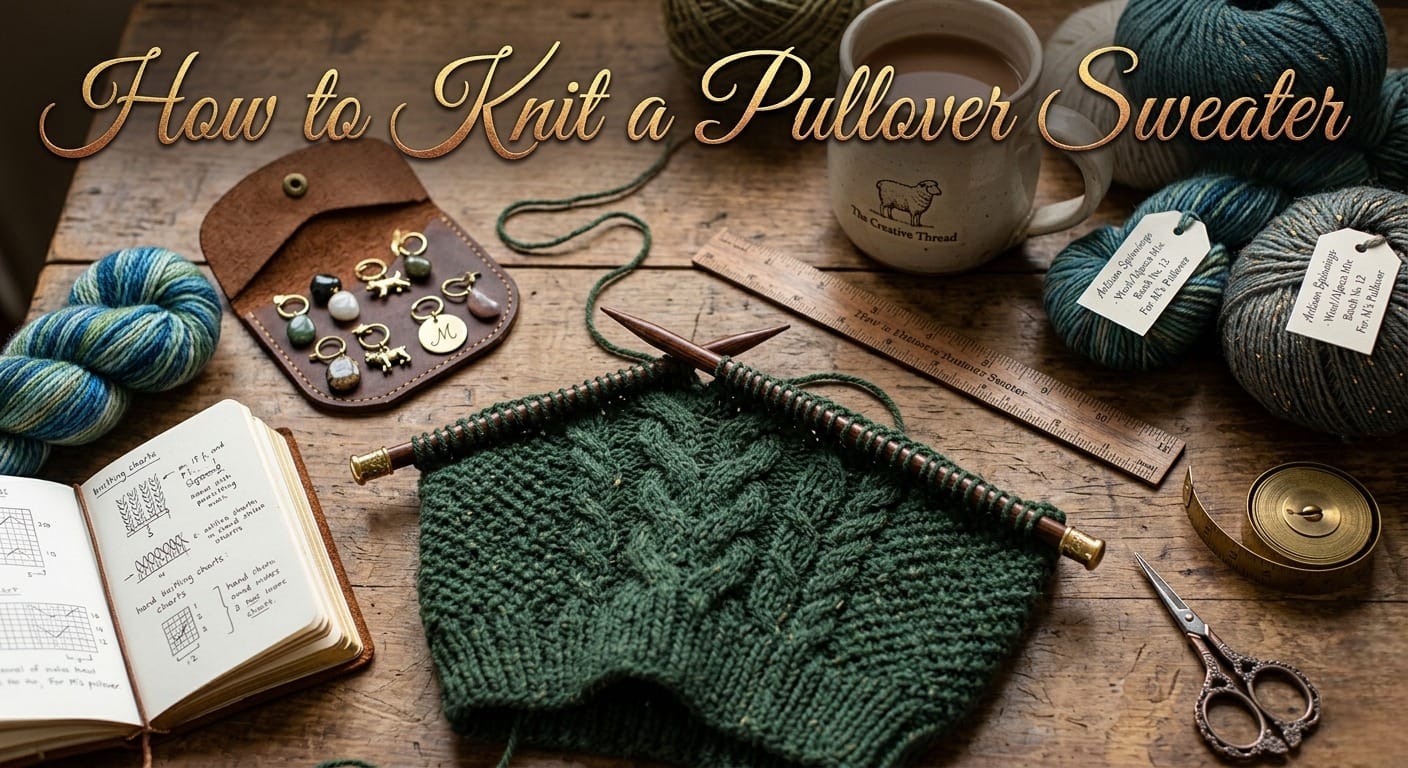
How to Knit a Pullover Sweater?
If you want to learn how to knit a pullover sweater, this step-by-step guide will help. It covers the entire process, from selecting yarn and taking measurements to shaping a raglan and finishing the collar.
This guide is intended for beginners who understand the basics and are ready to knit their first well-fitting, comfortable sweater.
By the end, you will have a clear, practical roadmap to create a cozy pullover without guesswork or frustration. This guide is based on real experience, including lessons learned from a few frogged sleeves, and is designed to be your reliable resource for hand-knitting a pullover sweater.
What Is a Pullover Sweater (and Why Knit One)?
A pullover sweater is a single-piece garment worn by pulling it over your head, without buttons or zippers. Most beginner-friendly designs are knit from the top down or bottom up, often seamlessly in the round for a clean, modern look.
Many patterns use raglan construction, which shapes the sleeves with smooth diagonal lines that join the body. This approach is popular because it is easy to adjust and provides a comfortable fit.
Why knit a pullover instead of a cardigan or smaller project?
Knitting your own sweater also gives you full control over fit, yarn selection, and style, which is rarely possible with store-bought pieces.
Materials and Tools You’ll Need
Before you start your knit pullover sweater tutorial, gather everything you need from cast-on to blocking. Having the right tools ready makes the process smoother and helps you avoid interruptions mid-project.
Yarn
Choose a soft wool or wool blend for flexibility and warmth, or a machine-washable acrylic for easy care.
If you’re unsure, start with a smooth light-colored yarn that makes stitches easier to see and correct.
Needles
Also Read: How to Measure Circular Knitting Needles? Beginners Guide
Also Read: The Best Interchangeable Knitting Needles
Also Read: What Size Needles for Beginner Knitting: 6 Easy Tips
Essential Tools
Also Read: Best Knitting Accessories: Top Picks 2026
Finishing and Extras
How to Take Measurements and Choose Your Size
One of the most common reasons a hand-knit sweater doesn’t fit well is inaccurate measurements. Taking a few extra minutes can save hours of frustration later.
For best results, measure yourself wearing a lightweight top like what you’d wear under your sweater. Use a soft measuring tape and keep it snug but not tight.
Key Sweater Measurements
These core numbers help you take sweater measurements and calculate stitch counts later.
Understanding Ease (Why It Matters)
Ease determines how fitted or relaxed your sweater will feel.
For most beginner projects, aim for 5 to 10 cm (2 to 4 inches) of positive ease. This allows room to move and makes fitting easier.
A Simple Tip for Better Fit
Write your desired ease next to your chest measurement before you start knitting. When you calculate your stitch count using your gauge, this adjusted number ensures your finished pullover sweater fits as you want.
Gauge and Swatching: Why It’s Non-Negotiable
If you’re tempted to skip the swatch, here is a gentle but honest warning: don’t. Even a small difference in gauge can add or subtract 10–15 cm from your sweater, turning a well-planned project into something that doesn’t fit.
A gauge swatch shows how many stitches and rows you knit per centimeter or inch, and is the foundation of any sweater that fits properly.
Also Read: How to Knit a Gauge Swatch: Quick Guide
Also Read: How to Read Knitting Patterns? Beginners Guide
How to Knit a Gauge Swatch for Sweaters
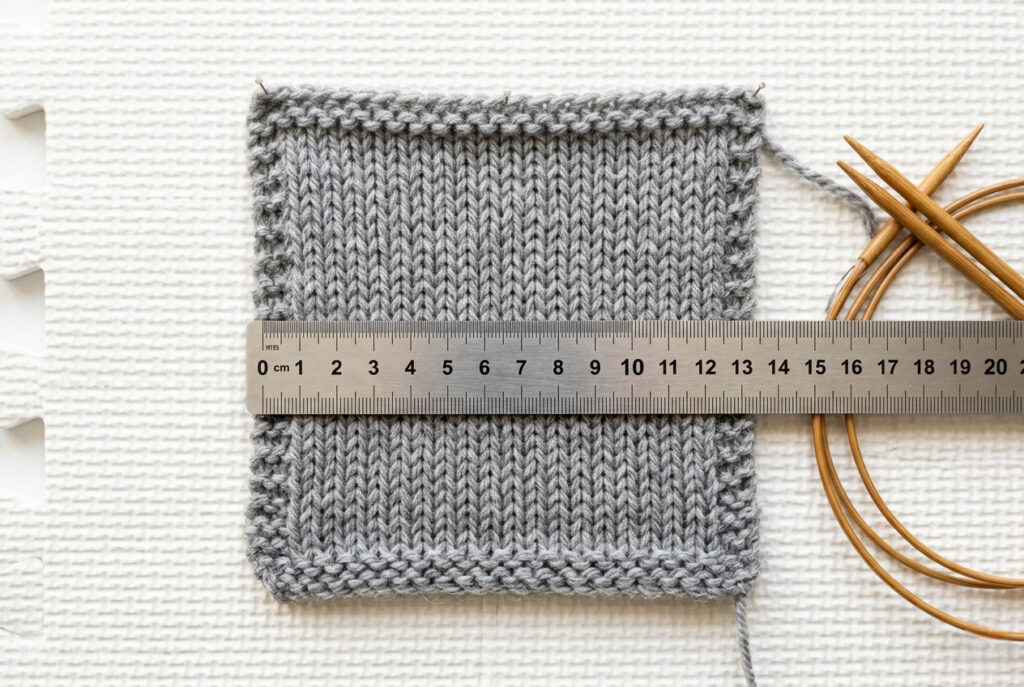
How to Measure Your Gauge
Simple Gauge Formula
This step is the backbone of learning how to knit a pullover sweater from start to finish, and it’s what ensures your finished pullover actually fits the way you planned.
Step-by-Step: Knit the Body of the Pullover
Now it’s time to start your pullover sweater. Most modern designs are worked in the round, eliminating seams and creating a smoother, more comfortable finish.
For this tutorial, we’re working with a bottom-up raglan sweater, knit seamlessly in the round.
Also Read: How to Join Circular Knitting? Beginner’s Guide
Also Read: How to Connect Circular Knitting: Easy Guide
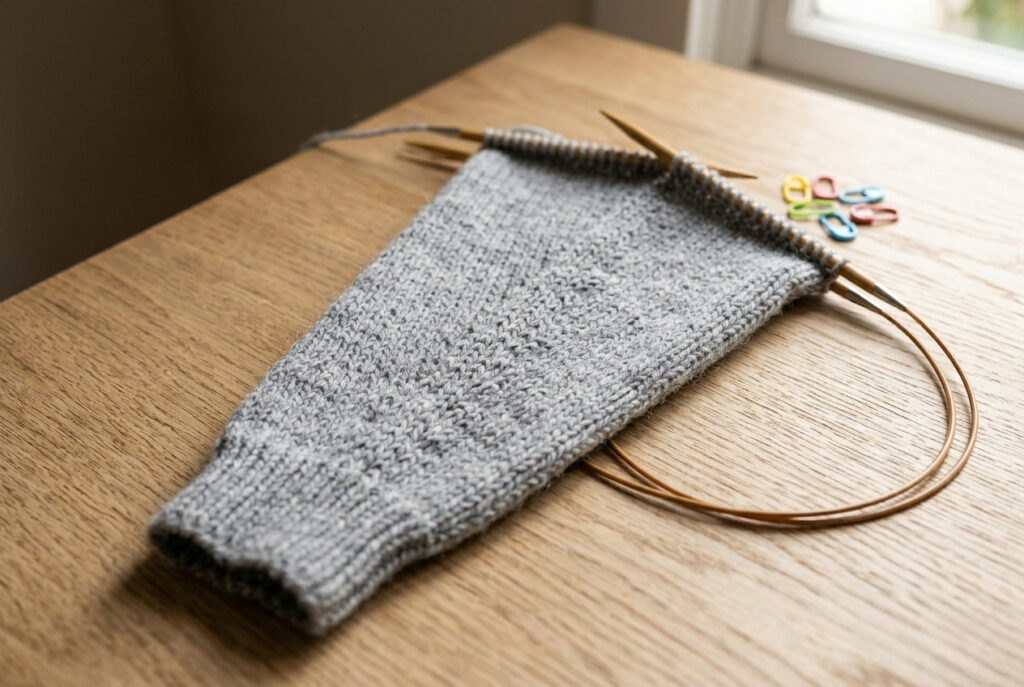
1. Cast On and Join in the Round
Also Read: How to Do a Long Tail Cast On Knitting? Easy Guide
Also Read: How to Join in Round in Knitting: Easy Guide
Also Read: How Do You Make a Slip Knot for Knitting? Easy Guide
2. Knit the Hem Ribbing
3. Transition to the Main Body
4. Prepare for the Underarm Split
This stage forms the foundation of your pullover sweater. Taking your time ensures sleeve placement and overall fit line up correctly as you begin raglan shaping.
Knitting the Sleeves (Bottom-Up or Top-Down)
Sleeves often feel like the trickiest part of a sweater, but once you understand the structure, they are straightforward. You can knit sleeves bottom-up or top-down, but this guide uses a bottom-up method to match the body construction.
Cast On and Knit the Cuffs
Shape the Sleeve for a Comfortable Fit
Also Read: How to Add Stitches When Knitting: Easy Guide
Also Read: How to Increase a Stitch While Knitting: Quick Easy Steps
Knit to Length and Prepare for Joining
Even in a simple pullover, this gradual shaping makes a noticeable difference. Well-fitted sleeves move comfortably with your arms, giving your finished pullover sweater a more polished, wearable feel.
Also Read: Best Way to Join Yarn in Knitting: Easy 10-Techniques
Also Read: How to Add New Yarn to Knitting? Step-by-Step
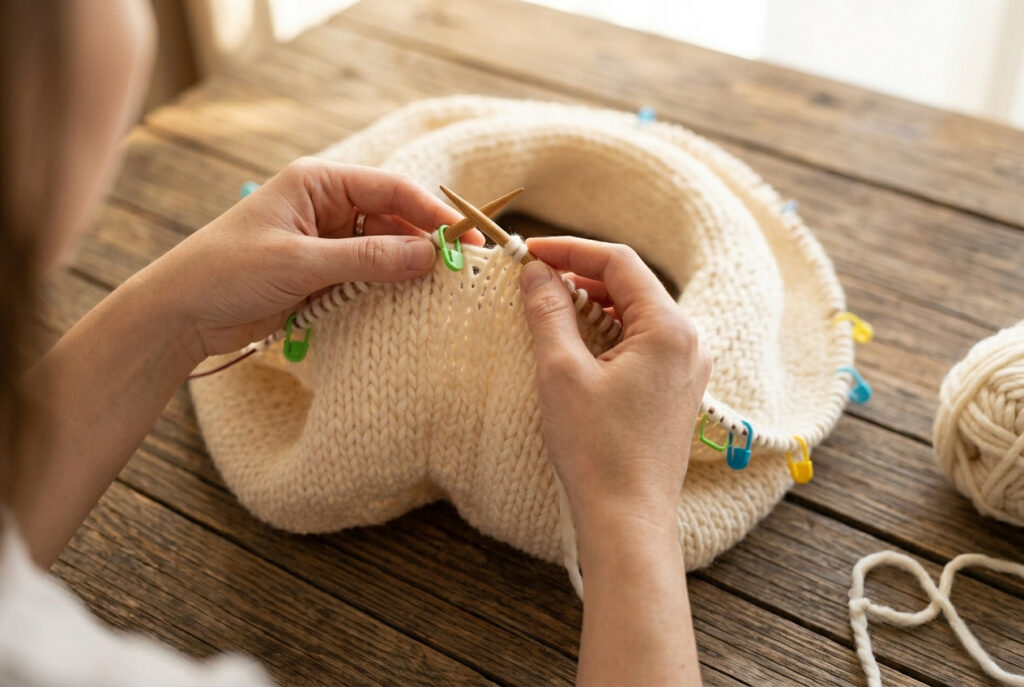
Joining the Sleeves and Beginning the Raglan
This is the point where your sweater really starts to come together. After joining the sleeves to the body, you’ll shape the shoulders using raglan decreases, a key part of seamless raglan sweater construction.
Also Read: How to Use Stitch Markers for Knitting: Easy Guide
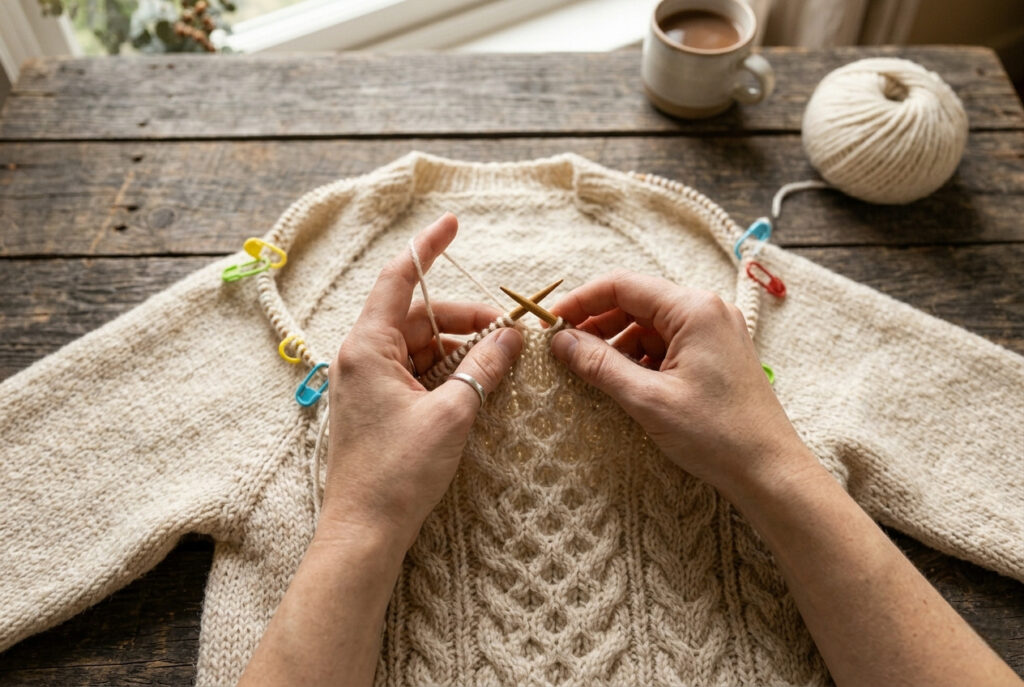
How to Join the Sleeves
You’ll now have four sections on your needle:
These sections are separated by markers, which will guide your raglan shaping.
How to Work Raglan Decreases
Also Read: How to Knit SSK Stitch: Easy Guide for Beginners
How Often to Decrease
Continue knitting and decreasing until the raglan depth from underarm to neckline measures about 15–20 cm. This depends on your size and fit preference.
This gradual shaping is the foundation of a bottom-up raglan sweater and gives your pullover its final silhouette.
Also Read: How to Count Rows in Knitting: A Complete Guide
Shaping the Neckline and Shoulders
A well-shaped neckline turns a handmade sweater into something polished and comfortable to wear. Without proper shaping, the front can feel tight, or the back may sit awkwardly.
Most sweaters use short rows to raise the back neckline slightly for a natural fit.
How to Knit Short Rows for a Sweater Neckline
Short rows add extra height to the back of the sweater so it sits comfortably around your neck.
Adjusting Neckline Depth
The goal is to create a neckline that’s easy to pull over your head but still sits neatly on your shoulders without stretching out.
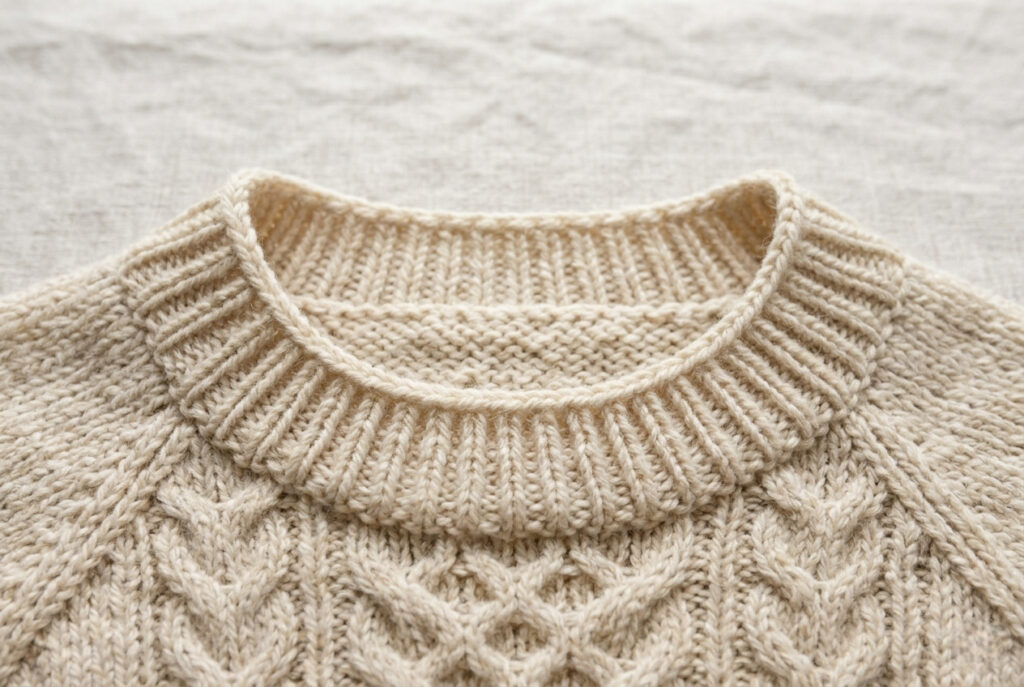
Finishing the Collar and Binding Off
Once you’ve completed the neckline shaping, it’s time to add the final edge that frames your pullover sweater and keeps it comfortable.
Knit the Collar
This ribbed edge helps the neckline sit flat while still stretching comfortably over the head.
Also Read: How to Pick Up Knit Stitches In Knitting? Two Methods
Bind Off (Don’t Make It Too Tight)
Choose a stretchy bind-off method so the collar doesn’t feel restrictive.
A tight bind-off is one of the most common beginner mistakes in sweater knitting and can make an otherwise well-shaped garment uncomfortable.
Also Read: How to Bind Off Knitting: Easy Ultimate Guide
Also Read: How to Cast Off Knitting Right: Easy Guide
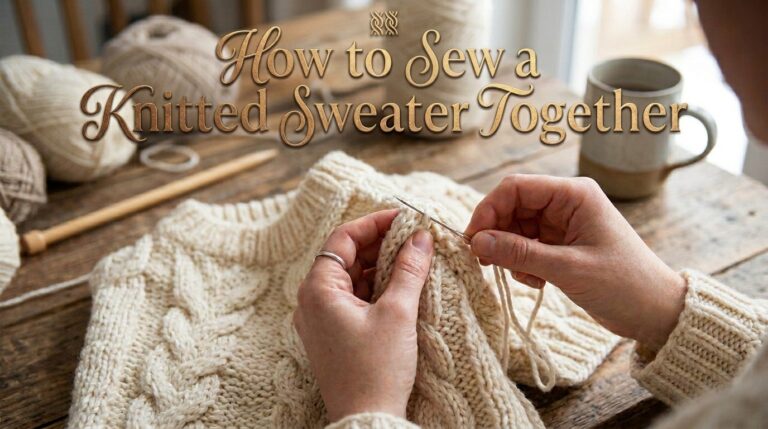
Seaming Underarms and Final Construction
Even seamless sweaters need a few finishing touches before they’re complete.
This final step transforms your work from separate knitted sections into a fully finished pullover sweater that feels smooth, polished, and wearable.
Also Read: How to Sew a Knitted Sweater Together? Easy Guide
Also Read: How to Do Mattress Stitch? Easy 7-Step Guide
Also Read: How to Do a Whip Stitch? Quick Guide
Blocking and Finishing Your Hand-Knit Pullover
Blocking transforms your knitting from handmade to professionally finished. It smooths uneven stitches, improves drape, and helps your sweater settle into its final wearable shape.
How to Block Your Sweater
Also Read: How Do I Block a Knitted Sweater? Step-by-Step
Also Read: How to Block a Knitted Blanket: Easy 3 Methods
Final Finishing Steps
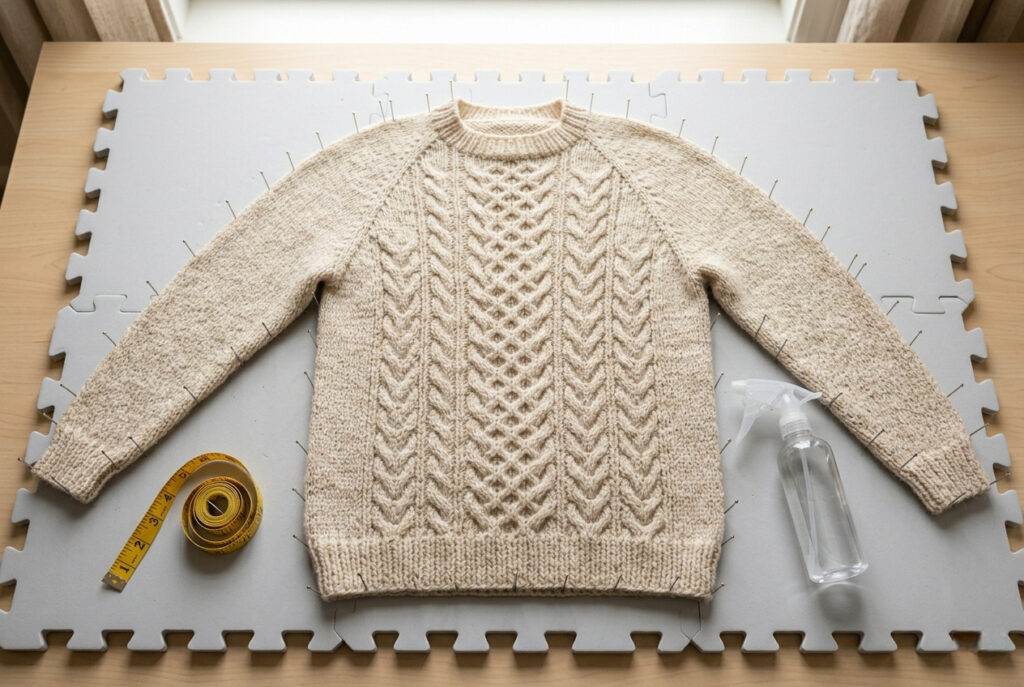
Once dry:
Final Fit Check
Try your sweater on and move naturally:
If everything feels balanced, you’ve completed your hand-knit pullover sweater. This final step makes your project become a truly wearable, personalized garment made entirely by you.
Common Mistakes and How to Fix Them
Even experienced knitters encounter issues when making a sweater. The good news is that most problems are fixable without starting over.
Also Read: How to Fix a Dropped Stitch: A Complete Guide for Knitters
1. Sweater Feels Too Tight
Cause: Incorrect gauge or too few stitches
Fix: Check your gauge and adjust needle size if needed. You can also block the sweater to relax the fabric slightly or re-knit sections with larger needles.
2. Uneven Raglan or Hem Lines
Cause: Missed decreases or inconsistent tension
Fix: Count stitches between markers carefully. If necessary, unravel a few rounds and correct the raglan placement before continuing.
3. Sleeve Fit Feels Off
Cause: Irregular increase in spacing
Fix: Adjust your increase rhythm, for example, every 8–12 rounds. If the sleeve is finished, you can add shaping by reworking the cuff or adjusting during blocking.
4. Laddering at the Join (Circular Knitting Gaps)
Cause: Loose tension at the start of each round
Fix: Tighten the first few stitches of each round or use a jogless join technique to smooth transitions.
5. Gaps at the Underarms
Cause: Loose or incomplete joining of sleeve and body
Fix: Pick up extra stitches during finishing and reinforce them with a tapestry needle or Kitchener stitch.
Mistakes are a normal part of learning how to knit a pullover sweater step by step. Each fix improves your understanding of tension, shaping, and construction skills that apply to every future project.
Also Read: How to Fix a Knitting Hole: Easy 5 Techniques and Tips
FAQs About Knitting a Pullover Sweater
Final Thoughts: How to Knit a Pullover Sweater
Learning how to knit a pullover sweater is less about mastering complex techniques and more about understanding structure. Once you see how the body, sleeves, and neckline come together, the entire process starts to feel logical and even enjoyable.
Your first sweater may not be perfect, but it will teach you more than any small project. Every stitch helps you understand fit, tension, and construction in a way no tutorial can fully explain.
By following a thoughtful process, choosing the right yarn, checking your gauge, and shaping step by step, you create more than a garment. You create a wearable, handmade piece that reflects your effort and progress.
And once you finish your first one, the second feels easier, faster, and far more confident.
So take your time, trust the process, and knit it one row at a time.