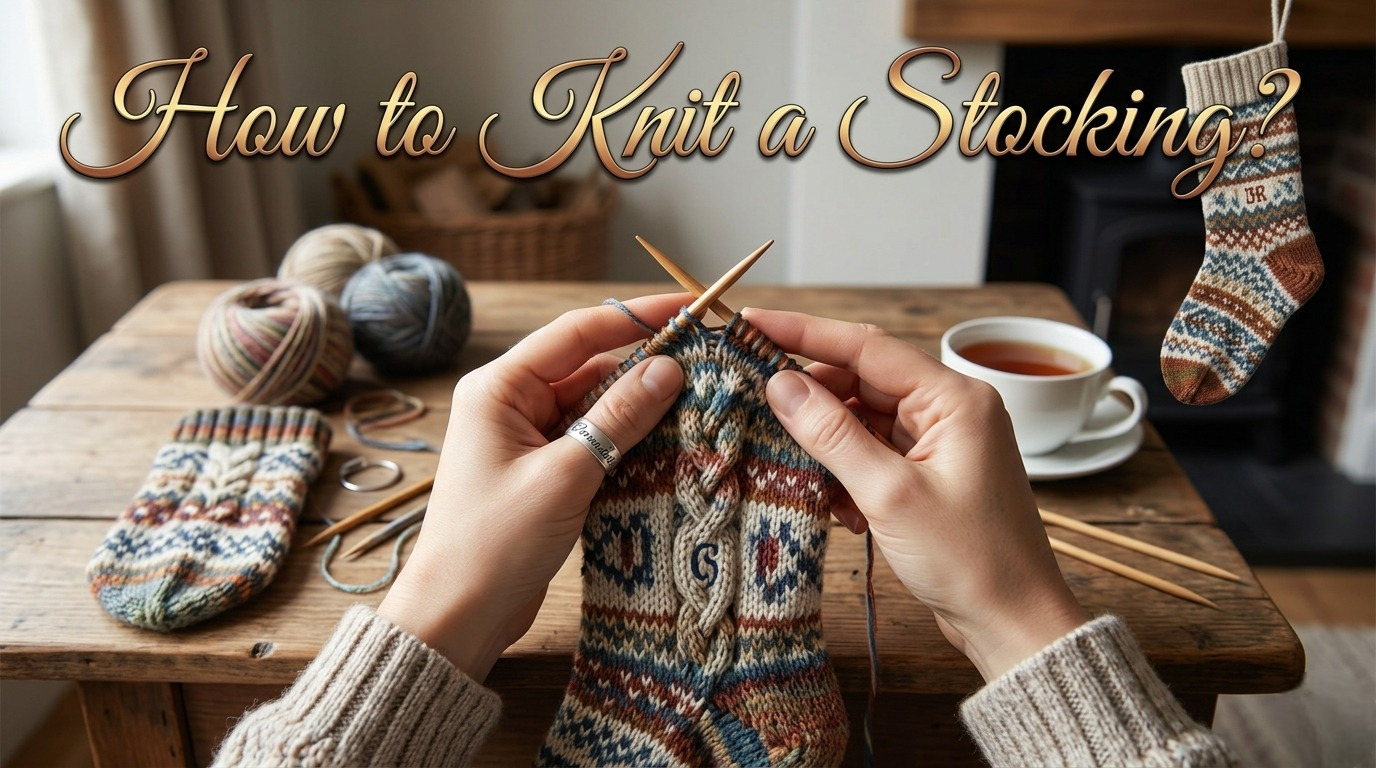
How to Knit a Stocking? Easy 6 Step Guide
If you’ve ever wondered how to knit a stocking from scratch, especially a cozy Christmas stocking you’ll want to hang by the fireplace, this guide is for you.
In this step-by-step tutorial, you’ll learn exactly how to knit a stocking from start to finish, even if you’re still building confidence with basic stitches.
A knitted stocking is a tube-shaped project worked in the round, featuring a ribbed cuff, a smooth leg, a shaped heel, and a finished foot, complete with a hanging loop for display.
By the end of this guide, you’ll know how to create each section of a stocking from the cuff to the heel. You’ll shape and finish it cleanly so it looks polished, not homemade or rushed.
Also Read: How to Read Knitting Patterns? Beginners Guide
Choosing Yarn and Needles for Your Knitting Stocking
Before you start learning how to knit a stocking, choosing the right yarn and needles greatly affects how your finished piece looks, feels, and holds its shape.
Not all yarns behave the same, and your tools affect both your tension and overall knitting experience.
Yarn Weight and Fiber
For a classic, durable result, worsted-weight yarn is the most reliable choice. It is thick enough to knit efficiently and shows stitch definition, especially in stockinette stitch.
Natural fibers like wool or wool blends are ideal because they:
If you plan to fill your stocking with gifts, avoid soft or fuzzy yarns that stretch. A tightly spun wool or wool blend provides better long-term structure.
Also Read: Best Yarn for Blanket Knitting| Expert Guide 2025
Needles: Circular vs Double-Pointed vs Straight
Most stocking patterns are worked in the round, which creates a seamless, polished finish.
Circular needles are the easiest option for beginners. They work well for knitting stockings in the round with the magic loop method.
If you’re new, circular needles are the most comfortable and forgiving choice. They maintain even tension and reduce ladders between stitches.
Also Read: How to Measure Circular Knitting Needles? Beginners Guide
Also Read: The Best Interchangeable Knitting Needles
Pro Tip
If your stitches feel uneven, try using one needle size smaller for the cuff and switching back to the body. This keeps the ribbing snug while maintaining flexibility in the leg.
Basic Knitting Skills Needed for Stockings
Before you dive into learning how to knit a stocking, it helps to be comfortable with a few core techniques. You don’t need advanced skills, but understanding the basics will make each step smoother and less confusing.
Essential Techniques
You’ll use these skills throughout the entire stocking:
Key Stitch Techniques Explained
When working on a stocking pattern knitted in the round, a few specific techniques come up often:
If these feel unfamiliar at first, that’s normal. Most knitters refine their tension and technique as they go.
Also Read: How to Knit SSK Stitch: Easy Guide for Beginners
Also Read: How to Increase a Stitch While Knitting: Quick Easy Steps
Working in the Round (What to Know)
Most beginner knitting stocking tutorials use circular needles, so this technique is essential:
This method creates smooth, continuous fabric and is the easiest way to get a polished finish.
Also Read: How to Join in Round in Knitting: Easy Guide
Also Read: How to Join Circular Knitting? Beginner’s Guide
Understanding Stocking Structure
A knitted stocking is built in sections, and knowing this makes the process much easier to follow:
Once you see how these sections connect, the process becomes much more manageable even for beginners.
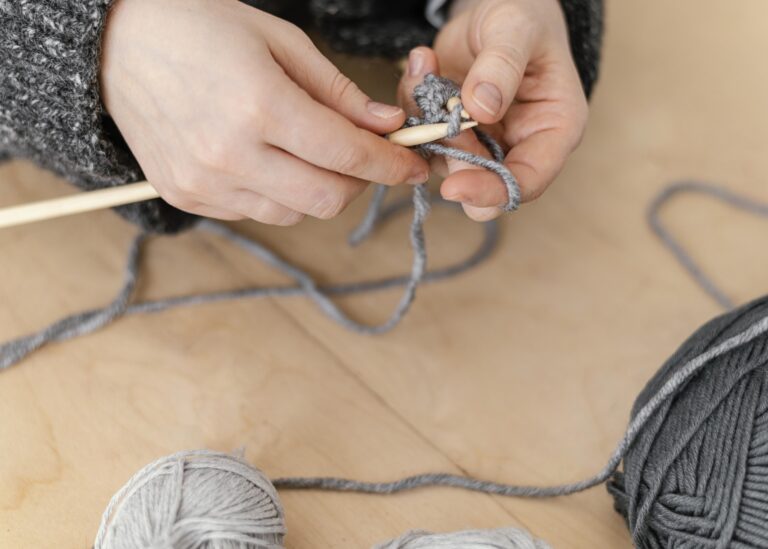
Step-By-Step: How to Knit a Stocking
Now, let’s walk through how to knit a stocking step by step, from the cuff to shaping the heel. This is where your project starts to take form.
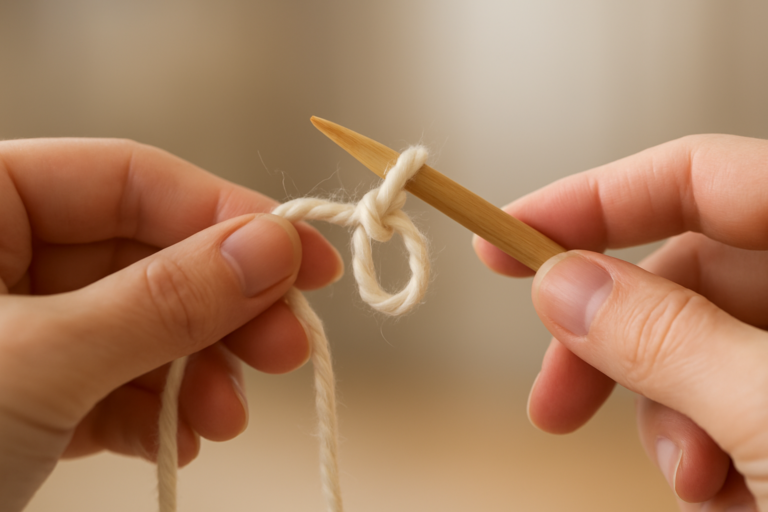
Step 1: Cast On and Work the Ribbed Cuff
Cast on 48 to 64 stitches using a long-tail cast-on. Distribute stitches evenly on your circular needles and join in the round, ensuring the stitches aren’t twisted. Place a stitch marker to mark the beginning of each round.
Work a ribbed cuff:
Why this matters:
The ribbed cuff creates stretch and structure, helping the stocking stay open while preventing the top edge from curling.
Also Read: How to Cast on Knitting with Two Needles: A Complete Guide
Also Read: How to Use Stitch Markers for Knitting: Easy Guide
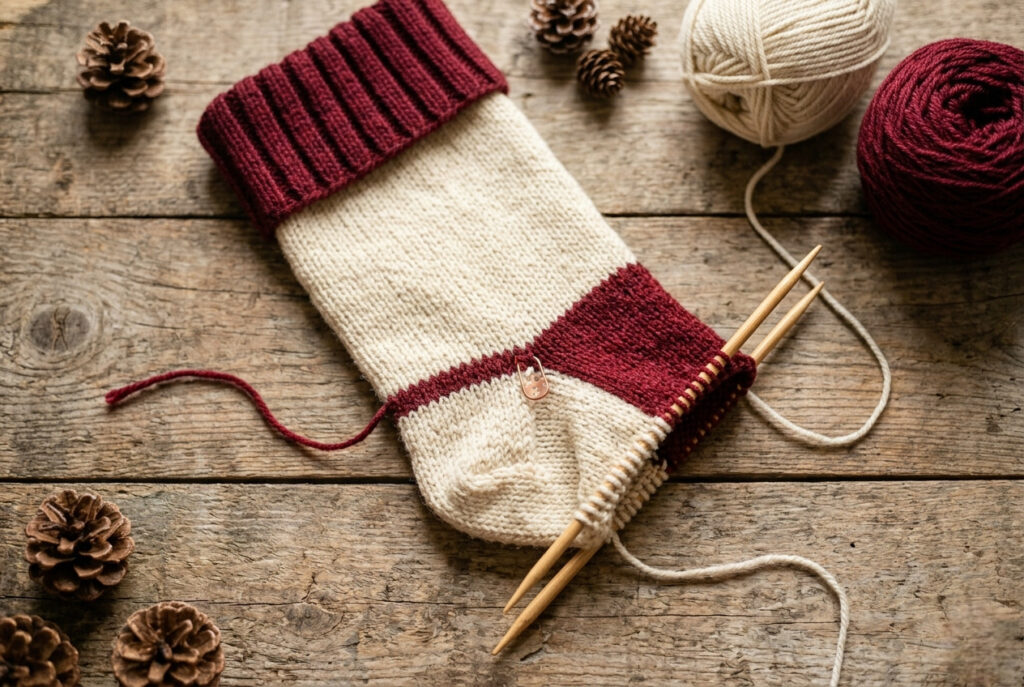
Step 2: Knit the Leg in Stockinette
After completing the cuff, switch to stockinette stitch in the round by knitting every round.
This section forms the main body of your stocking and is ideal for adding stripes, colorwork, or later personalization.
Also Read: How to Change Colors While Knitting? Beginners Tips
Also Read: How to Count Rows in Knitting: A Complete Guide
Step 3: Shape the Heel
The heel gives your stocking its classic shape. It may feel tricky at first, but it becomes easier once you understand the structure.
As you work, gradually decrease stitches to form a curved shape. This is often done with simple decreases that create a snug, rounded base.
Pro tip:
Take your time here. This step defines how polished your stocking looks. Slightly uneven stitches will settle once the shape forms.
Step 4: Work the Gusset and Foot
After turning the heel, you’ll transition back to knitting in the round.
These decreases reduce the extra stitches from the heel and bring your work back to the original stitch count.
Continue knitting in stockinette stitch until the foot measures 4 to 6 inches from the heel or reaches your desired length.
Pro tip:
If you plan to fill the stocking with gifts, leave extra length so it doesn’t feel tight when stuffed.
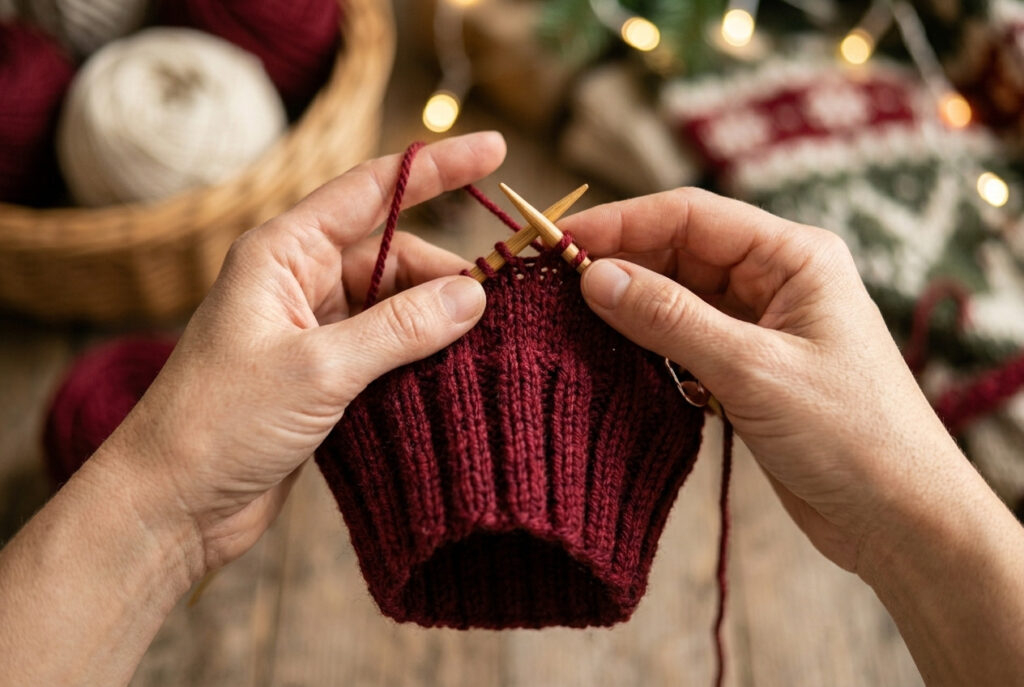
Step 5: Shape the Toe
Now it’s time to close the stocking neatly.
To finish, use the Kitchener stitch for a seamless look. Or thread the yarn through the remaining stitches and pull tight.
This creates a smooth, rounded toe that looks clean and professional.
Also Read: How to Finish a Knitting Project: A Complete Guide
Also Read: How to Bind Off Knitting: Easy Ultimate Guide
Step 6: Add a Hanging Loop
To make your stocking functional:
For extra durability, stitch the loop in place a few times and reinforce it if the stocking will hold heavier items.
This small detail makes a big difference. It ensures your stocking hangs neatly and holds its shape over time.
Also Read: How Do You Weave in Ends in Knitting? Step-by-Step
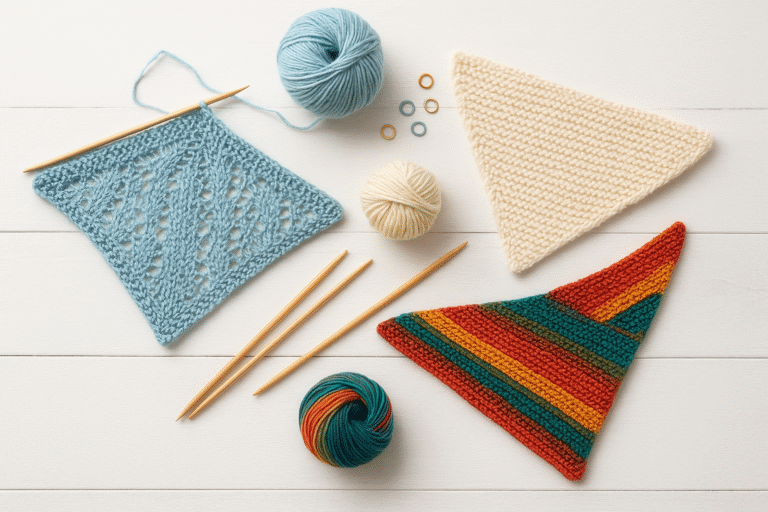
Adding Personalization: Names, Patterns, and Embellishments
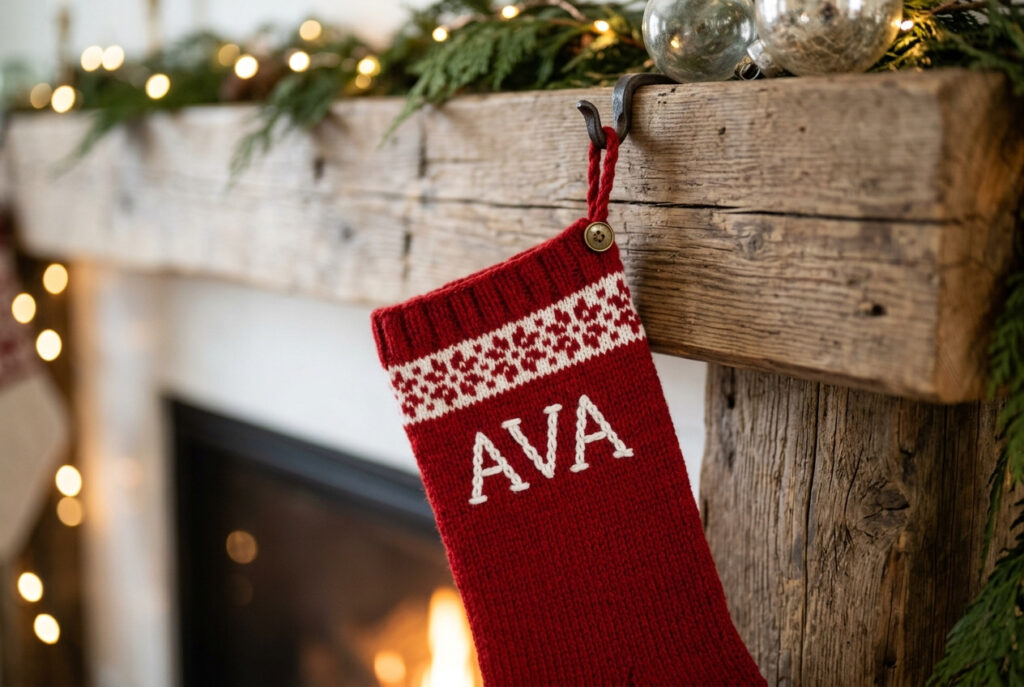
Once you’ve learned how to knit a stocking, adding personal details truly makes it special. After finishing and lightly blocking your stocking, the smooth stockinette surface becomes the perfect canvas for customization.
Duplicate Stitch and Embroidery (Best for Beginners)
To add a name or simple design without planning, duplicate stitch is the easiest method:
You can also use basic embroidery to add:
This approach is beginner-friendly and gives you full control over placement.
Colorwork Techniques (For Pattern Designs)
If you’re ready to experiment, colorwork offers more design possibilities:
When working with multiple yarns:
Also Read: How to Add New Yarn to Knitting? Step-by-Step
Also Read: Best Way to Join Yarn in Knitting
Simple Decorative Additions
For a quick finishing touch, you can add:
Keep in mind that if the stocking will hold gifts, avoid heavy or fragile embellishments that could pull the fabric.
Common Mistakes and How to Fix Them
Even when you understand how to knit a stocking, small mistakes can happen, especially when working in the round. Most issues are easy to fix once you know what to watch for.
Uneven Tension at the Cuff
If your ribbed cuff looks loose or uneven:
Why it happens:
The transition between rounds often creates looser stitches if tension isn’t controlled.
Twisted Stitches
Twisted stitches can distort your fabric and make it look uneven.
To avoid this:
Fixing early is key. Once several rows are worked, it’s harder to correct without unravelling.
Also Read: How to Fix a Dropped Stitch: A Complete Guide for Knitters
Also Read: How to Fix a Knitting Hole: Easy 5 Techniques and Tips
Laddering Between Needles
This is common when using double-pointed needles or even circular needles.
To fix it:
Heel or Toe That Feels Too Tight or Loose
If your stocking doesn’t fit or shape well:
Small adjustments in gusset decreases or heel flap length can make a big difference in fit.
Also Read: How to Pick Up Knit Stitches In Knitting? Two Methods
Also Read: How to Add Stitches When Knitting: Easy Guide
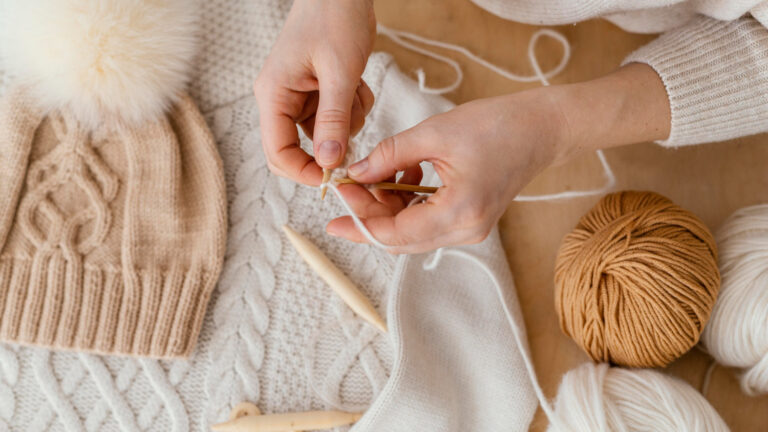
Care and Storage Tips for Hand-Knit Stockings
Once you’ve learned how to knit a stocking, proper care will help it last many holiday seasons. A well-made stocking can hold its shape and softness for years with the right routine.
Washing and Blocking
To keep your stocking clean and well-shaped:
Blocking evens stitches, smooths fabric, and maintains the polished hand-knit holiday stocking appearance.
Also Read: How Do I Block a Knitted Sweater? Step-by-Step
Also Read: How to Block a Knitted Scarf: 5 Easy Steps
Storage Tips Between Seasons
After the holidays, proper storage prevents damage.
To protect wool from pests:
If your stocking loses shape over time, a quick re-blocking session can restore its structure and make it look almost new again.
Frequently Asked Questions (FAQs)
Conclusion: How to Knit a Stocking with Confidence
Learning how to knit a stocking is more than just following steps; it’s about understanding how simple techniques come together to create something meaningful, functional, and personal.
From choosing the right yarn and needles to shaping the heel, foot, and toe, each stage builds on the last to form a complete hand-knit holiday piece. After finishing your first stocking, you’ll find the process easier the next time.
What makes this project special is its flexibility. You can keep it simple with classic stockinette stitch or experiment with colorwork, names, and decorative details to make each stocking unique. No two handmade pieces ever look the same, and that’s part of the charm.
Most importantly, don’t aim for perfection on your first try. Small uneven stitches or tension changes will blend into the fabric and add character. With practice, your technique will become smoother and more consistent.
Whether you’re knitting for holidays, gifts, or tradition, a handmade stocking is a timeless project that always feels rewarding to complete.