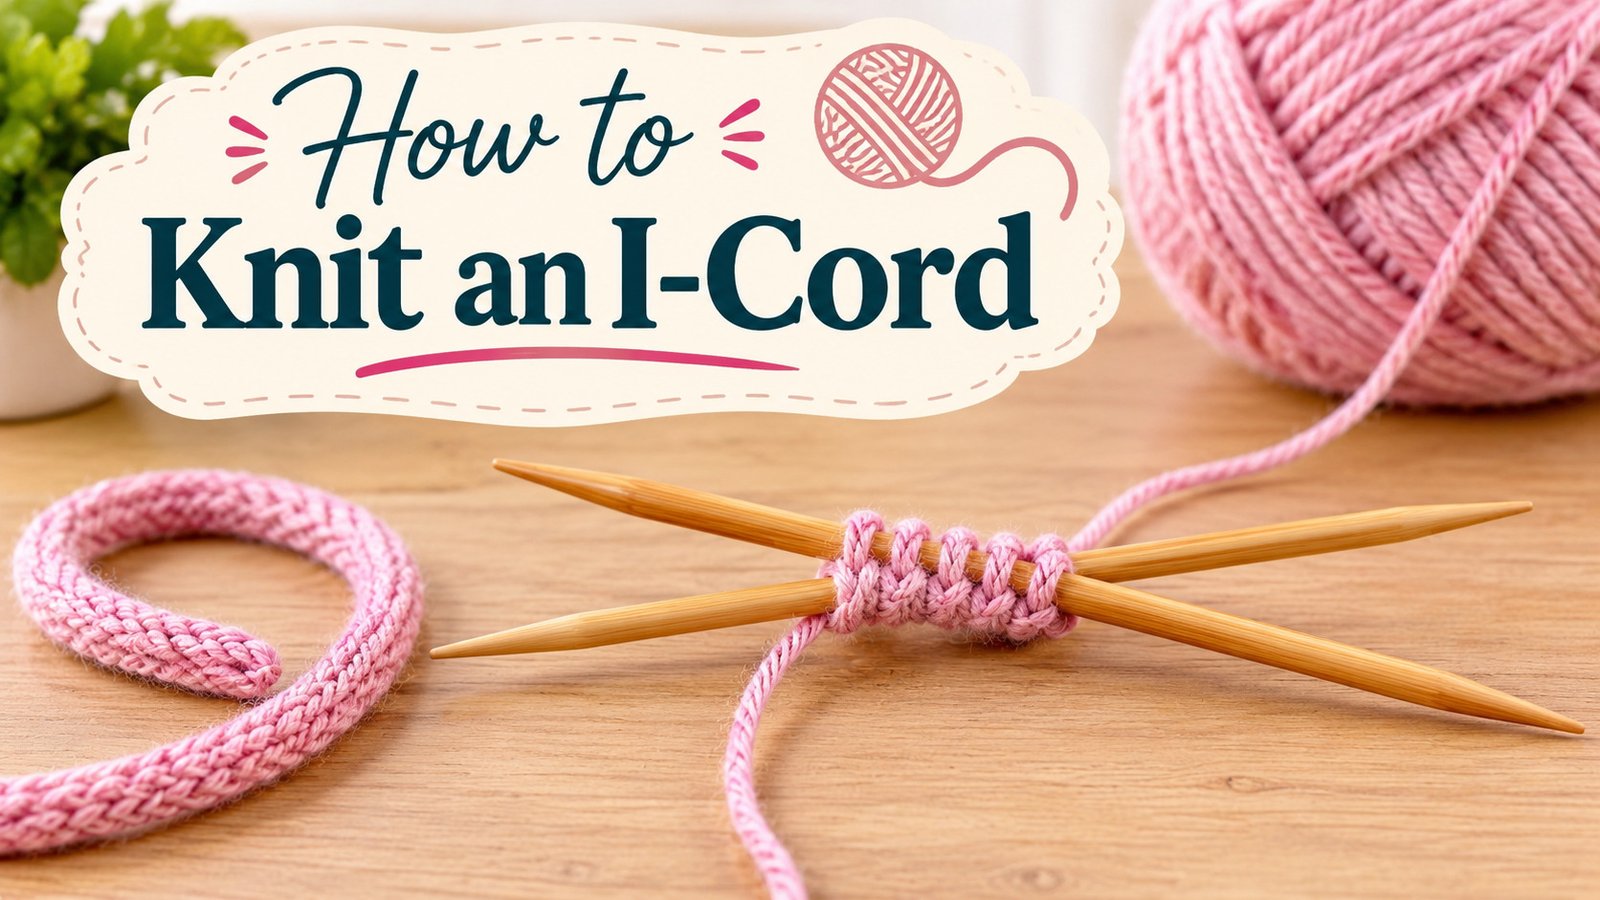
How to Knit an I-Cord: Easy Step-by-Step Guide
Learning how to knit an I-cord is easier than it looks. This narrow, tube-like knitted cord works well for drawstrings, bag handles, decorative trims, and neat edges. The basic technique requires only a few stitches and simple knitting supplies.
When I make small knitted accessories, I find an I-cord adds a clean finishing touch without complicated techniques. The key is to slide the stitches back to the other end of the needle without turning the work.
In this I-cord knitting tutorial, I’ll explain each step, show how to finish the cord neatly, and cover common mistakes and useful variations. Beginners can follow the instructions at their own pace and build confidence with a practical knitting technique.
Key Takeaways
What Is an I-Cord in Knitting?
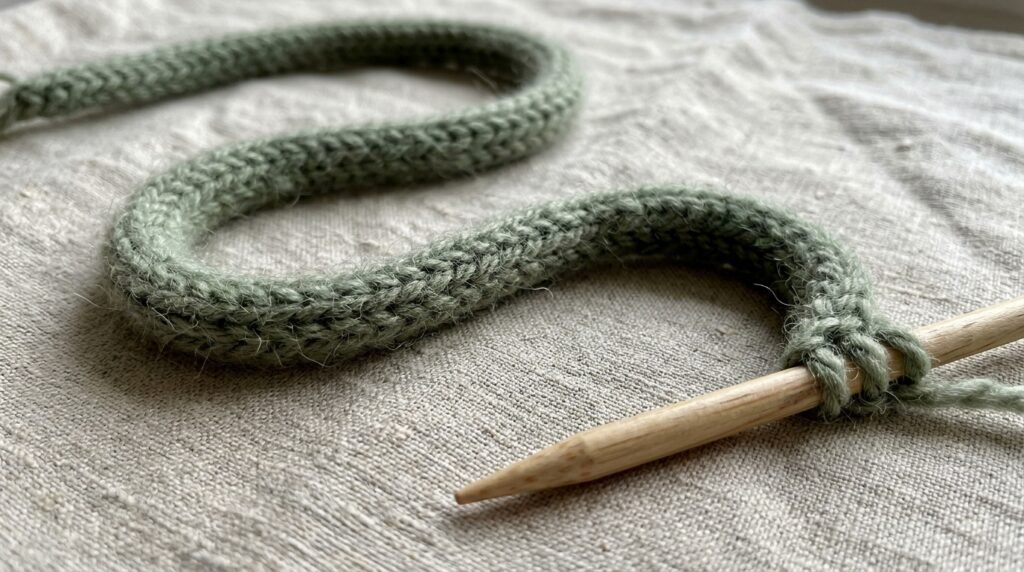
An I-cord is a narrow, hollow knitted tube usually worked over three to five stitches. Unlike a regular knitted strip, it does not require turning the work after each row. You slide the stitches back to the opposite end of the needle and knit them again from the same direction.
This repeated movement creates a smooth, rounded cord. A standard 3-stitch I-cord is an easy starting point for beginners. Four- and five-stitch versions create thicker cords for bag handles, drawstrings, and decorative details.
When finishing small knitted projects, I find an I-cord adds a neat, coordinated touch without complicated techniques. It can match the main fabric for a subtle finish or use a contrasting color to make edges stand out.
The technique also works well along the edges of blankets, garments, and other knitted items. An applied I-cord attaches the cord directly to existing fabric, creating a defined border without knitting a separate trim and sewing it on afterward.
What You Need to Knit an I-Cord
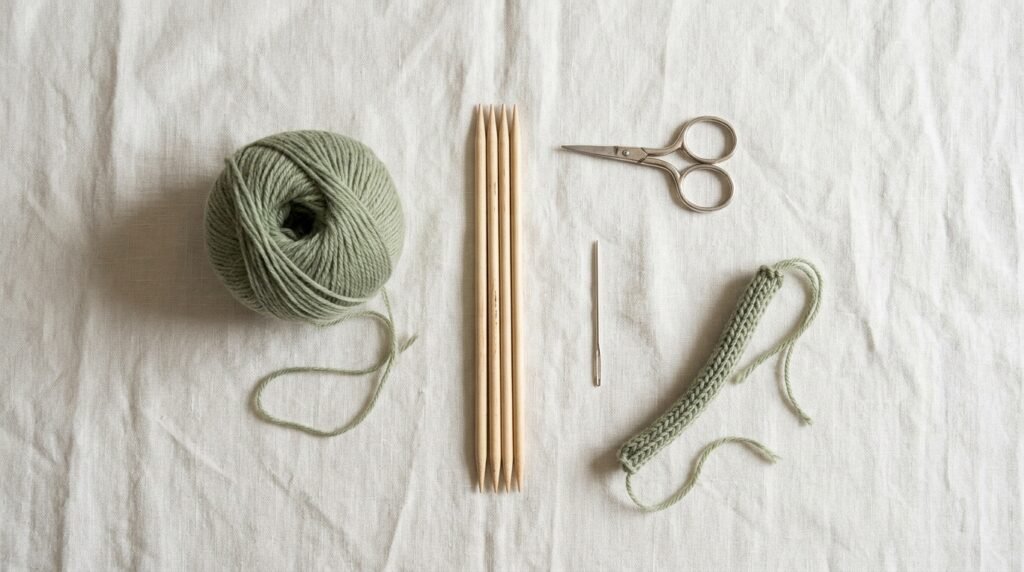
You need only a few basic supplies to start. Most knitters already have these tools in their knitting basket.
Yarn
Choose smooth, medium-weight yarn for your first attempt. Worsted-weight yarn is practical because the stitches are easy to see and handle.
Wool, acrylic, cotton, and blended yarns all work. For beginners, light-colored yarn with clear stitch definition makes following the knitting I-cord instructions easier.
Knitting Needles
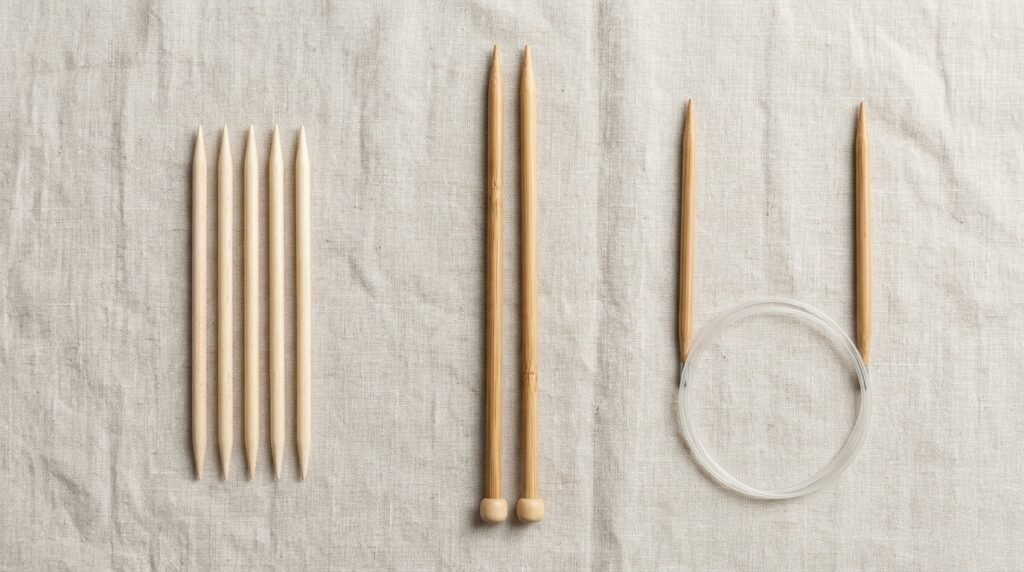
Straight needles can also be used for a basic I-cord. After knitting the stitches, slip them purlwise from the right-hand needle back onto the left-hand needle without turning the work.
Keep the working yarn behind the stitches and knit them again. Double-pointed needles are usually more convenient for this technique.
Also Read: What Size Needles for Beginner Knitting: 6 Easy Tips
Straight needles can also work for a basic I-cord. Slide the stitches back to the other end if the needle allows, or slip them onto the opposite needle tip. A circular needle may work too if the stitches move freely to the working end.
Also Read: How to Knit Flat on Circular Needles: Easy 4-Step Guide
Scissors and a Tapestry Needle
Keep scissors nearby to cut the yarn after binding off. A tapestry needle weaves loose ends into the cord, leaving a neat finish.
For your first project, smooth yarn, suitable needles, scissors, and a tapestry needle are enough. You do not need specialized equipment to learn the basic technique.
Which Needles Work Best for I-Cord Knitting?
- Why it happens: Long straight needles make sliding stitches repeatedly awkward, especially when working a short cord.
- How to fix it: Double-pointed needles are convenient because they let you move stitches from one tip to the other without turning the work. Straight needles also work if stitches slide back to the working end. A circular needle is another option when its tips and cable allow comfortable movement.
You do not need special needles to learn the basic technique. Choose needles that let you move stitches easily and knit comfortably.
How to Knit a Basic I-Cord: Step-by-Step
A three-stitch I-cord is a simple project to learn this technique. The key is to knit the stitches, slide them back to the opposite end of the needle without turning the work, and carry the working yarn across the back.
Step 1: Cast On Three Stitches
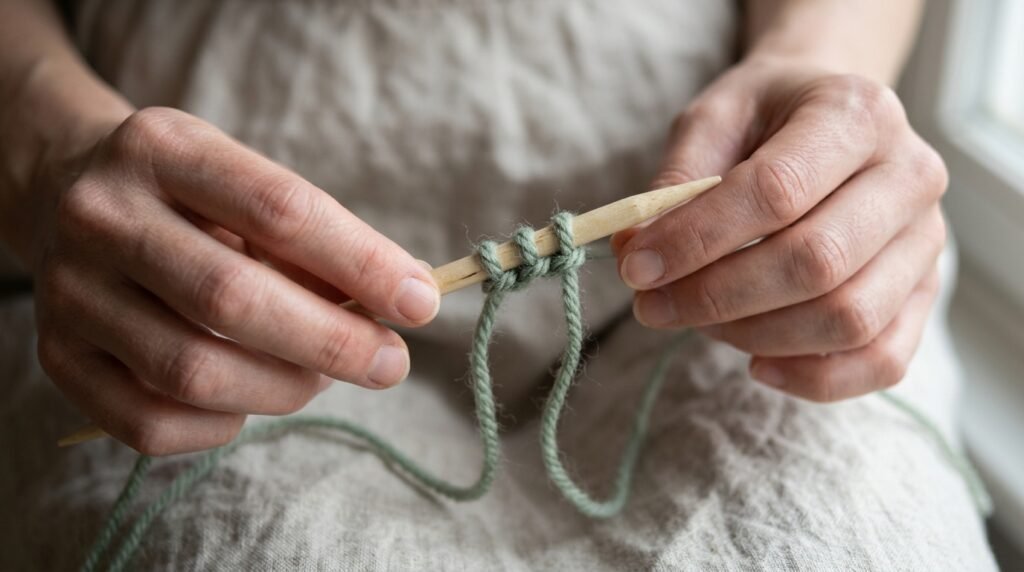
Cast on three stitches onto a double-pointed needle using your preferred cast-on method. A long-tail cast-on works well for beginners.
Keep the stitches secure but not tight. A comfortable cast-on edge makes the first few repetitions easier to knit.
Also Read: How to Do a Long Tail Cast On Knitting? Easy Guide
Step 2: Knit All Three Stitches
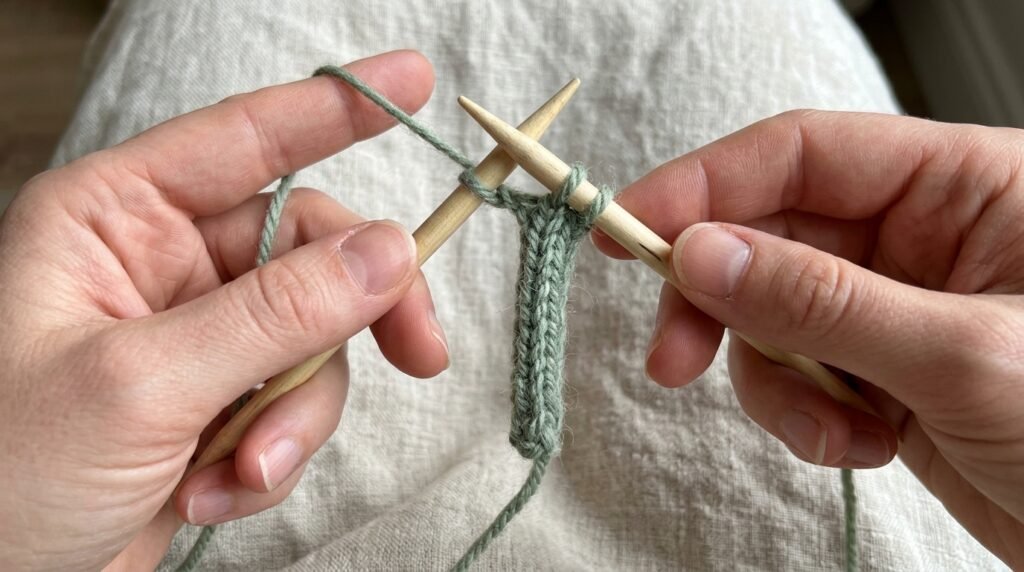
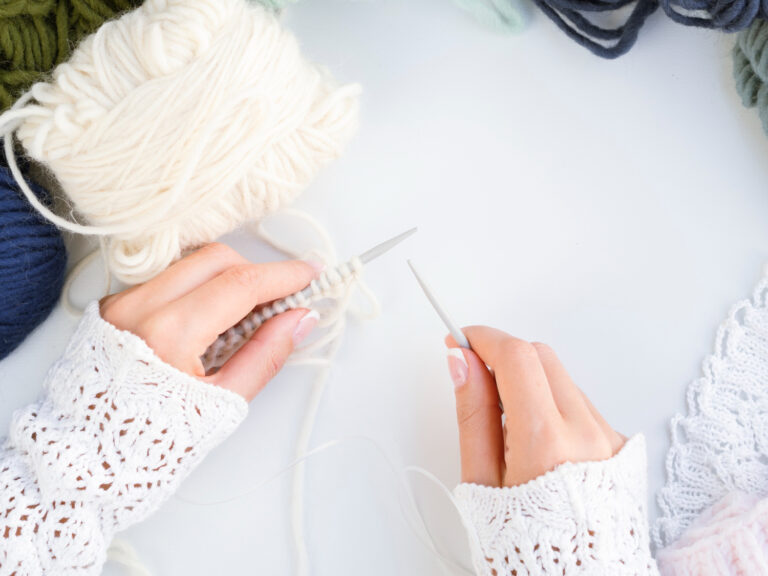
Hold the needle with the stitches in your left hand and an empty needle in your right hand.
Knit all three stitches normally. Once you finish, all three stitches will sit on the right-hand needle.
Step 3: Slide the Stitches Back
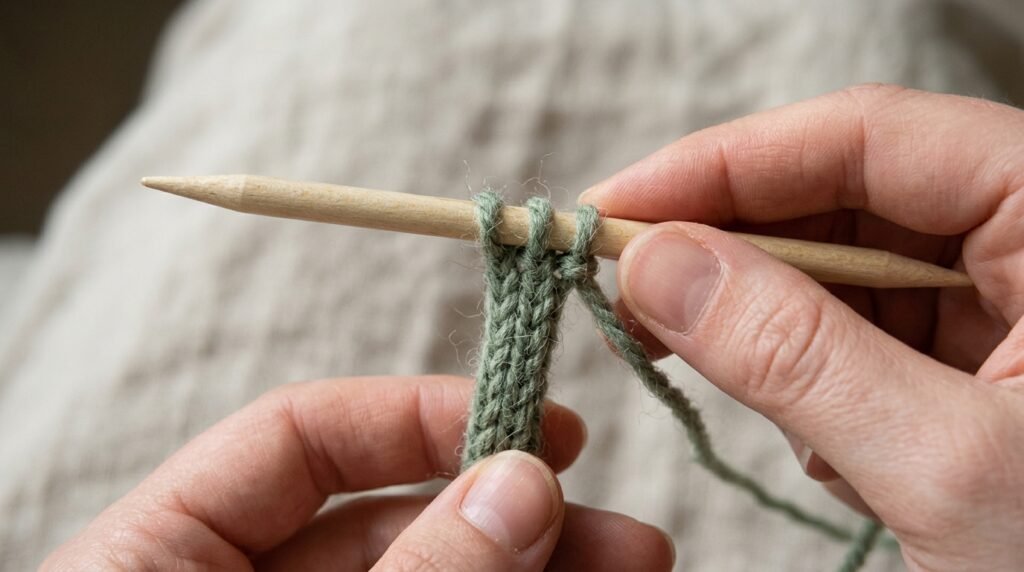
Do not turn your work. Slide the three stitches to the opposite end of the needle so you can knit them again from the same direction.
With double-pointed needles, move the stitches along the needle to the other tip. Keep the knitted fabric facing the same way.
Step 4: Bring the Working Yarn Across the Back
After sliding the stitches, the working yarn emerges from the last stitch you knitted. Carry it loosely across the back of the stitches to reach the first stitch at the opposite end.
Give the yarn a gentle tug to reduce the gap between the ends. Avoid pulling too tightly, as excessive tension can make the cord stiff.
Also Read: How to Knit a Gauge Swatch: Quick Guide
Step 5: Knit the Stitches Again
Knit all three stitches once more. Slide them back to the opposite end without turning the work and bring the working yarn across the back.
Repeat this sequence until the cord reaches the desired length:
Step 6: Check the Cord’s Shape
After several repetitions, inspect the knitted cord. It should begin to form a narrow, rounded tube rather than a flat strip.
If the back looks loose, adjust the working yarn gently before knitting the next repetition. Consistent tension helps create a smoother finish.
Step 7: Bind Off and Secure the Ends
When the cord reaches the required length, knit the final three stitches and bind them off using a standard bind-off method.
Cut the yarn, leaving a tail long enough to secure the end. Thread the tail through a tapestry needle and weave it into the cord. If you plan to attach the cord to a bag or another knitted piece, leave a longer tail for sewing.
Also Read: How Do You Weave in Ends in Knitting? Step-by-Step
I-Cord Knitting Instructions at a Glance
Use this pattern as a reference while working on your cord.
Basic 3-Stitch I-Cord Pattern
Abbreviations: CO = cast on; K = knit.
- CO 3 stitches.
- K 3.
- Slide the stitches to the opposite end of the needle without turning it.
- Carry the working yarn across the back of the stitches and pull it snug.
- Repeat steps 2 to 4 until the cord reaches the desired length.
- Bind off and weave in the yarn ends.
Pattern note: This method creates a basic three-stitch I-cord. The cord’s thickness and firmness depend on the yarn, needle size, and knitting tension.
How to Cast Off an I-Cord
When your I-cord reaches the desired length, bind off the stitches to secure the end. A standard bind-off works well for a separate cord used as a drawstring, handle, or decoration.
Also Read: How to Cast Off Knitting Right: Easy Guide
Standard I-Cord Bind-Off
- Knit the first two stitches.
- Lift the first stitch over the second stitch and off the needle.
- Knit the next stitch.
- Lift the previous stitch over the newly knitted stitch.
- Repeat until one stitch remains.
- Cut the yarn, leaving a tail of about 6 inches.
- Pull the tail through the final loop and tighten gently.
Thread the remaining tail through a tapestry needle and weave it into the cord. If you plan to sew the cord onto a bag or garment, leave a longer tail for secure attachment.
Keep the bind-off even. Pulling too tightly can make the end stiff or pinched; loose loops leave the finish untidy.
When to Use an I-Cord Bind-Off
A standard bind-off finishes a separate I-cord. An I-cord bind-off creates a rounded edge along existing knitted fabric. This method typically uses three additional stitches and joins the cord to the live stitches with a decrease.
Choose the finishing method that matches your project. Use a standard bind-off for a standalone cord and an I-cord bind-off when you want a decorative border along a blanket, neckline, or other knitted edge.
Also Read: How to Finish a Knitting Project: A Complete Guide
Common I-Cord Mistakes and Fixes
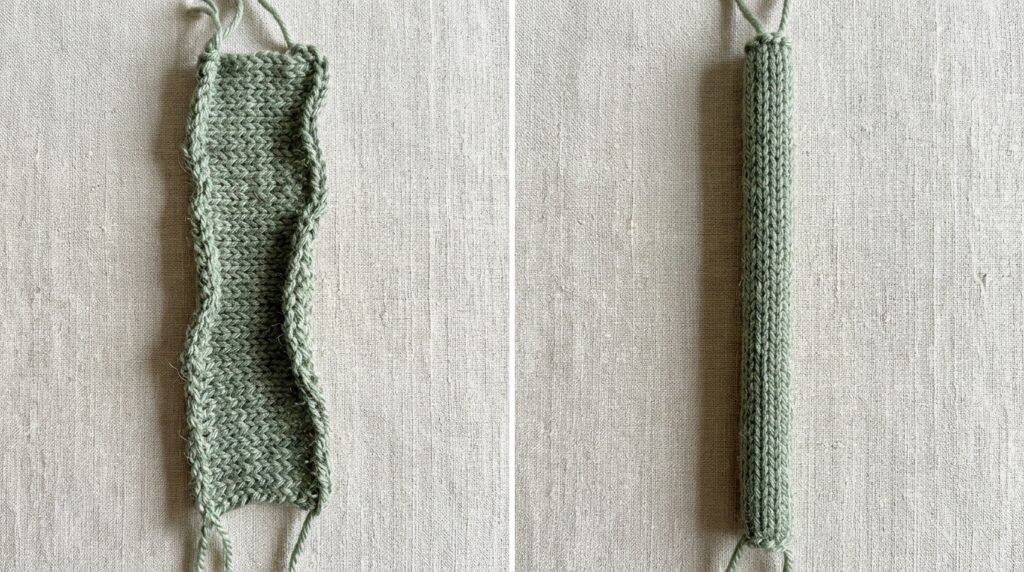
When learning to knit an I-cord, you may notice loose edges, uneven tension, or a flat cord. Most problems come from how you slide the stitches or manage the working yarn. The following fixes can help you create a smoother, more even cord.
Why Is My I-Cord Flat?
- Why it happens: The cord may look flat during the first few repetitions, or the stitches may not form a rounded tube.
- How to fix it: Knit the stitches, then slide them to the opposite end of the needle without turning the work. Carry the working yarn across the back before knitting the next row. Repeat several times before judging the cord’s shape.
Why Are the Edges of My I-Cord Loose?
- Why it happens: Slack in the working yarn leaves gaps where the edges meet.
- How to fix it: After sliding the stitches, gently snug the working yarn across the back before knitting the first stitch. Avoid pulling too tight, as this can make the cord uneven or stiff.
Why Is My I-Cord Too Tight?
- Why it happens: Pulling the yarn too tightly compresses the stitches and makes the cord difficult to knit.
- How to fix it: Relax your grip and keep your tension consistent. If the stitches remain difficult, try a slightly larger needle. The finished cord should feel firm but flexible.
How Do I Fix a Dropped I-Cord Stitch?
- Why it happens: A stitch can slip off the needle while moving stitches or adjusting the working yarn. Because an I-cord has few stitches, a dropped loop can unravel quickly.
- How to fix it: Stop knitting and secure the remaining stitches. Use a crochet hook to pick up the dropped loop, working upward through any unraveled rows if needed. Ensure the stitch sits correctly before continuing.
Also Read: How to Fix a Dropped Stitch: A Complete Guide for Knitters
Why Does My I-Cord Look Uneven or Twisted?
- Why it happens: Uneven tension makes the cord look irregular. Accidentally twisting the stitches or turning the work can disrupt the usual I-cord construction.
- How to fix it: Check that the stitches sit correctly on the needle before each repetition and slide them back without turning the work. Keep the working yarn gently snug across the back. Small tension differences become less noticeable with practice.
What Can You Use an I-Cord For?
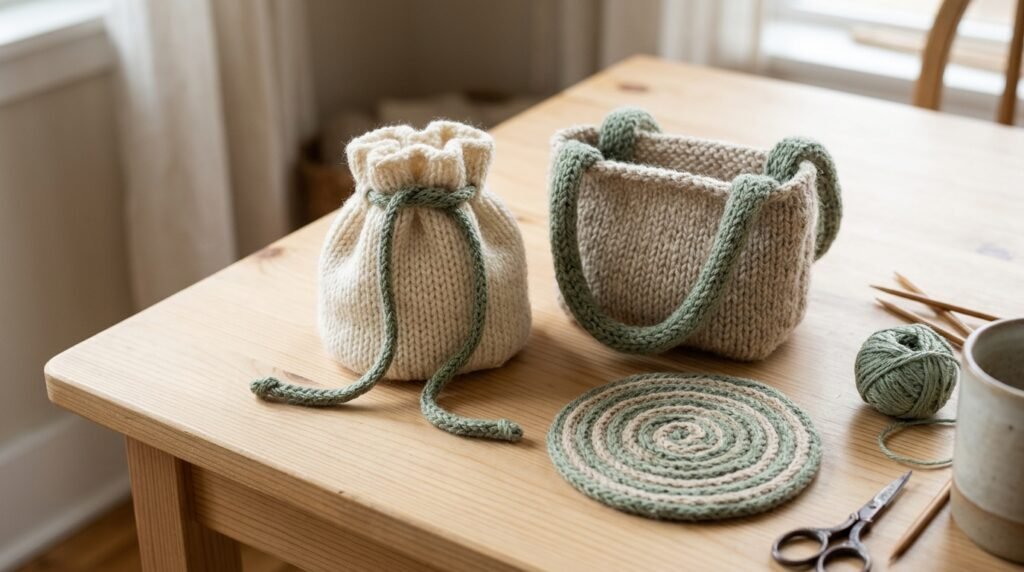
An I-cord is useful for more than simple ties. Its narrow, rounded shape suits practical accessories and decorative details on knitted projects.
Here are some common ways to use a knitted cord:
Choose the cord’s thickness and yarn according to the project. A narrow I-cord suits delicate details, while a wider version creates a more substantial appearance. For handles or load-bearing uses, check the cord’s strength and attachment rather than relying on thickness alone.
I-Cord Variations
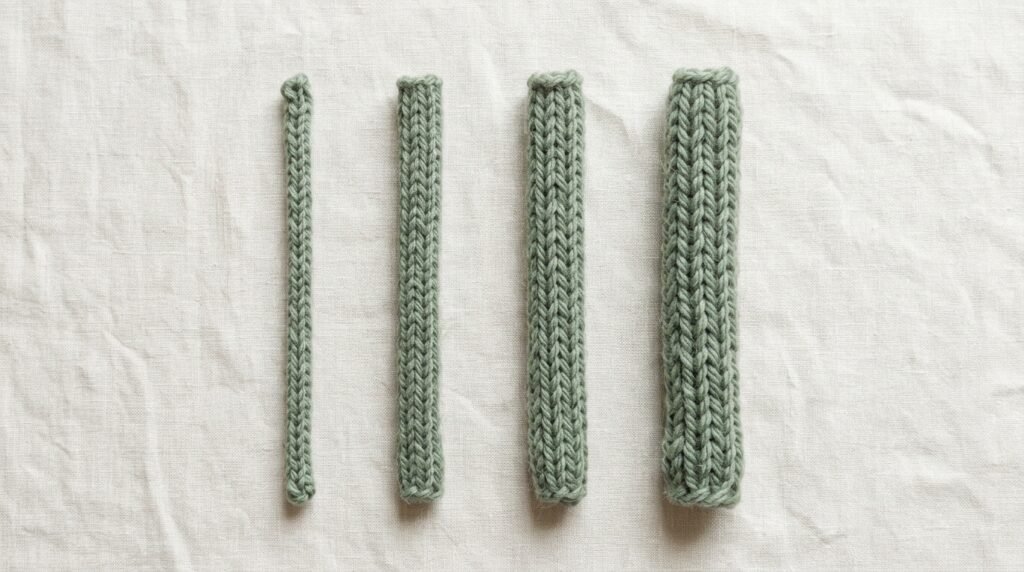
Once you can knit a basic I-cord, you can change its thickness or attach it directly to an existing knitted edge. The best option depends on the finish and function you want.
I-Cord Variations
Once you can knit a basic I-cord, you can change its thickness or attach it directly to an existing knitted edge. The best option depends on the finish and function you want.
| I-Cord Variation | Stitches or Method | Common Uses |
|---|---|---|
| 2-Stitch I-Cord | Cast on 2 stitches | Fine ties and delicate details |
| 3-Stitch I-Cord | Cast on 3 stitches | Beginner practice, drawstrings, and small trims |
| 4-Stitch I-Cord | Cast on 4 stitches | Thicker ties and decorative details |
| 5-Stitch I-Cord | Cast on 5 stitches | Broader cords and larger decorative accents |
| Applied I-Cord | Knit the cord while joining it to existing fabric | Blanket borders, necklines, and garment edges |
| I-Cord Bind-Off | Work a corded finish while binding off live stitches | Neat, rounded garment edges |
Two-Stitch I-Cord
A two-stitch I-cord creates a narrow tube. It works well for delicate ties and small decorative details, but its finished shape depends on yarn and needle size.
Follow the basic I-cord method: knit both stitches, then slide them back to the opposite end without turning the work. Check the finished cord before using it for ties that will be pulled frequently.
Four-Stitch I-Cord
A four-stitch I-cord creates a thicker tube than the standard three-stitch version. Cast on four stitches, knit them, slide them back without turning, and repeat.
This variation suits larger drawstrings and decorative details. Its final thickness and flexibility depend on yarn weight, needle size, and knitting tension.
Five-Stitch I-Cord
A five-stitch I-cord creates a broader cord with a more noticeable decorative accent. The knitting process is the same, but you work five stitches each repetition.
Check the cord’s flexibility as you work. If it feels bulky, a smaller stitch count may give a better result.
Applied I-Cord
An applied I-cord creates a rounded finish directly along an existing knitted edge. Instead of knitting a separate cord and sewing it on, you work the edging while joining it to fabric.
This technique is useful for blanket borders, necklines, pockets, and cardigan fronts. In a common method, you work a small group of I-cord stitches and join the cord to the fabric with a decrease. Follow the pattern for exact stitch count and joining sequence.
An applied I-cord differs from an I-cord bind-off, although the techniques can overlap. Both can create a corded edge, but the instructions depend on the pattern and the way the live stitches are finished.
Also Read: How to Read Knitting Patterns?
I-Cord Bind-Off
An I-cord bind-off creates a rounded, corded edge while securing live stitches on a knitted piece. Unlike a standard bind-off that simply finishes stitches, this technique adds a decorative border as you work.
A common method begins by casting on three additional stitches beside the live stitches. Then you work the I-cord and join it to the knitted fabric with a decrease, often knitting two stitches together through the back loops. The decrease depends on the pattern.
Also Read: How to Pick Up Knit Stitches In Knitting? Two Methods
Repeat the process along the edge until you secure all required stitches. An I-cord bind-off works well for blanket borders, necklines, and garment edges when you want a defined finish.
I-Cord Cast-On
An I-cord cast-on creates a narrow, rounded edge at the beginning of a knitted piece. It provides a neat border for accessories and garments when a decorative edge suits the design.
The construction varies by method. Some patterns create a separate cord and pick up stitches along it, while others form the cord and main fabric together.
Follow the instructions for your chosen pattern, paying attention to stitch count and how the cord connects to the main fabric. An I-cord cast-on differs from casting on three stitches to knit a standalone I-cord worked separately as a narrow knitted tube.
Conclusion
Learning how to knit an I-cord gives you a simple way to add useful details and decorative finishes to handmade projects. Start with three stitches, practice sliding them without turning the work, and keep the working yarn snug across the back.
Once the basic movement feels comfortable, experiment with thicker cords, drawstrings, or an applied I-cord edge. A small practice piece builds confidence before using the technique on a larger project.
Also Read: Best Beginner Knitting Projects for New Knitters