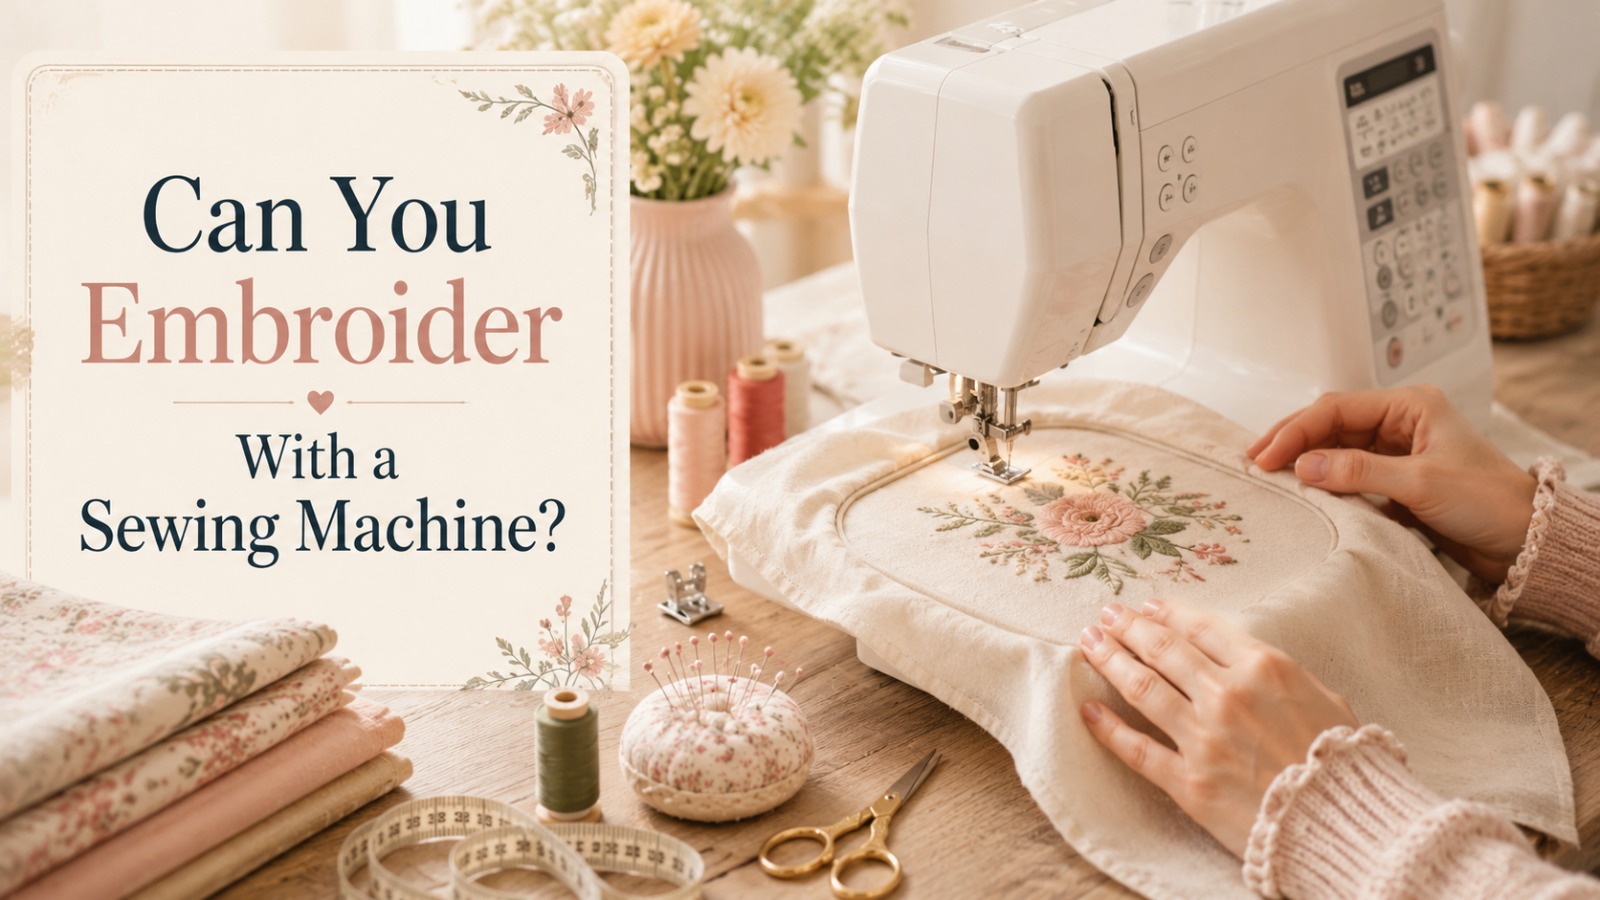
Can You Embroider With a Sewing Machine? Easy Guide
Adding embroidery to clothing, home décor, or handmade gifts often seems to require an expensive embroidery machine. This assumption stops many beginners from trying decorative stitching, even though a regular sewing machine can create attractive embroidered details.
Years of sewing and stitching have shown that technique often matters more than expensive equipment. Choosing the right needle, thread, stabilizer, and machine settings usually has a greater impact on the finished design than advanced machine features.
Learning can you embroider with a sewing machine helps beginners understand what a standard sewing machine can achieve and when a dedicated embroidery machine may be worth considering. This guide explains how sewing machine embroidery works, essential supplies to gather, practical techniques for clean results, and common mistakes easy to avoid with practice.
Key Takeaways
What Is Sewing Machine Embroidery?
Many people hear the word machine embroidery and immediately picture computerized equipment stitching detailed designs automatically. That represents only one type of embroidery.
Sewing machine embroidery simply means creating decorative stitches with a sewing machine instead of stitching entirely by hand. Depending on the machine, embroidery may be completed manually or automatically.
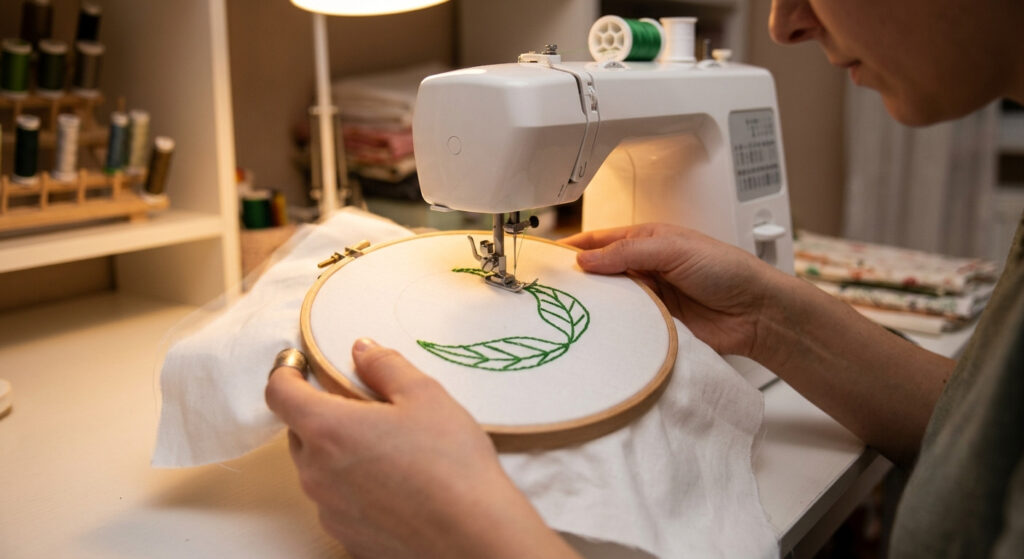
A standard sewing machine allows decorative stitching through manual fabric movement. The operator guides the fabric beneath the needle to create shapes, letters, flowers, leaves, borders, and artistic patterns.
Computerized embroidery machines perform most of that work independently after loading a digital design.
Both methods produce attractive results, although the learning process differs considerably.
Can a Sewing Machine Embroider?
Yes, a sewing machine can embroider. Results depend on the type of sewing machine, the project, and the embroidery technique. While a standard sewing machine cannot automatically stitch digital embroidery files, it can create decorative designs through free-motion embroidery and built-in decorative stitches.
For most beginners, free-motion embroidery is the easiest place to start. After lowering the feed dogs and attaching a free-motion foot, the fabric moves freely under the needle. This technique makes it possible to stitch monograms, floral designs, outlines, decorative borders, and other custom patterns. Like any sewing skill, regular practice leads to smoother and more consistent results.
Regular Sewing Machine vs. Embroidery Machine
A regular sewing machine requires the stitcher to guide the fabric by hand, offering greater creative control for one-of-a-kind designs. An embroidery machine automates the process by stitching digital patterns, making it a better choice for detailed logos, large projects, and repeated designs. For occasional embroidery and personalized sewing projects, a standard sewing machine is often more than capable.
| Feature | Regular Sewing Machine | Embroidery Machine |
|---|---|---|
| Fabric guidance | Manual, hand-guided | Automated |
| Best for | One-of-a-kind, custom designs | Detailed logos, repeated designs |
| Learning curve | Requires hand-control practice | Requires software/design setup |
| Ideal use case | Occasional, personalized projects | Commercial or high-volume production |
When a Regular Sewing Machine Is Enough
A regular sewing machine suits many decorative projects, including monograms, quilt labels, tote bags, pillow covers, children’s clothing, and simple floral designs. For occasional embroidery, learning free-motion techniques is often more practical than buying a dedicated embroidery machine.
If projects regularly involve detailed logos, repeated designs, or commercial production, an embroidery machine can save time and provide greater consistency.
How to Embroider With a Sewing Machine
Successful sewing machine embroidery starts with careful preparation, not speed. Simple setup steps make stitching smoother and produce cleaner, more even results.
Step 1: Gather the Essential Supplies
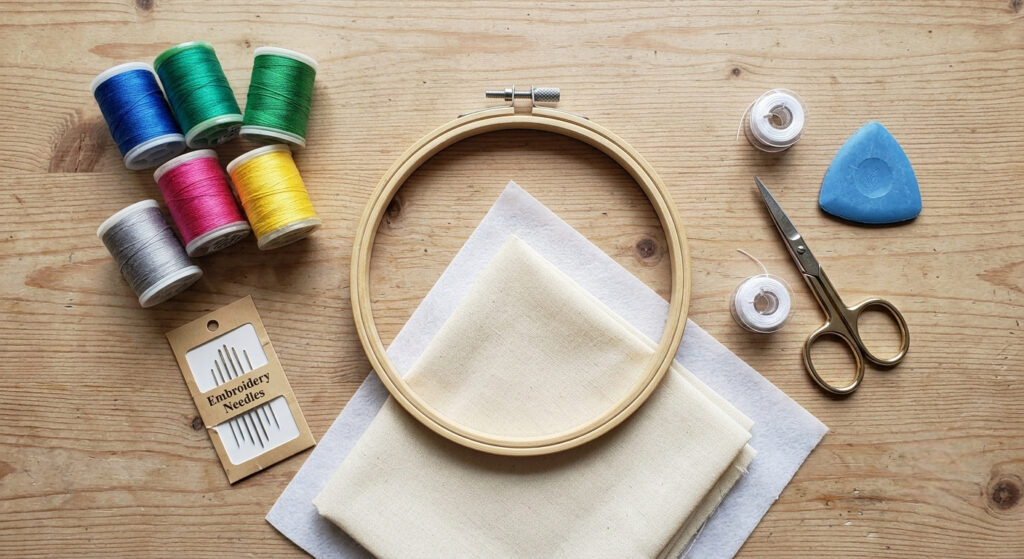
Having the right tools within reach makes the process easier and reduces interruptions once stitching begins.
Prepare the following items:
Quality supplies often have a greater impact on the finished design than expensive equipment.
Also Read: Best Sewing Scissors: Top Picks 2026
Step 2: Choose the Right Fabric
Stable woven fabrics are the easiest choice for a first embroidery project because they move less while stitching.
Good options include:
Stretch fabrics, silk, and slippery materials require more control and are better suited to later projects.
Step 3: Prepare the Fabric
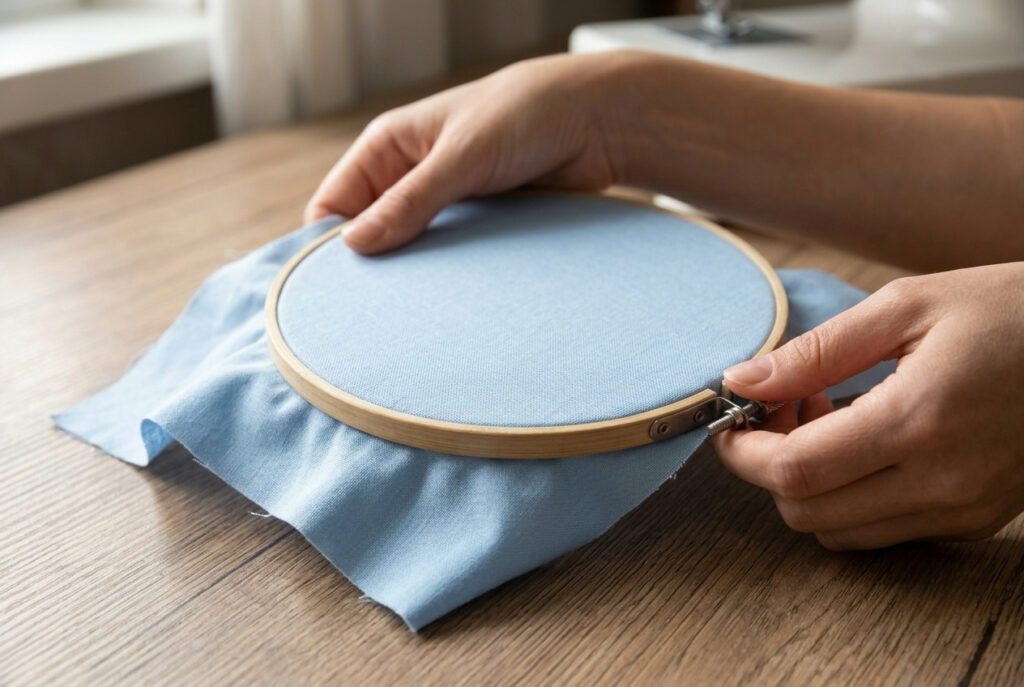
Press the fabric flat before marking the design. If the material is lightweight or likely to stretch, attach a stabilizer for machine embroidery to support the stitches and reduce puckering.
Next, place the fabric and stabilizer inside an embroidery hoop for sewing machine work. Tighten the hoop until the fabric feels smooth and firm without stretching it out of shape.
Also Read: How to Sew a Seam by Hand? Easy 5-Step Guide
Step 4: Set Up the Sewing Machine
Before stitching, adjust the machine for embroidery.
Test these settings on a fabric scrap to identify adjustments before starting the project.
Also Read: Do You Need Safety Goggles When Sewing?
Step 5: Begin Stitching
Bring the bobbin thread to the top and hold both thread tails for the first few stitches. Guide the hoop slowly as the needle forms each stitch.
Instead of rushing, focus on smooth and steady movements. Consistent speed produces cleaner curves, more even lettering, and better stitch quality.
For a first project, simple designs are the easiest to manage, such as:
These patterns help develop coordination before attempting detailed artwork.
Step 6: Check the Finished Design
After completing the embroidery, trim loose threads and remove excess stabilizer as needed. Press the fabric gently from the back with a pressing cloth to protect the stitches and help the design lie flat.
Examine the finished work. Small imperfections are normal and provide useful guidance for the next project.
Best Stitch Settings and Setup Tips
Correct machine settings are important for producing neat, consistent embroidery. While every sewing machine is slightly different, these starting points work well for most beginner projects and can be adjusted as needed.
Choose a Straight Stitch
A straight stitch is the standard choice for free-motion embroidery because it creates clean outlines and allows smooth movement in every direction.
Adjust the Stitch Length
When using free-motion embroidery, set the stitch length close to 0. Since the fabric is guided by hand, stitch length depends on machine speed and fabric movement rather than the feed dogs.
Lower the Feed Dogs
Lowering the feed dogs stops the machine from moving the fabric automatically. This allows complete control over the fabric, making it easier to stitch curves, lettering, and custom designs.
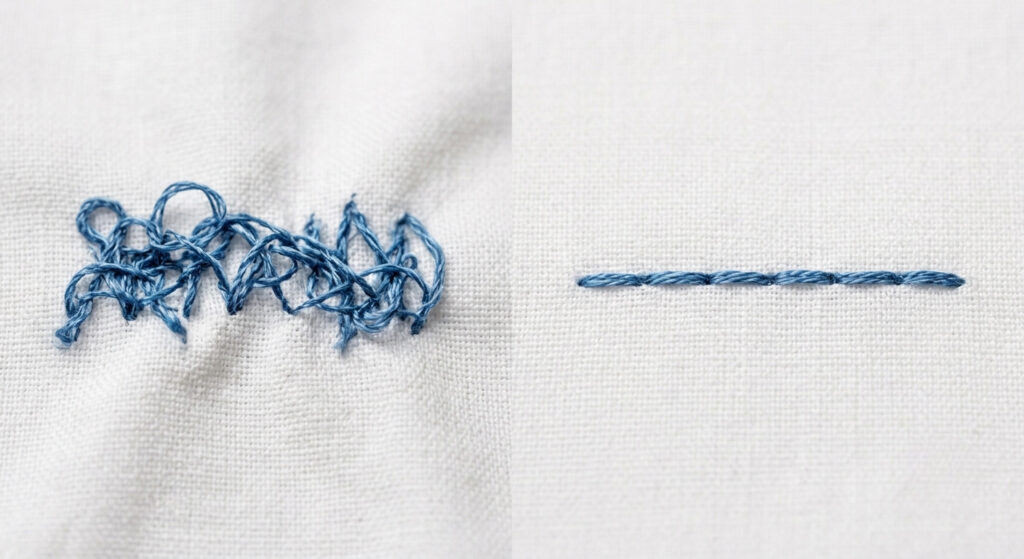
Set a Balanced Thread Tension
Start with the machine’s normal thread tension and test it on a fabric scrap. If stitches loop underneath or pull tightly, make small adjustments until both sides of the embroidery appear balanced.
Install a Free-Motion or Darning Foot
A free-motion foot provides better visibility and allows the fabric to move smoothly beneath the needle. It also helps maintain even pressure during stitching.
Start at a Moderate Sewing Speed
Avoid sewing at full speed when learning. A steady moderate pace provides better control and produces smoother curves, cleaner outlines, and more consistent stitch length.
Free Motion Embroidery Basics
Free-motion embroidery is an effective way to embroider on a regular sewing machine. Lowering the feed dogs stops the machine from moving the fabric automatically, giving complete control over its direction. Instead of the machine guiding the fabric, the stitcher moves it by hand to create decorative designs.
Free-motion embroidery feels different from regular sewing because the fabric moves in every direction instead of feeding forward. After some practice, the movements become more natural and easier to control. With steady hand movements, stitching monograms, floral motifs, outlines, decorative borders, and other custom patterns becomes easier and more accurate.
What Beginners Should Expect
Early stitches are rarely even, which is normal when learning free-motion control. As hand movement and sewing speed become more consistent, stitch quality improves naturally.
Begin with simple practice exercises such as:
Keeping the first designs simple makes it easier to develop control before moving on to lettering or detailed embroidery. Regular practice leads to smoother stitching and consistent results.
Easy Sewing Machine Embroidery Designs for Beginners
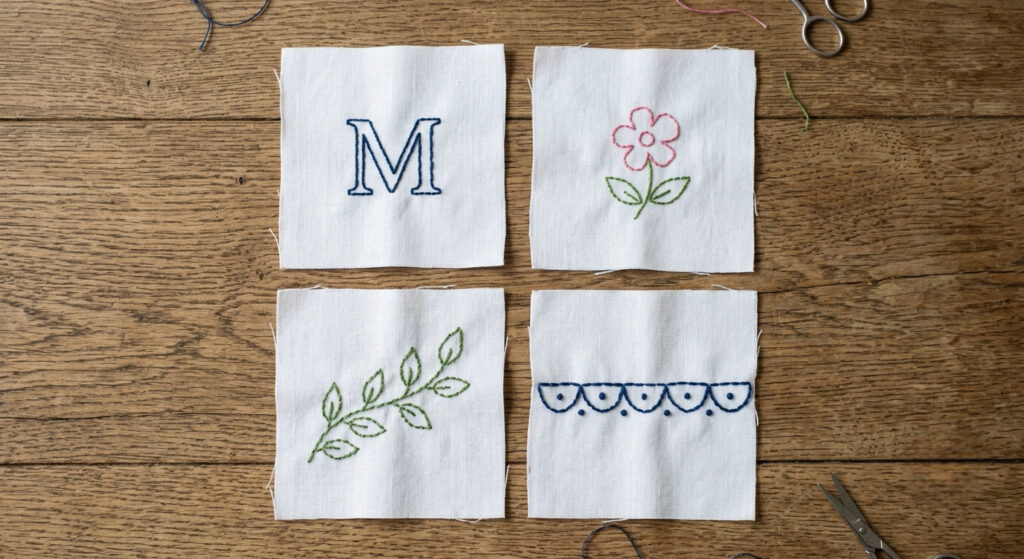
Simple projects allow beginners to practice essential embroidery techniques without feeling overwhelmed by detailed designs. Starting with basic shapes improves fabric control, stitch consistency, and confidence before moving on to more advanced patterns.
Monograms
Adding initials to towels, tote bags, pillowcases, or fabric labels is an excellent way to practice smooth curves and lettering while creating personalized projects.
Also Read: How to Sew a Pillow: Easy Guide for Beginners
Floral Outlines
Simple flowers combine gentle curves with repeating shapes, making them ideal for developing steady hand movement and consistent stitch spacing.
Leaves and Branches
Leaf and vine patterns are forgiving for beginners and help improve control around curves while creating attractive decorative accents.
Stars and Hearts
These familiar shapes require only a few basic movements and are perfect for children’s clothing, gift bags, bookmarks, and seasonal decorations.
Decorative Borders
Borders stitched around napkins, placemats, table runners, quilt blocks, or fabric baskets provide valuable practice in maintaining even spacing and smooth, continuous lines.
Also Read: How to Sew a Curtain? Easy Steps for Perfect Results
Use Built-In Decorative Stitches for Extra Detail
Many sewing machines include decorative stitches that pair well with free-motion embroidery. Combining the two techniques can add texture and visual interest without making a design too complicated.
Popular decorative stitches include:
Experimenting with these built-in stitches alongside free-motion embroidery creates distinctive designs and helps beginners become more familiar with their sewing machine’s capabilities.
Also Read: What Is a Basting Stitch in Sewing? Easy Guide
Common Beginner Mistakes to Avoid
Most sewing machine embroidery problems are easy to correct once the cause is identified. A few small adjustments often improve stitch quality and help create smoother, more consistent embroidery.
Skipping the Stabilizer
Stabilizer supports the fabric while it is being stitched. Without it, lightweight or stretchy fabrics may wrinkle, shift, or pucker, causing uneven lettering and distorted designs. Matching the stabilizer to the fabric helps keep the embroidery stable throughout the project.
Moving the Fabric Too Quickly
Smooth embroidery depends on balancing hand movement and sewing speed. Guiding the fabric too quickly often creates long, uneven stitches, while moving too slowly can produce crowded stitching. A steady rhythm usually delivers the best results.
Focusing Only on the Needle
Watching the needle constantly makes it harder to follow the design accurately. Looking just ahead of the stitching line helps create smoother curves, cleaner outlines, and more consistent shapes.
Using the Wrong Needle
A worn, damaged, or unsuitable needle can cause thread breaks, skipped stitches, fabric snags, and uneven embroidery. Replacing the needle regularly improves stitch quality.
Ignoring Thread Tension
Incorrect thread tension can cause looping, puckering, or uneven stitches. Test the tension on scrap fabric and make small adjustments until both sides of the embroidery appear balanced.
Also Read: How to Sew a Rip? Easy 6- Step Guide
Starting Without Testing the Settings
Every fabric, thread, and stabilizer combination behaves differently. Testing the machine on a scrap piece first allows adjusting thread tension and stitch quality before beginning the finished project.
Skipping Practice
Even experienced sewists test new techniques before important projects. Spending a few minutes practicing on scrap fabric improves control and reduces mistakes on the final design.
Tips for Better Sewing Machine Embroidery
A few simple habits can improve stitch quality and make sewing machine embroidery easier, especially when learning. Small adjustments often produce more consistent results than increasing sewing speed or changing equipment.
Use a Slower Sewing Speed
A moderate sewing speed provides better control when stitching curves, corners, and detailed shapes. If the machine has speed control, start at a lower speed until hand movements are consistent.
Keep Your Hands Relaxed
Guide the embroidery hoop with light, steady movements rather than gripping it tightly. Relaxed hands make it easier to follow the design and create smoother lines.
Match the Needle to the Fabric
Choose a needle that suits the fabric weight. Lightweight fabrics work best with finer needles; denim and canvas require stronger ones. Using the correct needle helps reduce skipped stitches and puckering.
Also Read: How to Sew a Pocket Square? Two Easy Methods
Test Every Project First
Even familiar fabrics can behave differently depending on the thread, stabilizer, and needle. Stitching a small sample on scrap fabric allows quick adjustments before working on the finished project.
Keep the Machine Clean
Lint and loose thread can collect around the bobbin area during embroidery. Regular cleaning helps maintain smooth stitching and consistent thread tension.
Press the Finished Embroidery Carefully
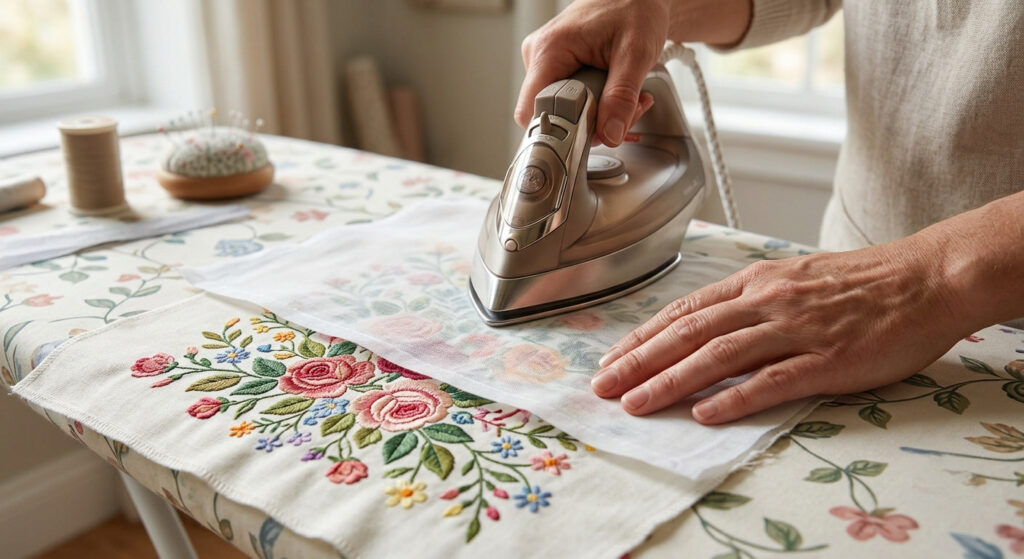
Press the fabric from the back using a pressing cloth to protect the stitches. This helps the embroidery lie flat and preserves the texture and appearance of the design.
Conclusion
Can You Embroider With a Sewing Machine? Yes, a regular sewing machine can embroider. While it cannot automatically stitch digital embroidery designs, it can create attractive decorative patterns, monograms, lettering, and free-motion embroidery with the right setup and technique.
Success depends more on preparation and practice than on expensive equipment. Choosing the correct needle, thread, stabilizer, and fabric, and taking time to test machine settings helps produce cleaner, more consistent stitches.
Begin with simple designs and focus on building control rather than speed. Practice on scrap fabric and improve one project at a time. As embroidery skills develop, a standard sewing machine can become a reliable tool for adding creative, personalized details to clothing, accessories, quilts, and home décor.
Also Read: How to Sew a Knitted Sweater Together? Easy Guide