How to Sew a Seam by Hand? Easy 5-Step Guide
How to sew a seam by hand is a practical skill that helps with clothing repairs, garment construction, patchwork, and finishing sewing projects without a machine. A well-sewn hand seam provides durability, precision, and greater control, making it useful for both beginners and experienced crafters.
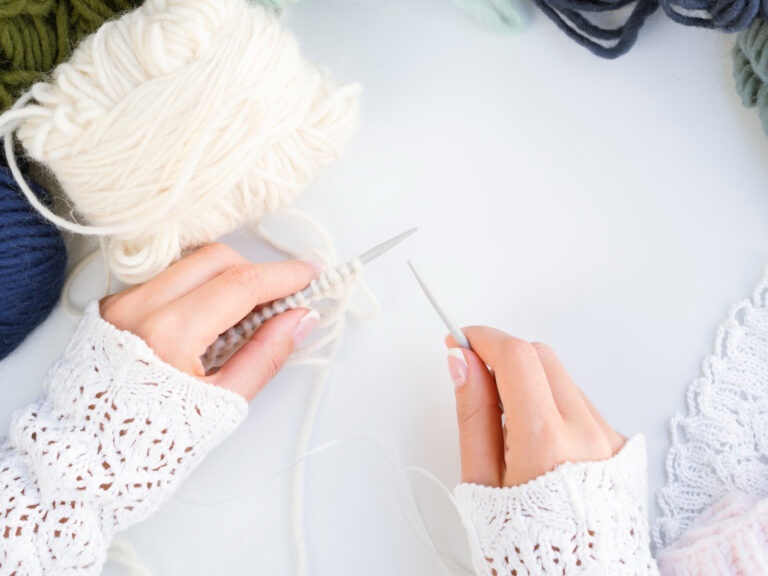
When I first started joining knitted sweater pieces, I realized hand sewing offered more accuracy than rushing through machine stitches. Working one stitch at a time made it easier to align fabric, adjust tension, and achieve a clean finish.
This guide explains the complete process, from selecting the right needle and thread to using backstitch and running stitch techniques. By following these simple steps, you’ll learn how to create straight, secure seams that look neat and hold up well with regular use.
Also Read: How to Sew a Knitted Sweater Together? Easy Guide
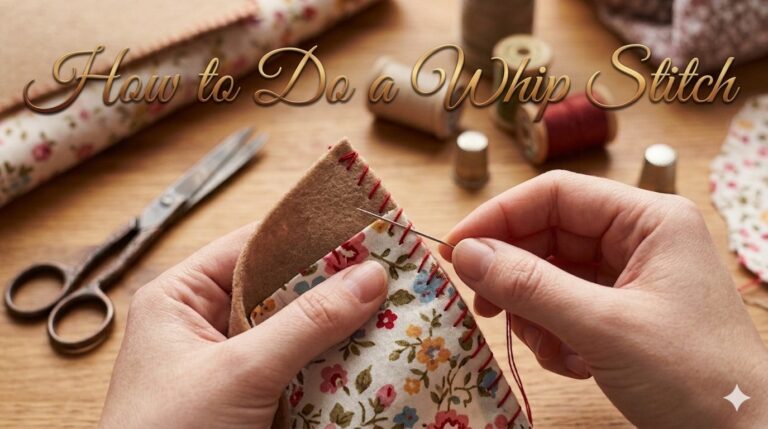
Also Read: How to Do a Whip Stitch? Quick Guide
What Is a Seam in Sewing?
A seam is the line where two or more pieces of fabric are joined together using stitches. It forms the basic structure of garments, bags, quilts, and many other sewing projects.
Strong seams are essential because they hold fabric pieces in place under stress. Without them, a finished item can lose shape or come apart with regular use.
In hand sewing, seams are used for many tasks, including clothing repairs, hemming, patchwork, and finishing delicate fabrics. They are especially useful in areas that are difficult to sew by machine or require more control and precision.
Unlike machine stitching, hand-sewn seams allow you to control each stitch individually. This makes them suitable for both visible decorative work and clean, nearly invisible finishes, depending on the project.
Why Learn Hand Sewing?
Learning how to sew a seam by hand is a practical skill useful for everyday repairs and detailed craft work. It gives you flexibility when a sewing machine is unavailable and improves your understanding of how stitches form fabric structure.
Hand sewing is valuable because it lets you work slowly and precisely, which is important when handling delicate fabrics or finishing small areas that need control.
Key benefits include:
Even experienced tailors rely on hand sewing for finishing work, as it often produces cleaner edges and more controlled results than machine stitching in detailed areas.
Tools & Materials You Need for How to Sew a Seam by Hand
You don’t need expensive equipment or a dedicated sewing space to start. One advantage of learning to sew a seam by hand is that it requires only a few basic tools, most of which are inexpensive and easy to find.
Using the right materials makes a noticeable difference in stitch quality, comfort, and durability.
Needle Types for Hand Sewing
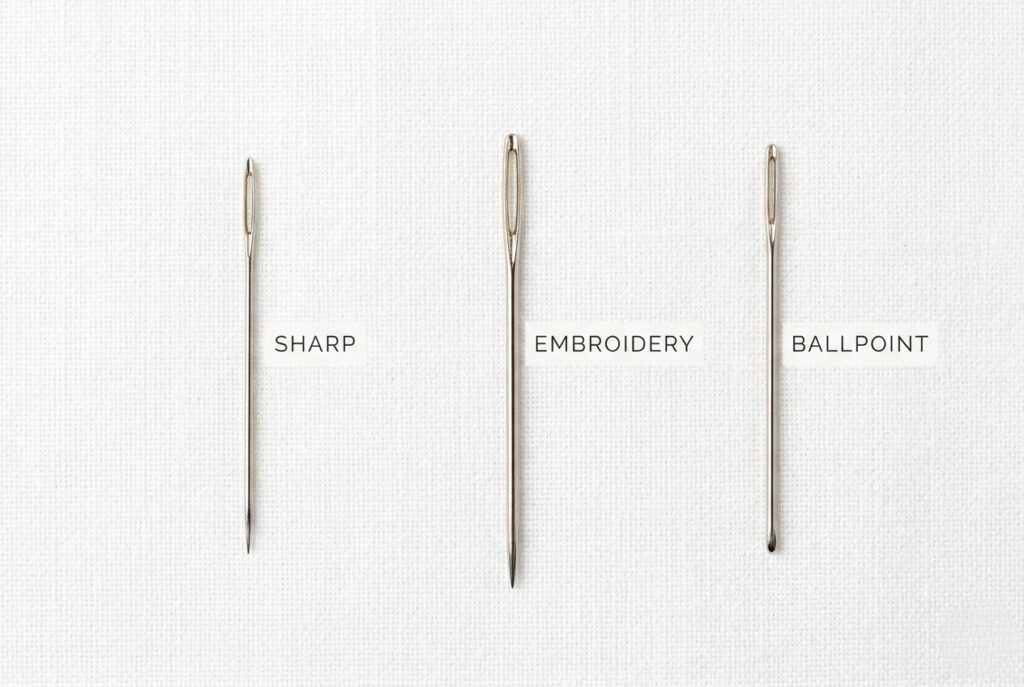
Needles behave differently depending on fabric type and thickness. Choosing the correct one helps prevent skipped stitches, bent needles, or fabric damage.
Sharps (General Hand Sewing Needles)
Sharps are the most commonly used needles for hand sewing seams. They have a sharp point and a balanced length, making them suitable for most woven fabrics such as cotton, linen, and basic garment materials.
They are ideal for general stitching and seam construction. Sizes 7–9 are typically the most versatile for beginners.
Embroidery (Crewel) Needles
These needles have a slightly larger eye, making threading easier, especially with thicker thread or multiple strands.
They are useful for decorative seams, hand-finishing details, or thicker threads that might fray in smaller eyes.
Ballpoint Needles (For Knitted Fabrics)
Ballpoint needles are designed specifically for knit materials. Instead of piercing fibers, they move between them, helping prevent snags or holes.
If you’re sewing knitted garments or joining knitted pieces, this type of needle is often the safest choice.
Simple Selection Rule
A good needle should:
Test a needle on scrap fabric before starting your project to avoid mistakes later.
Also Read: What Size Needles for Beginner Knitting: 6 Easy Tips
Also Read: The Best Interchangeable Knitting Needles
Thread Selection Tips
Thread choice directly affects seam strength, flexibility, and appearance. Matching thread to fabric is an important part of learning to sew a seam by hand effectively.
Cotton Thread
Best suited for natural fabrics like cotton, linen, and wool. It creates stable seams with minimal stretch.
Polyester Thread
A strong all-purpose option that works well on most fabrics, including synthetic materials. It offers slight elasticity, making seams more resistant to stress.
Wool Yarn (For Knitting Projects)
When joining knitted pieces, wool yarn blends better than standard thread, resulting in a smoother, less visible seam.
Silk Thread
Ideal for delicate fabrics, it is fine, smooth, and strong without adding bulk to the seam.
Practical Rule
Also Read: Best Way to Join Yarn in Knitting: Easy 10-Techniques
Also Read: How to Add New Yarn to Knitting? Step-by-Step
Other Helpful Tools
Only a needle and thread are strictly required, but additional tools make hand sewing more precise and efficient.
Essential Tools
These tools are affordable and widely available at craft stores, and they significantly improve stitching accuracy and comfort.
Preparing Your Fabric
Preparing the fabric before sewing helps create straighter stitches, consistent seam allowances, and a cleaner finished project. Spending a few extra minutes at this stage reduces fabric shifting and improves seam accuracy.
Before threading your needle:
Proper preparation makes the fabric easier to handle and supports even stitching throughout the seam.
How to Mark the Seam Line
Marking the seam line provides a clear guide and helps maintain an even seam allowance throughout.
For most beginner projects, a ½-inch seam allowance is practical.
To mark the seam line:
- Lay the fabric flat on your work surface.
- Measure ½ inch from the raw edge using a ruler or seam gauge.
- Draw a light guideline with fabric chalk, a washable fabric marker, or a tailor’s pencil.
- Repeat the process for the matching fabric piece if needed.
Following a visible guideline improves stitch consistency and reduces uneven or crooked seams.
For knitted fabrics, handle the fabric gently and avoid stretching it while measuring or marking to maintain its shape.
Pinning Fabric Pieces Together
Pinning keeps fabric layers aligned while sewing and helps prevent shifting that affects seam accuracy.
To prepare the fabric:
- Place the right sides of the fabric together for a standard inside seam.
- Match raw edges carefully without overlapping or gaps.
- Insert pins perpendicular to the seam line every 2–3 inches.
- Smooth the fabric before adding each pin to remove wrinkles and folds.
For curved seams, such as sleeves or necklines, place pins slightly closer together to provide additional support and maintain the shape of the curve.
Careful pinning keeps the fabric stable during sewing and contributes to a neat, evenly aligned seam.
Also Read: How to Use Stitch Markers for Knitting: Easy Guide
Also Read: How to Sew a Pillow: Easy Guide for Beginners
Step-by-Step: How to Sew a Seam by Hand
Once the fabric is prepared, you can begin sewing the seam. Following a consistent process helps create straight stitches, even tension, and a durable finished seam.
Step 1: Thread the Needle & Tie a Knot
Cut a thread 18–24 inches long. Shorter lengths reduce tangling and make stitching easier to control.
To prepare the needle:
- Trim the thread end neatly.
- Pass the thread through the needle eye.
- Leave a tail of about 4–6 inches.
- Tie a small knot at the opposite end.
Use a single strand for lightweight fabrics or double it for extra strength.
Experienced sewists may anchor the thread with a waste knot or small stitches, especially for nearly invisible seams.
Step 2: Using the Backstitch (Strong Seam)
Backstitch is a strong hand-sewing technique often used for permanent seams because it resembles machine stitching.
To sew a backstitch:
- Bring the needle through both fabric layers on the marked seam line.
- Move forward one stitch length.
- Insert the needle back into the end of the previous stitch.
- Bring the needle forward one stitch length beyond the last stitch.
- Repeat this sequence along the seam.
The overlapping stitches create a continuous line that distributes tension evenly and improves seam durability.
Aim for 8–10 stitches per inch for most projects, using smaller stitches in areas that are frequently stressed.
Also Read: How to Fix a Dropped Stitch: A Complete Guide for Knitters
Also Read: How to Fix a Knitting Hole: Easy 5 Techniques and Tips
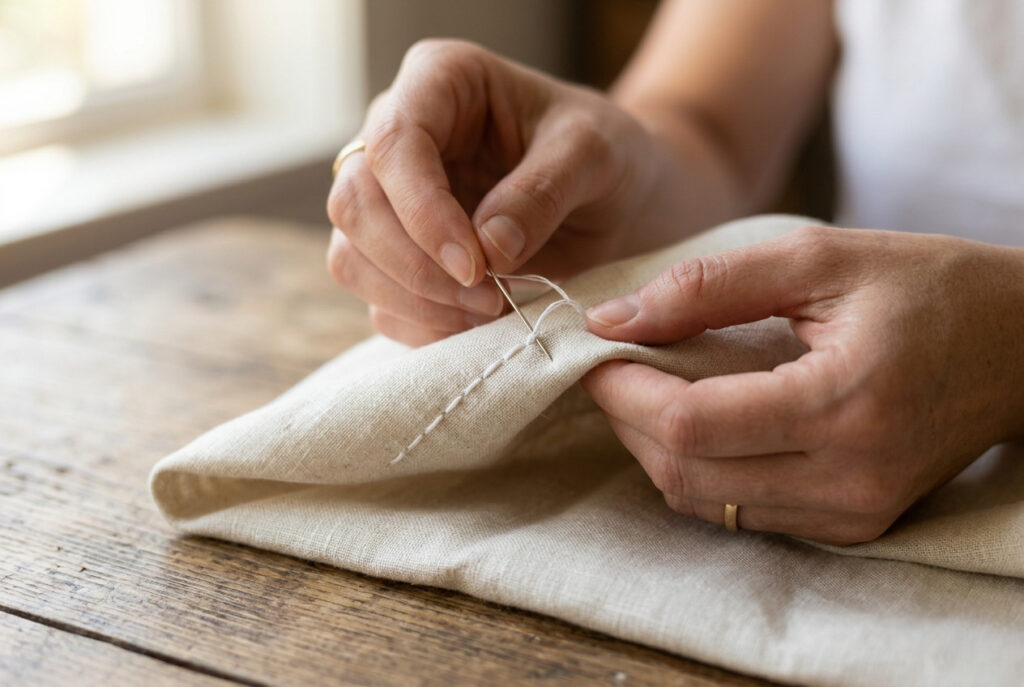
Step 3: Using the Running Stitch (Basting)
Running stitch is a simple technique that moves the needle in and out of the fabric at regular intervals.
It is commonly used for:
Because the stitches do not overlap, running stitch is quicker to sew but less strong than backstitch.
Also Read: What Is a Basting Stitch in Sewing? Easy Guide
Also Read: What Is Edge Stitch in Knitting? Easy Guide
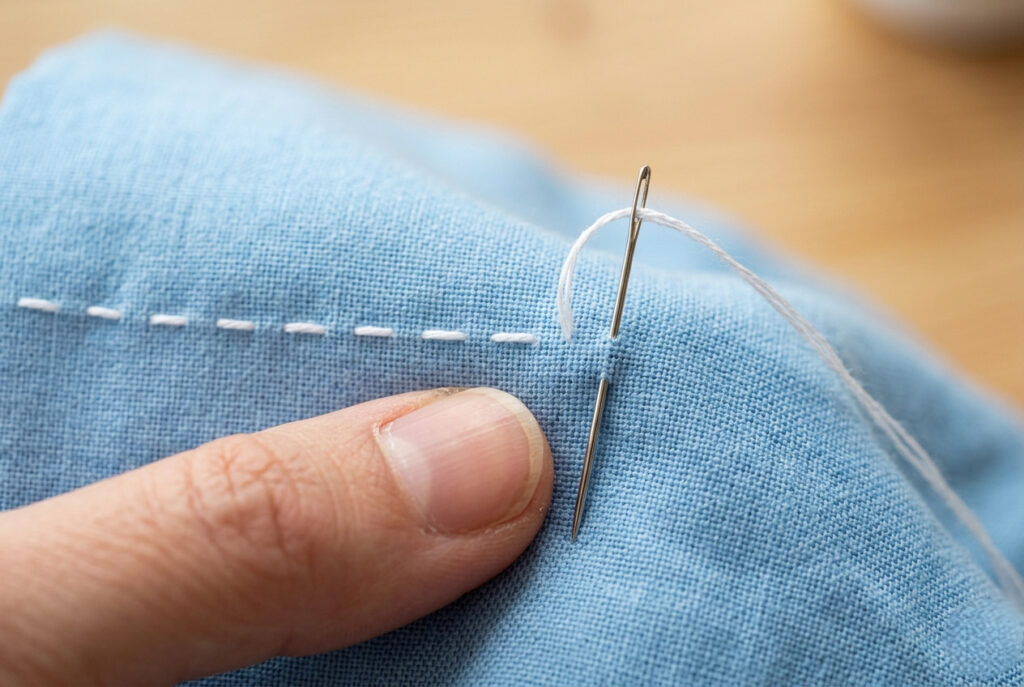
Step 4: How to Maintain Straight Stitches
Consistent stitch size and even spacing improve both appearance and durability.
To improve stitch accuracy:
Handle knitted fabrics carefully to avoid stretching or distorting the seam.
Step 5: Finishing the Seam & Tying Off
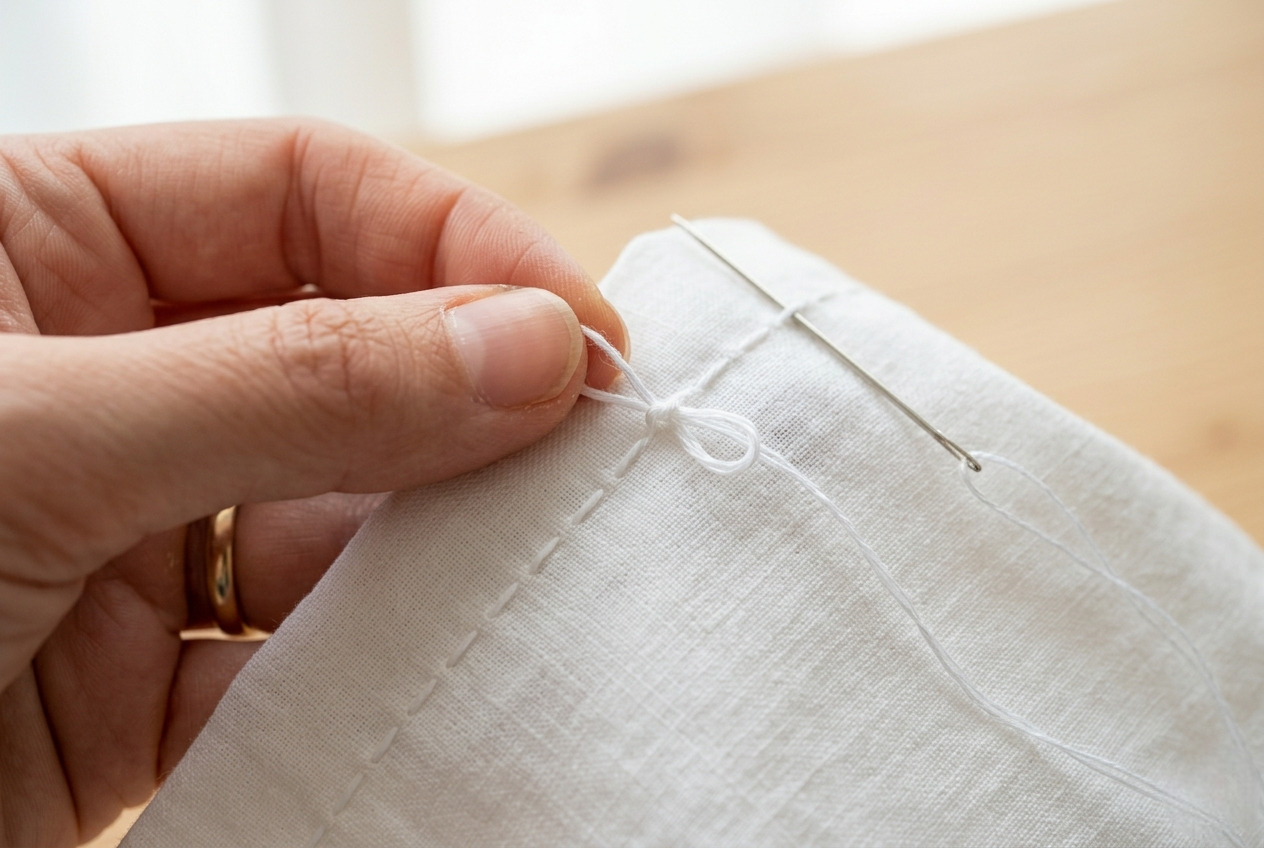
After completing the seam:
- Sew one or two small locking stitches.
- Pass the needle through the loop to create a knot.
- Repeat once for extra security if needed.
- Trim the excess thread, leaving a short tail.
For seams with extra wear, reinforce the final section with several tiny backstitches before tying off.
A light press with an iron helps flatten the stitches and gives the finished seam a cleaner appearance.
Backstitch vs. Running Stitch: Which to Use?
Backstitch and running stitch are two of the most common techniques used when learning how to sew a seam by hand. While both create functional seams, they serve different purposes.
The best choice depends on the fabric, the seam’s stress level, and whether the stitching is permanent or temporary.
| Backstitch | Running Stitch | |
|---|---|---|
| Strength | High | Moderate |
| Appearance | Continuous line similar to machine stitching | Evenly spaced visible stitches |
| Best Use | Permanent seams | Basting and temporary seams |
| Durability | Resists pulling and repeated washing | Suitable for light-duty applications |
| Speed | Slightly slower | Faster |
| Beginner Friendly | Yes | Yes |
Also Read: How to Knit a Moss Stitch: Best Expert Guide
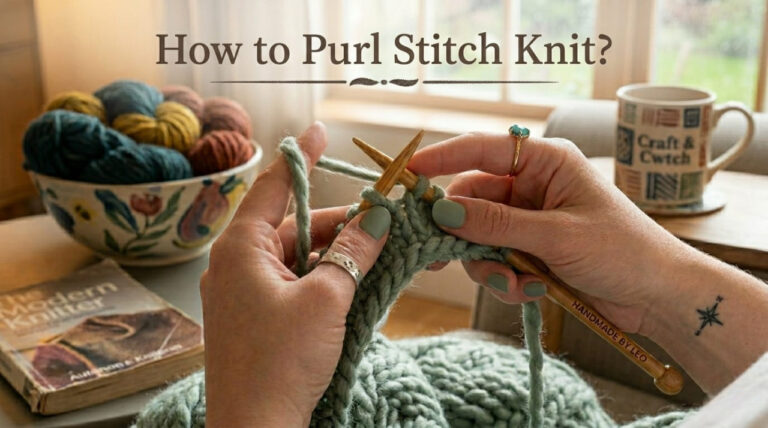
Also Read: How to Purl Stitch Knit? Quick Guide
Also Read: How to Knit Cables: Step-by-Step Easy Beginner Guide
When to Choose a Backstitch
Backstitch is the preferred technique for seams that need long-term strength and stability. Each stitch overlaps the previous and distributes tension evenly across the fabric.
It is well-suited for:
If the project will be worn, washed, or stretched often, backstitch provides the most reliable result.
Also Read: How Do I Block a Knitted Sweater? Step-by-Step
Also Read: How to Finish a Knitting Project: A Complete Guide
When to Choose a Running Stitch
Running stitch is faster to sew and easier to remove, making it useful for temporary stitching and lightweight projects.
Common applications include:
Many sewists baste projects with running stitches before replacing them with backstitch. This allows adjustments while keeping the fabric aligned during construction.
Which Stitch Is Better?
For most permanent seams, backstitch is the stronger option because the overlapping stitches create a continuous line that resists pulling and repeated use.
Running stitch is practical when speed, flexibility, or temporary construction is a priority.
If you’re joining knitted sweater pieces or sewing garments that will get regular wear, backstitch generally provides better support and helps maintain the seam over time.
Common Mistakes & How to Avoid Them
Even experienced sewists occasionally encounter uneven stitches or loose seams. Recognizing common mistakes early makes them easier to fix and helps create stronger, neater hand-sewn seams.
Using the Wrong Needle
A needle that is too thick can leave visible holes, while one that is too fine may bend or break when sewing heavier fabrics.
How to avoid it:
Sewing with Thread That Is Too Long
Long thread is more likely to twist, knot, and fray, which slows the sewing process.
How to avoid it:
Uneven Stitch Length
Inconsistent stitch spacing can weaken the seam and create an uneven appearance.
How to avoid it:
For most projects, 8–10 stitches per inch offer a good balance of strength and flexibility.
Pulling the Thread Too Tight
Excess tension can cause the fabric to pucker, particularly on lightweight or knitted materials.
How to avoid it:
Skipping Fabric Preparation
Wrinkled or poorly aligned fabric often results in crooked seams and uneven stitch placement.
How to avoid it:
Forgetting to Secure the Beginning and End
A seam that is not properly secured may loosen during regular use or washing.
How to avoid it:
Choosing the Wrong Stitch
Using a running stitch for a seam that experiences frequent stress can reduce durability over time.
How to avoid it:
Correcting small mistakes as they appear is often easier than repairing an entire seam later. Checking stitch spacing, thread tension, and fabric alignment throughout the project produces cleaner, longer-lasting results.
Also Read: How to Sew a Rip? Easy 6- Step Guide
Also Read: How Do You Weave in Ends in Knitting? Step-by-Step
Tips for Strong, Professional Hand-Sewn Seams
Consistent technique and careful preparation impact the appearance and durability of a hand-sewn seam. These tips help improve stitch quality and produce cleaner, longer-lasting results.
Maintain Even Thread Tension
Pull the thread firmly to secure the fabric layers without causing puckering. Even tension helps the seam lie flat and distributes stress more evenly across the stitches.
Use Small, Consistent Stitches
Short, evenly spaced stitches create stronger seams than long stitches. For most projects, aim for 8–10 stitches per inch and adjust size slightly for heavier or lighter fabrics.
Anchor the Thread Securely
Begin the seam with a small knot or a few tiny anchoring stitches to prevent loosening over time. At the end of the seam, reinforce the final stitches before tying a secure knot.
Match the Needle and Thread to the Fabric
Choosing appropriate materials improves stitch quality and reduces strain on the fabric.
Keep the Fabric Stable
Support the fabric gently with your non-sewing hand while stitching. Avoid stretching or pulling the material, particularly when working with knit fabrics, as this can distort the finished seam.
Test Your Stitch on Scrap Fabric
Practice on a small fabric sample before sewing the final project. This lets you adjust stitch length, thread tension, and needle choice without affecting the final piece.
Press the Seam After Sewing
Pressing helps flatten the stitches and creates a smoother finish. Use an iron suitable for the fabric and lift it instead of sliding across the seam to avoid distortion.
Reinforce High-Stress Areas
Seams that experience frequent movement, such as sleeves, pockets, or bag handles, benefit from additional reinforcement. Add a few extra backstitches at the beginning and end of these sections to increase durability and prevent the seam from opening.
Inspect the Seam Before Trimming
Gently pull the fabric pieces in opposite directions before cutting the thread. If the stitches remain evenly spaced and secure, trim the excess thread and give the seam a final press.
Careful attention to these small details contributes to stronger seams, improved stitch consistency, and a more polished finished project.
FAQs About Hand Sewing?
Practice Project: Hand-Sew a Simple Patch
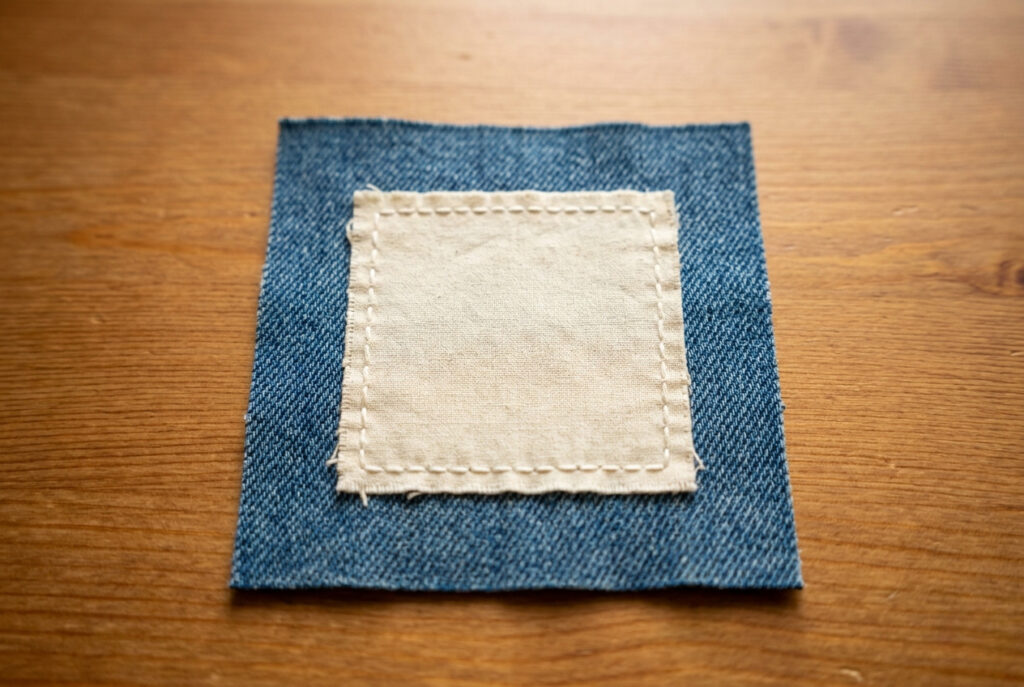
Attaching a fabric patch is a practical way to apply the techniques in this guide. It provides experience with fabric preparation, backstitching, maintaining even stitch spacing, and securing a finished seam.
Materials
Step 1: Prepare the Fabric
Press both the garment and the patch until smooth. Position the patch over the area you want to cover and align the edges carefully. Secure it with pins or sewing clips to prevent movement while stitching.
Step 2: Thread the Needle
Cut 18–24 inches of thread, pass it through the needle, and tie a small knot at the end. Begin sewing from the inside of the fabric so the knot remains hidden.
Step 3: Sew Around the Patch
Use a backstitch around all four sides of the patch, keeping the stitches evenly spaced. At each corner, sew one or two additional stitches to reinforce the seam and maintain a neat shape.
Step 4: Finish the Seam
Tie two small knots inside the fabric and trim excess thread, leaving a short tail. Press the completed patch lightly with an iron appropriate for the fabric type to flatten the stitches and improve the finished appearance.
Skills You Will Practice
This beginner project helps develop:
Practicing on a small patch allows you to refine these techniques before moving on to larger projects such as garment repairs, quilt blocks, or hand-sewn seams.
Also Read: Best Beginner Knitting Projects for New Knitters
Also Read: How to Knit a Headband: Easy Beginner Guide
Final Thoughts: How to Sew a Seam by Hand?
Learning how to sew a seam by hand is a practical skill that supports clothing repairs, garment construction, craft projects, and everyday sewing tasks. A well-made hand-sewn seam provides strength, accuracy, and control, making it a valuable technique even when a sewing machine is available.
By preparing the fabric carefully, selecting the appropriate needle and thread, and practicing running stitch and backstitch, you can create seams that are neat, durable, and suitable for many fabrics. Paying attention to stitch length, thread tension, and secure finishing methods improves both appearance and longevity.
Like any sewing technique, consistency develops through regular practice. Working on scrap fabric, simple repairs, or small projects helps you refine your skills and become more comfortable with hand stitching.
With the methods covered in this guide, you have the foundation to sew stronger seams, complete beginner-friendly projects, and handle many common sewing tasks with confidence and precision.