What Is SSK in Knitting? Easy Steps and Fixes
Have you ever followed a knitting pattern and paused at the abbreviation SSK? Unfamiliar knitting terms can be confusing at first, but this decrease becomes easier with practice.
The answer to What Is SSK in Knitting? is straightforward: SSK stands for slip, slip, knit. This standard decrease combines two stitches into one and creates a left-leaning line in the knitted fabric. Knitters use it to shape sweaters, work lace patterns, and create balanced decreases.
In this guide, I will explain how to work the decrease and compare it with K2tog. I will share tips for correcting loose or uneven stitches. You will learn when to use SSK and which variations create a neater finish.
Key Takeaways
What Is SSK in Knitting?
SSK stands for slip slip knit. It is a single knitting decrease that combines two stitches into one, reducing the total stitch count by one.
To work an SSK, slip two stitches individually, usually knitwise, from the left needle to the right needle. Then use the left needle to knit them together through their back loops. This creates a decrease that typically leans left when viewed from the right side of the fabric.
For example, if a row starts with 24 stitches and includes one SSK, you will have 23 stitches after the decrease, if no other increases or decreases occur.
SSK appears in patterns for sweaters, hats, socks, shawls, and lace projects. It is particularly useful when a design requires decreases that lean in opposite directions to create balanced shaping.
What Does SSK Mean in Knitting Patterns?
When a pattern says SSK, it means slip slip knit decrease. The two slips prepare the stitches for a single combined knit stitch; they don’t create extra stitches.
For example, a pattern might say:
K2, SSK, knit to the last four stitches, K2tog, K2.
In this instruction, knit two stitches, work an SSK, then knit until four stitches remain. Next, work K2tog and knit the final two stitches. The two decreases remove two stitches from the row and lean in opposite directions.
Always check the surrounding instructions to confirm where each decrease belongs. Placement affects the shaping and appearance of the finished fabric.
Also Read: How to Read Knitting Patterns?
How to SSK in Knitting: Step-by-Step
The slip, slip, knit decrease becomes easier with practice. These instructions explain each movement so beginners can follow the technique and see how the stitches form a left-leaning decrease.
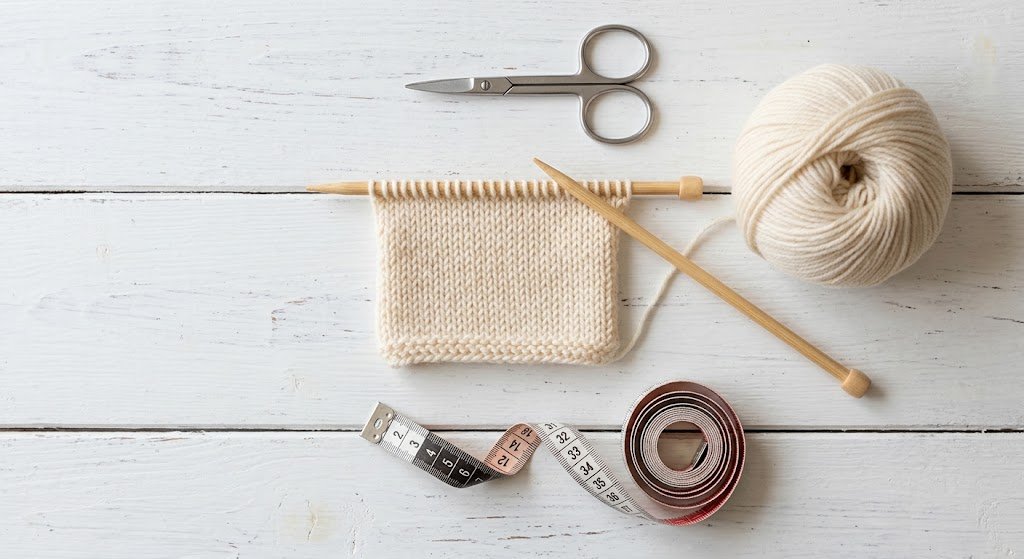
For practice, use a small stockinette swatch made with smooth, light-colored yarn. Work the decrease on the right side of the fabric unless your pattern says otherwise.
Also Read: How to Knit a Gauge Swatch: Quick Guide
SSK Decrease Step by Step
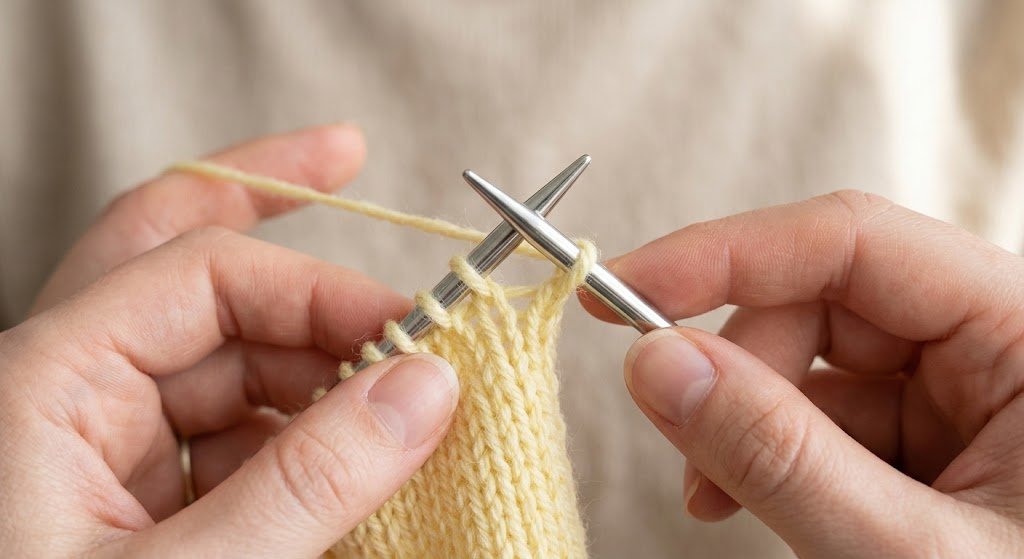
- Knit to the decrease point. Follow your pattern until you reach the instruction marked SSK. Keep the working yarn at the back on a knit row.
- Slip the first stitch knitwise. Insert the right-hand needle into the next stitch as if you were going to knit it. Transfer the stitch to the right needle without wrapping the yarn.
- Slip the second stitch knitwise. Repeat the same movement with the next stitch. Slip each stitch individually rather than passing the needle through both at once.
- Position the left-hand needle. Insert the left-hand needle into the front loops of both slipped stitches on the right-hand needle. Keep the loops controlled without stretching them.
- Knit the two stitches together. Wrap the working yarn around the right-hand needle, then draw a new loop through both stitches to form one new stitch.
- Slide off the original stitches. Let both fall from the left-hand needle. You have completed one SSK decrease, reducing the stitch count by one.
How to Check Your Finished SSK
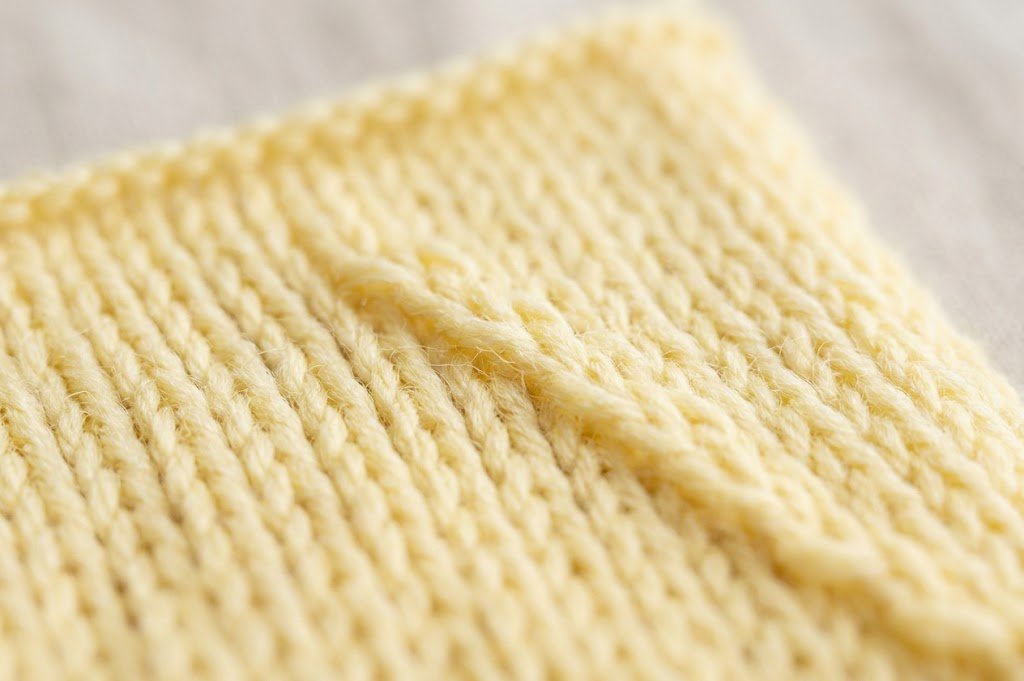
Look at the right side of your swatch. Two original stitches should now form one stitch with a slight leftward slant.
If the decrease looks loose, avoid pulling the working yarn too tight. Instead, maintain steady tension as you draw the new loop through both stitches. Consistent tension helps the decrease blend naturally into the surrounding fabric.
The appearance can vary with yarn, needle size, and knitting tension. Practice a few decreases on your swatch before using the technique in a sweater, hat, or lace project.
For an additional visual demonstration, see DROPS Design’s SSK tutorial, which demonstrates the technique in English and continental knitting styles.
Also Read: Continental vs. English Knitting: Easy Guide
SSK vs. K2tog: What’s the Difference?
SSK and K2tog both reduce two stitches to one but create decreases that lean in opposite directions. Understanding the difference helps knitters follow patterns accurately and create balanced shaping.
SSK stands for slip slip knit and produces a left-leaning decrease. K2tog means knit two together and typically creates a right-leaning decrease when viewed from the right side of the fabric.
| Feature | SSK | K2tog |
|---|---|---|
| Full name | Slip slip knit | Knit two together |
| Direction | Left-leaning | Right-leaning |
| Stitch change | Two stitches become one | Two stitches become one |
| Technique | Slip two stitches individually, then knit them together | Knit two stitches together as one |
| Common uses | Left-leaning shaping and lace patterns | Right-leaning shaping and lace patterns |
Why Do Knitting Patterns Use Both Decreases?
Designers often pair SSK and K2tog to create balanced diagonal lines. Because the decreases lean in opposite directions, they can mirror each other around a center stitch or along garment edges.
For example, a raglan sweater pattern may place SSK on one side of a marked line and K2tog on the other. The decreases help shape the garment while creating matching diagonal lines.
Both techniques are useful, and neither is universally better. The right choice depends on the pattern, the desired direction, and how the finished fabric will look.
Also Read: How to Use Stitch Markers for Knitting: Easy Guide
Can You Substitute K2tog for SSK?
Sometimes, but the result may look different. Replacing SSK with K2tog changes the direction of the decrease, which can affect a lace motif, neckline, or shaped edge.
Follow the pattern as written when the direction of the decrease matters. To compare results, practice both techniques on a small swatch before substituting.
When to Use SSK in Knitting
SSK is useful whenever a pattern needs a decrease that leans left. It appears in garment shaping, accessories, and decorative stitch patterns where the direction of the decrease contributes to the finished design.
Sweaters, Armholes, and Necklines
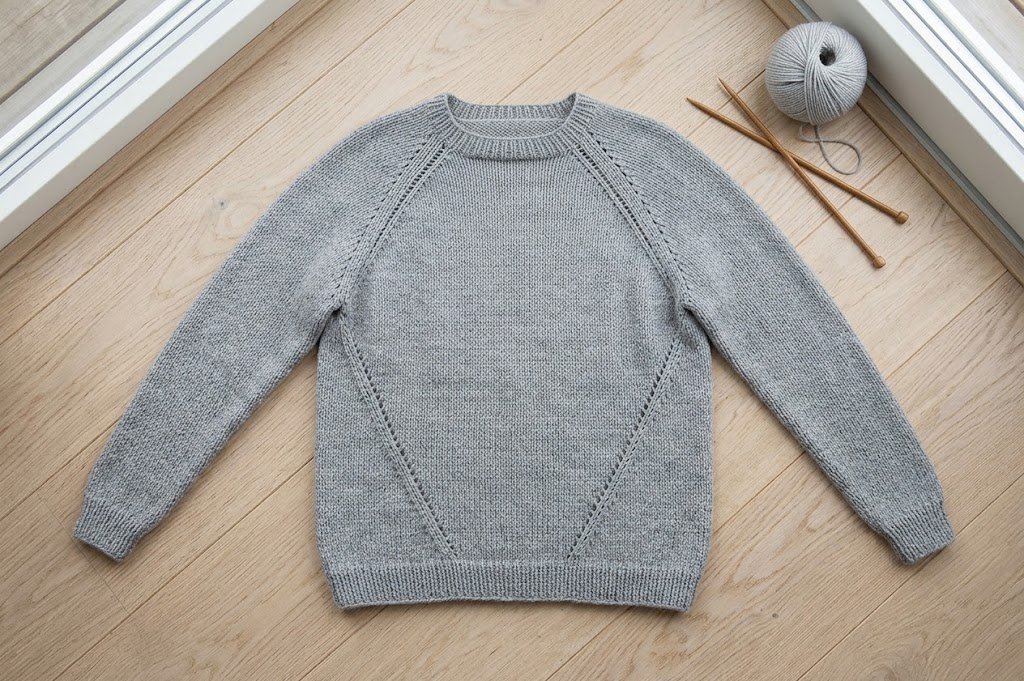
Sweater patterns use decreases to shape armholes, shoulders, necklines, and sleeves. SSK creates a clean diagonal line along one edge, especially when paired with K2tog on the opposite side.
Raglan sweaters are a common example. The paired decreases help shape the upper garment while creating diagonal lines that frame the raglan sections.
Also Read: How to Knit a Pullover Sweater?
Hats, Socks, and Mittens
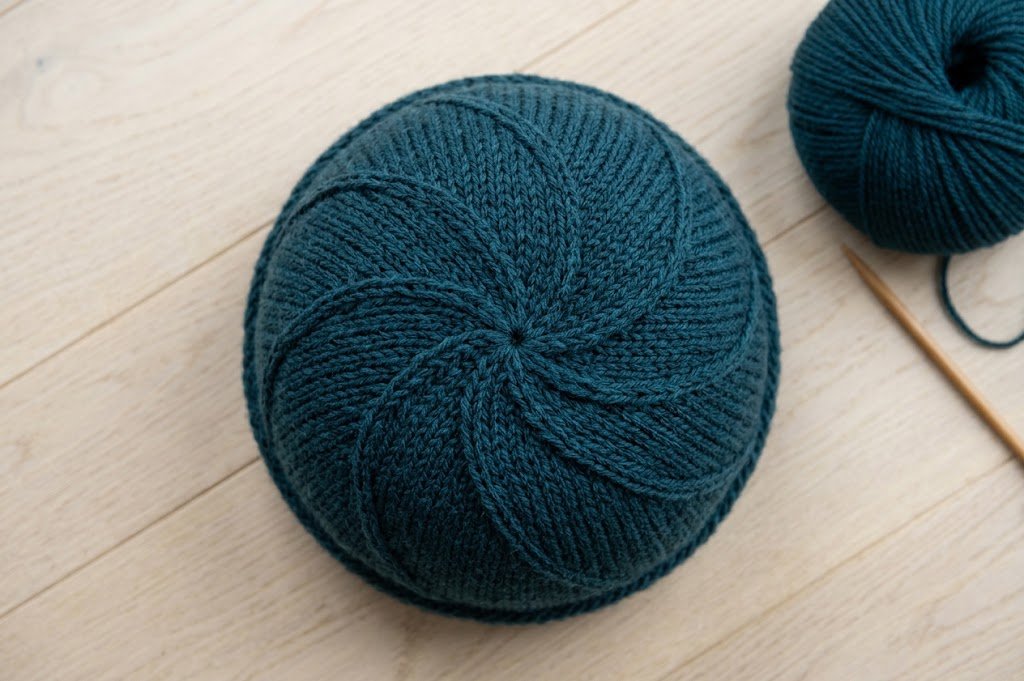
Hat crowns often require gradual decreases as the fabric narrows toward the top. Depending on the pattern, SSK and K2tog often work together to create balanced shaping.
Sock toes, heel sections, and mitten thumb gussets may also use SSK. The exact placement depends on the construction and the shape the pattern needs to achieve.
Also Read: How to Knit a Hat with Straight Needles? Beginner’s Guide
Lace Knitting
Lace patterns combine decreases with yarn overs to create open spaces and decorative motifs. SSK provides a left-leaning line that can balance a right-leaning decrease elsewhere in the pattern.
A yarn over adds one stitch, while a standard SSK removes one stitch. When worked in the specified sequence, these techniques help maintain the intended stitch count and form motifs such as leaves, diamonds, and diagonal patterns.
Follow the pattern’s stitch placement carefully. Moving a decrease can change the alignment and appearance of the lace.
Also Read: How to Knit a Yarn Over? Easy Step-by-Step Guide
Common SSK Mistakes and How to Fix Them
Even experienced knitters can have an SSK that looks loose or uneven. Most problems come from stitch orientation, needle placement, or inconsistent tension. A few adjustments can help create a neater decrease.
Slipping Purlwise Instead of Knitwise
For the standard SSK method, slip each stitch knitwise unless the pattern specifies otherwise. Slipping a stitch purlwise changes its orientation and may affect the finished decrease.
How to fix it: Insert the right-hand needle as if to knit the stitch, then transfer it without working it. Repeat with the second stitch before completing the decrease.
Also Read: How to Slip a Stitch in Knitting: Easy 6 Steps
Slipping Both Stitches Together
The standard method requires slipping the two stitches individually. Transferring them together does not follow SSK instructions and makes positioning the stitches harder.
How to fix it: Slip the first stitch knitwise, then the second stitch knitwise. Check their position before knitting them together.
Why Does My SSK Look Loose?
A loose SSK often results from stretched loops or uneven yarn tension. Transferring two stitches and knitting them together makes the decrease look wider than nearby stitches.
How to fix it:
If the stitch still looks uneven, try an improved SSK method on a separate swatch. Different yarns and stitch patterns also affect the finished appearance.
Fixing a Twisted or Messy SSK Stitch
The standard SSK method changes the orientation of the slipped stitches to create a left-leaning decrease. Incorrect needle placement can leave the finished stitch looking twisted or distorted.
How to fix it: Check that the left-hand needle enters the correct loops of both slipped stitches before knitting them together. If the decrease looks wrong, undo it carefully while the stitches are accessible and work it again.
Also Read: How to Fix a Dropped Stitch: A Complete Guide for Knitters
Working SSK on the Wrong Side
The right side is the outward-facing side of the fabric, while the wrong side is the reverse. Patterns often place SSK on right-side rows, but some designs use decreases on wrong-side rows as well.
How to fix it: Check the pattern instructions before changing the decrease. If the design calls for a left-leaning purl-side decrease, it may specify SSP. Follow the designer’s instructions rather than substituting one technique for another.
Confusing SSK With SSP or SSSK
These knitting abbreviations look similar, but they describe different techniques.
How to fix it: Check the pattern’s abbreviation key before starting. Confirm the number of stitches involved and whether to knit or purl them together.
SSK Variations: Standard, Improved, and SSSK
The standard SSK decrease works well for many knitting projects, but some knitters prefer an alternative for a neater finish. Understanding these variations helps you choose a technique that suits your yarn, tension, and pattern.
Standard SSK
The standard method involves slipping two stitches knitwise, one at a time, then knitting them together through the back loops. It creates a left-leaning decrease and reduces the stitch count by one.
It is a good starting point for beginners and is widely used in sweater shaping, lace patterns, hats, and other knitted projects. Keep your tension even and avoid pulling the working yarn too tightly.
Improved SSK
Some knitters use a modified SSK to create a flatter or more even decrease. One variation slips the first stitch knitwise and the second stitch purlwise before knitting them together through the back loops.
The term improved SSK does not refer to one universally standardized method, so instructions vary between designers and tutorials. You can follow this improved SSK tutorial to explore one alternative.
Try the standard and modified methods on a small swatch. Compare their appearance and tension. Then choose the finish that works best for your project. If you follow a pattern, keep its specified decrease unless you are comfortable making a small technique adjustment.
SSSK: Slip Slip Slip Knit
SSSK stands for slip, slip slip knit. It is a double decrease: three stitches are combined into one, reducing the stitch count by two.
In a common method, slip three stitches individually as directed, then knit them together using the specified needle placement. This creates a more pronounced decrease than a standard SSK, making SSSK useful in some lace patterns and decorative shaping.
Check your pattern for the exact method, as instructions vary. Do not substitute SSSK for SSK without considering the stitch count and the effect on the finished design.
Conclusion
SSK is a useful knitting decrease that combines two stitches into one while creating a left-leaning line. It is commonly used in sweater shaping, hats, socks, and lace patterns where the direction of the decrease matters.
Start by practicing the standard technique on a small swatch. Slip each stitch individually, use the correct needle placement, and keep even tension.
Once the movement feels familiar, use SSK more confidently and compare its appearance with K2tog when a pattern calls for balanced shaping.
Also Read: Best Beginner Knitting Projects for New Knitters