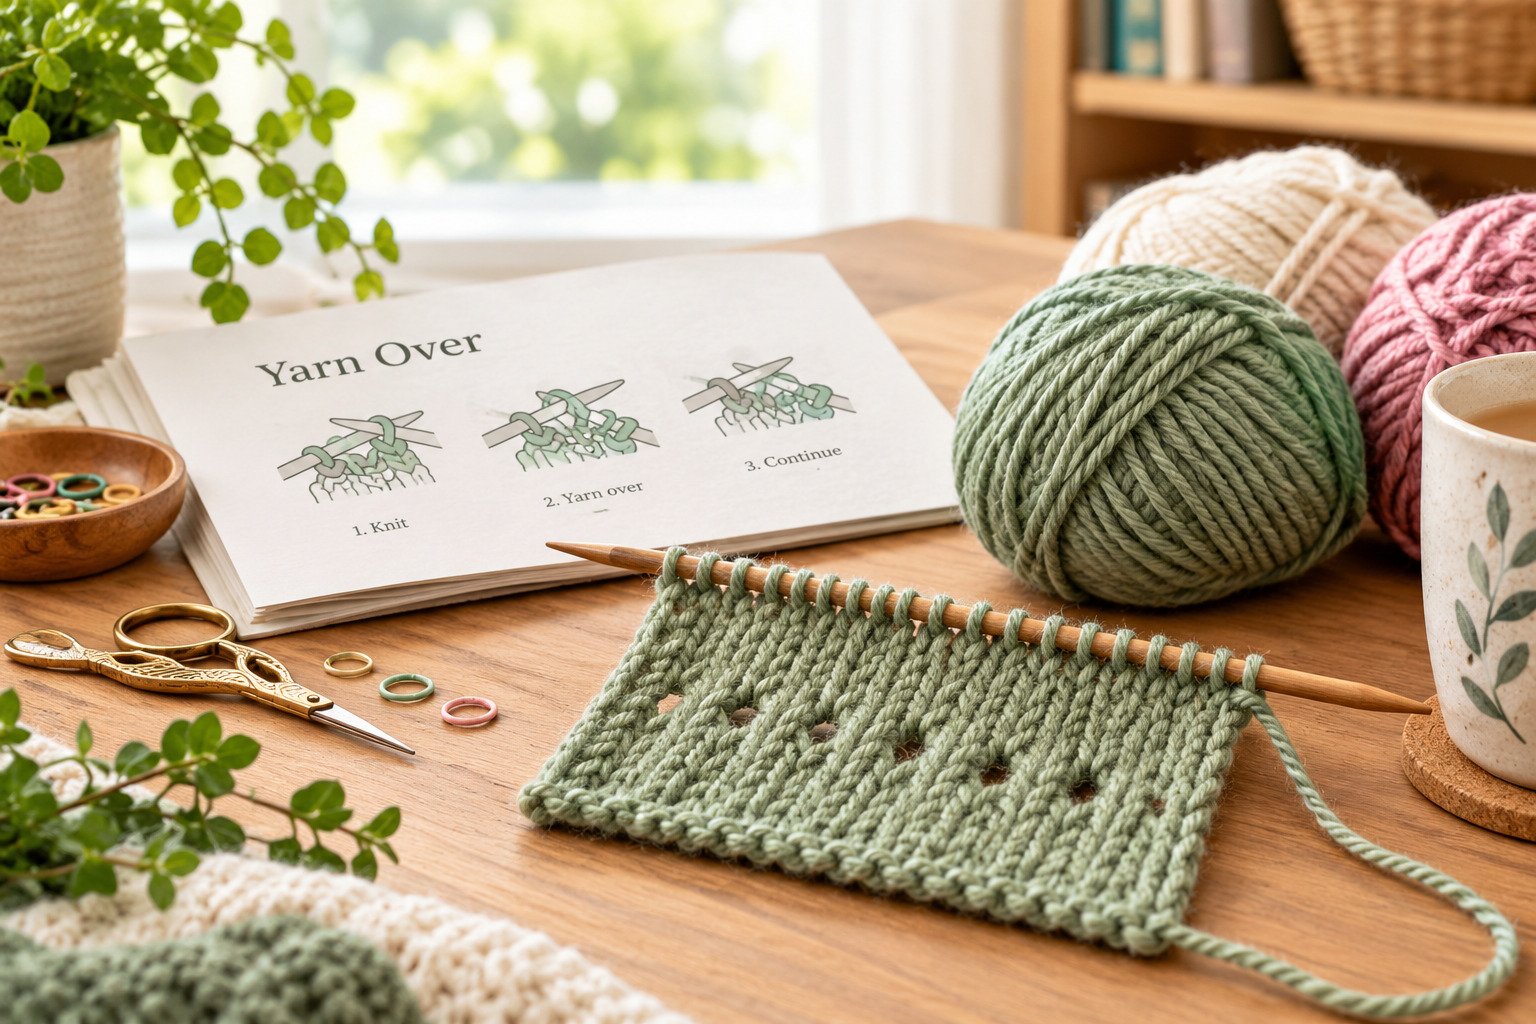
How to Knit a Yarn Over? Easy Step-by-Step Guide
A yarn over, usually written as YO in a knitting pattern, is a simple technique that adds a stitch and usually creates a small decorative opening in the fabric. It is commonly used in lace shawls, scarves, sweaters, and other knitting projects.
Learning how to knit a yarn over is easier than it looks. The technique moves the working yarn over the needle to form an extra loop. The movement changes slightly depending on whether the next stitch is a knit or a purl.
This guide explains each yarn-over combination step by step, from the basic technique to double yarn overs. It also covers common mistakes, how to correct an accidental yarn over, and how to work the extra loop on the next row.
Key Takeaways
What Is a Yarn Over in Knitting?
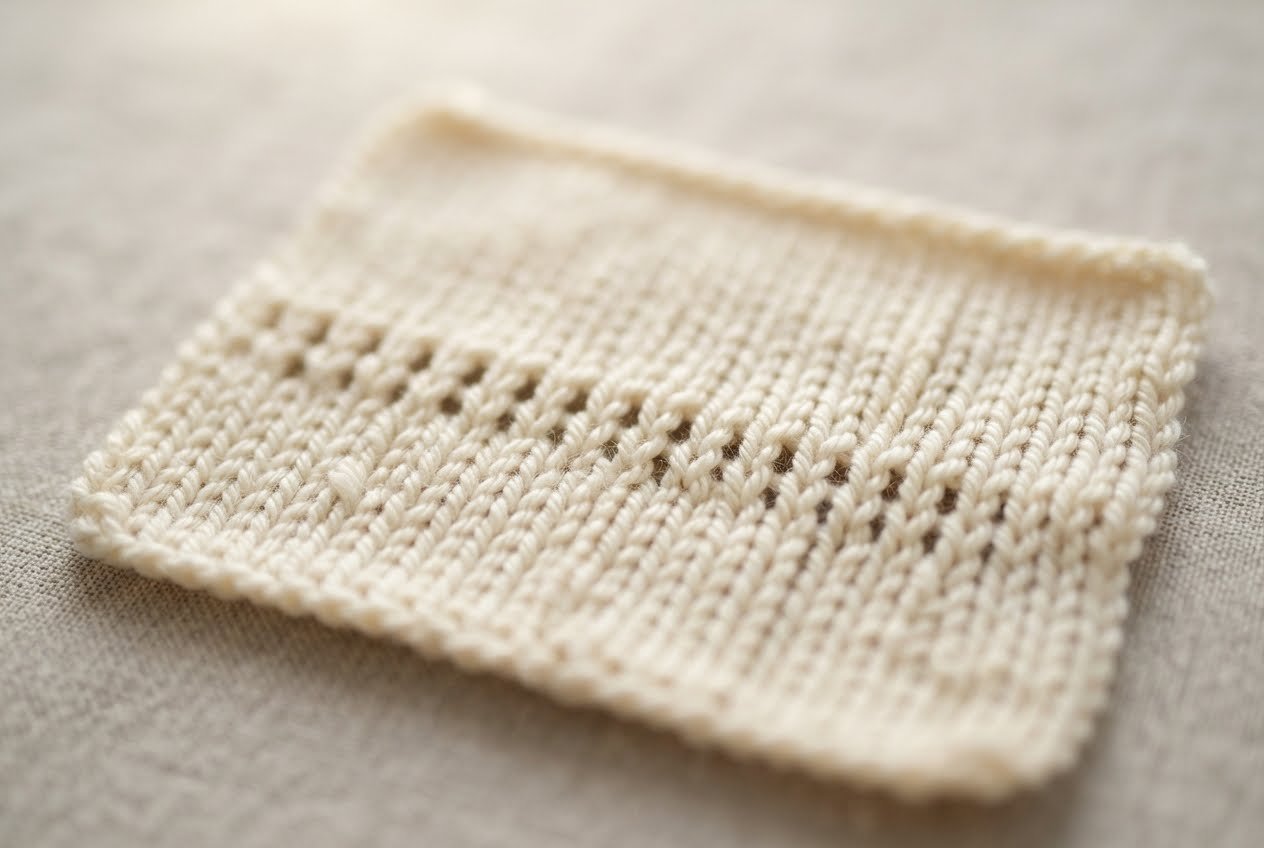
A yarn over is a simple knitting technique that creates an extra loop by bringing the working yarn over the needle. Knitting patterns usually abbreviate it as YO. This technique adds one stitch and creates a small opening called an eyelet in the knitted fabric.
Unlike a regular knit or purl stitch, a yarn over does not require inserting the needle into an existing stitch. You bring the working yarn over the needle before the next stitch.
How Does a Yarn Over Work?
Imagine you have 20 stitches on your needle. The pattern tells you to knit two stitches, make a yarn over, then knit two more stitches.
After the yarn over, you will have 21 stitches because the extra loop adds one stitch without using an existing stitch.
When you reach that loop on the next row, work it as the pattern directs. Usually, you knit or purl it like a regular stitch.
Keep these points in mind:
For example, a pattern might say K2, YO, K2tog. Knit two stitches, make one yarn over, and knit the next two stitches together. The yarn over adds one stitch, while the decrease removes one, keeping the overall stitch count unchanged.
Also Read: How to Add Stitches When Knitting: Easy Guide
Yarn Over Abbreviations: YO, Yfwd, Yrn, and Yon
Knitting patterns use different abbreviations to describe yarn movements. YO is the common abbreviation for yarn over, while older British patterns may use terms like Yfwd, Yrn, and Yon. Understanding these instructions makes it easier to follow patterns, especially when switching between knit and purl stitches.
| Abbreviation | Meaning |
|---|---|
| YO | Yarn over; create an extra loop on the needle. |
| Yfwd | Yarn forward; bring the working yarn to the front. |
| Yrn | Yarn round needle; move the yarn around the needle as directed by the pattern. |
| Yon | Yarn over needle; carry the yarn over the needle, often when preparing for the next stitch. |
These abbreviations are not always interchangeable. Their meaning depends on the pattern’s terminology and the stitches around the yarn movement. For example, moving the yarn forward may simply position it for a purl stitch rather than create an increase.
Also Read: How to Read Knitting Patterns?
Before wrapping the yarn, check which stitch comes next. This helps establish the correct yarn position and prevents an unintended extra loop.
How to Knit a Yarn Over: Step-by-Step
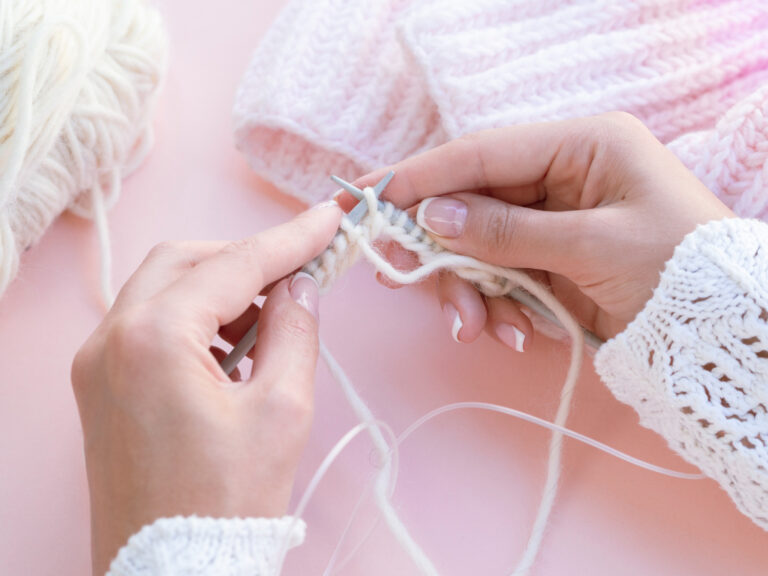
The easiest way to learn a yarn over is to practice between two knit stitches. This basic technique adds one stitch without knitting into an existing loop. With practice, the movement becomes easier to recognize and repeat.
How to Knit a Yarn Over Between Two Knit Stitches
Use a small swatch of smooth light-colored yarn and knitting needles suited to its weight. Follow these steps to create your first yarn over.
- Knit the first stitch. Knit the stitch normally, keeping the working yarn to the back.
- Bring the yarn forward. Move the working yarn between the needle tips from back to front.
- Wrap the yarn over the right needle. Carry the yarn over the top of the right needle from front to back to create one additional loop.
- Knit the next stitch. Insert the right needle into the next stitch and knit it as usual. Do not confuse the yarn-over loop with the next stitch.
- Check the new loop. Look at the right needle. The yarn over should sit between the surrounding stitches as a separate loop.
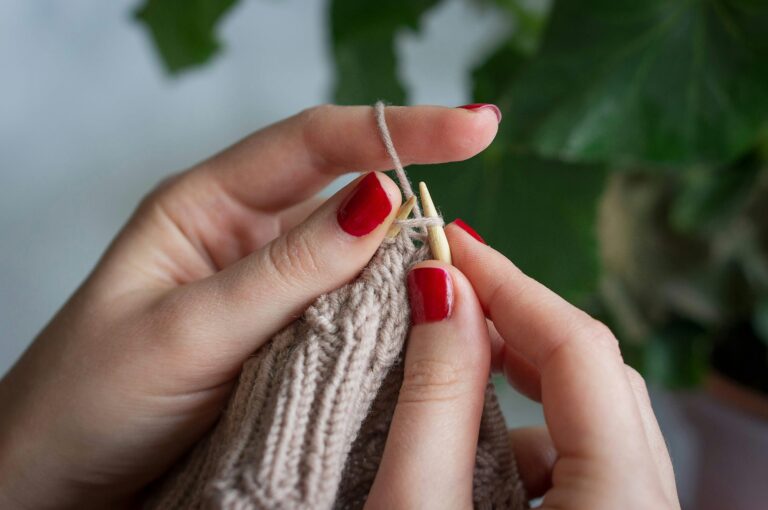
The yarn should move smoothly over the needle without being pulled too tightly. A standard yarn over should rest naturally on the needle, ready to be worked on the following row.
Beginner Tip: Keep the Yarn-Over Loop Relaxed
Avoid pulling the yarn too tightly after making the loop. Tight tension can make the next row harder to work and reduce the eyelet size.
Aim for a loop that sits comfortably on the needle with enough room for the next stitch. If the loop looks crossed or tight, check its position before continuing.
How to Check Your First Yarn Over
Count your stitches before and after making the increase. Each yarn over adds one stitch. Your total should increase by one unless you also work a decrease.
You should also see a small opening forming in the fabric. If the eyelet looks closed, check whether you accidentally twisted the loop while working it on the following row. If you see two extra loops, review the yarn movement to make sure you wrapped the needle only once.
How to Work a Yarn Over Before a Purl Stitch
When a yarn over comes before a purl stitch, the working yarn must finish at the front. The exact movement depends on where the yarn starts, usually determined by the previous stitch.
Steps for a Yarn Over Before a Purl Stitch
If you have just knitted a stitch, follow these steps:
- Bring the working yarn between the needle tips to the front.
- Carry the yarn over the right needle from front to back to create the extra loop.
- Bring the yarn between the needles to the front again.
- Purl the next stitch normally.
The final movement positions the yarn for purling. Avoid wrapping it around the needle again as you bring it forward, as this can create an unintended extra loop.
Also Read: How to Purl Stitch Knit? Quick Guide
Yarn Over Between Two Purl Stitches
When working a yarn over between two purl stitches, the working yarn starts at the front and must return to the front before the next purl stitch.
Follow these steps:
- Purl the first stitch with the yarn in front.
- Carry the yarn over the right needle from front to back.
- Bring it between the needles to the front again.
- Purl the next stitch normally.
This creates one additional stitch. The resulting eyelet may look different from one made between two knit stitches because the yarn follows a different path around the needle.
Keep the loop relaxed enough to work comfortably on the following row. Consistent tension helps the eyelets look even across the fabric.
Yarn Over Between a Purl and a Knit Stitch
When a purl stitch comes before a knit stitch, the working yarn starts at the front and must finish at the back. This uses a simpler movement because you do not need to bring the yarn forward again.
- Purl the first stitch with the yarn in front.
- Carry the working yarn over the right needle from front to back.
- Knit the next stitch normally.
The yarn-over loop sits between the purl and knit stitches. Make sure the yarn travels over the needle rather than simply moving between the needles, as the over-the-needle movement creates the extra stitch.
Yarn Over Knitwise vs. Purlwise
Knitwise and purlwise describe how a stitch is worked or approached, depending on the pattern. They don’t always describe a single, universal yarn-over movement.
The most reliable approach is to check the stitch that follows the yarn over:
Follow the complete pattern instructions, especially when working lace or ribbing. Practicing each combination on a small swatch helps make the yarn movements easier to recognize.
Double Yarn Over Knitting: How to Wrap the Yarn Twice
A double yarn over creates two loops instead of one. Some lace patterns use it to create larger eyelets and decorative openings in shawls, scarves, and other knitted projects.
To make a double yarn over between two knit stitches:
- Knit the stitch before the double yarn over.
- Bring the working yarn between the needle tips to the front.
- Carry the yarn over the right needle to the back to form the first loop.
- Bring the yarn forward and carry it over the needle again to create the second loop.
- Knit the next stitch as instructed by your pattern.
A double yarn over adds two stitches to the row. Check your pattern to see if a decrease or another stitch pattern balances those increases.
How to Work a Double Yarn Over on the Next Row
Do not automatically treat both loops as one stitch. Follow the pattern instructions, which may tell you to knit one loop and purl the other. This creates a decorative opening while letting the surrounding fabric keep its intended structure.
Some patterns handle the loops differently, so check the instructions before working the next row.
A double yarn over is intentional when the pattern calls for it. Wrapping the yarn twice by mistake when only one yarn over is needed adds an unwanted stitch.
How to Knit a Yarn Over on the Next Row
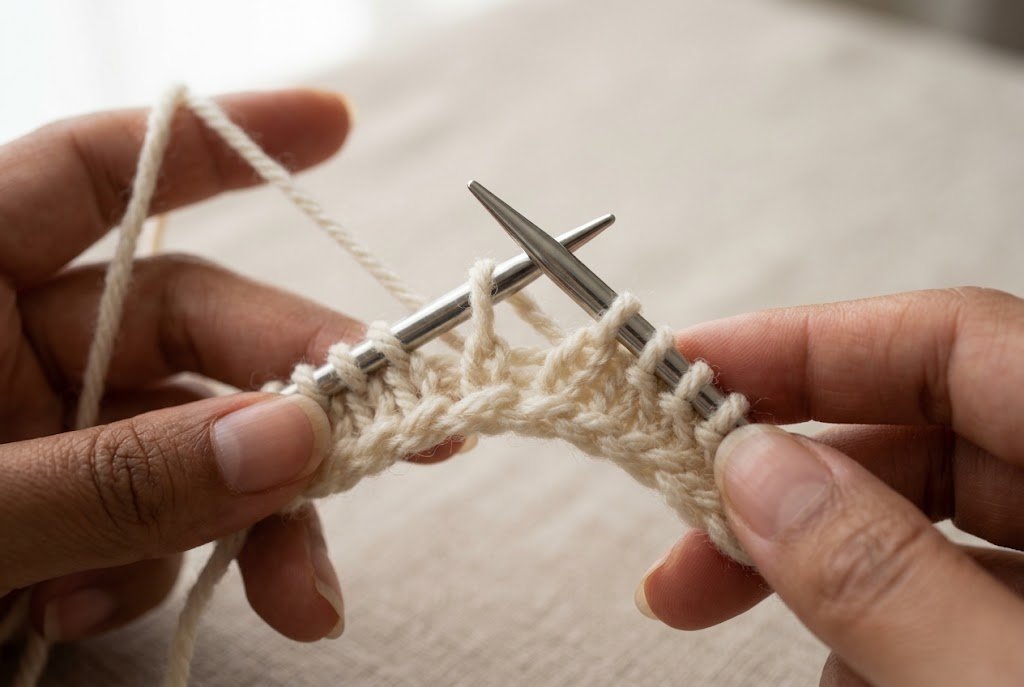
After making a yarn over, work the extra loop when you reach it on the following row. In a simple pattern, knit or purl the loop as instructed.
To keep the eyelet open:
- Identify the yarn-over loop before working it.
- Follow the knit or purl instruction for that row.
- Avoid twisting the loop unless the pattern specifically calls for it.
- Count your stitches after completing the row.
Working through the back loop can twist the yarn over, making the opening smaller or closing it. If the eyelet looks tight, check if you worked the loop through the wrong leg.
When knitting lace, read the instructions for both the current and next rows. Some patterns deliberately use twisted stitches or special combinations, so follow the pattern instead of applying one method to every project.
Why Use Yarn Overs in Knitting?
Yarn overs add decorative openings, create increases, and help form many familiar lace patterns. Their purpose depends on how the pattern combines them with other stitches.
Lace Knitting and Decorative Eyelets
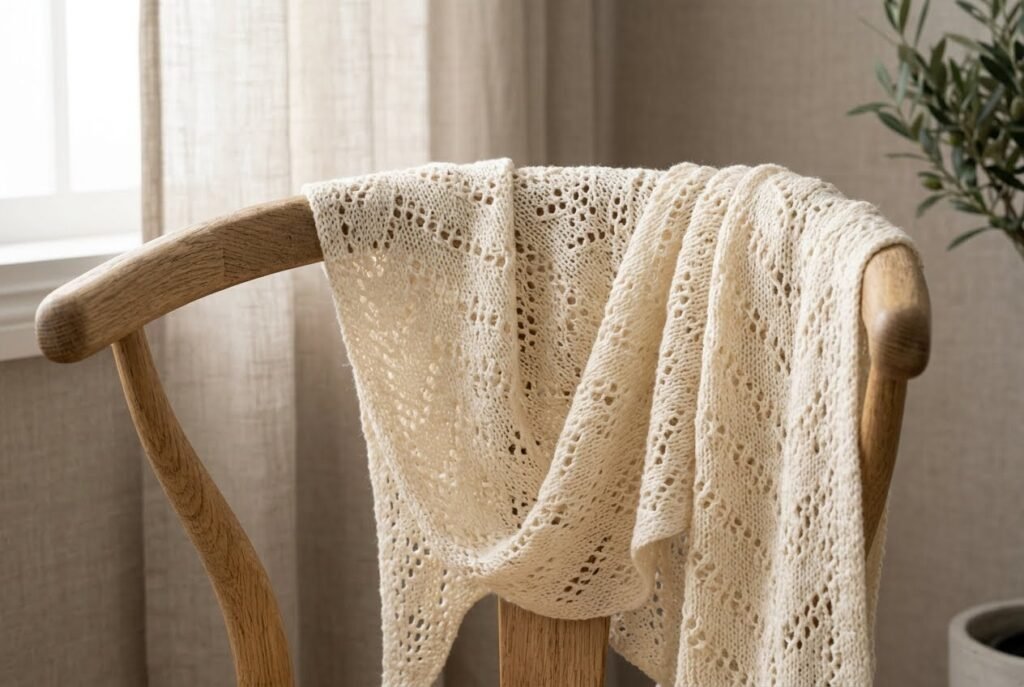
Lace patterns often combine yarn overs with decreases. The yarn over adds a stitch while the decrease removes one. Together, they create an open design without changing the total stitch count.
For example, a yarn over paired with a knit-two-together decrease creates a small eyelet.
Also Read: How to Knit SSK Stitch: Easy Guide for Beginners
Shawls, Scarves, and Garments
Yarn overs can form repeating lines, diamonds, flowers, and other decorative motifs in shawls, lightweight scarves, sweaters, and cardigans. Some patterns use them as increases to shape the fabric.
Buttonholes and Decorative Increases
Some buttonhole techniques use a yarn over with a decrease to create an opening. Other methods require additional steps, so follow the instructions for your project.
A yarn over can add stitches for shaping, but it usually leaves a visible opening. Keep this in mind when choosing an increase for a garment.
Also Read: How to Increase a Stitch While Knitting: Quick Easy Steps
A Simple Yarn-Over Practice Pattern
This beginner-friendly repeat combines a yarn over with a decrease, letting you practice the movement while keeping the stitch count stable.
Cast on a multiple of 3 stitches plus 2.
Repeat Rows 2 and 3 until you feel comfortable with the technique.
In this pattern, the yarn over adds one stitch, and K2tog removes one. Each complete repeat therefore maintains the stitch count.
Work several rows, then examine the fabric. You should see a line of small eyelets where the yarn overs occur. Practicing this repeat helps you recognize the extra loop and understand how it behaves on the following row.
Common Yarn Over Mistakes and Fixes
An accidental yarn over can add an unwanted stitch or change your knitting’s appearance. Most mistakes are manageable once you identify where the extra loop formed. Check your stitch count and surrounding fabric before repairing.
Accidental Yarn Over at the Start of a Row
An extra loop can form when you bring the working yarn over the needle instead of between the needles. This sometimes happens when you turn your work or position the yarn before the first stitch.
How to fix it: If you spot the extra loop before working it, carefully undo the unintended wrap and restore the yarn to the correct position. If you have already knitted into it, undo the affected stitches back to the mistake and work the row again.
An Extra Stitch in Ribbing
Ribbing alternates knit and purl stitches, so the working yarn must move between the needle tips when changing stitch types. Carrying it over the needle by mistake can create an accidental yarn over, especially in 1×1 ribbing.
How to fix it: Check the stitch count against your pattern. If you find an unintended loop, remove it before working the next row or undo the affected stitches if you have already knitted into it. Before continuing, make sure the yarn moves between the needles when switching from knit to purl or purl to knit unless the pattern calls for a yarn over.
Also Read: How to Knit Ribbing? Easy 1×1 and 2×2 Guide
A Twisted Yarn Over
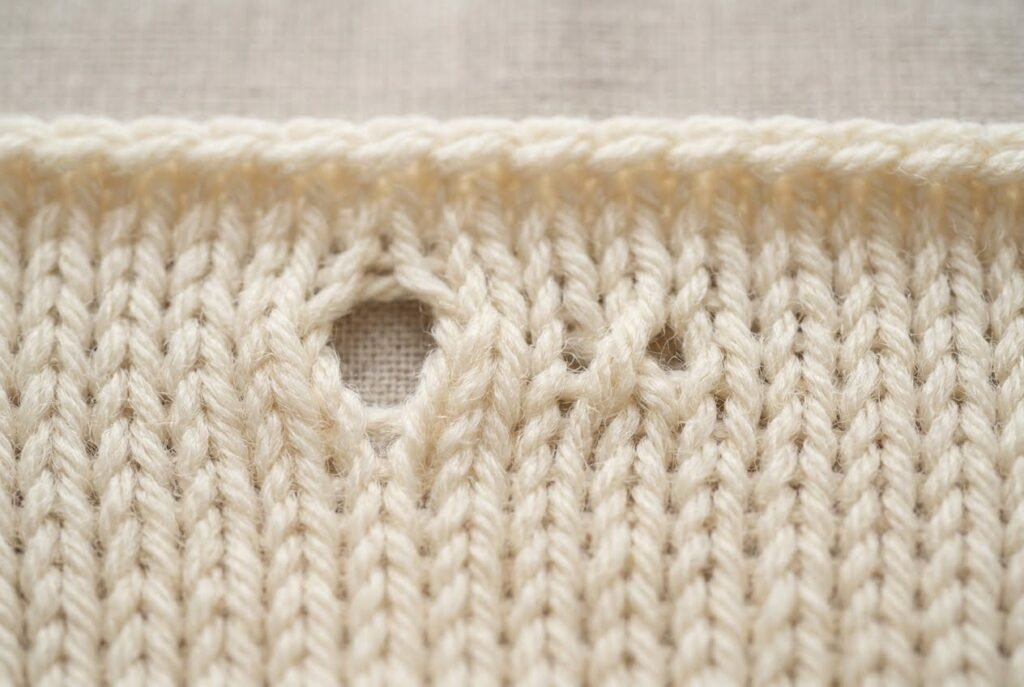
A twisted yarn over may create a smaller eyelet or nearly close the opening. This happens when you work the loop through the wrong leg on the following row.
How to fix it: If you have not worked the loop yet, check its orientation against your pattern. If you have already worked it and the eyelet looks wrong, undo the affected stitches and work the yarn over again as instructed. Some patterns use twisted loops deliberately so check instructions before changing your work.
A Dropped Yarn Over
A dropped yarn over may leave a loose strand, an unexpected gap, or an incorrect stitch count. Repair depends on whether the loop slipped off the needle or started to unravel.
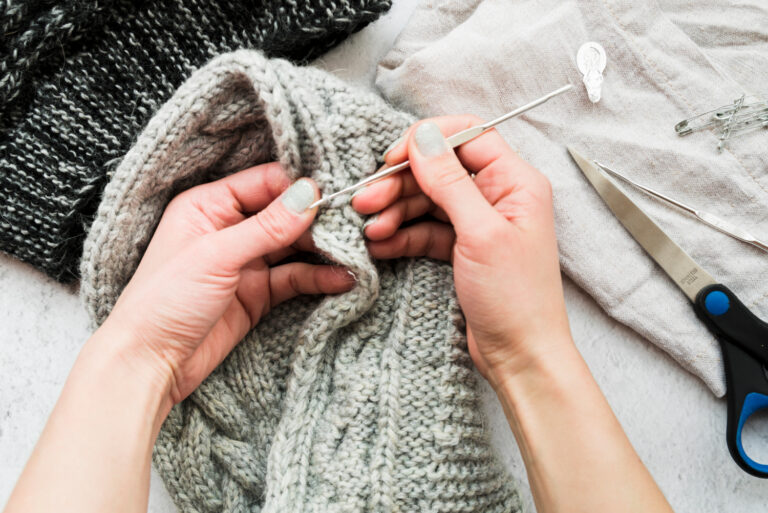
How to fix it: If the loop is intact, carefully place it back on the needle in the correct orientation. If it has unraveled, use a crochet hook to pick up the loose strand and where possible reconstruct the stitch. For complicated lace, returning to the last correct row and reworking the affected section may be safer.
Also Read: How to Fix a Dropped Stitch: A Complete Guide for Knitters
Why Did I Get an Extra Stitch in Knitting?
An accidental yarn over can increase your stitch count. It often happens when the working yarn travels over the needle instead of between the needles as you switch from knit to purl or purl to knit.
To find the cause, count your stitches at the end of the row and inspect the spaces between them for an unintended loop. In lace knitting, check whether the pattern’s increases and decreases balance. A yarn over may be intentional even if it creates a noticeable opening.
How to Avoid Yarn Over Mistakes in Lace Rows
Lace patterns can be difficult to follow when several yarn overs and decreases appear in the same row. A few simple habits help you track the pattern:
With practice, you will become more familiar with the difference between an intentional yarn over and an accidental extra loop.
Also Read: How to Use Stitch Markers for Knitting: Easy Guide
Yarn Over vs. Make One Increase
A yarn over (YO) and a make-one (M1) increase both add a stitch but create different results. A yarn over usually forms a visible eyelet, while a make-one increase produces a more solid fabric.
| Feature | Yarn Over (YO) | Make One (M1) |
|---|---|---|
| Method | Wrap the working yarn over the needle | Lift the strand between two stitches and work it as a stitch |
| Appearance | Usually creates a visible hole | Usually creates a smaller, less noticeable opening |
| Common uses | Lace, eyelets, decorative details | Garment shaping, sleeves, and raglan increases |
| Stitch count | Adds one stitch | Adds one stitch |
A make-one-left (M1L) or make-one-right (M1R) increase uses the strand between two stitches to create a new stitch with a slant. These increases help shape sweaters and other garments without creating the prominent eyelet associated with a yarn over.
Choose a yarn over for an open, decorative effect. Choose a make-one increase for a more discreet increase for shaping.
Neither method is automatically better. The right choice depends on the pattern and the look you want.
Also Read: How to Fix a Knitting Hole: Easy 5 Techniques and Tips
Frequently Asked Questions About Yarn Overs
Conclusion
Learning how to knit a yarn over is a useful step toward creating lace, eyelets, and decorative details. Start by practicing between two knit stitches, then try the combinations involving purl stitches.
Pay attention to where the working yarn starts and finishes, keep your tension relaxed, and check your stitch count as you practice. Once the movement feels familiar, you will find it easier to follow lace instructions and use yarn overs confidently in various knitting projects.