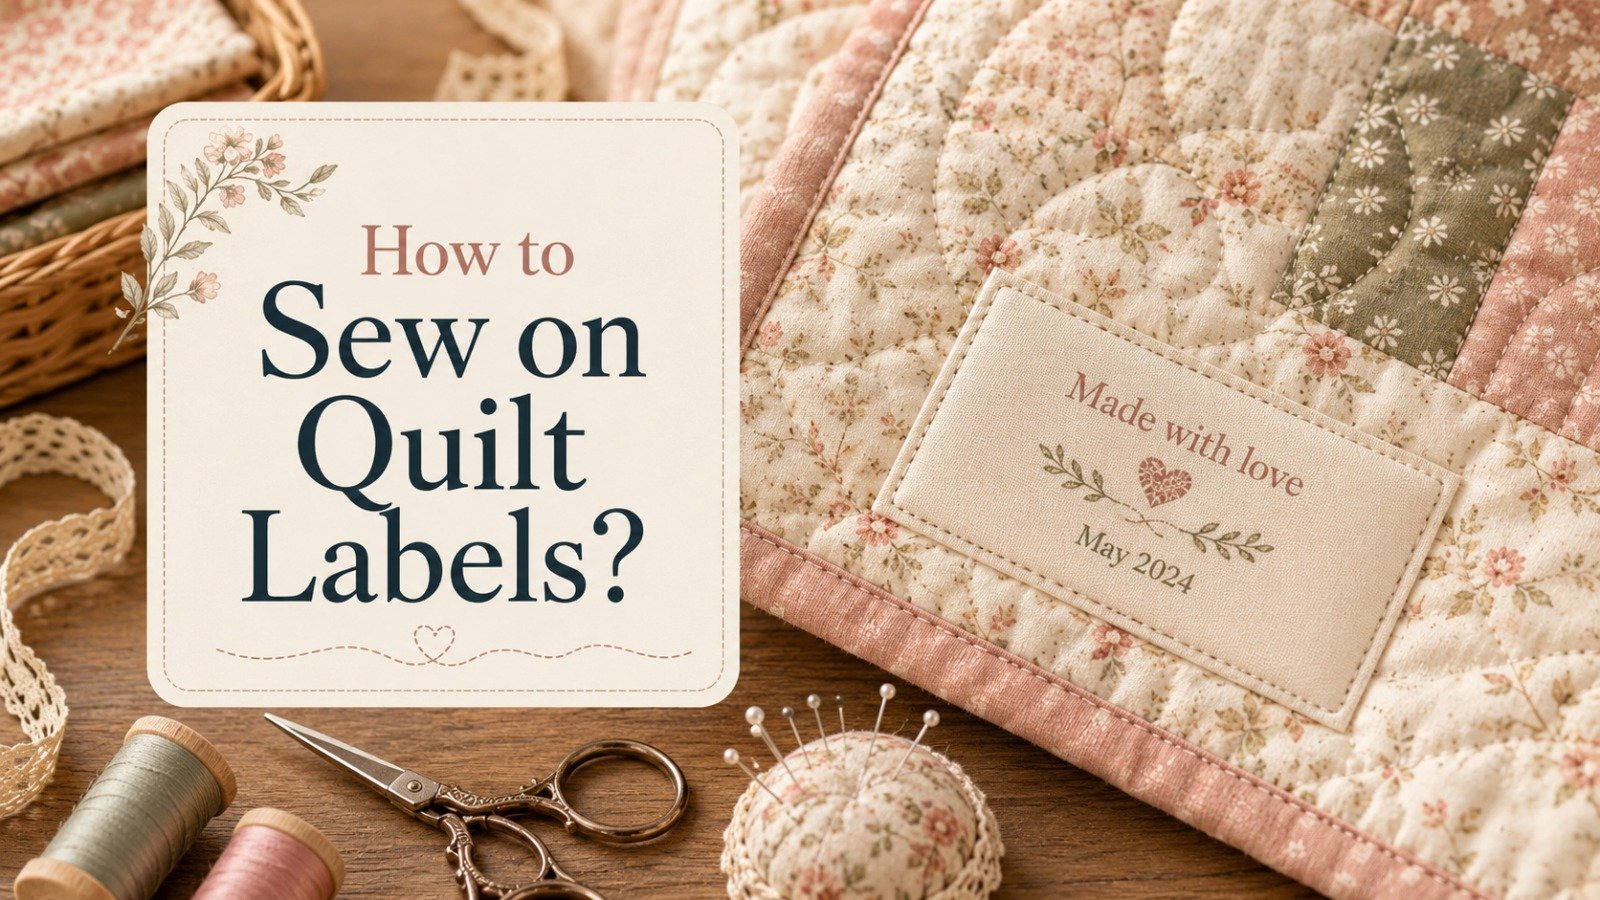
How to Sew on Quilt Labels? Easy Guide
A quilt often tells a story long after it leaves the sewing room. Whether it marks a wedding, welcomes a new baby, or celebrates a special occasion, a label helps preserve its history. Learning how to sew on quilt labels is the final step that turns a finished quilt into a lasting keepsake.
A well-made label records the maker’s name, completion date, and other meaningful details that might otherwise be forgotten.
In this quilt label tutorial, you’ll learn how to create a quilt label, choose the best placement, and attach it securely by hand or with a sewing machine for a neat, durable finish.
Key Takeaways
Why Quilt Labels Matter
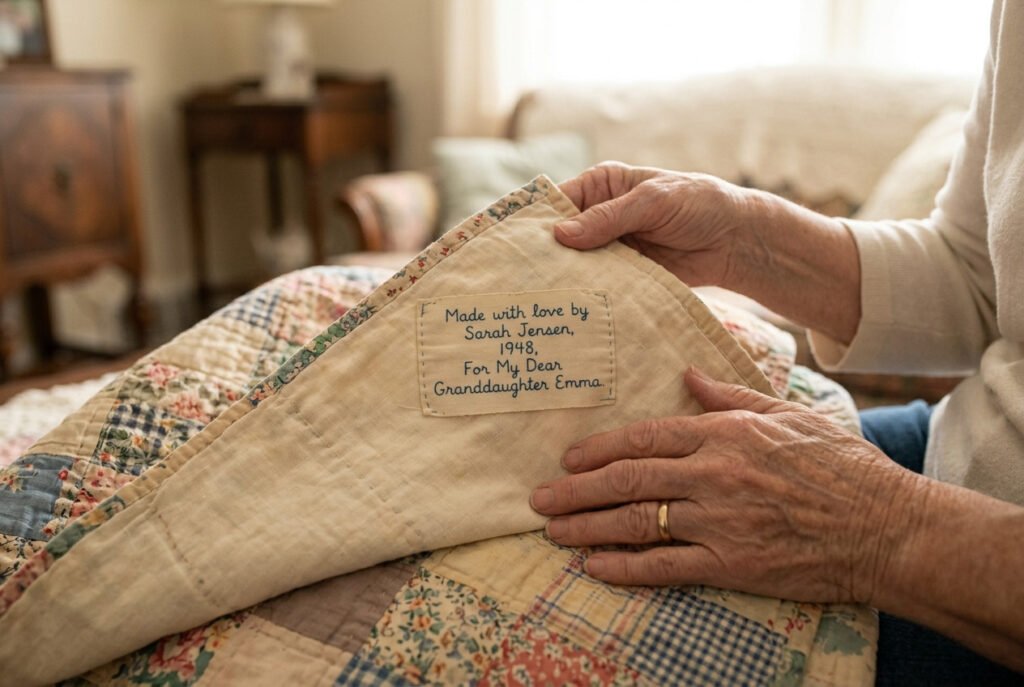
Adding a label to a quilt may seem like a small finishing step, but it gives the project lasting value. Every handmade quilt carries a story, and a label preserves that story for future generations.
Without a label, important details can easily be forgotten. Family members may not remember who made the quilt, when it was completed, or why it was created. A simple fabric label answers those questions and turns a beautiful quilt into a meaningful keepsake.
Quilt labels are especially valuable for wedding quilts, baby quilts, anniversary gifts, memory quilts, charity projects, and quilts entered into shows or exhibitions. They also help document family history and showcase the care that went into every stitch.
Many experienced quilters consider the label to be the signature on their work. Just as an artist signs a painting, adding a well-made label completes the quilt and celebrates the craftsmanship behind it.
What to Include on a Quilt Label
A quilt label doesn’t need to be long to be meaningful. The most effective labels include a few important details that identify the quilt, record its history, and add a personal touch. Whether you’re making a gift, an heirloom, or an everyday quilt, the right information helps preserve its story for years.
Maker’s Name
Start with the name of the person or group that made the quilt. This identifies the maker and allows future generations to know who created it.
You can include:
Example: Made by Sarah Williams
Quilt Title
Giving your quilt a title makes it easier to identify and adds personality to the finished project.
Titles can reflect:
Examples:
Completion Date
Recording when the quilt was finished creates a lasting record of the project.
You can include:
Example: Completed October 2026
Recipient’s Name
If the quilt is a gift, include the recipient’s name to make the label more personal.
Examples:
Occasion or Purpose
Adding the reason the quilt was made helps preserve its story.
Common occasions include:
Location
Many quilters record where the quilt was made. This optional detail can become meaningful as quilts pass from one generation to the next.
Example: Made in Oregon, USA
Pattern Name
If you followed a published pattern or created your own design, recording the pattern name can be useful for future reference.
Example: Pattern: Starburst Garden
Personal Message
A short message adds warmth without taking up much space. Keep it simple and heartfelt.
Examples:
Optional Details
If space allows, you can also include additional information such as:
These details aren’t essential, but they can make heirloom or commemorative quilts even more meaningful.
Keep the Label Simple
Avoid overcrowding the label with too much text. Clear, readable information is more valuable than lengthy descriptions. A well-organized label with the essential details will remain easy to read and continue telling the quilt’s story for many years.
Materials You Need
Making a quilt label doesn’t require many supplies. Most quilters already have what they need in their sewing room. Choosing quality materials helps create a label that stays neat, readable, and durable for years.
Essential Supplies
Gather these basic materials before you begin:
Also Read: Best Sewing Scissors: Top Picks 2026
Also Read: 10 Best Iron for Sewing: Top-Rated Picks 2026
Optional Supplies
Depending on the label type, these items can also be helpful:
Choosing the Best Fabric
Tightly woven quilting cotton is the best choice for most quilt labels. It presses well, accepts fabric ink and embroidery easily, and holds up through regular washing. Light-colored fabrics like white, cream, or natural muslin make handwriting easier to read.
Avoid stretchy or loosely woven fabrics, as they can distort during stitching and wear more quickly over time.
Fabric Pens and Markers
Use a permanent, fade-resistant fabric pen designed for textiles. Before writing on the final label, test the ink on a fabric scrap to make sure it dries cleanly and doesn’t bleed.
Do You Need Interfacing?
Lightweight fusible interfacing is optional but useful when working with thin fabrics, printed labels, or detailed embroidery. It helps prevent puckering and keeps the label flat while sewing without adding unnecessary bulk.
Also Read: Do You Need Safety Goggles When Sewing?
How to Make a Quilt Label
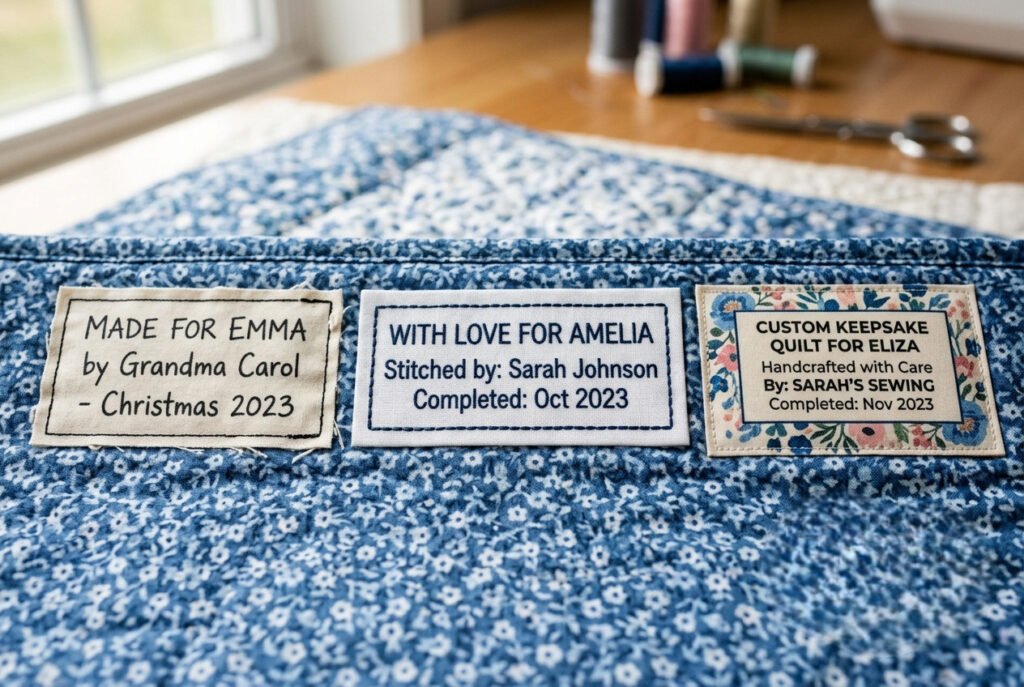
There are several ways to make a quilt label, and each method creates a lasting record of your work. The right choice depends on your sewing skills, available tools, and the style of the finished quilt. Whether you prefer a handwritten note, embroidered lettering, or a printed design, the goal is the same: create a label that is easy to read, durable, and meaningful.
Handwritten Fabric Label
A handwritten label is one of the easiest and most personal options. Write directly on light-colored quilting cotton using a permanent, archival-quality fabric pen. Before writing on the final label, test the pen on a fabric scrap to make sure the ink doesn’t bleed or fade.
This method works well for everyday quilts, gifts, and beginner projects because it requires very few supplies. Keep the message short and write clearly so the label remains easy to read for years to come. Once the ink has dried completely, press the fabric if recommended by the pen manufacturer before attaching it to the quilt.
Best for:
Embroidered Quilt Label
An embroidered label adds a classic handmade finish that complements traditional quilting. You can stitch the lettering by hand using simple embroidery stitches or use an embroidery machine for more detailed designs.
Because the text is sewn rather than written, embroidered labels are highly durable and resist fading over time. They also allow you to add decorative details such as floral borders, monograms, or small quilt motifs that match the overall design.
Although embroidery takes more time than other methods, many quilters choose it for heirloom quilts and special keepsakes where longevity is a priority.
Best for:
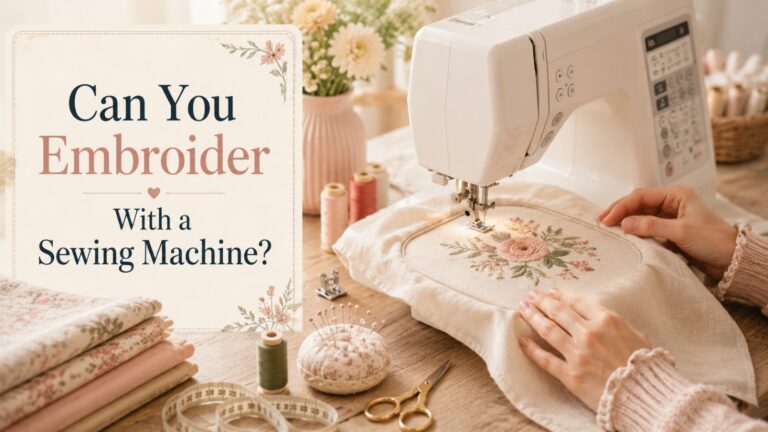
Also Read: Can You Embroider With a Sewing Machine? Easy Guide
Printed Fabric Label
Printable fabric sheets make it easy to design a professional-looking label on a computer. You can include custom fonts, decorative borders, family photographs, quilt titles, or longer messages while keeping the text neat and consistent.
After printing, follow the manufacturer’s instructions to set the ink before washing or sewing the label. This helps prevent fading and ensures the printed design remains clear over time.
Printed labels are an excellent choice for quilters who want a polished appearance without hand lettering or embroidery.
Best for:
Which Quilt Label Method Is Best?
Each method offers its own advantages, and there isn’t a single right choice for every quilt.
No matter which method you choose, use quality materials and prepare the label carefully before sewing it onto the quilt. A well-made label becomes a lasting part of the quilt and helps preserve its story for future generations.
How to Sew On a Quilt Label
After creating your label, the final step is to attach it securely to the quilt. A neatly sewn label stays in place through years of use, washing, and storage while preserving the story behind your work. Whether you prefer hand sewing or machine stitching, careful preparation helps you achieve a clean, professional finish.
Before attaching the label, press it to remove wrinkles and fold the raw edges under about ¼ inch on all sides. Press the folds firmly so they stay in place while sewing. Position the label on the back of the quilt, then secure it with pins or sewing clips to prevent shifting during stitching.
How to Hand Sew a Quilt Label
Hand sewing is the traditional way to attach a quilt label. The stitches are almost invisible, making this method a popular choice for heirloom quilts, show quilts, and other projects where appearance matters.
Step 1: Prepare the Label Press the label flat and fold all edges under about ¼ inch. If the fabric is lightweight or loosely woven, apply lightweight fusible interfacing before folding. This helps prevent puckering and keeps the label stable while sewing.
Also Read: What Is a Basting Stitch in Sewing? Easy Guide
Step 2: Choose the Placement Lay the quilt on a flat surface and position the label on the back. Most quilters place it in the lower left or right corner, though any flat area works well. Check that the label is straight before securing it with pins or clips.
Step 3: Thread the Needle Use a fine hand-sewing needle with quilting thread that closely matches the label or backing fabric. Matching thread makes the stitches less noticeable and gives the finished label a cleaner appearance.
Step 4: Sew Around the Edges Use a slip stitch, ladder stitch, or blind stitch to attach the folded edges. Take small, evenly spaced stitches and catch only a few threads of the quilt backing with each stitch. This technique keeps the stitches nearly invisible from the front while holding the label securely in place.
Continue stitching around all four sides, smoothing the fabric occasionally to prevent wrinkles or puckers.
Also Read: How to Sew a Seam by Hand? Easy 5-Step Guide
Step 5: Finish the Stitching When you return to the starting point, tie a small knot close to the fabric. Hide the thread tail between quilt layers before trimming. This creates a neat finish and helps keep the knot secure over time.
How to Machine Sew a Quilt Label
Machine sewing offers a faster alternative while creating a strong, durable attachment. It works especially well for quilts that will be used frequently, washed often, or donated.
Step 1: Prepare the Label Press the label, fold the edges under, and pin or clip it securely to the quilt back. Check that it lies flat without wrinkles before placing it under the presser foot.
Step 2: Set Up the Sewing Machine Install a universal quilting needle and thread the machine with a color that blends with the label or backing fabric. A straight stitch with a length of about 2.0–2.5 mm creates a clean, durable seam for most quilting cotton.
Also Read: How to Load Bobbin in Sewing Machine? Easy Steps
Step 3: Stitch Around the Label Begin sewing near one corner, keeping the stitching close to the folded edge. Guide the quilt steadily without pulling or stretching the fabric. As you reach each corner, stop with the needle in the down position, lift the presser foot, pivot the quilt, and continue sewing along the next edge.
Maintaining an even seam allowance gives the label a balanced, professional appearance.
Step 4: Secure the Stitches Backstitch two or three stitches at the beginning and end of the seam to lock the thread. Trim any loose threads and inspect each edge to ensure the label is fully attached without gaps.
Quick Steps for Attaching a Quilt Label
For a quick reference, follow these simple steps:
Tips for a Professional Finish
Taking extra time to attach the label carefully gives your quilt a polished appearance and helps preserve its story for future generations. A securely stitched label becomes a permanent part of the quilt, allowing its history to be enjoyed for many years.
Hand-Sewn vs. Machine-Sewn Labels
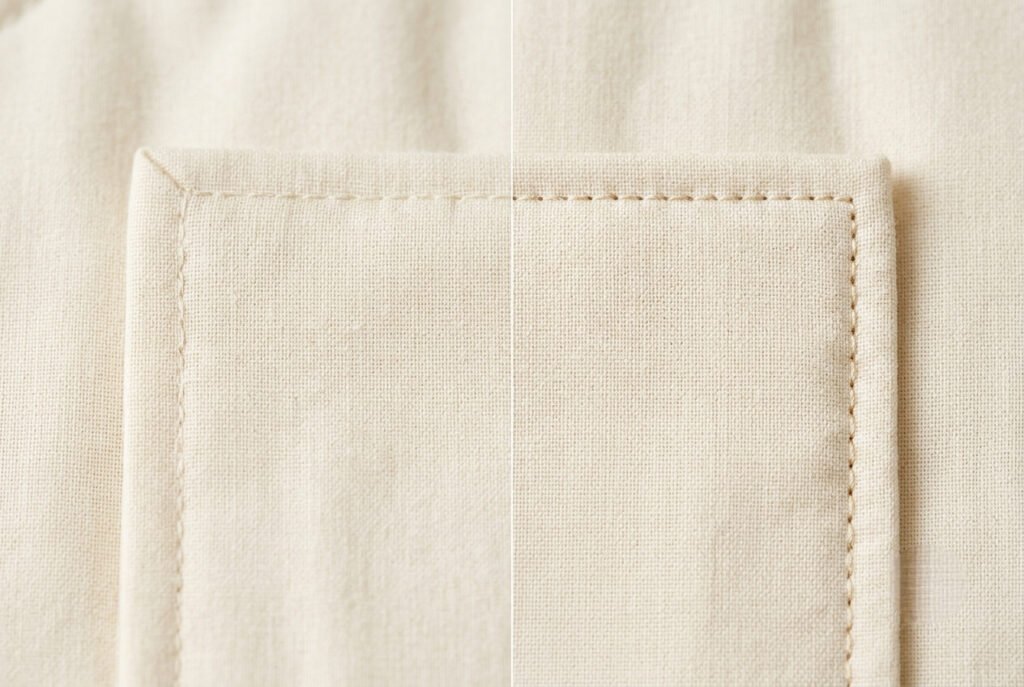
Both hand sewing and machine sewing create secure, long-lasting quilt labels. The best method depends on the type of quilt, the look you want to achieve, and how the quilt will be used. Understanding the strengths of each approach makes it easier to choose the one that best suits your project.
| Feature | Hand-Sewn Label | Machine-Sewn Label |
|---|---|---|
| Appearance | Nearly invisible stitches | Even, uniform stitching |
| Time Required | Longer | Faster |
| Skill Level | Moderate | Beginner-friendly |
| Durability | Excellent | Excellent |
| Best For | Heirloom and decorative quilts | Everyday and frequently used quilts |
| Control | Greater control around corners | Faster, consistent stitching |
Benefits of Hand Sewing
Hand sewing is the traditional way to attach a quilt label. Small, nearly invisible stitches blend into the quilt backing, creating a refined finish that doesn’t distract from the design.
Advantages:
Hand sewing takes more time, but many quilters appreciate the extra precision. It is an excellent choice when the quilt is a keepsake or special gift.
Benefits of Machine Sewing
Machine sewing provides a quick, durable way to attach a quilt label. Even stitching creates a secure finish that withstands regular washing and everyday use.
Advantages:
Machine sewing is especially practical for charity quilts, family quilts, and projects made in larger numbers.
Which Method Should You Choose?
There is no single right choice because both methods produce excellent results when sewn carefully.
Choose hand sewing if:
Choose machine sewing if:
Many experienced quilters use both methods, selecting the one that best matches each quilt’s purpose. No matter which approach you choose, careful stitching and quality thread will keep the label securely attached for years.
Quilt Label Ideas and Examples
A quilt label can be simple or detailed. While a name and completion date are often enough, adding a few personal details makes the quilt more meaningful. The best labels reflect the quilt’s purpose and preserve its memories.
Classic Family Quilt Label
A traditional family label is suitable for almost any quilt and records the essential information.
Consider including:
This timeless style helps document the quilt’s history and makes it easy for future generations to identify its origin.
Wedding Quilt Label
A wedding quilt celebrates an important milestone and becomes even more meaningful with a personalized label.
You might include:
A note like “Made to celebrate your new beginning” adds warmth without crowding the label.
Baby Quilt Label
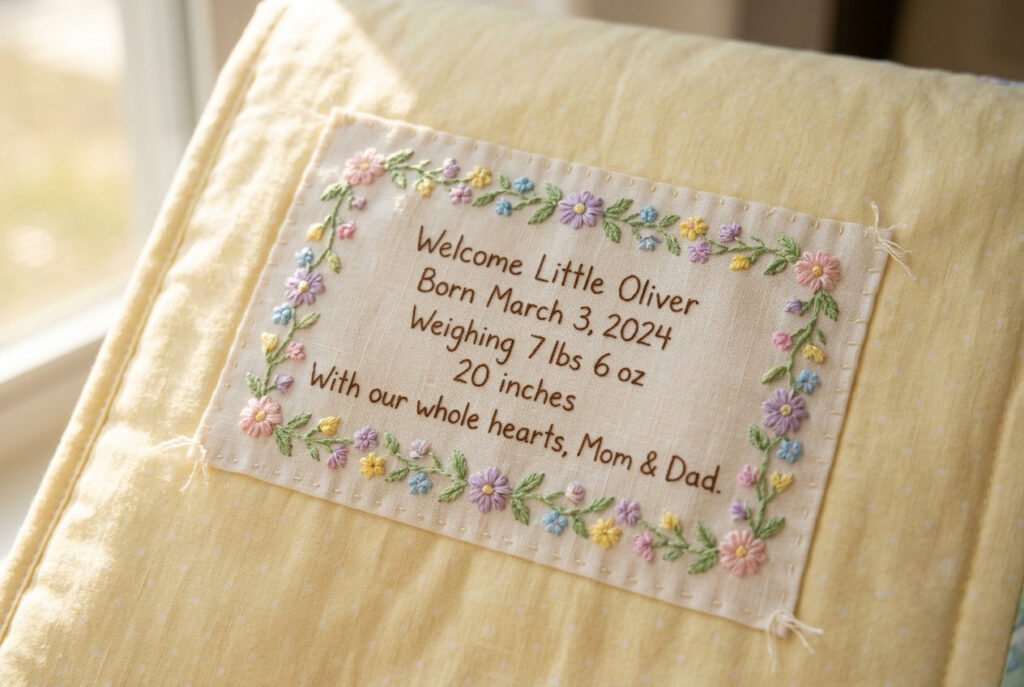
Baby quilts often become treasured keepsakes. Recording birth details makes the label more special.
Popular details include:
Memory Quilt Label
Memory quilts tell deeply personal stories. A thoughtful label preserves the quilt’s meaning for future generations.
You could include:
Charity Quilt Label
A charity quilt label should be simple, welcoming, and clear.
Include:
A message like “Handmade with care” or “Wishing you warmth and comfort” adds a thoughtful touch.
Decorative Quilt Label Ideas
Small decorative details personalize a quilt label without distracting from the information.
Popular ideas include:
Choose decorations that complement the quilt’s design while keeping the text clear and easy to read.
Sample Quilt Label
If you’re unsure where to begin, use a simple format like this:
Made by: Sarah Lewis Quilt Title: Autumn Maple Completed: October 2026 Made for: Emma Carter “May this quilt bring warmth, comfort, and happy memories for many years.”
This format includes essential details and leaves room for a personal message, creating a label that is practical and meaningful.
Common Mistakes to Avoid
A well-made quilt label should remain readable, secure, and attractive for many years. Small mistakes during preparation or attachment can affect its appearance and durability. Taking extra time during the final steps helps ensure the label becomes a lasting part of the quilt rather than a detail needing future repair.
Using the Wrong Fabric
The label should be made from a stable fabric that performs like the quilt itself. Stretchy knits, loosely woven fabrics, or materials that fray easily can distort after washing and regular use.
For the best results, choose tightly woven quilting cotton or another durable fabric that complements the quilt backing.
Writing with Non-Permanent Ink
Not every pen or marker suits fabric. Some inks fade, bleed, or wash away over time, making the label hard to read.
Before writing on the final label:
Forgetting Important Information
Many quilters remember to include their name but leave out other important details.
Before attaching the label, check that it includes:
A quick review takes only a minute and helps preserve the quilt’s history.
Overcrowding the Label
Fitting too much information onto a small label can make it difficult to read. Clear, simple wording often creates a more attractive and meaningful result.
Leave comfortable margins, use easy-to-read lettering, and focus on the details that matter most.
Skipping the Pressing Step
Pressing the label before and after sewing creates crisp edges and helps it lie flat on the quilt backing.
Skipping this step may lead to:
A quick press makes the sewing process easier and improves the finished appearance.
Placing the Label Too Close to the Binding
Although quilt labels are commonly placed near a corner, avoid positioning them directly against the binding. Leaving a small space around the label makes stitching easier and creates a more balanced, professional look.
Also Read: How to Sew Binding on a Quilt? Step-by-Step Guide
Pulling the Thread Too Tightly
Whether sewing by hand or machine, too much thread tension can cause the fabric to pucker.
Use smooth, even stitches that hold the label securely without distorting the quilt backing.
Sewing Through the Quilt Front
When hand sewing, catch only a few threads of the backing fabric whenever possible. This helps prevent visible stitches from appearing on the front of the quilt while keeping the label securely attached.
Forgetting to Secure the Corners
The corners receive the most stress when a quilt is folded, unfolded, or washed. Reinforce each corner with a few extra stitches to help prevent the edges from lifting over time.
Rushing the Final Step
Attaching the label is the last stage of the project but deserves the same care as every other step. Take a moment to check placement, smooth the fabric, and inspect stitching before considering the quilt complete.
A carefully attached label not only finishes the quilt beautifully but also preserves its story for future generations.
Also Read: How to Sew a Rip? Easy 6- Step Guide
Caring for a Quilt with a Sewn Label
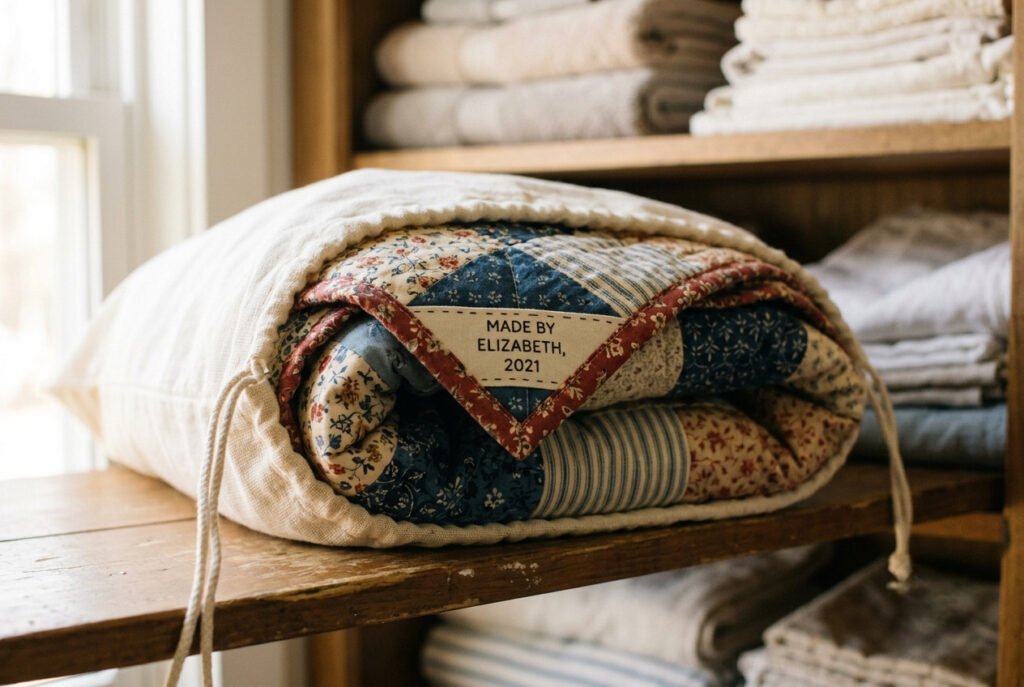
A properly sewn quilt label is designed to last as long as the quilt itself, but regular care helps preserve both the fabric and the information it contains. Whether the label is handwritten, embroidered, or printed, a few simple care habits can keep it looking clear and secure for years.
Wash the Quilt Gently
Most quilts can be cleaned with a gentle wash cycle using mild, bleach-free detergent. Harsh chemicals and aggressive washing may weaken fabric fibers or cause fabric inks to fade over time.
If the quilt is an heirloom, antique, or made with delicate fabrics, hand washing or professional quilt cleaning is often the safer choice.
Avoid Excessive Heat
High temperatures can cause cotton fabrics to shrink and may shorten the lifespan of some printed or handwritten labels.
To help protect the quilt:
Gentle drying methods help maintain both the quilt and its label.
Iron with Care
If the quilt needs pressing, use the appropriate heat setting. Place a pressing cloth over the label before ironing to protect printed text or handwritten details.
For embroidered labels, press from the back whenever possible to avoid flattening the raised stitches.
Store the Quilt Properly
Proper storage prevents fading, moisture damage, and unnecessary wear.
For long-term storage:
Refolding the quilt every few months helps prevent permanent creases from forming in the same areas.
Inspect the Label Periodically
Check the label whenever you clean or unfold the quilt. Catching small problems early prevents more extensive repairs later.
Look for:
If you notice a loose edge, repair it with a few small stitches before the damage becomes worse.
Handle the Quilt Carefully
Frequent pulling or folding directly over the label can place unnecessary stress on the stitching. When displaying or storing the quilt, avoid putting repeated tension on the labeled area whenever possible.
With proper care and occasional inspection, a sewn quilt label can remain securely attached and easy to read for decades, preserving the story behind the quilt for future generations.
Conclusion: How to Sew on Quilt Labels?
Learning to sew on quilt labels is a simple but valuable skill that gives every finished quilt a lasting identity. A thoughtfully attached label records important details, preserves the story behind the project, and adds a polished finishing touch appreciated for years to come.
Whether you choose a handwritten, embroidered, or printed label, careful preparation and secure stitching ensure it stays readable and firmly attached through use and washing. Choosing the right materials, placing the label thoughtfully, and using reliable hand- or machine-sewing techniques all contribute to a clean, durable result.
Every quilt reflects time, creativity, and careful craftsmanship. Adding a well-made label completes that work by preserving its history, making each quilt not only a beautiful handmade creation but also a lasting record of the maker, the occasion, and the memories it was created to celebrate.