
Why Does My Sewing Machine Keep Jamming? Easy Fixes
Have you ever been in the middle of a sewing project when the machine suddenly stops, the thread tangles underneath the fabric, or the needle gets stuck? It can be frustrating when the problem seems to appear without warning.
If you’re wondering why does my sewing machine keep jamming, the good news is that most causes are easy to identify and fix. After years of sewing everything from everyday clothing to quilts, denim projects, and home décor, one thing is clear: sewing machine jams usually come from simple issues, not major mechanical failures.
Incorrect threading, a worn needle, bobbin problems, thread tension, or lint buildup can interrupt smooth stitching and cause tangled thread or fabric.
This guide explains the most common reasons a sewing machine keeps jamming, how to troubleshoot each issue step by step, and practical ways to prevent it from happening again.
Whether the thread keeps bunching underneath the fabric, the machine locks up, or stitches become uneven, these solutions will help restore smooth, reliable sewing with confidence.
Key Takeaways
Why Does My Sewing Machine Keep Jamming?
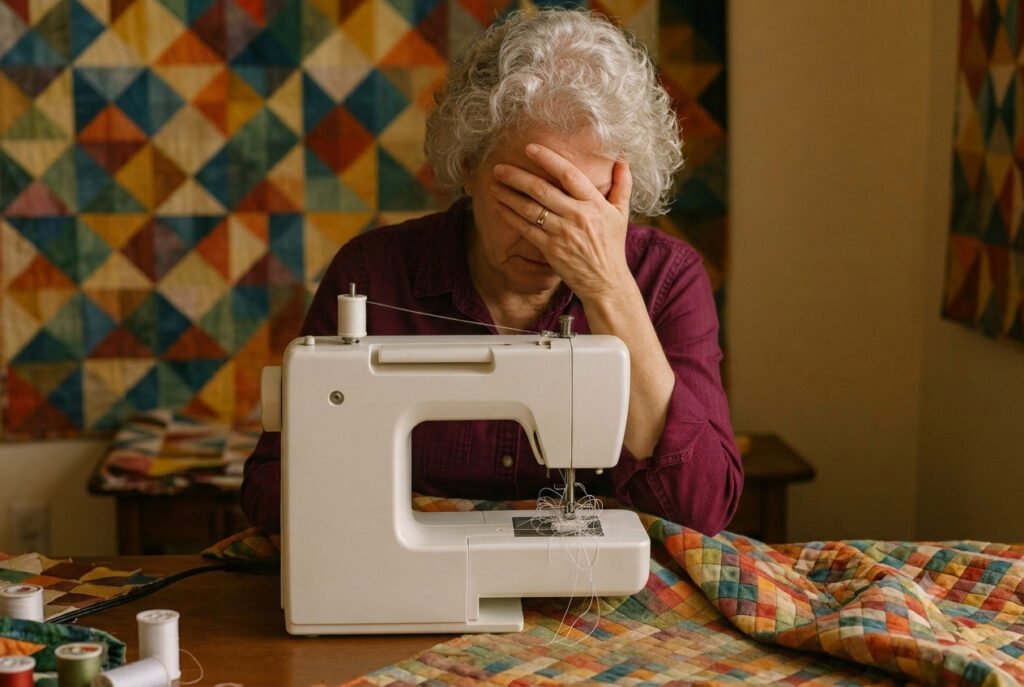
A sewing machine usually jams when the thread, needle, or bobbin system cannot work together properly during stitch formation. Most often, the problem is not a serious mechanical failure but caused by everyday issues like incorrect threading, improper thread tension, a bent or dull needle, bobbin mistakes, lint buildup, or using the wrong needle or thread for the fabric.
A sewing machine relies on precise timing between the upper thread, lower thread, needle, hook, and feed dogs to create smooth, even stitches. When one part is threaded incorrectly, worn, dirty, or out of position, the threads cannot lock together properly. Instead, they bunch underneath the fabric, wrap around the bobbin case, or cause the machine to stop unexpectedly.
Fortunately, most sewing machine jams can be fixed at home with a systematic approach. By identifying the cause early and following the correct troubleshooting steps, you can restore smooth stitching, reduce thread waste, and help prevent the same problem from happening again.
Common Causes of Sewing Machine Jams
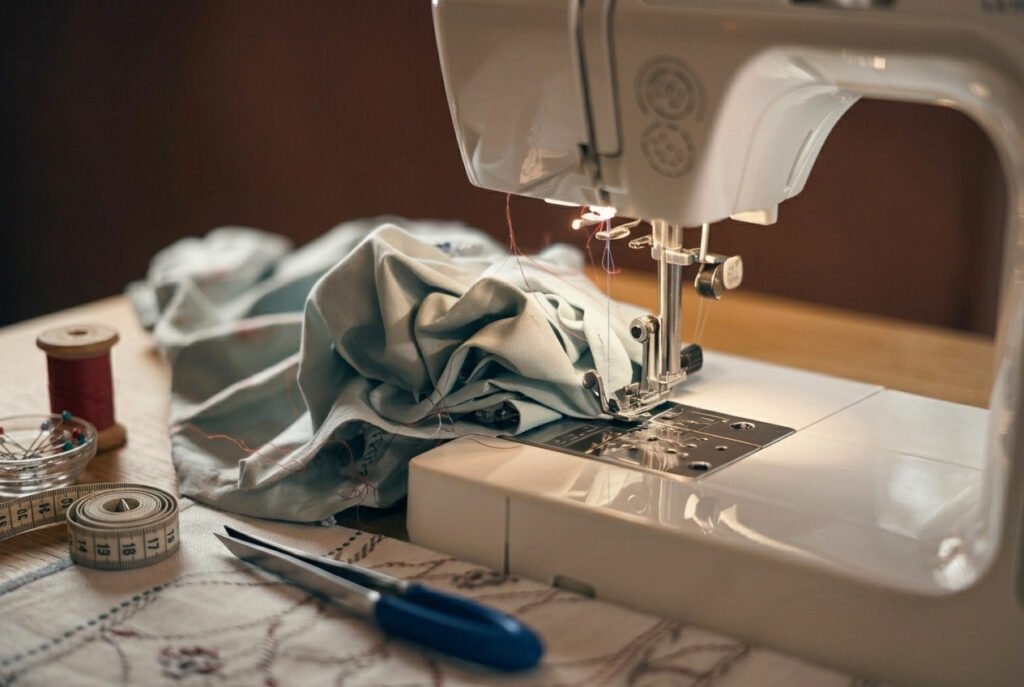
A sewing machine rarely jams without reason. Usually, the problem starts with a small mistake that gradually interrupts the stitching process. Incorrect threading, a worn needle, poor thread tension, or a dirty bobbin area may seem minor alone, but any can prevent smooth, balanced stitches.
After years of sewing garments, quilts, denim projects, and home décor, one pattern is clear: most sewing machine jams are caused by routine setup or maintenance issues rather than major mechanical failures.
Learning to recognize these common causes makes troubleshooting faster and helps prevent the same problem from happening again. Before taking the machine apart, use this quick guide to identify the most likely cause.
| Symptom | Most Likely Cause | First Thing to Check |
|---|---|---|
| Thread bunching underneath the fabric | Incorrect upper threading | Rethread the machine with the presser foot raised |
| Needle keeps breaking | Bent or incorrect needle | Replace the needle with the correct type and size |
| Thread snaps repeatedly | High tension or poor-quality thread | Check the tension setting and thread quality |
| Machine won’t feed fabric smoothly | Lint around the feed dogs | Clean the feed dogs and bobbin area |
| Bobbin thread tangles | Incorrect bobbin installation | Remove and reinstall the bobbin correctly |
| Machine locks or stops suddenly | Thread caught in the hook or bobbin area | Remove tangled thread and clean the hook assembly |
Incorrect Threading
Incorrect threading is one of the most common reasons a sewing machine keeps jamming. Even experienced sewists can accidentally miss a thread guide, skip the take-up lever, or thread the machine with the presser foot lowered. When that happens, the thread cannot settle correctly into the tension discs, causing loose loops, thread bunching, or bird nesting underneath the fabric.
Common threading mistakes include:
Quick Fix: Raise the presser foot, remove the upper and bobbin threads, and rethread the machine from the start. Test stitches on scrap fabric before continuing.
Thread Tension Problems
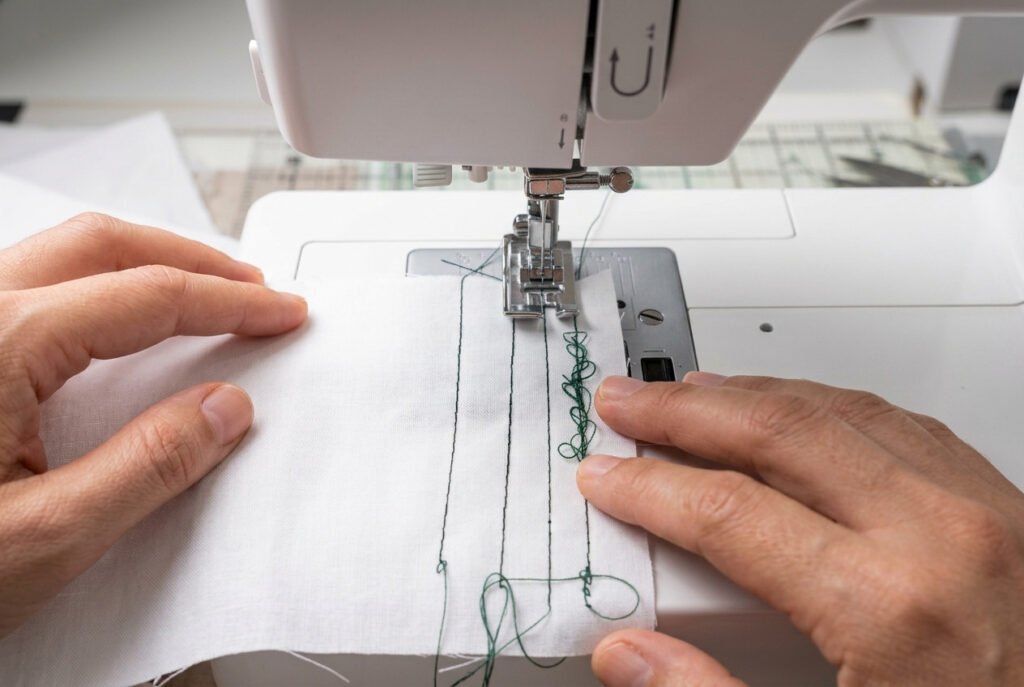
Proper thread tension allows the upper and lower threads to lock together neatly inside the fabric. When the tension is too loose, the upper thread forms loops underneath the fabric. When it is too tight, the thread may snap, pucker the fabric, or cause the machine to jam.
Signs of thread tension problems include:
Before adjusting the tension dial, confirm the machine is threaded correctly. Incorrect threading often causes symptoms resembling tension problems.
Quick Fix: Return the tension to the standard setting, rethread if needed, and sew test stitches on scrap fabric before making adjustments.
Bent, Dull, or Incorrect Needle
The needle carries the upper thread through the fabric to connect with the bobbin thread. A bent, dull, damaged, or wrong-sized needle interrupts this and can cause skipped stitches, thread breakage, or jams.
Watch for these warning signs:
Replace the needle after 8 to 10 hours of sewing, after a large project, or immediately if bent or if it hits a pin.
| Fabric | Recommended Needle |
|---|---|
| Lightweight cotton | Universal 70/10 |
| Quilting cotton | Universal 80/12 |
| Jersey knit | Ballpoint 75/11 |
| Stretch fabric | Stretch 75/11 or 90/14 |
| Denim | Denim 90/14 or 100/16 |
| Canvas | Jeans 100/16 |
| Upholstery fabric | Heavy-duty 100/16 or 110/18 |
Bobbin Problems
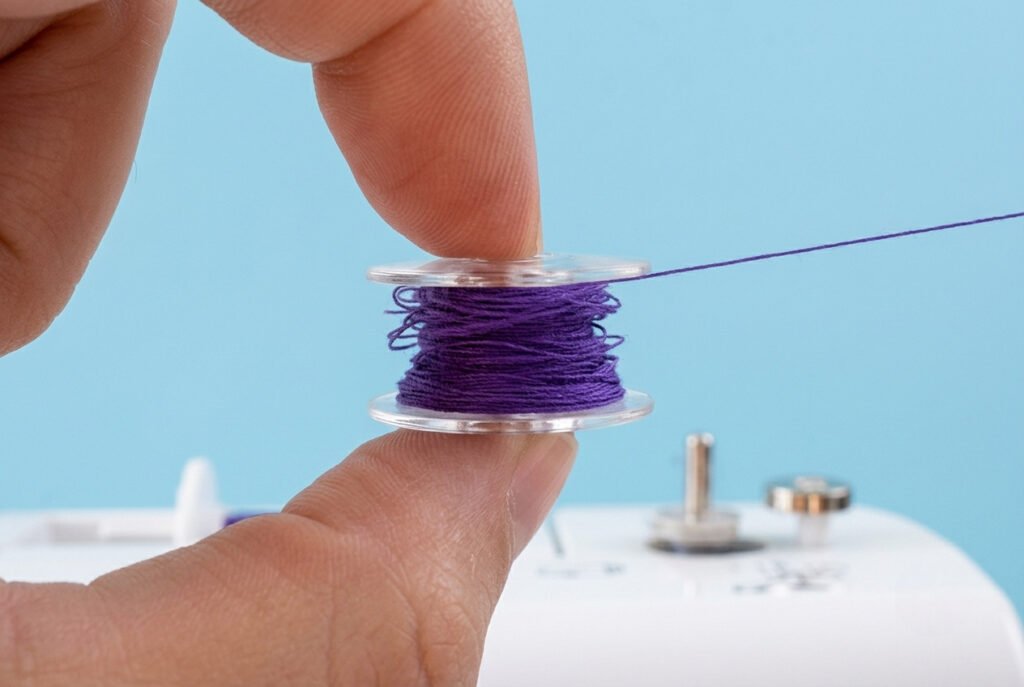
The bobbin works with the upper thread to create every stitch. If it is wound unevenly, inserted incorrectly, or damaged, the lower thread cannot feed smoothly. This often results in thread tangles, bird-nesting, or a bobbin jam underneath the fabric.
Also Read: How to Load Bobbin in Sewing Machine? Easy Steps
Common bobbin problems include:
Always use the bobbin size recommended for the machine and check it rotates in the correct direction before sewing.
Quick Fix: Remove the bobbin, clean the compartment, rewind it evenly, reinstall correctly, and pull the thread through the tension spring before testing.
Lint and Debris Buildup
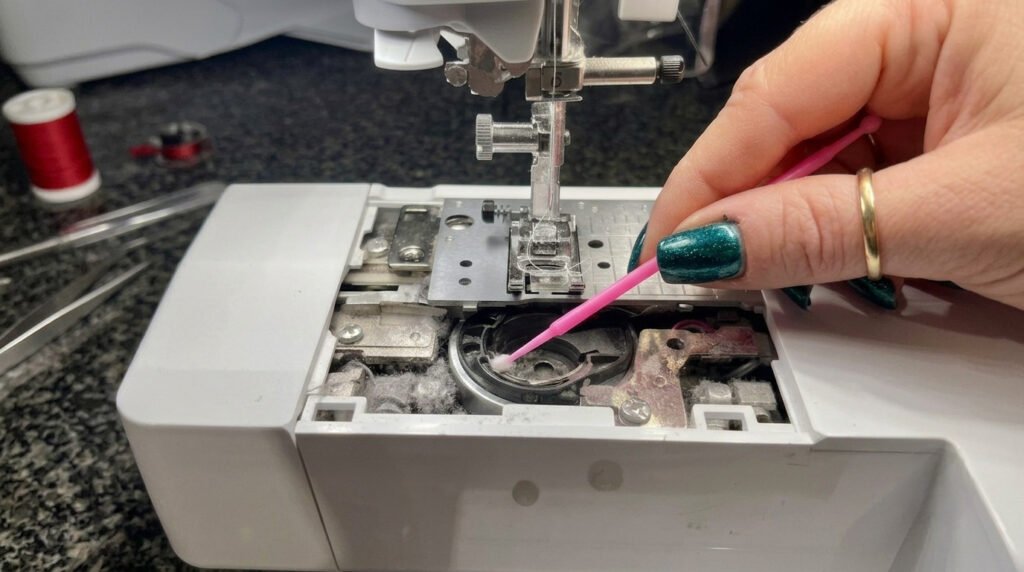
Every sewing project leaves behind tiny fibers. Cotton, flannel, fleece, batting, and denim produce especially large amounts of lint that gradually collect around the bobbin case, feed dogs, hook assembly, and needle plate.
As lint builds up, moving parts cannot operate freely, increasing the risk of thread jams and uneven stitching.
Signs of lint buildup include:
Quick Fix: Clean the bobbin area with a small lint brush after every major project. Remove loose thread pieces carefully and follow the machine manual for any recommended maintenance.
Also Read: How to Sew Binding on a Quilt? Step-by-Step Guide
Low-Quality or Unsuitable Thread
Thread quality directly affects stitch consistency. Low-quality, old, or brittle thread may fray, shed fibers, or break repeatedly as it passes through the tension discs and needle eye.
Common signs that thread is causing the problem include:
Choose a quality polyester all-purpose thread for most sewing projects, or cotton thread when appropriate for quilting and cotton fabrics.
Also Read: 10 Best Thread for Sewing: Ultimate Guide 2026
Fabric and Needle Mismatch
Different fabrics require different needle types and sizes. Using a lightweight needle on heavy denim or a universal needle on stretch fabric stresses both the needle and machine.
Matching the fabric, thread, and needle helps create balanced stitches and reduces the risk of jamming, skipped stitches, and thread breakage.
If the machine begins struggling immediately after changing fabrics, check the needle before adjusting any other settings.
Also Read: Can You Embroider With a Sewing Machine? Easy Guide
Pulling the Fabric While Sewing
Pulling the fabric from behind the machine may seem helpful but can bend the needle and interfere with stitch formation. Even a slight bend can cause the needle to strike the hook or needle plate, causing skipped stitches or a jam.
Guide the fabric gently with both hands and allow the feed dogs to move it naturally. If the fabric does not feed smoothly, inspect the needle, presser foot pressure, or feed dogs instead of pulling on the material.
Skipping Routine Maintenance
Regular maintenance is one of the simplest ways to prevent sewing machine problems. Over time, lint, worn needles, damaged bobbins, and loose thread fragments accumulate inside the machine. Ignoring these issues can interrupt stitch formation and cause repeated jams.
Cleaning the machine after major projects, replacing needles regularly, and inspecting the bobbin area before each sewing session will help keep the machine operating smoothly and reduce interruptions.
How to Fix a Jammed Sewing Machine
A jammed sewing machine can be frustrating, but forcing the fabric out or turning the handwheel aggressively usually makes the problem worse. The safest approach is to stop immediately and work through the machine step by step. From my sewing experience, a systematic approach almost always reveals the cause before it becomes a bigger repair.
Follow these steps to troubleshoot the problem safely.
Step 1: Stop Sewing Immediately
As soon as the machine starts making unusual noises, the needle becomes stuck, or the fabric stops feeding, release the foot pedal.
Turn off the machine and unplug it before inspecting any moving parts. This helps protect both the machine and your project.
Also Read: Do You Need Safety Goggles When Sewing?
Step 2: Raise the Needle
Turn the handwheel toward you slowly until the needle reaches its highest position.
If the handwheel feels tight or won’t move, don’t force it. A tangled thread may be wrapped around the hook or bobbin area, and forcing it could damage internal parts.
Step 3: Remove the Fabric Carefully
Lift the presser foot.
If the fabric won’t release, cut the upper thread near the spool instead of pulling on it. Then gently remove the fabric without stretching or tearing.
Also Read: How to Sew a Rip? Easy 6- Step Guide
Step 4: Remove Tangled Thread
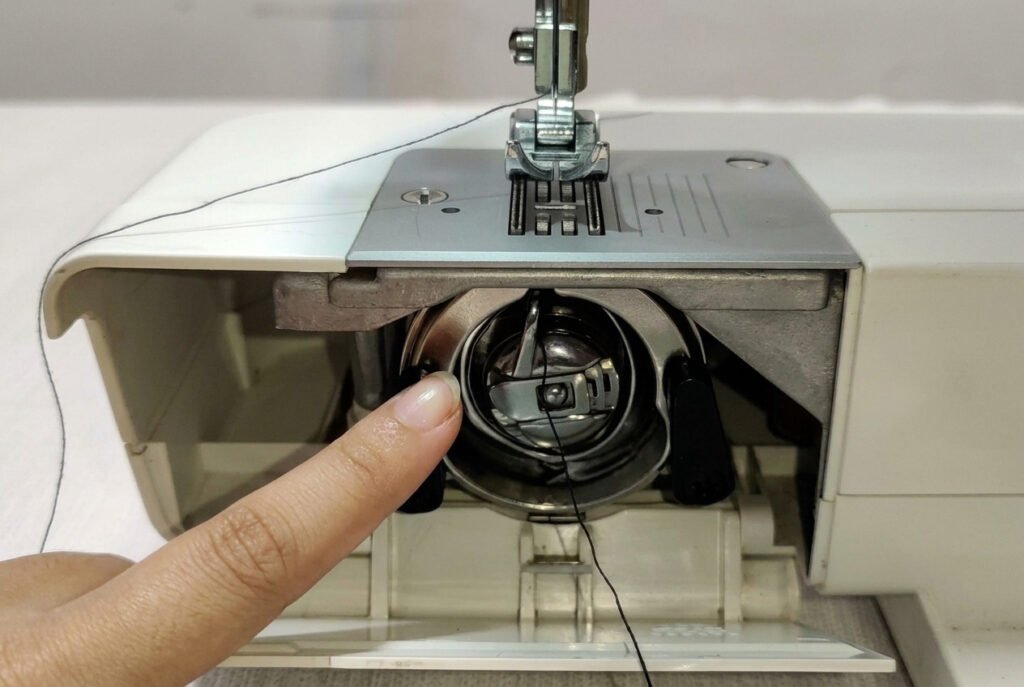
Take out the bobbin and inspect the bobbin compartment carefully.
Remove all tangled thread, lint, or fabric fibers. Even a small strand wrapped around the hook can cause another jam when sewing resumes.
Tweezers help remove thread from hard-to-reach areas.
Step 5: Inspect and Replace the Needle
A needle can bend slightly during a jam without showing obvious damage.
Replace the needle if it is:
Installing a fresh needle eliminates one of the most common causes of repeated sewing problems.
Step 6: Rethread the Entire Machine
Many sewing problems begin with incorrect threading.
Remove both the upper thread and the bobbin thread completely.
Raise the presser foot before threading so the thread seats correctly inside the tension discs. Follow the threading path in the machine manual, then reinstall the bobbin correctly.
Step 7: Clean the Bobbin Area
While the machine is open, clean away any lint or loose thread.
Pay special attention to the:
Use a small lint brush or a soft cleaning tool recommended by the manufacturer. Avoid blowing into the machine because this can push debris farther inside.
Step 8: Test on Scrap Fabric
Before returning to your project, sew several lines on a scrap piece of fabric that matches your project.
Check for:
If the stitches look even and the machine runs smoothly, you can safely continue sewing.
Also Read: What Is a Basting Stitch in Sewing? Easy Guide
Quick Troubleshooting Guide
| Problem | Most Likely Cause | First Thing to Check |
|---|---|---|
| Thread bunching underneath | Incorrect upper threading | Rethread the machine with the presser foot raised |
| Needle stuck in fabric | Bent needle or tangled thread | Replace the needle and remove tangled thread |
| Bobbin jam | Incorrect bobbin installation | Remove and reinstall the bobbin correctly |
| Thread breaking repeatedly | Poor thread or incorrect tension | Check thread quality and tension settings |
| Machine locks completely | Thread wrapped around the hook | Clean the hook and bobbin area |
Bobbin Jam vs. Thread Jam
Although these problems often look similar, they usually have different causes.
| Bobbin Jam | Thread Jam |
|---|---|
| Starts inside the bobbin area | Usually begins in the upper threading path |
| Often caused by incorrect bobbin installation | Often caused by incorrect threading |
| Thread wraps around the hook | Thread bunches underneath the fabric |
| May lock the handwheel | Usually creates bird nesting first |
| Requires cleaning the bobbin compartment | Usually requires complete rethreading |
Knowing where the jam begins makes troubleshooting much faster and helps avoid unnecessary adjustments.
Why Does the Sewing Machine Keep Jamming Underneath?
If large loops of thread collect underneath the fabric, the upper thread is usually responsible rather than the bobbin.
When the upper thread isn’t seated correctly in the tension discs, it cannot tighten during stitch formation. Instead, it creates loose loops underneath the fabric that quickly turn into bird nesting.
Before adjusting the tension dial, check these items:
In many cases, simply rethreading the machine correctly solves the problem.
DIY Repair or Professional Service?
Most sewing machine jams can be fixed at home using the steps above. However, some problems indicate professional service is the safer option.
Problems You Can Usually Fix Yourself
Also Read: How to Sew a Seam by Hand? Easy 5-Step Guide
When to Call a Sewing Machine Technician
Consider professional servicing if:
Internal timing and mechanical repairs require specialized tools and experience. If basic troubleshooting does not solve the problem, professional servicing is often the safest way to restore smooth, reliable stitching.
Also read: Top 10 Best Sewing Machines for Intermediate Sewers
How to Prevent Sewing Machine Jam
Preventing a sewing machine jam is easier than fixing one. A few simple habits before and during each sewing session keep the machine running smoothly, improve stitch quality, and reduce wear on moving parts.
One lesson remains consistent: regular maintenance and careful setup prevent most sewing machine problems before they start.
Thread the Machine Correctly Every Time
Incorrect threading is a common cause of sewing machine jams. Even missing a thread guide or threading with the presser foot lowered can prevent the thread from seating correctly in the tension discs.
Before sewing:
If stitches suddenly become uneven or thread starts bunching underneath the fabric, remove both the upper thread and bobbin thread completely and rethread the machine from the beginning.
Replace Needles Regularly
A sewing machine needle gradually dulls through normal use, even if it looks straight.
Replace the needle:
Using a fresh needle often solves problems that appear much more serious.
Use High-Quality Thread
Thread quality directly affects stitch consistency.
Old, brittle, or low-quality thread can fray, shed lint, and break repeatedly, increasing the risk of thread tangles and machine jams.
For most projects:
Match the Needle to the Fabric
Different fabrics require different needle types and sizes.
Using the correct combination reduces stress on both the needle and the machine while producing cleaner stitches.
| Fabric Type | Recommended Needle |
|---|---|
| Lightweight woven fabric | Universal 70/10 |
| Quilting cotton | Universal 80/12 |
| Jersey knit | Ballpoint 75/11 |
| Stretch fabric | Stretch 75/11 or 90/14 |
| Denim | Jeans 90/14 or 100/16 |
| Canvas | Jeans 100/16 |
| Heavy upholstery | Heavy-duty 100/16 or 110/18 |
If sewing problems begin after changing fabrics, the needle should be one of the first things to inspect.
Also Read: 10 Best Iron for Sewing: Top-Rated Picks 2026
Keep the Bobbin Area Clean
The bobbin compartment collects lint faster than almost any other part of the machine.
Regular cleaning prevents lint from interfering with the hook assembly, feed dogs, and stitch formation.
Clean the:
Use a small lint brush and follow the manufacturer’s cleaning recommendations. Do not blow lint deeper into the machine.
Also Read: Best Sewing Scissors: Top Picks 2026
Sew at a Steady Speed
Fast sewing increases strain on the needle and thread, especially when stitching over bulky seams or thick fabrics.
For smoother results:
A steady pace produces consistent stitches and reduces the chance of thread jams.
Follow a Simple Maintenance Routine
Routine maintenance keeps a sewing machine reliable and helps prevent unexpected interruptions.
After Every Project
Monthly (or After Frequent Use)
Annually
If the machine is used regularly, schedule professional servicing per the manufacturer’s recommendations. A technician can inspect timing, lubrication points, belts, and other internal components that are hard to access safely.
Quick Prevention Checklist
Before starting any sewing project, take a moment to confirm the following:
Developing these simple habits helps prevent thread bunching, bobbin jams, skipped stitches, and other common sewing machine problems. This allows projects to progress more smoothly from start to finish.
Final Thoughts about the Sewing Machine Keep Jamming
If the question is why does my sewing machine keep jamming, the answer is usually much simpler than it first appears. Most sewing machine jams are caused by everyday issues such as incorrect threading, improper thread tension, a worn or damaged needle, bobbin mistakes, lint buildup, or using the wrong needle and thread for the fabric.
From years of working, one habit has made the biggest difference: taking a few minutes to check the machine before sewing. A correctly threaded machine, a clean bobbin area, a sharp needle, and good-quality thread can prevent many common stitching problems before they interrupt a project.
Regular maintenance, careful setup, and a step-by-step troubleshooting routine keep most sewing machines running smoothly for years. If basic checks no longer solve the problem or you notice signs of internal mechanical issues, professional servicing is the safest way to restore performance.
One Comment