How to Sew a Tear in Jeans: Easy Repair Guide
A torn pair of jeans does not always belong in the trash. If the denim around the damage still feels strong, you can often repair it at home with a needle, strong thread, and a suitable patch. The right approach depends on the size of the tear, the condition of the fabric, and where the damage appears.
If you wonder how to sew a tear in jeans, start by checking beyond the visible split. Denim can weaken around a tear before it breaks. Sewing only across the opening may close it, but reinforcing the surrounding area helps the repair hold up better.
In this guide, I’ll cover hand sewing, patching, and sewing-machine techniques.
Also Read: How to Sew a Rip? Easy 6- Step Guide
Key Takeaways
What You’ll Need to Repair a Tear in Jeans
A basic denim repair does not require a large sewing kit. The right needle, thread, and patch material matter more than having many supplies.
Gather these items before starting:
For thick denim, a sturdy jeans needle is useful because lightweight needles struggle with dense fabric and bulky seams. A regular hand-sewing needle works for lighter denim, but thicker fabric requires more effort.
Thread that closely matches the dominant denim color creates a less noticeable repair. Polyester thread is a practical option because it offers good strength for everyday garment repairs and regular washing.
For stretch jeans, use a backing fabric with some flexibility rather than a rigid patch. The repair should support the worn area without preventing the denim from moving naturally.
Also Read: 10 Best Thread for Sewing: Ultimate Guide 2026
Also Read: Best Sewing Scissors: Top Picks 2026
Prepare the Jeans Before Sewing
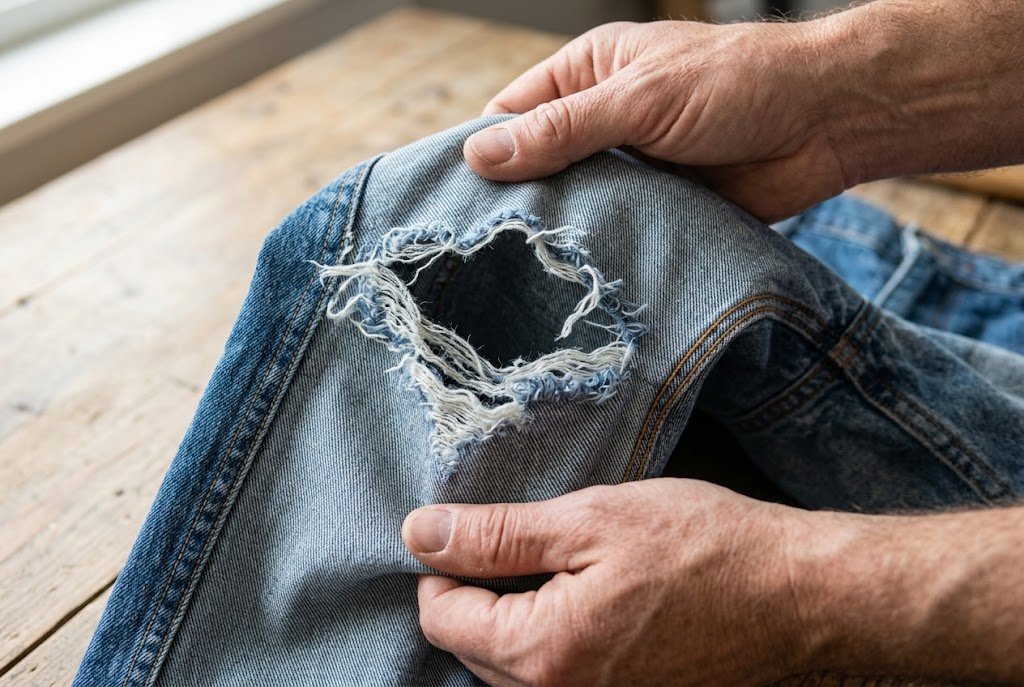
Good preparation makes the actual stitching easier and helps create a cleaner repair. Before picking up the needle, take a few minutes to inspect the tear and the fabric around it.
1. Wash and Dry the Jeans
Start with clean, completely dry jeans. Washing removes dirt, body oils, and other residue that can make the fabric harder to handle.
Let the jeans dry fully before repairing. Working with damp denim makes it harder to judge the fabric’s true condition and shape.
2. Turn the Jeans Inside Out
Turn the jeans inside out before examining the damaged area. This gives better access to the inside of the fabric and makes it easier to position a backing patch.
It also reduces the chance of stitching the front and back of a pant leg together, especially when using a sewing machine.
3. Inspect the Surrounding Denim
Look beyond the visible tear. Gently check the fabric around the opening for areas that feel thin, soft, or weak.
This step is easy to overlook. Denim can wear from friction before a hole develops. If the surrounding fabric feels fragile, plan to reinforce a larger area instead of just the split.
4. Trim Loose Threads
Use sharp fabric scissors to remove long loose threads that could get in the way while sewing.
Avoid cutting stable threads or removing sound denim simply to make the opening look neater. The original fabric provides useful support for the repair.
5. Mark the Repair Area
If the denim around the tear has thinned, use tailor’s chalk or a washable fabric marker to lightly outline the area needing reinforcement.
Marking beyond the visible damage gives a clear guide for placing a patch or planning machine darning. It also prevents the repair from stopping exactly where the weak fabric begins.
6. Press the Denim Flat
If the fabric is wrinkled or folded around the tear, press it flat before sewing. Use a pressing cloth when needed and follow the jeans’ care instructions.
Flat denim is easier to align and stitch. It also makes it easier to see if the torn edges sit naturally without pulling them too tightly together.
How to Sew a Tear in Jeans by Hand

Hand sewing works well for a narrow rip, small hole, or repair in an area where a sewing machine is difficult to maneuver. A backstitch is a reliable choice because its closely connected stitches provide good support and precise control over the damaged area.
Before starting, examine the denim around the tear. If the fabric feels firm, hand stitching may be enough. If it feels thin, soft, or worn, add a backing patch to strengthen it before stitching.
Step-by-Step Hand Repair
1. Choose the thread
Select a strong thread that blends with the main color of the denim. If the jeans contain several shades from fading or washing, a slightly darker thread can sometimes blend more naturally than trying to find an exact color match.
For a decorative repair, contrasting thread can create an intentional design instead of trying to hide the stitching.
2. Thread the needle
Cut a manageable length of thread and pass it through the needle. Tie a small knot at one end.
Avoid using a long thread because it can tangle while sewing. A thimble can make it easier to push the needle through heavy denim without pressing too hard on your fingertip.
3. Position the jeans
Lay the jeans flat with the inside facing upward. Keep the front and back of the pant leg separated so the stitches do not accidentally join both layers.
Bring the torn edges close together, but do not pull them tightly. The denim should remain relaxed and lie naturally.
4. Start before the tear
Bring the needle through sound denim a short distance before the split. Starting on stronger fabric gives the first stitches a secure foundation.
Avoid beginning directly at the frayed edge because loose fibers provide less support.
5. Make an anchoring stitch
Take one short stitch through firm denim before reaching the damaged section. This helps hold the thread in place as you begin sewing across the opening.
6. Sew with small backstitches
Work along the split using short backstitches. Keep stitches close enough to support the fabric but do not pull the thread so tightly that the denim puckers.
The goal is to reconnect the damaged area while allowing the original fabric to keep its natural shape.
7. Continue beyond the tear
Keep stitching slightly past both ends of the visible split. Extending the repair into stronger denim helps spread tension instead of concentrating stress at the original tear.
This small detail is easy to overlook but can make a noticeable difference when the surrounding fabric is worn.
8. Reinforce weak areas
Check the denim as you sew. If the area beside the opening feels thin, add another row of small stitches next to the first.
For a larger weak section, use a backing patch rather than relying on additional stitches alone. The patch distributes tension over a wider area and gives the worn denim additional support.
9. Secure the thread
Finish on the inside of the jeans. Make a few small securing stitches, tie off the thread firmly, and trim the excess thread.
Turn the jeans right side out and inspect the repair. The fabric should lie flat without heavy puckering or a tight ridge along the stitching.
Also Read: How to Sew a Seam by Hand? Easy 5-Step Guide
Keep a Hand-Sewn Repair Discreet
For a less noticeable finish, choose thread that closely matches the dominant denim shade and follow the fabric weave direction. Small, evenly spaced stitches blend better than long, widely spaced ones.
Avoid forcing the torn edges into a tight overlap. Excessive tension can distort the denim and transfer stress to the fabric beside the repair.
If one thread color does not match well, two nearby shades can blend more naturally with faded denim. Test the combination on a scrap of similar fabric before stitching.
For a decorative finish, contrasting thread, visible patches, or sashiko-inspired rows can turn the repair into part of the jeans’ design. This approach works particularly well for visible knee repairs.
When Hand Sewing Is Not Enough
Hand stitching is useful for small tears but not always suitable for heavily worn denim. If the fabric around the opening feels thin over a larger area, place a backing patch behind the damage and stitch through the patch and stronger fabric.
A sewing machine can also make larger reinforcement jobs easier, particularly when several rows of darning or zigzag stitching are needed.
The important point is to match the repair method to the condition of the denim. A small split in strong fabric needs a different approach from a large hole surrounded by thin, worn material.
How to Repair a Large Hole or Tear With a Patch
A large hole usually needs more than stitches because some denim is missing. A backing patch fills the gap and spreads tension over a wider area, giving the remaining fabric better support.
Before choosing a patch, inspect the denim around the opening. If the surrounding fabric feels thin or weak, make the patch large enough to cover both the worn area and the visible hole.
Step 1: Cut the Patch
Choose denim or another durable fabric with a similar weight to the jeans. For stretch denim, use a patch with some flexibility so the repaired area can move with the garment.
Cut the patch larger than the damaged area on every side. Leaving about 1 inch of extra fabric around the hole gives the stitches enough material to grip.
Round the corners instead of leaving them square. Curved edges are less likely to catch during wear and help keep the patch from lifting.
Step 2: Position the Patch
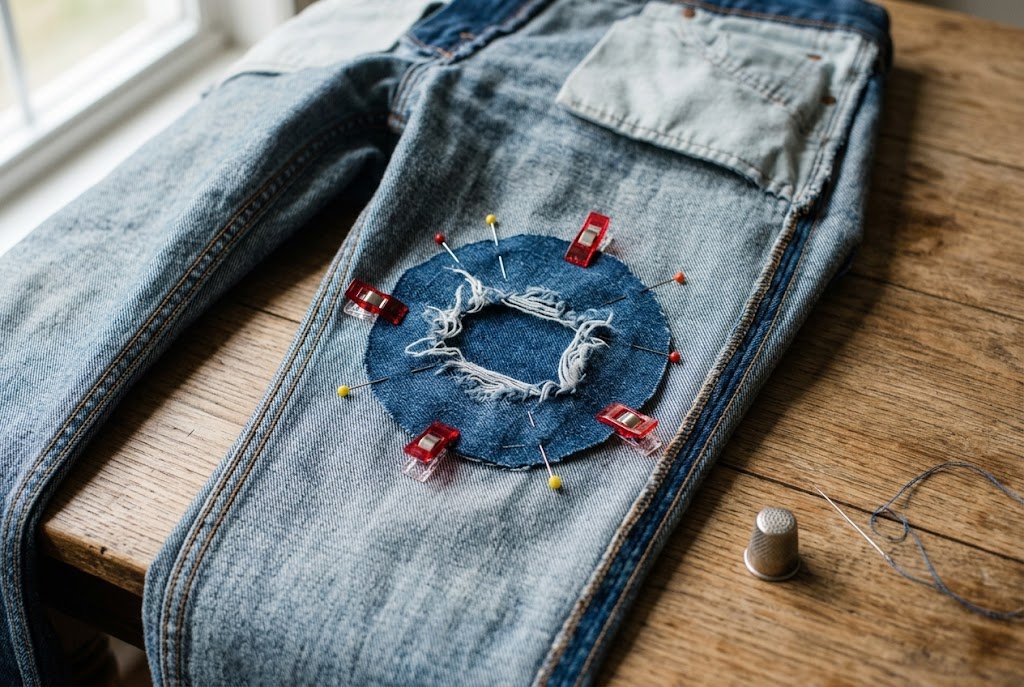
Turn the jeans inside out and place the patch behind the hole. Center it so the entire damaged area and surrounding weak fabric sit over the backing material.
Make sure the patch lies completely flat. Do not stretch or bunch the denim while positioning it.
Secure the patch with pins, fabric clips, or temporary basting stitches. If pins are used, keep them away from the path of the needle.
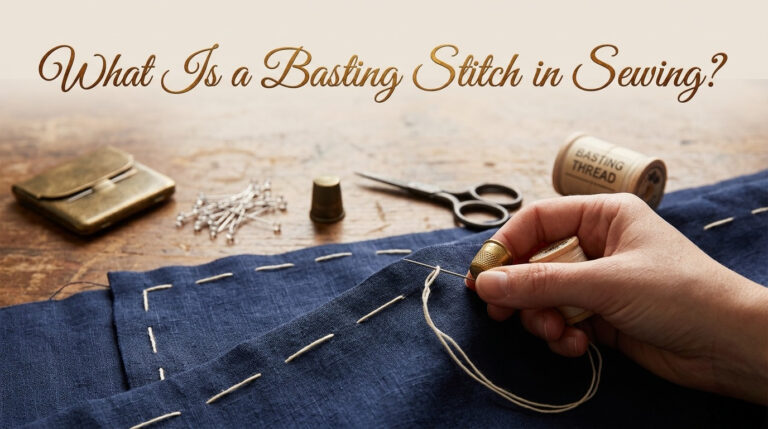
Also Read: What Is a Basting Stitch in Sewing? Easy Guide
Step 3: Stitch Around the Patch
Start sewing through both the original denim and the backing patch. Work around the damaged area with small, secure stitches.
For hand sewing, a running stitch provides a simple finish, while closer stitching offers more support. A sewing machine can use a straight or zigzag stitch depending on the fabric and repair shape.
Keep the original denim relaxed as you sew. Pulling the edges tightly together can create puckering and make the repaired section less comfortable.
Step 4: Reinforce the Center
Once the patch is secure, check the center of the hole. If the surrounding denim still needs support, add rows of stitching across the damaged area.
For a discreet repair, follow the direction of the denim weave and use thread that blends with the fabric. For visible mending, contrasting thread or decorative rows can make the repair part of the jeans’ design.
The goal is to support the remaining denim rather than simply outline the hole. Closely spaced stitching across a worn area can distribute stress more evenly.
Step 5: Finish the Repair
Secure the thread inside and trim the excess. If the patch extends beyond the support area, trim only the unnecessary material.
Do not cut the patch too close to the stitching. Leaving enough backing fabric around the repair helps maintain support and reduces edge fraying.
Press the repaired section flat using a suitable pressing cloth and following the garment’s care instructions.
A Few Details That Matter
The patch should support more than the visible opening when the surrounding denim weakens. Repairing only the hole can leave fragile fabric around the stitching, allowing another tear nearby.
The repair should remain flexible enough for normal movement. A thick patch or excessive stitching can make a knee, crotch, or inner-thigh repair stiff and uncomfortable.
For heavily worn jeans, it is often better to reinforce a wider section with lighter layers than to create one thick, rigid patch. The right balance depends on the weight and stretch of the original denim.
Also read: How to Sew on a Patch? Easy Step-by-Step Guide
Also read: How to Hand Sew Patches? An Easy Guide
How to Fix Ripped Jeans With a Sewing Machine
A sewing machine can make denim repairs quicker, especially when the damaged area is large or the surrounding fabric needs reinforcement. It works well for securing backing patches, controlling frayed edges, and adding rows of stitches across worn denim.
Before starting, test the chosen stitch on a scrap of similar denim. Check the needle, thread, stitch length, and tension before working on the jeans. This simple test can prevent uneven stitching and helps show how the machine handles the fabric.
Also read: Best Mechanical Sewing Machine: Our Top Pick 2026
Also read: Top 10 Best Sewing Machines for Intermediate Sewers
Use Zigzag Stitching for Edge Support
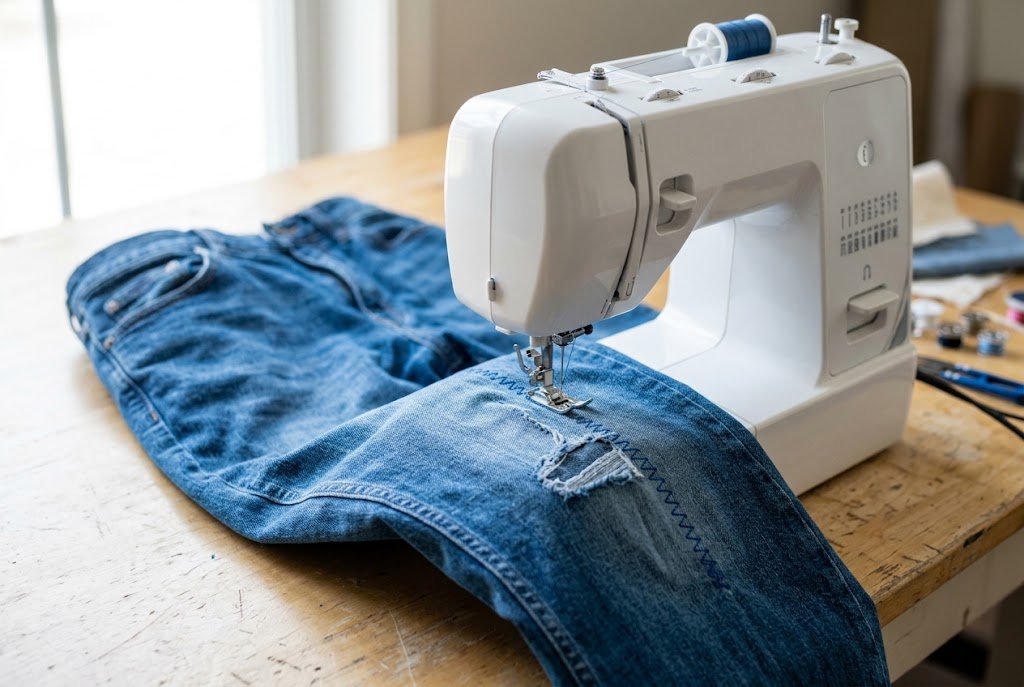
A zigzag stitch works well for securing the edges of a tear or attaching a backing patch. Choose a moderate stitch width and length that suit the denim’s weight rather than an extremely dense setting.
If using a patch, place it behind the damaged area and stitch through both the original denim and the patch. Work slowly around the weak section to keep the fabric flat.
Avoid stretching the jeans while sewing. Stretching can cause the fabric to contract or ripple after stitching is released.
When working through thick seams, slow the machine down and avoid forcing the needle through several bulky layers. A suitable jeans needle can help when the fabric is especially dense.
Also read: How to Replace a Sewing Machine Needle? Easy Guide
Use Straight Stitching for Machine Darning
Machine darning uses closely spaced straight stitches to rebuild support over worn denim. Begin with several lines running in one direction across the damaged area.
If more reinforcement is needed, sew another set of lines across the first group. This creates a layer of stitching that supports the weakened fabric instead of just joining the two sides of the tear.
Keep the lines closer over the hole and gradually space them farther apart as you move into stronger denim. This reinforces the damaged section without covering more original fabric than necessary.
For a less noticeable finish, use thread that blends with the jeans and follow the direction of the existing denim weave.
Keep the Pant Legs Separated
Arrange the jeans so only the intended layer sits beneath the presser foot. Open and flatten the pant leg as much as possible before sewing.
Check underneath the fabric before each new section. It is easy to stitch the front and back of a pant leg together when working inside a narrow opening.
Take extra care around the crotch and inner thigh. These areas can be difficult to position under a sewing machine, so slow stitching and frequent checks help keep the repair correctly placed.
Finish and Check the Repair
Once the damaged area has enough support, secure the stitching per the sewing machine’s instructions. Trim loose thread ends and remove any temporary pins or clips.
Turn the jeans right side out and inspect the repair. The denim should lie flat, and the stitching should hold the weakened area without excessive stiffness or puckering.
If the fabric still feels fragile beside the repair, add reinforcement rather than sewing over the same line again. Supporting the surrounding weak area helps reduce stress on the repaired section.
Also Read: Why Does My Sewing Machine Keep Jamming? Easy Fixes
Repair Knee, Crotch, and Inner-Thigh Tears
The location of a tear affects how it should be repaired. Knees are easy to reach but often visible, while crotch and inner-thigh areas experience more movement and friction. Each area benefits from a slightly different approach.
Repairing a Knee Tear
A knee hole gives plenty of room for either a discreet repair or a decorative finish.
For a less noticeable result, place a matching denim patch behind the hole and use thread that blends with the surrounding fabric. Keep the stitches short and follow the direction of the denim weave when possible.
A visible repair can also work well on the knee. Contrasting thread, embroidery, decorative stitching, or a printed patch can turn the damaged area into part of the jeans’ design.
If the surrounding knee fabric has thinned, extend the reinforcement beyond the visible hole. Round patch corners slightly and keep the denim relaxed while sewing to reduce puckering.
Repairing a Crotch Tear
Crotch damage needs strength and comfort because the area moves repeatedly while walking, sitting, and bending.
Use a soft, flexible backing fabric rather than a stiff patch. Reinforce the area around the tear, especially if the surrounding denim feels thin.
Avoid bulky knots, thick thread buildup, and stiff patch edges that press against the body. Keep the finished repair as flat as possible.
Before sewing, check the surrounding fabric carefully. A small opening can lie within a larger worn area, so reinforcing only the visible split may leave fragile denim beside the repair.
Also Read: How to Sew a Gusset? Easy Step-by-Step Guide
Repairing an Inner-Thigh Tear
Inner-thigh damage often develops from repeated friction between the fabric and legs. The visible hole may be smaller than the area that needs attention.
Inspect both pant legs for thinning, fuzzy fibers, or denim that feels softer than the surrounding fabric.
If the area around the tear feels weak, reinforce the wider worn section rather than closing only the opening. A backing patch distributes stress across stronger fabric and provides additional support.
For comfort, avoid creating a thick, rigid repair. A lighter patch with controlled stitching provides support without making the inner thigh feel bulky.
How to Make a Jeans Repair Less Visible
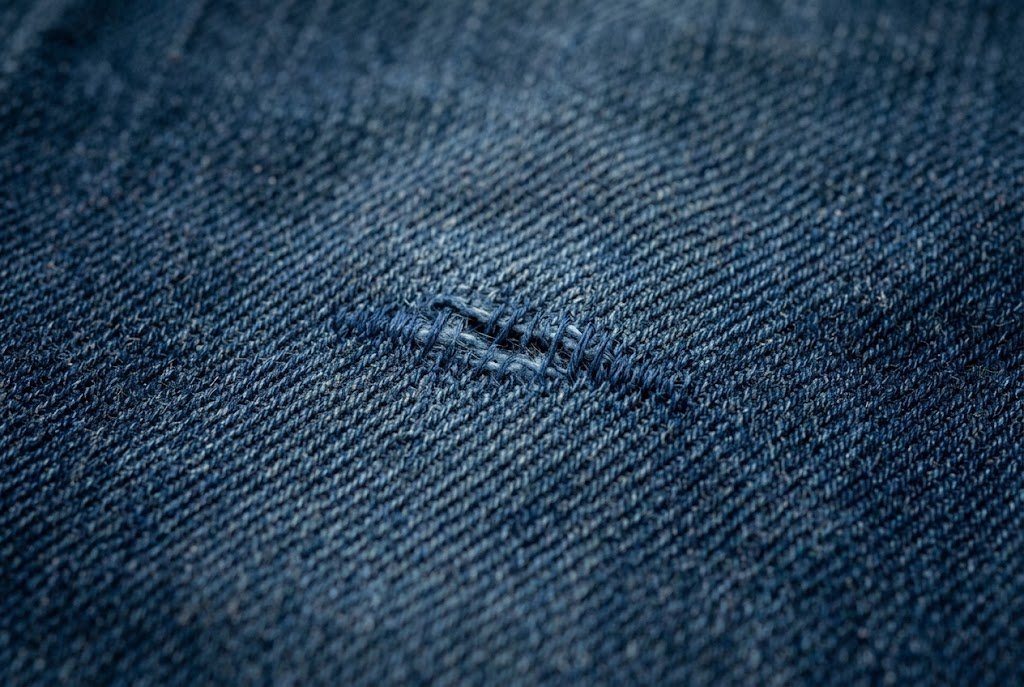
Not every repair needs to stand out. If the goal is a discreet finish, several small choices help the stitching blend with the original denim.
Machine darning can also create a relatively subtle finish. Closely spaced lines that follow the direction of the denim can blend into the existing texture, particularly when the thread color is similar.
A completely invisible repair is not always realistic when denim fibers are missing. A successful repair should first provide strength and comfort, while appearance comes next.
Common Mistakes to Avoid
A denim repair can look secure at first but fail later if the surrounding fabric or stitching is neglected. Avoiding common mistakes makes the repair stronger, more comfortable, and less likely to reopen.
Repairing Only the Visible Hole
A tear may be the most obvious damage, but the surrounding denim can also be weak. Check the fabric around the opening and reinforce thin areas instead of stitching only along the original split.
Using Weak Thread
Choose a strong thread that suits garment sewing and the weight of the denim. Lightweight thread may break under repeated tension, particularly around the crotch, seat, and inner thigh.
Pulling the Tear Too Tightly
Do not force the torn edges into a tight overlap. Excess tension can pucker the denim and transfer stress to fabric beside the repair.
Keep the original fabric relaxed while stitching so the jeans move naturally when worn.
Using a Patch That Is Too Small
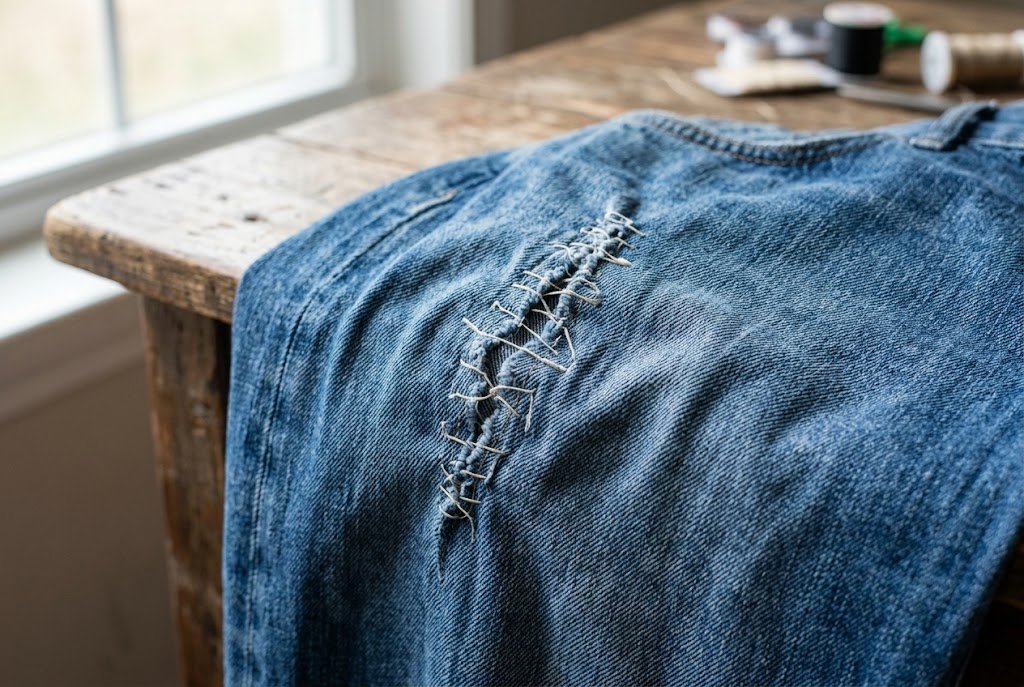
A backing patch should extend beyond the damaged area. A patch that barely covers the hole may leave fragile denim unsupported and allow another tear nearby.
Round the corners slightly and keep the patch flat against the inside of the jeans.
Using a Rigid Patch on Stretch Denim
Stretch jeans need repair material that accommodates movement. A stiff patch can restrict fabric and add stress around its edges.
Choose a flexible backing material that works with the stretch of the original denim.
Making Stitches Too Long
Long, widely spaced stitches provide fewer support points. Use shorter, controlled stitches for narrow tears and increase reinforcement over larger worn areas as needed.
Avoid stitching too densely across strong fabric. Focus reinforcement where the denim needs support.
Forgetting to Separate the Pant Legs
This is especially important when using a sewing machine.
Arrange the jeans so only the intended layer sits beneath the presser foot. Check underneath the fabric before sewing to make sure the needle does not join the front and back of the pant leg.
Cutting Away Too Much Original Fabric
Trim loose, dangling threads but avoid cutting into sound denim simply to make the hole look neater.
The original fabric provides valuable support. Removing too much can enlarge the opening and make the repair harder.
Sewing Dirty or Damp Denim
Start with clean, dry jeans. Damp or dirty fabric is harder to inspect and handle accurately.
Let the jeans dry fully before repairing and follow the garment’s care instructions when washing afterward.
Leaving Bulky Knots in High-Friction Areas
Large knots or thick layers of thread can be uncomfortable in areas like the crotch and inner thigh. Keep the inside of the repair as flat as possible.
Wearing the Jeans Before Checking the Repair
Inspect the finished stitching before regular use. Check both sides for loose threads, puckering, shifting patches, or weak areas.
If the repair needs additional reinforcement, it is easier to correct it before the jeans go through another cycle of wear and washing.
Fabric glue can help position a patch temporarily when the product is suitable for the fabric, but it should not replace stitching in areas that receive frequent stress. For crotches, inner thighs, and heavily worn denim, sewn reinforcement provides the structural support that the repair needs.
Can You Repair Jeans Without a Sewing Machine?
Yes. Hand sewing can handle many common denim repairs without a sewing machine.
A small tear can often be secured with short backstitches if the surrounding fabric is strong. A larger hole usually needs a backing patch with stitching around and across the damaged area.
Hand sewing takes longer than machine stitching, but it gives excellent control over stitch placement. It is also useful for travel repairs, awkward seams, and for anyone without access to a sewing machine.
For anyone learning to mend jeans by hand, starting with a small tear is easier than tackling a heavily worn crotch or inner-thigh area. Once the basic technique feels comfortable, larger repairs become easier to manage.
How Long Does a Jeans Repair Last?
There is no fixed lifespan for a denim repair. Durability depends on the location of the damage, the condition of the surrounding fabric, repair method, and the stress the jeans receive during normal wear.
A repair on firm, healthy denim may remain secure for a long time. A repair in severely worn fabric, especially around the inner thigh or crotch, may need additional reinforcement as the surrounding material continues to wear.
The most reliable approach is to support the weakened area instead of placing every stitch directly along the original split. Regularly checking high-friction areas can help identify thinning before another hole develops.
After repairing the jeans, follow the garment’s care label when washing. Avoid unnecessarily harsh treatment, and inspect the repaired area occasionally for loose stitches, lifting patch edges, or new signs of wear.
People Also Ask
Final Thoughts
Learning how to sew a tear in jeans can help extend the life of a favorite pair instead of replacing it at the first sign of damage. The key is to look beyond the visible opening and check the surrounding denim before choosing a repair method.
Small tears with strong fabric around them often need only careful hand stitching. Larger holes benefit from a backing patch and reinforcement. Machine darning can support broader areas of worn denim. Knee repairs also offer a chance to use decorative stitching when a visible mend suits the style.
With a suitable needle, strong thread, the right patch material, and careful stitching, many denim repairs remain practical and comfortable through regular wear. Repairing a small tear early can prevent a minor problem from becoming a larger hole.