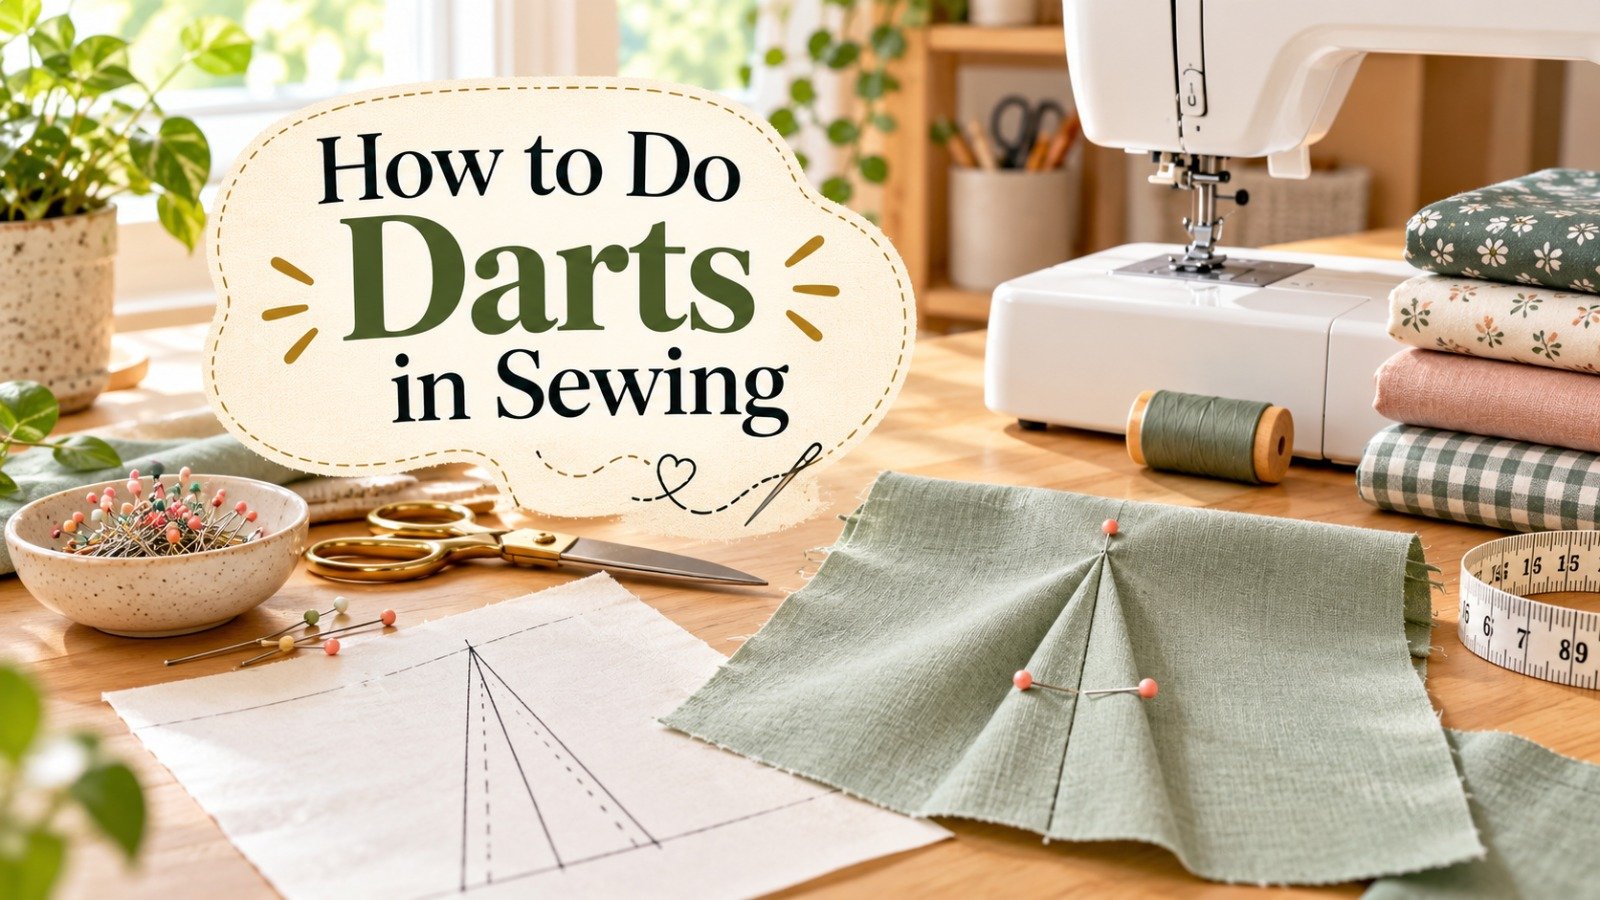
How to Do Darts in Sewing the Easy Way
Darts make a big difference when you want homemade clothes to follow the body’s shape instead of hanging like a flat sheet. Learning how to do darts in sewing becomes easier once the markings, folding, stitching, and pressing make sense.
I use darts often on fitted garments because even a small change in dart placement can affect the fit. A carefully sewn dart shapes a bodice, skirt, dress, or sleeve while keeping the finished garment neat and comfortable.
In this guide, I’ll explain how to sew darts step by step, how to mark them accurately, how to press them without creating pointy tips, and how to fix common problems. I’ll also cover the main dart styles so you can recognize them in sewing patterns.
Key Takeaways
What Are Darts in Sewing and Why Do You Need Them?
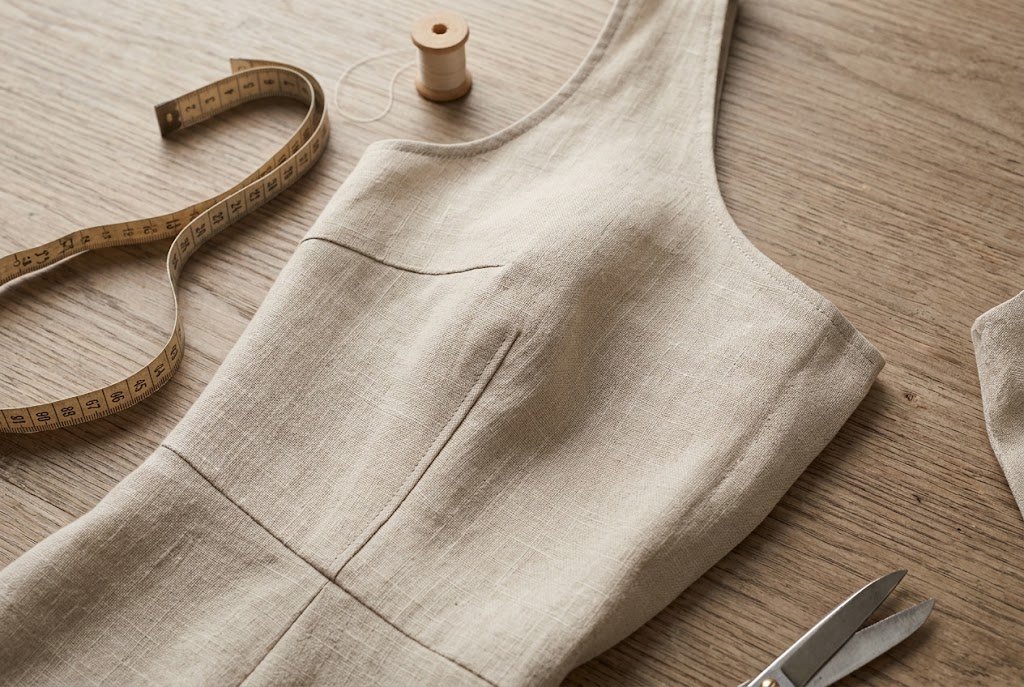
What are darts in sewing? A dart is a folded and stitched section of fabric that removes controlled fullness and helps the garment follow the body’s shape.
A flat pattern piece cannot naturally follow every curve of the body. A dart changes that shape by taking in fabric at a specific location. The result is a garment that fits the bust, waist, hips, shoulders, or elbows without relying on gathers or bulky seams.
How Darts Shape a Garment
Darts commonly help shape areas around the:
They appear on many garments, including bodices, blouses, dresses, skirts, trousers, jackets, and fitted sleeves. This process, called garment shaping with darts, gives fabric a controlled curve while keeping the garment’s outside smooth.
For example, a bust dart provides room around the bust while allowing the fabric below to sit closer to the body. A waist dart removes excess fabric around the waist and creates a more fitted shape.
Not every garment needs darts. Loose-fitting tops, gathered styles, oversized shirts, and many knit garments achieve their shape through ease, seams, gathers, or fabric stretch instead.
Also Read: How to Read a Sewing Pattern? Easy Step-by-Step Guide
Common Types of Darts in Sewing
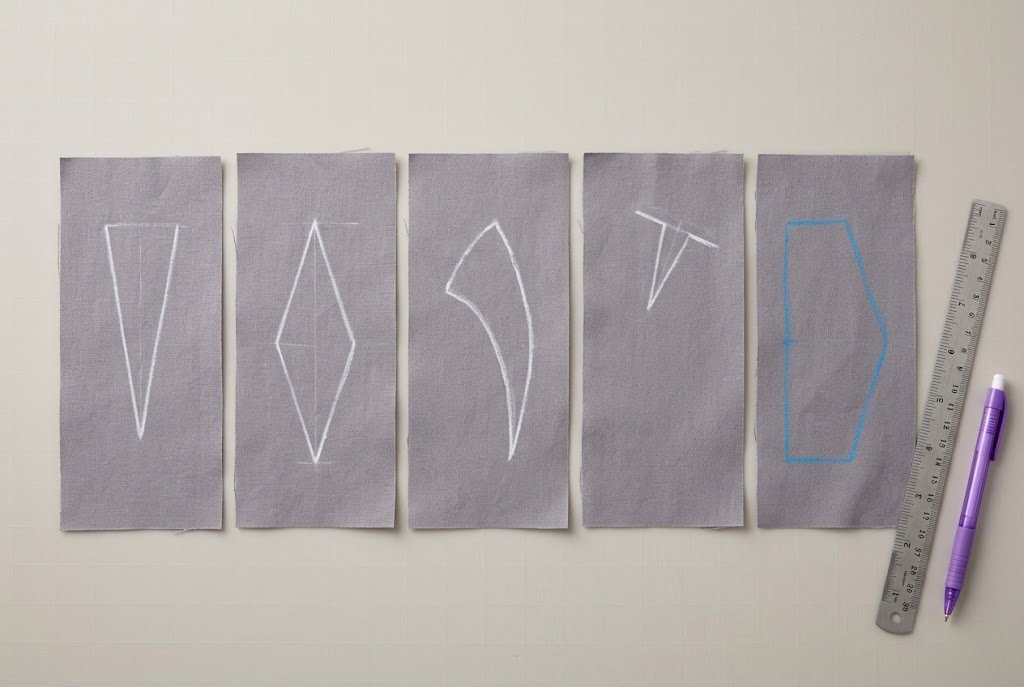
Patterns use several dart styles, each creating shaping in a slightly different way. Understanding the types of darts in sewing makes it easier to recognize what a pattern expects before cutting or stitching.
| Dart type | Common location | Main purpose |
|---|---|---|
| Single-pointed dart | Bust, waist, or back | Basic garment shaping |
| Double-pointed dart | Waist and torso | Contouring fitted dresses and tops |
| French dart | Lower side seam toward bust | Long shaping for tops and dresses |
| Shoulder dart | Shoulder area | Bust shaping from the upper bodice |
| Elbow dart | Sleeve | Shaping a fitted sleeve |
Single-Pointed Darts
Single-pointed darts are among the easiest styles for beginners to sew. They have two legs at the wider edge and taper gradually toward one point.
You may find them on the bust, waist, or back of a garment. If you are practicing how to sew single pointed darts step by step, this is a good style to start with because the markings and sewing direction are easy to follow.
Double-Pointed Darts
A double-pointed dart, also called a contour dart, has a wider section in the middle and tapers toward two separate points. This style commonly runs vertically through the waist area of fitted dresses and tops.
It shapes above and below the waist while keeping the fabric between the two points smooth. Accurate marking is important because both ends must taper evenly.
French Darts
French darts are longer than standard side bust darts. They usually begin lower on the side seam and angle upward toward the bust area.
When learning how to sew French darts on a dress or top, take extra care when following the curve. Sew slowly and avoid stretching the fabric. A tailor’s ham can also help maintain the curved shape while pressing.
Shoulder and Elbow Darts
Shoulder darts provide bust shaping from the upper part of a bodice. Elbow darts appear in fitted sleeves and help the fabric follow the natural bend of the arm.
These styles appear less often in basic beginner projects, but recognizing them is useful when working with fitted commercial patterns. Their placement may differ, but the basic principle remains: controlled fabric intake creates a closer, more natural fit.
Tools and Supplies You’ll Need
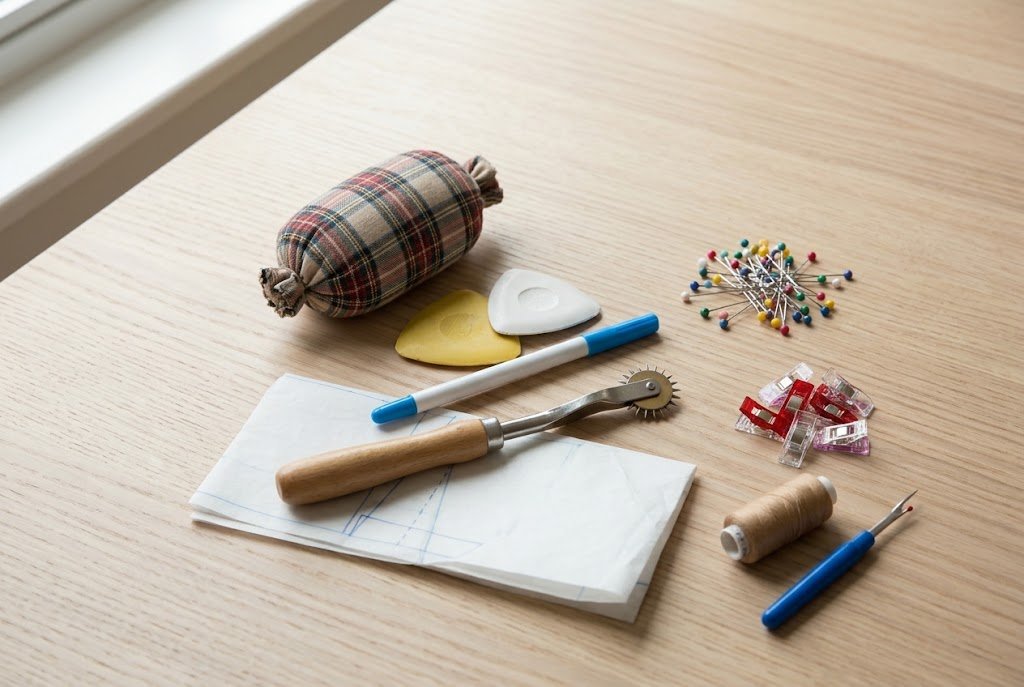
You do not need a large collection of equipment to sew a dart. A few basic sewing supplies suffice for most projects.
Gather:
A ruler helps when checking dart markings. For slippery fabrics, tailor’s tacks or careful markings make transferring the dart easier and more accurate.
I recommend testing the marking tool, iron temperature, and stitch settings on a fabric scrap first. Some marking products leave stains, and excessive heat can make certain fabrics shiny or distort their surface.
Also Read: 10 Best Iron for Sewing: Top-Rated Picks 2026
How to Mark Darts on Fabric
Accurate marking is the foundation of successful darts. If the legs or point are misplaced, the finished garment may twist, look uneven, or fit differently on each side.
Mark Before Removing the Pattern
Transfer the dart markings while the paper pattern is still attached to the fabric. Mark the two dart legs and the dart point, sometimes called the apex. Also transfer any notches shown on the pattern.
A dart point on a pattern is a construction reference. It does not always indicate the exact position where the stitched dart should end on the body. For example, a bust dart usually finishes slightly before the fullest part of the bust so the completed dart creates a smooth shape.
Transfer Both Legs Clearly
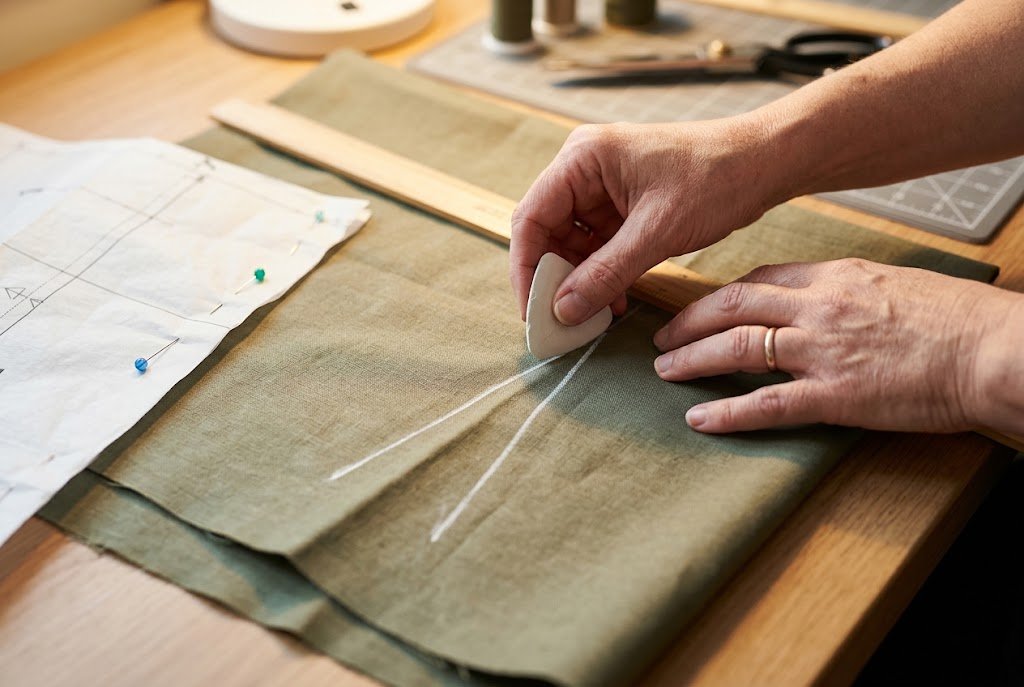
Use chalk, a washable pen, tailor’s tacks, or a tracing wheel with transfer paper. Make sure the lines are easy to see on the wrong side of the fabric without pressing hard enough to distort it.
For symmetrical pieces, transfer the markings to both fabric layers. Tailor’s tacks work well when you need matching reference points on both sides. After separating the layers, carefully cut the connecting threads so each piece keeps its markings.
Mark the Center Fold Line
For many darts, marking a line between the two legs makes folding easier. The line shows where the fabric should fold from the wide edge toward the point.
This extra reference can be especially helpful with double-pointed darts or fabrics where chalk markings are difficult to see.
Use Small Snips Only When Suitable
If the pattern allows, make tiny snips at the dart-leg ends along the fabric edge. Keep them small, around 2 mm, and do not cut toward the dart point.
Snips work well on stable woven fabrics but may weaken delicate materials or interfere with the seam allowance. When in doubt, use thread or chalk markings and follow the pattern instructions.
How to Sew Darts Step by Step
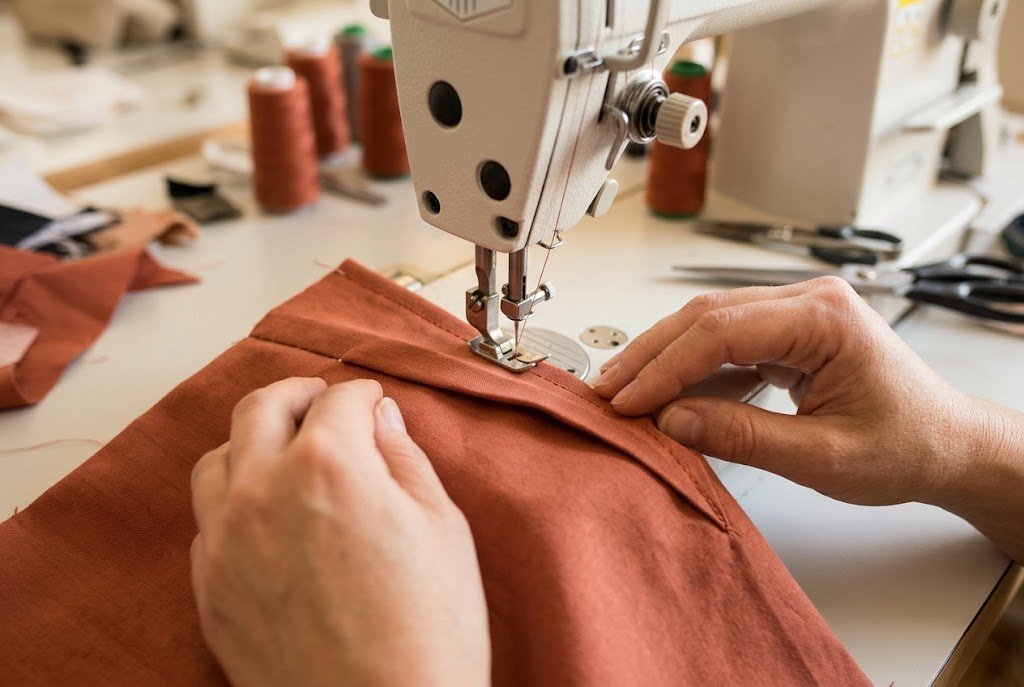
Once the markings are complete, sewing a basic dart is straightforward. The method below works well for many woven fabrics, but always follow the pattern instructions if they specify a different technique.
1. Fold the Dart
Place the fabric with the right sides together. Fold along the center of the dart so the two marked legs meet accurately.
Match the dart-leg markings from the wide edge toward the point. The folded edge should run through the center of the dart.
Do not rely only on the fabric edge when checking the fold. Compare the marked lines along the dart. If the legs do not meet evenly, correct the fold before pinning.
2. Pin or Clip the Layers
Place pins perpendicular to the marked sewing line, or use sewing clips to hold the layers together.
Secure the dart near the wide edge, in the middle, and close to the point. Avoid placing a pin directly on the stitching line near the apex if it makes the fabric hard to handle.
For slippery fabric, extra pins or temporary hand basting can help prevent the layers from shifting.
3. Set Up the Sewing Machine
Use a regular straight stitch for most woven fabrics. A stitch length of 2.0–2.5 mm works well as a starting point for medium-weight cotton and similar materials.
Lightweight fabric may need a different setting. Test the stitch on a scrap before sewing, especially with fine or loosely woven material.
The test also lets you check the needle, thread, tension, and fabric combination before sewing the dart.
Also Read: Why Does My Sewing Machine Keep Jamming? Easy Fixes
4. Start at the Wide Edge
Begin sewing at the wide edge of the dart, not the pointed end. Align the marked dart line with a suitable guide on the sewing machine.
Backstitch two or three stitches at the start to secure the seam. Then sew toward the dart point with steady, controlled stitching.
Starting at the wider edge allows the stitching to taper gradually as the dart narrows.
5. Follow the Dart Line
Sew directly along the marked line. Keep the fabric relaxed in front of and behind the needle.
Do not pull or stretch the fabric while sewing. Stretching one layer can cause a wavy seam or puckering when you release it.
If the dart curves slightly, guide the fabric gradually through it. Avoid forcing the stitching into a sharp angle.
6. Taper Gradually at the Point
As you approach the dart point, gradually reduce the stitch length if the fabric responds well. A length of 1.0–1.5 mm provides better control near the end.
The important part is the gradual taper. Avoid suddenly turning the stitching or creating a bulky stop at the apex.
Sew right to the fold or close to the marked endpoint. Do not backstitch at the dart point, as extra stitches can create a visible lump.
7. Secure the Thread Tails
Leave thread tails at the dart point instead of backstitching.
Secure the threads by hand, then trim the ends neatly. On some fabrics, weave the thread tails back through the stitches on the wrong side.
Avoid pulling the threads too tightly, particularly on lightweight fabric. Excess tension can distort the narrow end of the dart.
8. Check the Dart Before Pressing
Turn the fabric to the right side and inspect the finished dart.
The stitching should taper smoothly, and the surrounding fabric should lie flat without gathers, puckers, or bumps. If the dart looks uneven, fix the stitching before pressing.
When sewing matching darts on a bodice or skirt, compare their position and length before pressing. Small differences can become noticeable on a fitted garment.
How to Sew Double-Pointed and French Darts
The basic sewing principles stay the same, but these dart styles require a different approach. Double-pointed darts have two tapered ends, while French darts are longer and often follow a gentle curve.
Double-Pointed Darts
Double-pointed darts are common in fitted dresses and tops because they shape the garment above and below the waist. Mark both dart points and the widest center clearly before folding.
Fold the fabric so the corresponding dart legs meet accurately. Start at the widest center section and sew toward one point, tapering gradually as you approach the end. Return to the center and sew toward the second point.
Keep both sides even. Avoid pulling the fabric while sewing, since stretching can cause puckering or make one end hang differently.
Check the finished dart from the right side before pressing. Both tapered ends should blend smoothly into the surrounding fabric without creating visible points.
French Darts
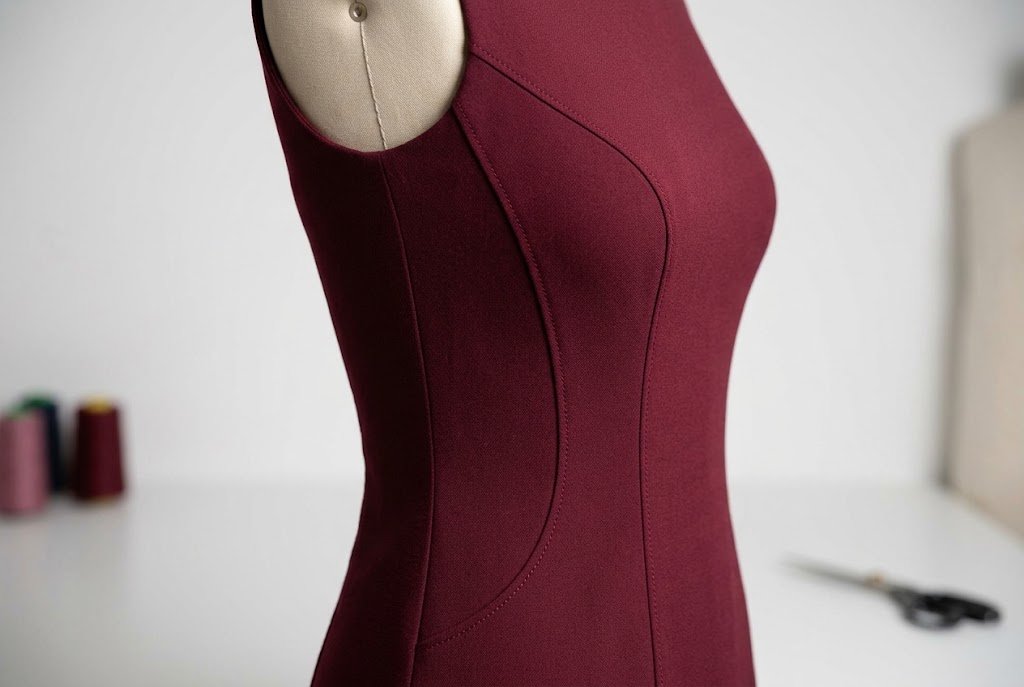
French darts are longer than standard bust darts and usually angle from the lower side seam toward the bust. They create a graceful line of shaping on dresses, blouses, and fitted tops.
Transfer the complete dart markings from the pattern, including both legs and the point. Fold the fabric so the legs align, then pin or clip the layers securely.
Sew slowly along the dart line, especially where the shape curves. Keep the fabric relaxed and avoid stretching it as you guide it through the machine.
After sewing, press the dart as the pattern instructions direct. A tailor’s ham is particularly useful for this style because its rounded surface supports the garment’s curved shape without forcing it completely flat.
For any curved dart, avoid sudden changes in direction. A smooth, gradual line is easier to sew and press and helps the dart blend naturally into the garment.
Also read: How to Sew a French Seam: Easy Step-by-Step Guide
How to Press Darts
Pressing does more than flatten the stitches. It helps the dart blend into the garment and gives the finished shaping a smooth, natural appearance.
Press the Dart as Sewn
After stitching, press the dart flat in the same position in which it was sewn. This helps set the stitches and allows the seam to settle before you move the fabric into its final position.
Use the heat and steam setting suitable for your fabric. Delicate materials may need lower heat and a pressing cloth; sturdier fabrics usually tolerate more heat.
Press in the Correct Direction
Once the stitches have settled, press the dart in the direction the pattern specifies.
As a general guideline, press horizontal bust darts downward. Press vertical waist darts toward the center front or center back. French darts may be pressed downward or toward the garment center, depending on the design.
Do not treat these directions as a universal rule. The fabric, garment structure, and pattern instructions can all affect the best finish.
Use a Tailor’s Ham for Curved Areas
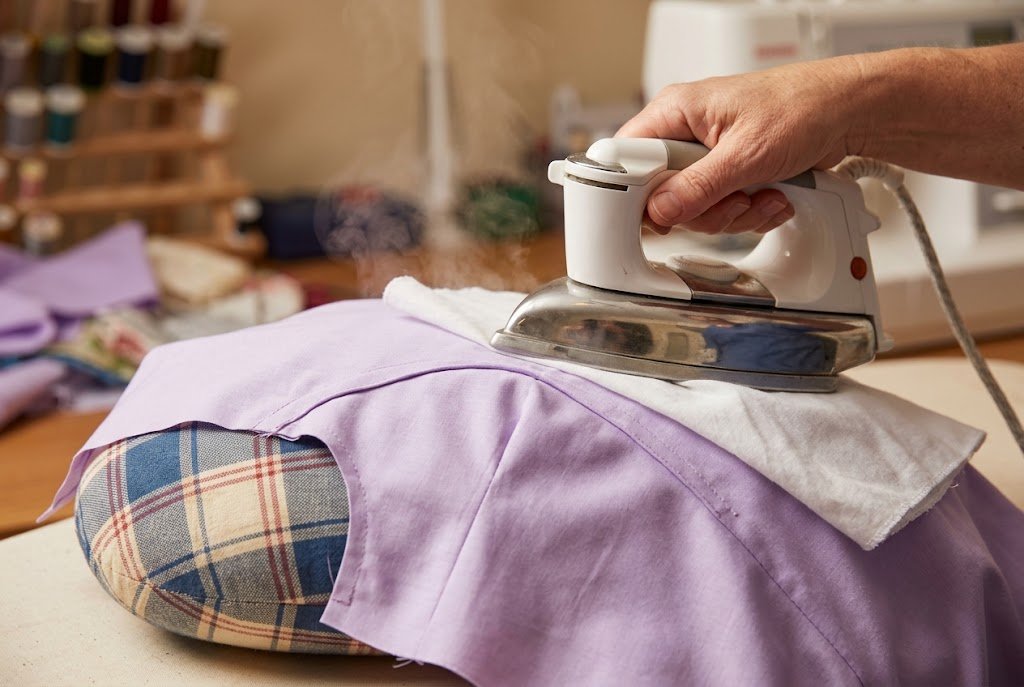
A tailor’s ham is especially useful when pressing darts around the bust or other curved parts of a garment.
Place the dart over the rounded surface and press gently from the wrong side. The curved shape supports the fabric while helping it retain the three-dimensional form created by the dart.
For fabrics that may become shiny, place a pressing cloth between the iron and fabric. Lift and lower the iron instead of dragging it across the surface. Allow the fabric to cool before moving it so the pressed shape can settle.
Reduce Bulk When Needed
A large dart can add bulk, especially in wool, denim, or other heavy fabrics. If the pattern and fabric allow, carefully grade the seam allowance after stitching by trimming one side slightly narrower than the other.
Do not cut into the stitching or remove more allowance than the construction allows. Some darts may also be pressed open when the fabric is thick, or the design calls for it.
The goal is not to press every dart in exactly the same way. Aim for a smooth finish that supports the garment’s shape without creating a ridge, crease, or visible point on the right side.
Also Read: Best Sewing Scissors: Top Picks 2026
Common Dart Problems and How to Fix Them
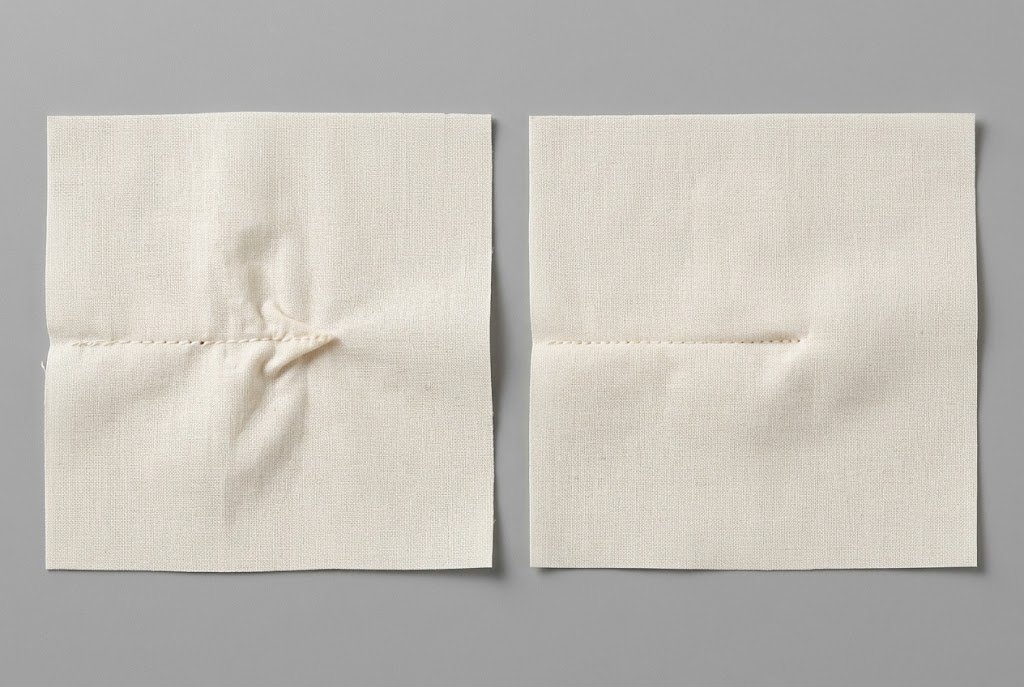
Even experienced sewists occasionally get a dart that does not behave as expected. Most problems come from marking, stitching, pressing, or shaping the dart.
Why Are My Darts Pointy?
A sharp dart tip can result from tapering too quickly, sewing too far past the intended point, or using heavy backstitching near the apex.
Remove the stitching if necessary and sew toward the point with a gradual taper. Leave thread tails rather than backstitching at the very tip, then secure them by hand.
After sewing, press the dart over a tailor’s ham or another rounded surface. This helps the shaping blend into the garment instead of creating a hard crease.
How to Fix Puckered Darts
Puckering often happens when the fabric is stretched during sewing or when the stitching changes direction too abruptly.
Remove the stitching and sew again if needed, keeping the fabric relaxed under the presser foot. Check the needle, thread, stitch length, and tension when working with lightweight or delicate fabric.
Press the finished dart carefully rather than forcing the iron across the fabric.
Also Read: How to Replace a Sewing Machine Needle? Easy Guide
What If the Dart Legs Do Not Match?
If the dart legs do not align after folding, stop before sewing.
Compare the transferred markings with the original pattern and correct them if necessary. Then fold the fabric again and pin the legs together at several points from the wide edge toward the point.
Accurate marking is much easier than correcting an uneven dart after it has been stitched.
How Do I Make Darts Lay Flat on Thick Fabric?
Heavy fabric can create extra bulk inside the dart. If the pattern and fabric allow it, carefully grade the seam allowance after stitching by trimming one side slightly narrower than the other.
Press the dart using the direction recommended by the pattern. A tailor’s ham can also help shape the dart without forcing a sharp crease into the fabric.
Do not remove too much seam allowance, and never cut into the stitching.
How Do I Press Darts So They Do Not Show on the Right Side?
Use the appropriate temperature and pressure for the fabric. Press from the wrong side and use a pressing cloth when the material is prone to shine or marking.
A tailor’s ham is useful for curved darts because it supports the garment’s shape while you press. If a ridge remains visible, check the pressing direction and consider whether the seam allowance needs grading.
Quick Dart Sewing Tips
A few consistent habits can improve the finish of most darts:
A simple routine I find useful is mark, fold, pin, sew, secure, press, and check. Following this order helps keep the process consistent from one garment to the next.
Improving Fit With Darts
Once basic darts feel comfortable, you can use them to make more precise pattern adjustments.
A dart should point toward the area it is shaping, but the stitched point generally ends short of the fullest point of the body. The exact position depends on the pattern, garment style, fabric, and desired fit.
How to Shorten or Lengthen a Dart
Changing the length of a dart can alter where the shaping finishes on the garment. If a dart ends too close to the shaped area, it may create an overly sharp appearance.
Make length adjustments on the paper pattern whenever possible rather than simply changing the stitching line on the fabric. Keep the original dart intake and surrounding pattern lines in mind as you make the change.
How to Move a Dart
Patternmaking allows the same general shaping to be transferred from one dart position to another.
For example, a waist dart can be moved toward the side seam, shoulder, armhole, or another suitable position. This process is called dart manipulation.
If you are new to pattern changes, practice on a paper pattern before cutting your fabric. It is easier to see how the shaping moves before making a permanent change.
Can Darts Become Princess Seams?
Yes. Dart intake can be transferred into a longer seam that travels through the garment.
Princess seams distribute the shaping along a curved seam instead of concentrating it in a small wedge. They are often used when a smoother, more continuous shape is desired through a bodice.
These pattern changes require accurate drafting. Do not simply draw a new seam on the fabric without first transferring the dart intake correctly on the pattern.
Also Read: How to Sew a Gusset? Easy Step-by-Step Guide
Adding Darts to a Ready-Made Garment
If a ready-made shirt or dress has excess fabric, a dart can sometimes improve the fit. Try the garment on inside out and carefully pin the excess where you want the shaping to occur.
Mark the proposed dart, then remove the garment and check that the line points toward the area being shaped. Baste the dart first and try the garment on again before sewing the final seam.
This temporary fitting stage can reveal whether the dart needs to be shorter, longer, narrower, or moved to a different position.
Also Read: How to Sew a Tear in Jeans: Easy Repair Guide
Conclusion
Learning how to do darts in sewing becomes easier once the basic sequence feels familiar. Accurate marking, careful folding, controlled stitching, and proper pressing all contribute to a smooth, well-shaped result.
When I sew darts, I focus on the markings and the last few centimeters near the point. A gradual taper and careful pressing often make the biggest difference in the finished garment.
Start with a simple cotton bodice or skirt. Practice one dart at a time. Once comfortable with single-pointed darts, you can move on to French, double-pointed, shoulder, and other pattern-shaping techniques.