How to Sew a Shirt? Easy Guide for Beginners
Learning how to sew a shirt can feel intimidating when collars, sleeves, seams, and pattern pieces are spread across the cutting table. The good news is your first shirt doesn’t require advanced sewing skills.
This tutorial focuses on a simple woven shirt with a relaxed fit and straightforward sleeves. I will also explain how the process changes when using knit fabric for a T-shirt. This keeps the project clear for anyone learning garment sewing for the first time.
You will learn how to choose fabric and a pattern, take accurate measurements, prepare and cut the fabric, sew the main pieces, attach sleeves, finish the neckline, hem the shirt, and check the fit before completing the garment. I will also cover common sewing problems that affect a homemade shirt’s fit and appearance.
Key Takeaways
What You Need to Sew a Shirt
A successful first garment depends as much on preparation as on the sewing itself. Keeping basic tools nearby prevents interruptions once the machine is running.
Sewing Tools and Supplies
For basic shirt sewing, gather:
A seam ripper deserves a permanent place beside the machine. Small mistakes happen, especially around sleeves and curved necklines. Carefully removing an incorrect seam is usually better than sewing over it.
Also Read: Best Sewing Machine for Apparel: Top 10 Picks
Do not overlook the iron, either. Pressing seams is part of garment construction, not simply a final finishing task. Press each seam after sewing and before adding another section. A few seconds of careful pressing can make the finished shirt look much cleaner.
Also Read: 10 Best Iron for Sewing: Top-Rated Picks 2026
Keep a small fabric scrap from the cutting process for machine tests. The scrap should match the shirt fabric because different materials react differently to the same needle, thread, tension, and stitch length.
Also Read: 10 Best Thread for Sewing: Ultimate Guide 2026
How Much Fabric Do You Need to Sew a Shirt?
No single fabric amount works for every shirt. Requirements change with:
Always check the fabric requirements printed on the pattern envelope or pattern instructions. Buy a little extra when the fabric has a one-way design, large checks, a directional print, or noticeable shrinkage.
Choose the Right Fabric and Pattern
The fabric and pattern should work together. A pattern designed for stretch jersey may not fit correctly if made from stable woven cotton. Likewise, a loose woven shirt pattern may need changes when used with a stretchy knit.
Best Fabrics for a First Shirt
For a woven shirt, beginner-friendly choices include:
For a T-shirt, choose a stable knit fabric with suitable stretch and recovery. Jersey can work well but requires a needle and stitch that handle movement.
Woven fabrics have little natural stretch, making them easier to cut accurately. Knits stretch more due to their looped structure and need gentler handling during cutting and sewing.
For a first project, cotton poplin or lightweight chambray is easier to control than slippery fabric. Satin, fluid rayon, and highly stretchy materials may shift during cutting or sewing.
Select a Beginner-Friendly Shirt Pattern
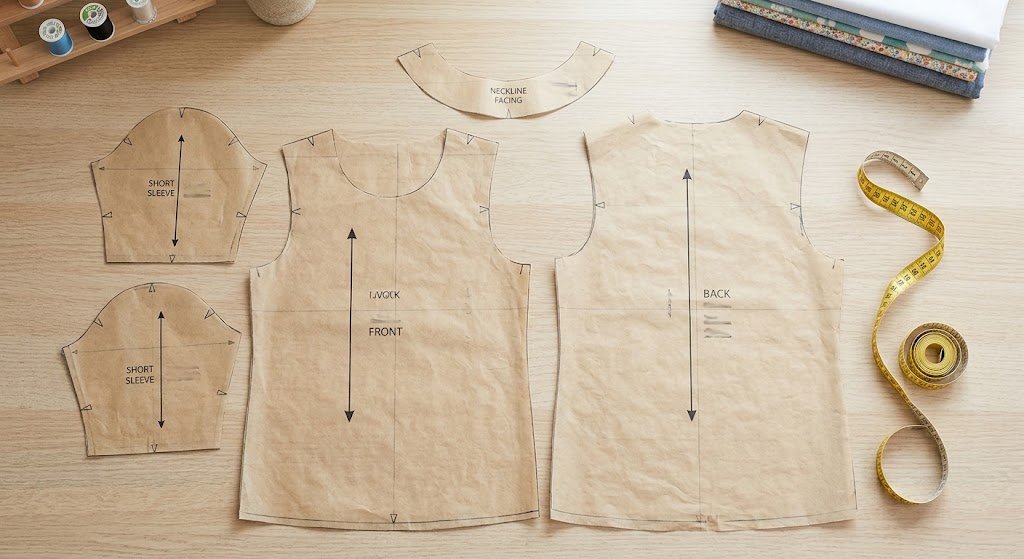
An easy shirt sewing pattern should have:
A loose, short-sleeved shirt teaches the basic construction sequence without introducing too many difficult details.
Avoid starting with a fitted shirt that includes a complicated collar, cuffs, curved button placket, princess seams, or several fitting adjustments. Those details are useful skills to learn later.
Also Read: How to Read a Sewing Pattern? Easy Step-by-Step Guide
Take Your Measurements
Accurate measurements give the pattern a better starting point. Measure over the clothing normally worn under the finished shirt, not over a thick sweater.
Take measurements for:
Do not select a pattern size just because it matches a favorite ready-to-wear size. Clothing brands use different sizing systems, and sewing patterns have their own measurement charts.
Pay special attention to finished garment measurements. These measurements show the approximate dimensions of the completed garment and help indicate how much ease the design includes.
If the bust and hip measurements fall into different pattern sizes, blend gradually between sizes instead of choosing one size for the entire shirt. Mark the transition smoothly so the side seam does not develop an abrupt angle.
Prepare the Fabric Before Cutting
Preparing fabric before cutting prevents sizing changes and improves cutting accuracy. I treat this stage as part of garment construction, not just a quick preparation step.
Prewash and Press the Fabric
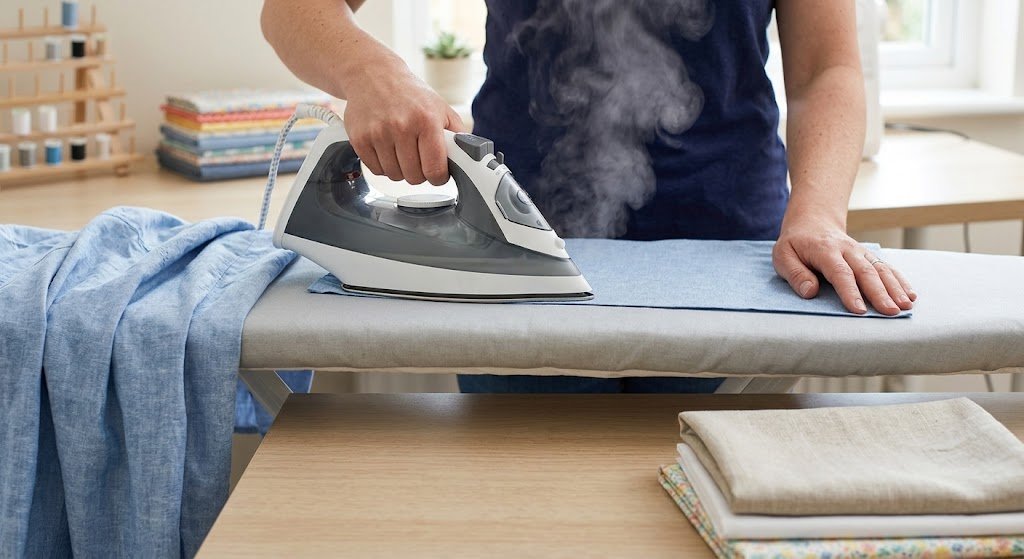
Fabric prewashing is an important step if you want the finished garment to maintain its intended size.
Wash and dry the fabric as you will care for the finished shirt. This reduces the chance of unexpected shrinkage after construction.
After washing:
- Press the fabric.
- Straighten the grain if necessary.
- Fold it according to the pattern instructions.
- Place it on a clean, flat surface.
Do not skip pressing even if the fabric looks flat. Small wrinkles affect cutting accuracy and make pattern pieces less precise.
Check the Grainline and Fabric Direction
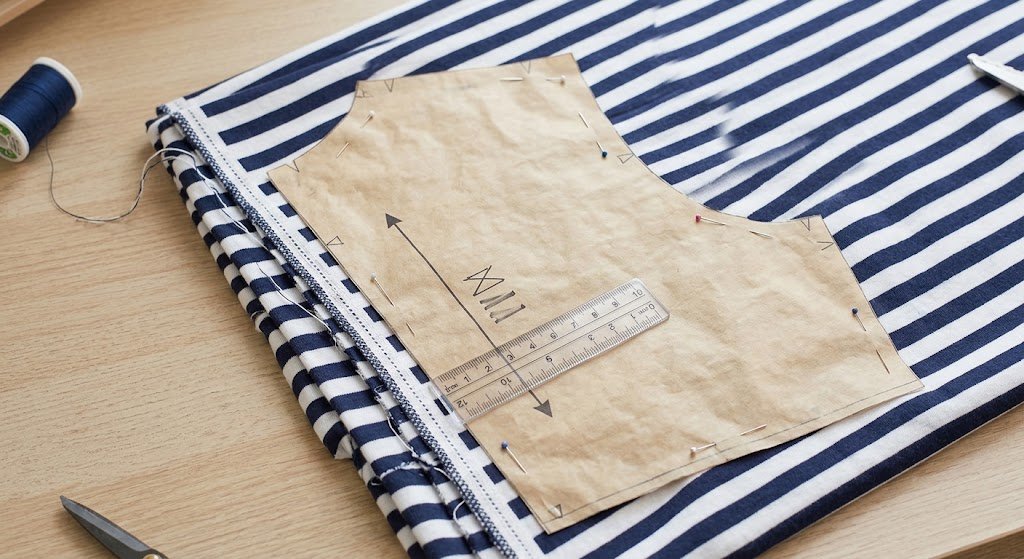
The grainline shows how each pattern piece should sit on the fabric. In most layouts, the grainline should run parallel to the selvage.
Pay extra attention to:
These fabrics may require a different layout so the finished shirt looks balanced and the pattern direction stays consistent.
Pattern pieces placed on the fold must align accurately with the folded fabric edge. A small mistake can change the shape and balance of the finished garment.
Cut the Shirt Pattern Pieces
Depending on the shirt design, you may need several pattern pieces:
Before cutting, read the pattern instructions carefully. Check which pieces need to be cut on the fold, which require interfacing, and whether any pieces need to be cut more than once.
Arrange the Pattern Pieces
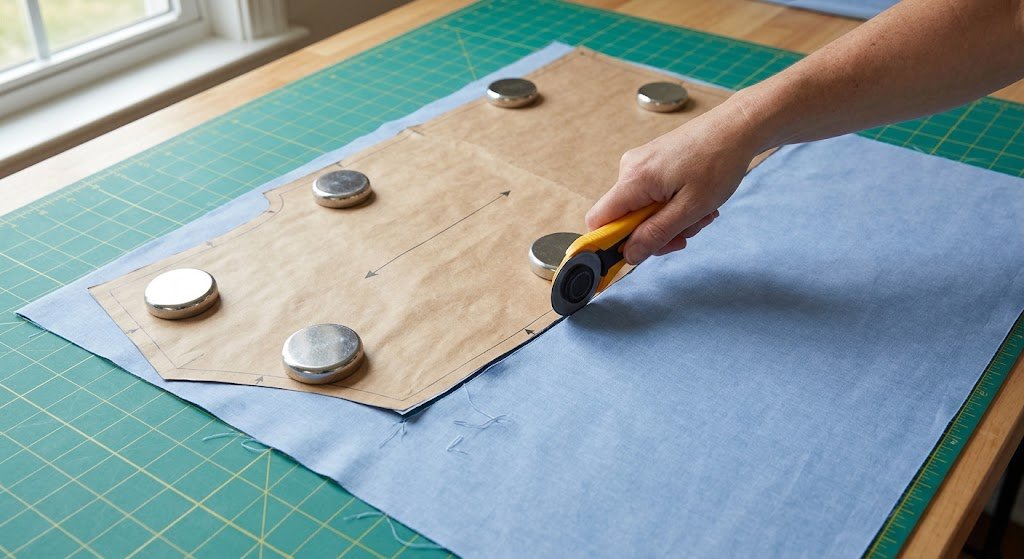
Place the pattern pieces according to the recommended layout. Do not position them simply where they seem to fit. Check the grainline on each piece and make sure it follows the fabric grain as directed.
Use pattern weights or pins to keep pieces from shifting while you cut. If the fabric has stripes, plaids, a one-way print, or nap, follow the pattern’s layout instructions carefully to keep the finished shirt look balanced.
Transfer the Pattern Markings
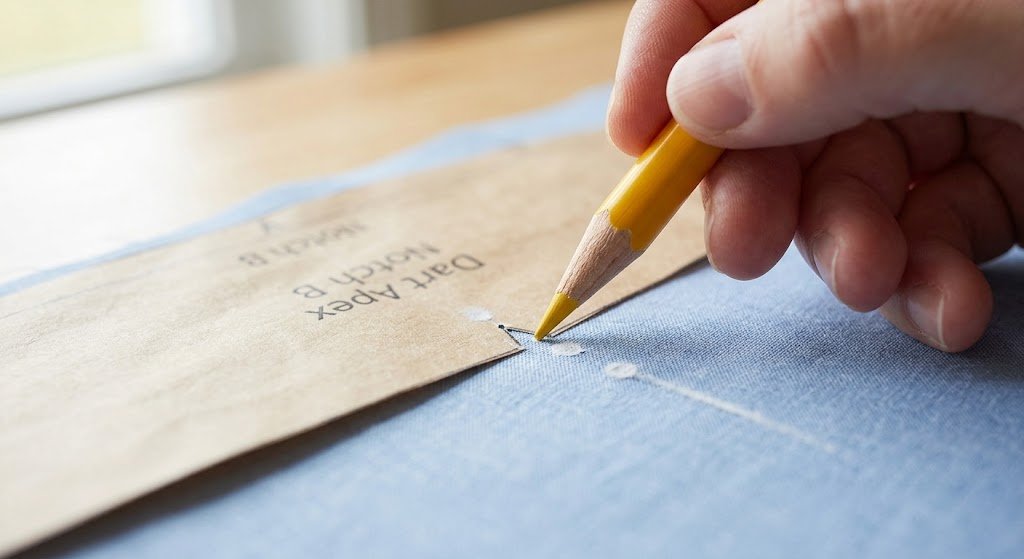
Before removing the paper pattern, transfer all important markings to the fabric. These may include:
Use a suitable fabric marking tool and make marks clear enough to see during construction.
Do not cut away important notches. These small marks help you match sleeves to armholes and align shoulders, side seams, and other construction points.
If you are learning to cut and sew a shirt, careful marking is as important as accurate cutting. Taking extra time here can make sewing much easier, especially when matching sleeves, pockets, and other pieces.
How to Sew a Shirt Step by Step
Sewing order can vary between patterns, so follow your pattern instructions if they differ. The sequence below provides a practical framework for sewing a shirt for beginners, from testing the machine settings to finishing the hem.
Step 1: Test Your Stitches
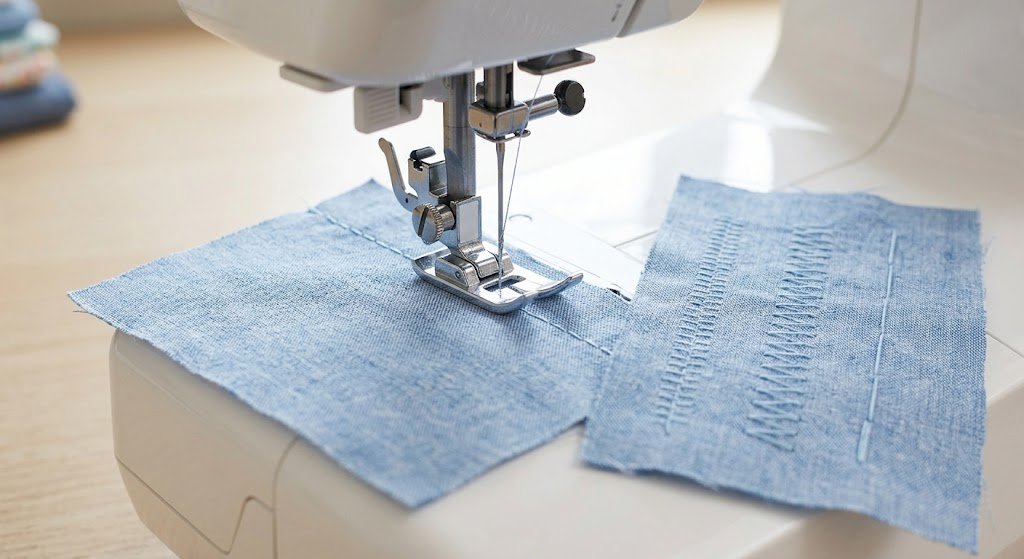
Before sewing the shirt, use a scrap of the same fabric to test your machine.
Check:
For lightweight woven fabric, a standard straight stitch works well. For knit fabric, use a narrow zigzag, stretch stitch, or serger seam so the stitching moves with the fabric.
Check the test seam by gently pulling the fabric. The stitches should hold without breaking, and the fabric should remain smooth. Adjust tension, needle, or stitch length if the seam looks loose, puckered, or stretched.
Testing first can prevent machine problems from appearing midway through sewing the shirt.
Also Read: How to Replace a Sewing Machine Needle? Easy Guide
Step 2: Sew Darts or Pleats
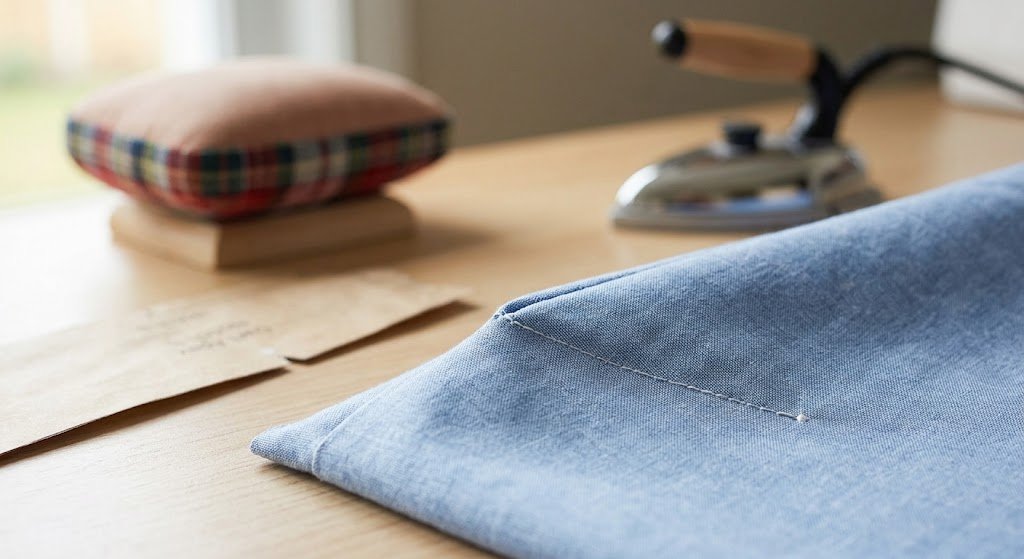
Not every shirt includes darts or pleats. Fitted styles may use darts to shape the fabric around the bust or waist.
If your pattern includes darts:
- Transfer the dart markings accurately.
- Fold the fabric with the right sides together.
- Match the dart legs.
- Stitch from the wide end toward the point.
- Reduce the stitch length slightly near the point.
- Finish the dart point without creating a bulky end.
- Press the dart in the direction specified by the pattern.
Take care at the dart point. Avoid excessive backstitching because it creates a thick or pointed finish.
Accurate darts matter because even a small change in their position or depth can affect the fit around the bust.
If your pattern includes pleats, form and press them along the marked fold lines before continuing.
Also Read: How to Do Darts in Sewing the Easy Way
Also read: How to Sew Pleats? Easy Beginner Guide
Step 3: Join the Shoulder Seams
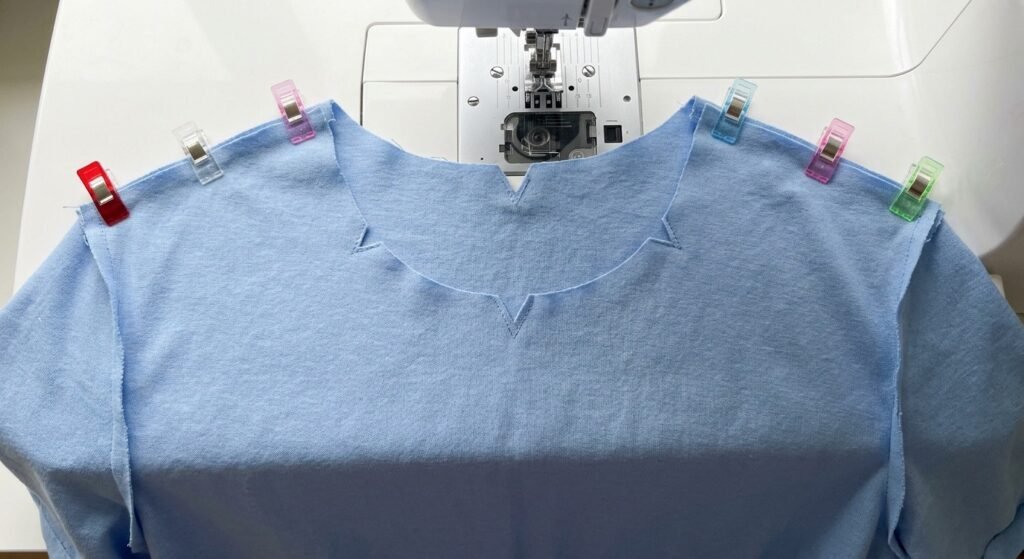
Place the front and back pieces with right sides together. Match the shoulder edges, neckline, and notches.
Pin or clip the pieces in place, then sew both shoulder seams using the pattern’s specified seam allowance.
Finish the raw edges with a serger, zigzag stitch, overcast stitch, or another suitable method. A French seam works for some lightweight woven fabrics but is not suitable for every shirt construction.
Press the shoulder seams toward the back or follow the pattern instructions.
Take care at this stage. Accurate shoulder seams help the neckline and sleeves sit correctly.
Also read: How to Sew a French Seam: Easy Step-by-Step Guide
Step 4: Finish the Neckline
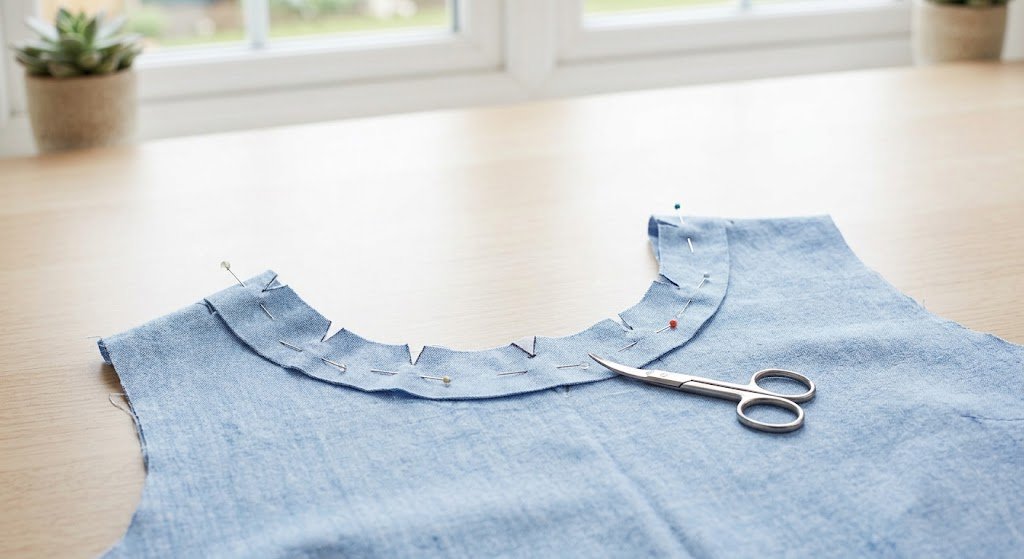
The neckline finish depends on the shirt design.
Common methods include:
For a curved neckline, stay stitching helps prevent fabric stretching during construction. Sew according to the pattern’s recommended placement and avoid pulling the fabric through the machine.
If the shirt uses a facing, make sure it matches the neckline before stitching. Clip or trim the seam allowance around curves, where appropriate, so the finished edge turns smoothly.
For a collar, apply interfacing if the pattern calls for additional structure. Test the interfacing on a fabric scrap first because different fabrics react differently to heat and adhesive.
Press the completed neckline carefully so it lies flat without distorting the curve.
Also read: What Is Interfacing in Sewing? Easy Guide
Step 5: Attach the Sleeves
Two common ways to attach sleeves are:
For a set-in sleeve:
- Match the sleeve notches with the armhole notches.
- Match the sleeve cap with the shoulder seam.
- Distribute any sleeve ease evenly.
- Pin or clip the sleeve in place.
- Sew slowly around the armhole.
- Check for puckers before finishing the seam.
Do not pull the sleeve cap to force it into the armhole. If the pattern includes sleeve ease, distribute the extra fabric evenly between marked points.
The sleeve cap often contains a small amount of additional fabric to shape the shoulder. Careful matching and even distribution help create a smooth armhole without gathers or puckers.
Step 6: Sew the Side Seams
Place the shirt with the right sides together. Match the underarm seams and side edges.
Sew from the sleeve opening to the shirt hem, keeping the seam allowance consistent.
If the shirt has side slits, stop at the marked opening. Reinforce the top of the slit because this area moves more when the garment is worn.
Finish the raw edges using a method suitable for your fabric.
Press the completed side seams before moving to the finishing stages. This helps the shirt maintain a clean shape while you work on the hem.
Step 7: Add the Collar, Cuffs, Pocket, or Buttons
These details depend on the shirt pattern. A simple shirt may have only a pocket or basic neckline, while a button-up design can include a collar, cuffs, button placket, and buttonholes.
If the pattern includes these features:
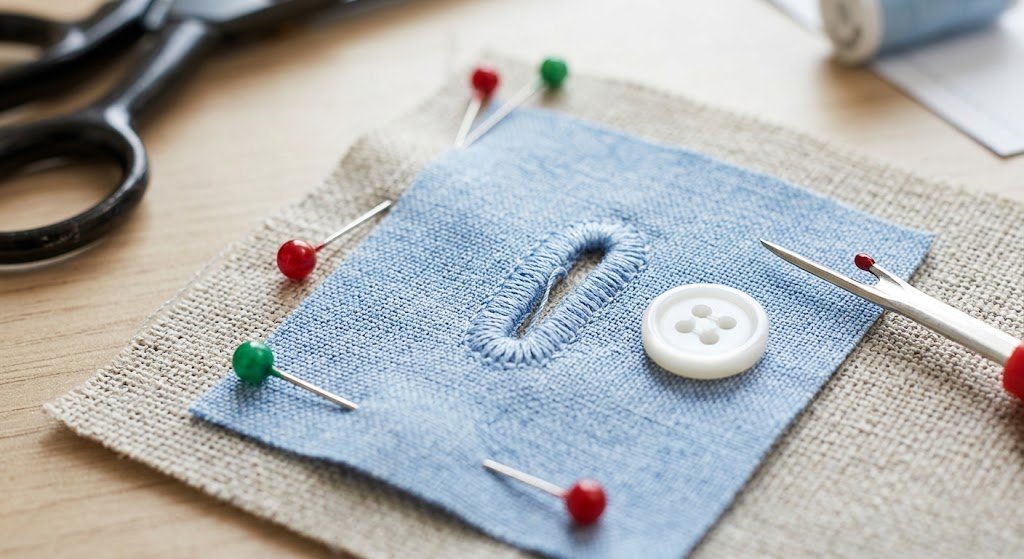
Buttonholes deserve extra care. Machine settings that work on one fabric may not produce the same result on another. A test strip lets you check stitch density and opening size before working on the finished shirt.
Step 8: Hem the Sleeves and Shirt
Press the hem allowance before folding and stitching it into place. Follow the pattern instructions for the hem depth and finish.
For a curved hem, work in small sections instead of folding the entire curve at once. Press gradually to help the fabric settle into shape without puckering. For a knit shirt, a twin needle, suitable zigzag stitch, stretch stitch, or coverstitch can provide a flexible finish.
Before sewing the final shirt hem, try the garment on while wearing the type of clothing you normally plan to wear underneath. Check the shirt length and sleeve length while standing naturally.
If the hem needs adjustment, make it before the final stitching. This is one of the easiest points in the process to correct the finished length.
How to Fit the Shirt Before Finishing
One of the most useful habits for beginner garment sewing is trying on the shirt before the final finishing. Fitting at this stage lets you correct small problems while the seams are still accessible.
Try on the shirt before sewing the final hem or completing all buttonholes. Check:
Move your arms, sit down, and raise them slightly to see how the shirt behaves during normal movement. The garment should provide enough room without looking loose.
Use pins or temporary stitches when testing adjustments. If the shoulder seam sits too far forward or backward, check the pattern and construction before changing the side seams. If the sleeves restrict movement, examine the upper-arm measurement and sleeve shape.
If the shoulders fit but the bust feels tight, do not automatically increase the entire garment size. Check the pattern’s shaping and finished garment measurements first. A localized adjustment may be more appropriate than changing the whole shirt size.
Garment fitting becomes easier with practice. The goal is not to make every adjustment perfectly on the first try. The important part is learning where the garment needs more or less room before final stitching makes changes harder.
Common Shirt Sewing Mistakes
Even with careful preparation, problems can still come up while sewing a shirt. Most are easier to correct if you identify the cause before continuing construction.
The Shirt Is Too Tight
A shirt can feel tight for several reasons:
Before cutting, compare your body measurements with the pattern’s size chart and finished garment measurements. If the shoulders fit but the bust or upper arms feel tight, do not increase the size of the entire shirt. Check where extra room is needed.
The Neckline Stretches
A stretched or wavy neckline often results from pulling the fabric during sewing or overhandling the curved edge.
To help prevent this:
If the neckline still looks uneven, check the seam allowance and construction before making further changes.
The Sleeve Has Puckers
Puckering around the sleeve cap can happen when sleeve ease isn’t distributed evenly.
First, check that the sleeve matches the correct armhole and that the notches align. Then inspect the sleeve cap for uneven gathering or stretching.
Machine tension, stitch length, and excessive handling can affect the seam. Sew slowly around the armhole and avoid pulling the sleeve cap to fit it.
Also Read: Why Does My Sewing Machine Keep Jamming? Easy Fixes
The Shirt Hangs Unevenly
An uneven shirt can result from inaccurate cutting, incorrect grainline placement, or construction problems.
Check the:
An inaccurate fold or unevenly cut fabric can cause the finished garment to twist or hang differently on each side. Before changing the pattern, make sure the fabric was cut accurately and that the main seams are aligned correctly.
Tips for Sewing a Professional-Looking Shirt
A few consistent habits can make a noticeable difference in the finished shirt.
Keep similar pattern pieces organized and labeled before sewing. This is especially helpful when front, back, sleeve, collar, and facing pieces look alike.
Also Read: What Is a Basting Stitch in Sewing? Easy Guide
Pressing deserves special attention. A shirt often looks more polished because each seam receives careful pressing during construction. Press the seam after sewing and before adding the next section so the fabric settles into the intended shape.
Conclusion: How to Sew a Shirt
Learning how to sew a shirt is less intimidating when you start with a simple pattern and work through each stage. Choose a manageable fabric, take accurate measurements, check the grainline, and test your machine before sewing the garment.
Cut carefully, match the notches, keep a consistent seam allowance, press the seams, and check the fit before finishing the hems. These habits build a solid foundation for advanced techniques like collars, cuffs, button plackets, sleeve styles, and detailed garment fitting.
Your first shirt does not need to be perfect. It should teach you skills that make the next project easier. With practice, each shirt builds your confidence in choosing fabrics, handling patterns, fitting garments, and finishing seams.
Also Read: How to Sew a Pillow: Easy Guide for Beginners